REVIEW · POKHARA
Pokhara: 5-Day Mardi Himal Trek with Guide
Book on GetYourGuide →Operated by Snow Peak Tours and Travels pvt.ltd. · Bookable on GetYourGuide
A close-up of the Annapurnas starts on Day 1. I love the Mardi Himal sunrise views and the way the route threads through rhododendron forests and quiet villages. One thing to think about: it’s real trekking, and it’s not a good fit if you get motion sickness or you’re dealing with mobility limits.
I also like the human side of this trip. With a certified guide (English, Hindi, Nepali), you can expect steady pacing and practical help, including from guides like Santosh, who’s known for fluent English and a kind, problem-solving approach when knees start complaining. This is a private-group style trek, which usually means you get less waiting around and more time actually watching the mountains.
In This Review
- Key highlights
- Why Mardi Himal Base Camp feels different on this 5-day route
- The 5-day rhythm: how hard is it, really?
- Day 1: Pokhara to Pitam Deurali via Kande, Australian Camp, and Pothana
- Day 2: Low Camp through settlements and rhododendron forests
- Day 3: High Camp and the push toward the top zone
- Day 4: Base Camp, sunrise views, and the return to Low Camp
- Day 5: Lumre canyons, Sidding lunch stop, and back to Pokhara
- Guides, safety, and why the pace matters more than hype
- Tea houses and meals: what comfort looks like up here
- Price and value: what you’re getting for $181
- What to pack (and what people often forget)
- Who should book this trek—and who should skip it
- Should you book this Mardi Himal trek?
- FAQ
- What is the duration of the Mardi Himal trek?
- How much does the tour cost?
- Where does the trek start and how do pickups work?
- Where are the drop-offs?
- What languages are the guides available in?
- Are meals included?
- What kind of accommodation should I expect?
- What trekking gear is provided?
- Do I need permits?
- Is a porter included, and what if I want one?
- Is travel insurance included?
Key highlights
- Unobstructed Annapurna views on an off-the-beaten-path route with big payoff
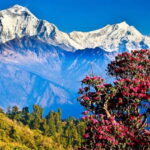
- Rhododendron forests + villages that keep the trail feeling alive
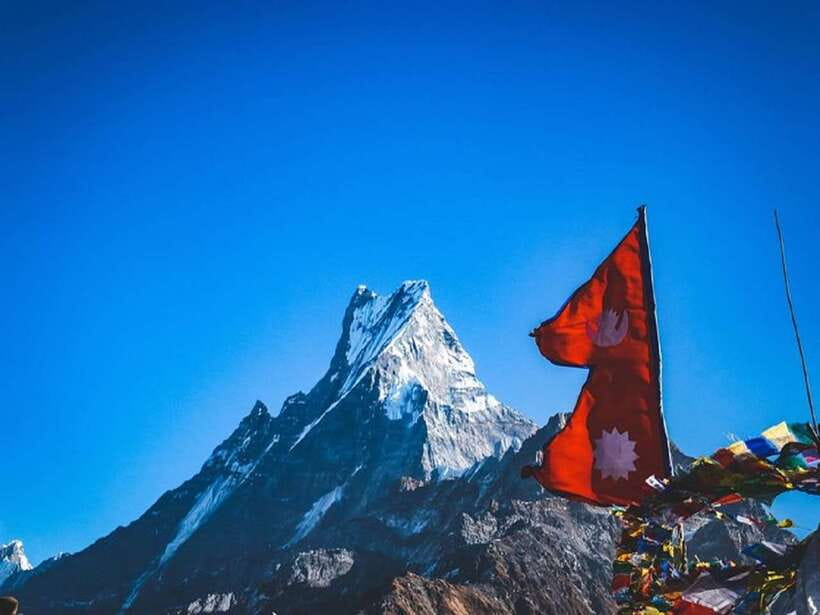
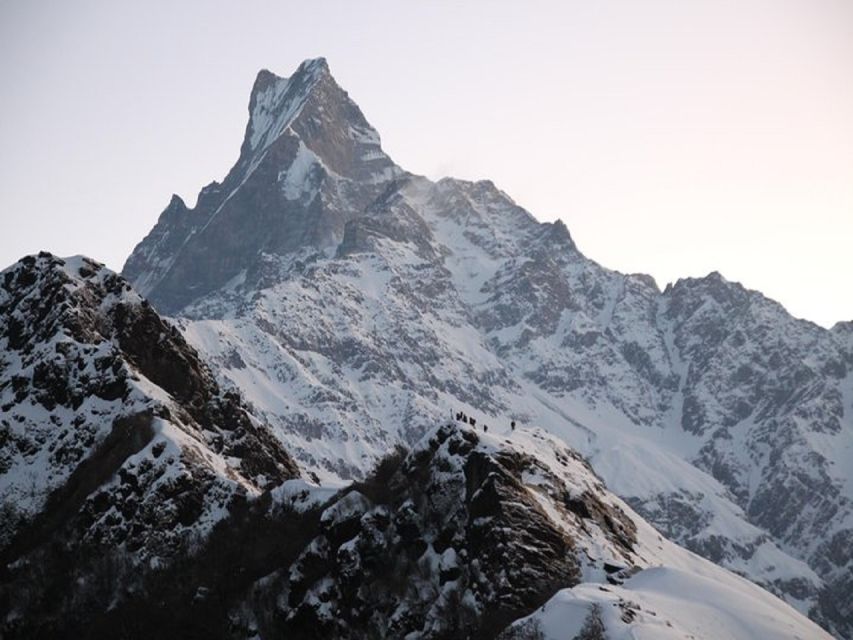
- Close views of Mardi Himal and Machapuchre as you climb higher
- Sunrise time at the right place, with a chance to linger when conditions cooperate
- Tea-house trekking with included essentials, plus luggage storage in Pokhara
Why Mardi Himal Base Camp feels different on this 5-day route
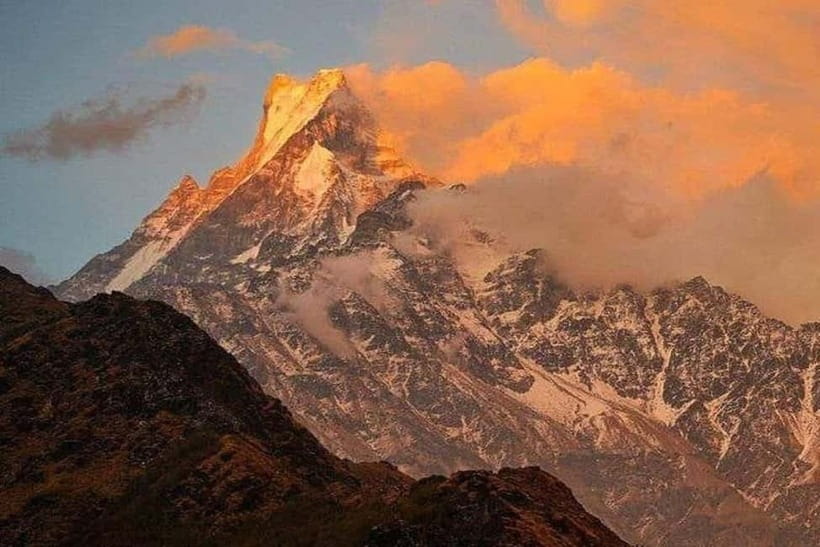
Mardi Himal Base Camp sits in the Annapurna region, but it doesn’t feel like the biggest, busiest trekking highway. The big draw here is how close you get to the peaks themselves. When you’re higher up, the mountains feel less like a distant postcard and more like something you could point to and name with confidence.
You also get variety without adding extra complexity. Day 1 starts with a scenic drive and an easy-to-moderate introduction on foot. Days 2 and 3 build you gradually toward the high points. Then Day 4 is the big view day—Base Camp plus sunrise—followed by a return that lets you keep your energy for the finish.
If you like photo stops, this trek rewards patience. The best views often show up as light changes, not just when you arrive. And the guide’s job is to keep you moving safely while still giving you enough time to look, not just rush.
You can also read our reviews of more tours and experiences in Pokhara.
The 5-day rhythm: how hard is it, really?
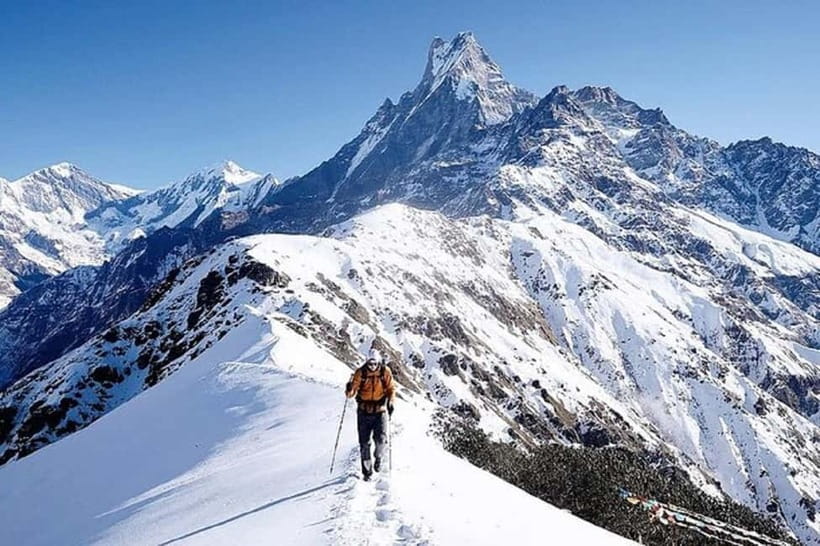
From the way this route is staged, it’s best described as moderate trekking with clear daily climbs. You go from lower areas into higher camp zones and then back down. You’ll be walking most days, and the uphill segments can feel long even when the route isn’t extreme.
Here’s the practical part. One review highlighted that even with a knee problem, the trek was still finishable with the right pace, and hiking poles were recommended. That matches what you should plan for: not “sprinting,” but steady steps and smart footwear.
Also, altitude is a real factor in this part of Nepal. If you’re considering medication like acetazolamide (Diamox), the reviews suggest it can be helpful, but you should decide with your doctor based on your health history. No heroics.
Day 1: Pokhara to Pitam Deurali via Kande, Australian Camp, and Pothana
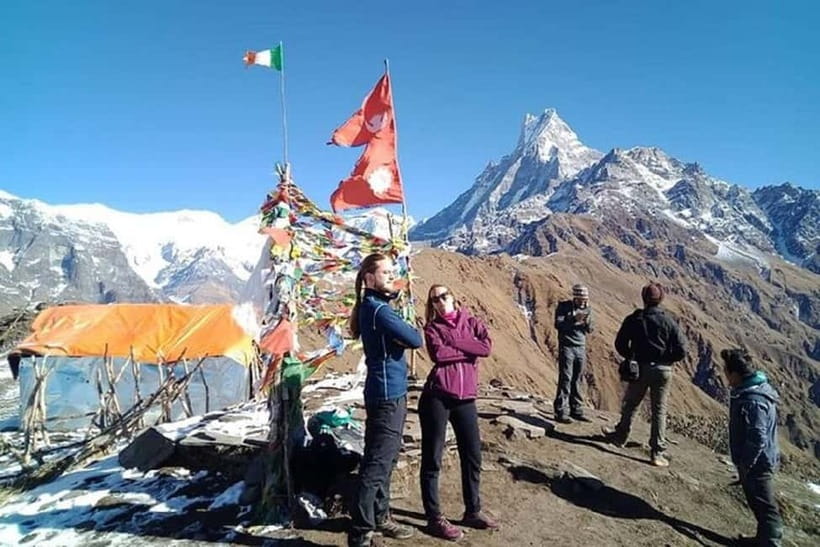
Day 1 starts with a drive from Pokhara to Kande, then you begin trekking through a chain of scenic stops: Australian Camp and Pothana before reaching Pitam Deurali.
Why this day matters:
- It eases you into the trail without throwing you straight into a big climb.
- You get early glimpses of mountain scenery as you transition from road to foot.
- You’ll spend time walking through rhododendron forests, with lunch along the way. That kind of midday setting changes the whole mood of Day 1.
A possible drawback: you’ll still be traveling before you start walking, so plan for a long first day. If you’re easily tired by rides or you prefer to keep mornings slow, you’ll want to start the day rested and ready.
Day 2: Low Camp through settlements and rhododendron forests
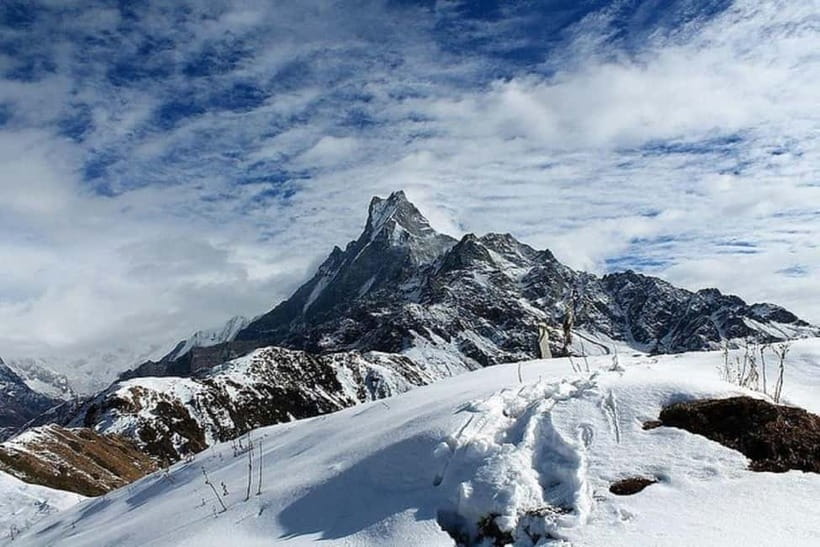
On Day 2 you move to Low Camp after breakfast. The route takes you through charming settlements and continues through rhododendron forests, with a lunch break along the trail.
What I like about this setup:
- Low Camp gives you a clear “checkpoint” feel. You’re not just wandering; you’re building height toward the next camp.
- The rhododendron forest sections tend to be a good mix of shaded walking and changing views. You’ll be working, but it doesn’t feel monotonous.
Practical reality: this is a day where you’ll likely feel the time on your feet. Bring comfortable shoes that already work for you. New shoes on a multi-day trek is a fast way to end the trip a little annoyed.
Day 3: High Camp and the push toward the top zone
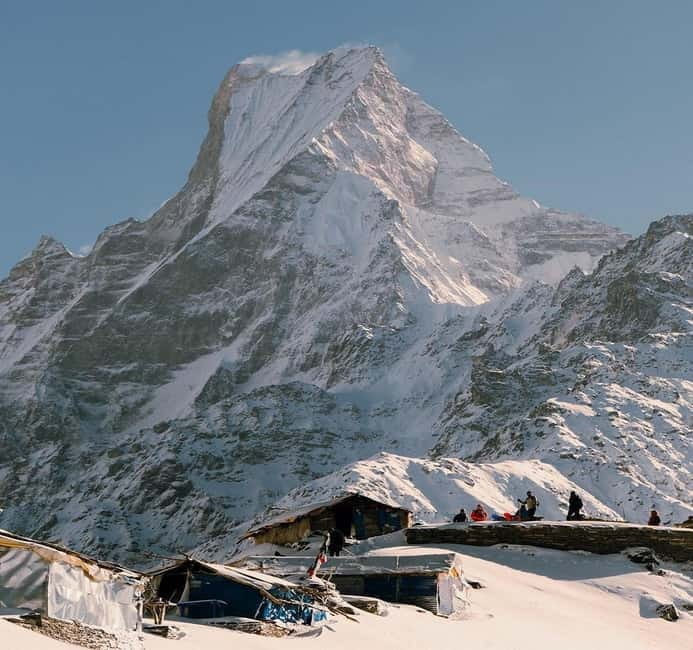
Day 3 is the ascent to High Camp. Breakfast first, then you climb. Lunch happens during the trek, and High Camp becomes the final settlement area on this route.
This is one of the most important days to manage correctly. The goal isn’t to prove you’re tough; it’s to get you to a good headspace for the Base Camp day. A good guide watches breathing pace, not just speed.
Also, you should expect cooler air at higher elevations. The packing list matters here: jacket, hat, and warm layers can make the difference between “I’m comfortable enough to enjoy photos” and “I’m just trying to stop shivering.”
Day 4: Base Camp, sunrise views, and the return to Low Camp
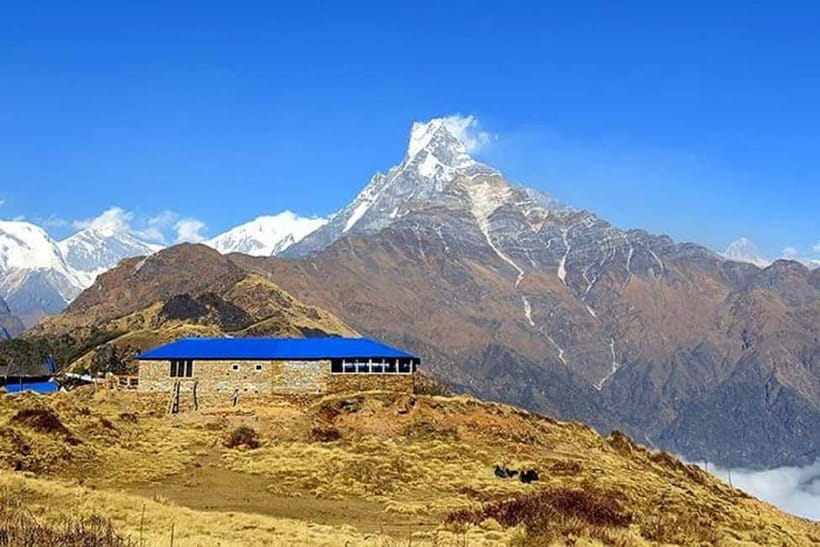
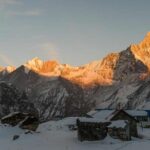
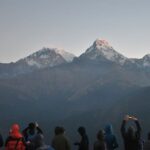
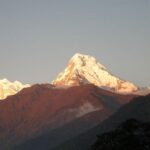
Day 4 is the headline. After breakfast, you hike to Mardi Himal Base Camp, then you return to Low Camp. The itinerary also includes a sunrise moment—time to see the mountain range light up, and then time to explore once you’re there.
Why Base Camp on Day 4 hits:
- You’re at the high point when the lighting is best, so the views feel crisp and close.
- You get a panoramic look across the Annapurna Himalayan range.
- You’re not only rushing to a viewpoint. You have time to take it in before descending.
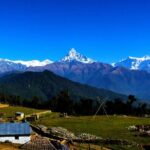
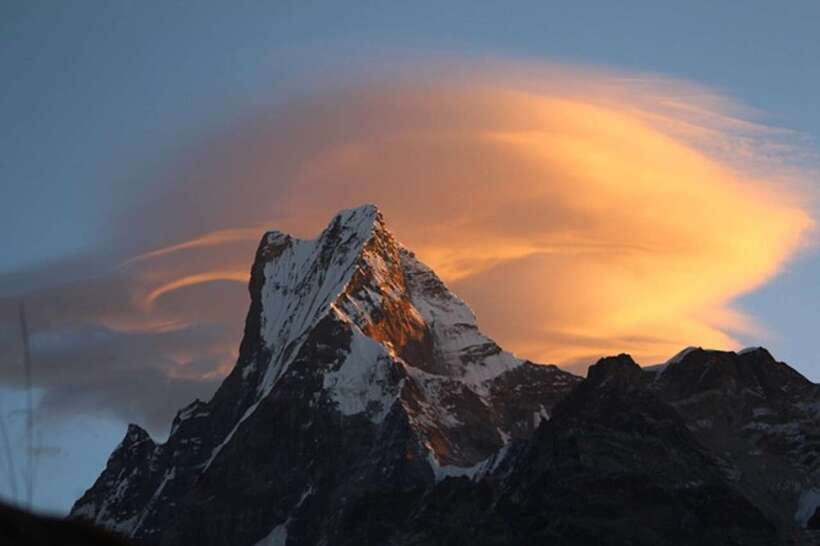
A practical consideration: sunrise depends on weather. When conditions are clear, the experience can be stunning; when clouds roll in, you adapt. This is where a flexible guide helps. One guide experience described how early weather luck led to incredible Annapurna-region views, including a standout look at Fishtail Mountain. But even without perfect skies, you’ll still get the sense of being in the heart of the area.
The return to Low Camp also matters. Descending the same day means less time in the coldest conditions later. You still get trekking time, but you avoid making Day 5 your “hardest legs” day.
Day 5: Lumre canyons, Sidding lunch stop, and back to Pokhara
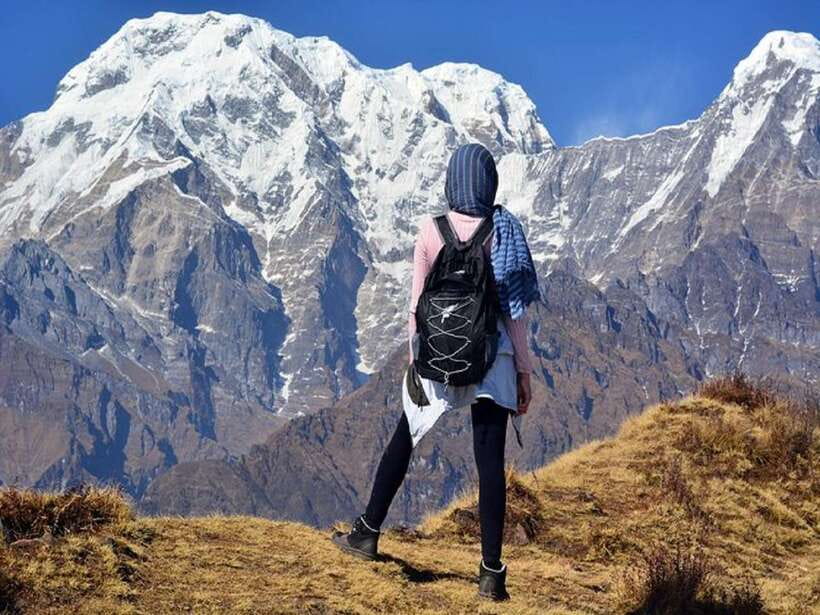
Day 5 is your finish-and-relax day. You descend toward Lumre, with a pause for lunch at Sidding. From Lumre, a vehicle meets you to transport you back to Pokhara, where you return to your hotel.
Why this ending works:
- The hiking is shorter in feel compared to the climb days.
- You get a smooth transition from trail life back to normal routines.
- You’re not stuck long in transit without a break; lunch and the handoff to the vehicle are built in.
If you’ve been nursing sore knees or tired ankles, Day 5 is often where you notice the difference between good planning and poor gear. Trekking poles can help on the way down if you use them well.
Guides, safety, and why the pace matters more than hype
This trek includes a certified trekking guide who handles safety and shares insights into local culture and natural features along the way. You’ll typically have communication in English, Hindi, or Nepali, which helps if you’re asking questions about route choices, weather, or what you’re seeing.
One standout from the guide-focused reviews is Santosh’s style: helpful, kind, and fluent in English. That kind of guidance matters on a multi-day trek because questions come up constantly. You might want to know whether to push or slow, what to expect with altitude, or how to adjust when your knee isn’t happy.
Also, because this is a private group, the pace is easier to tune. That can be a quiet advantage if you’re not into large-group trekking where everyone has to move as one clump.
Tea houses and meals: what comfort looks like up here
You’ll stay in simple tea houses or lodges. That’s not “hotel comfort,” but it’s practical and part of the charm. The tradeoff for reaching the mountains is basic rooms, shared dining spaces, and the need to dress for temperature changes.
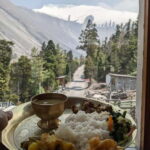
Meals are included throughout the trek (depending on the option selected). The good news is you don’t have to hunt for food at every stop. The other side is that you should still plan for personal snack habits. Personal expenses like extra beverages and snacks are not included.
Included sleeping gear can also help: the tour lists sleeping bags as needed and trekking sticks as needed. If you’re someone who already owns good gear, you can still bring it, but it’s reassuring that essentials aren’t totally on your shoulders.
Price and value: what you’re getting for $181
At $181 per person, the value comes from what’s covered, not just the sticker price. This package includes:
- Round-trip transportation between your hotel, Pokhara International Airport/area, and the trek starting point
- Meals throughout the trek (depending on selected option)
- Simple accommodation in tea houses or lodges
- A certified trekking guide
- Required permits and fees
- Guide and porter expenses (including meals, accommodation, insurance, salary, transport, and equipment)
- Trekking gear like trekking sticks and sleeping bags as needed
- Luggage storage in Pokhara during the trek
- Taxes
What’s not included is also important. Travel insurance is mandatory for your safety, and it’s not optional in the package. Emergency rescue services also aren’t included. Personal expenses (extra snacks, beverages) aren’t covered either. If you decide you want a porter, it’s $15 per day.
The practical value calculation for me is this: you’re paying for coordination, safety support, permits, and the stuff that usually turns into extra charges later. If you show up with reasonable trekking fitness and good shoes, you can keep the trip simple and focused on the mountain.
What to pack (and what people often forget)
Bring comfortable shoes first. Then build around warmth and weather swings. The tour’s suggested items include:
- Hat
- Jacket
- Comfortable clothes
- Camera
- Cash
- Hair tie
- Trekking gear
- Comfortable shoes
Here are a few practical add-ons based on how this trek works:
- Hiking poles: the reviews recommend them, and they can be a big help with knee strain and the downhill.
- Altitude meds discussion: if you’re considering Diamox, talk with your doctor before you go. The trek is real enough that you should plan responsibly.
- Layering: even when the daytime feels okay, mornings and evenings can feel much colder higher up.
Who should book this trek—and who should skip it
This is a strong choice if you want:
- Close mountain viewing without a huge multi-week commitment
- A guided trek with a private-group feel
- Rhododendron forests, villages, and a steady route toward Base Camp
- Sunrise time built into the plan
It’s probably not for you if:
- You have mobility impairments (not suitable)
- You have motion sickness (not suitable)
- You’re older than 95 years (not suitable)
If you’re dealing with knee issues, don’t assume you’re out. One review experience suggests it’s still possible with the right pace and support. But be honest about your limits. Ask your guide to manage walking speed and rest breaks.
Should you book this Mardi Himal trek?
If your goal is a guided, realistic trek to Mardi Himal Base Camp with strong scenery and sunrise timing, I’d say this is worth considering. The price includes the big-ticket logistics—guide support, permits, meals, lodging basics, and even trekking gear as needed—so you’re not constantly budgeting for the next “extra.”
I’d book if you:
- Want a private-group trek and don’t want stress about daily logistics
- Appreciate rhododendron forests and village walks
- Plan for steady hiking days and cool air
I’d think twice if you:
- Get motion sickness easily
- Don’t want to handle cold layers and basic tea-house lodging
- Need a mobility-friendly route
If you want, tell me your trekking experience level, approximate fitness, and month of travel. I can help you sanity-check whether this pacing and altitude profile will feel comfortable for you.
FAQ
What is the duration of the Mardi Himal trek?
It runs for 5 days.
How much does the tour cost?
The price listed is $181 per person.
Where does the trek start and how do pickups work?
Pickup options include Lakeside Rd 6 in Pokhara, Pokhara International Airport (PIA), and Pokhara Lakeside. You can also meet your guide in your hotel lobby before the scheduled pickup time.
Where are the drop-offs?
Drop-off locations match the pickup options: Pokhara International Airport (PIA), Lakeside Rd 6, and Pokhara Lakeside.
What languages are the guides available in?
The live tour guide is available in English, Hindi, and Nepali.
Are meals included?
Meals are included throughout the trek, depending on the selected option.
What kind of accommodation should I expect?
You’ll stay in simple tea houses or lodges.
What trekking gear is provided?
Trekking sticks and sleeping bags are provided as needed. Trekking gear is also mentioned as something you should bring.
Do I need permits?
All required permits and fees are included.
Is a porter included, and what if I want one?
The costs for the guide and porter are included, but the tour also lists porter as optional at $15 per day if needed.
Is travel insurance included?
No. Travel insurance is mandatory, but it’s not included in the tour price.