REVIEW · POKHARA
Kathmandu: 10-Day Annapurna Circuit Trek via Thorong La Pass
Book on GetYourGuide →Operated by MTA Trekking · Bookable on GetYourGuide
Thorong La makes your lungs work. This 10-day Annapurna Circuit trek climbs to Thorong La Pass (5,416m) and links sweeping peak views with Tibetan-influenced villages along the way. You’ll move from greener valleys up into drier, higher terrain, and the route keeps changing its character day after day.
I really like how the plan builds in breathing time in Manang, not just marching upward. You get a full acclimatization day, plus optional short hikes such as a trip toward an icefall view or a walk for Gangapurna Glacier Lake, which can help you settle into the altitude before the big crossing.
The main drawback is the altitude itself. Thorong La is high, and this trek isn’t a good match if you already struggle with altitude sickness, respiratory issues, or you’re pregnant or over 70.
In This Review
- Key Things to Know Before You Go
- Thorong La at 5,416m: Why This Trek Feels Different
- Price and Value: What $456 Covers (and What It Doesn’t)
- Day 1: Kathmandu to Besisahar to Dharapani
- Day 2: Dharapani to Chame (About 6 Hours, to 2,670m)
- Day 3: Chame to Upper Pisang (5–6 Hours, to 3,200m)
- Day 4: Upper Pisang to Manang (5–6 Hours, to 3,540m)
- Day 5: Acclimatization in Manang (About 4,050m)
- Day 6: Manang to Yak Kharka (Shorter Hike, Harder Breathing)
- Day 7: Yak Kharka to Thorong Phedi (4–5 Hours, to 4,450m)
- Day 8: Thorong Phedi to Muktinath via Thorong La Pass (7–8 Hours, up to 5,416m)
- Day 9: Muktinath to Jomsom via Kagbeni (7–8 Hours)
- Day 10: Jomsom to Pokhara by Public Bus (About 8 Hours)
- Guides, Support, and the Altitude Factor
- What to Bring for Thorong La Comfort
- Who This Trek Fits (and Who Should Skip It)
- Should You Book This Annapurna Circuit via Thorong La?
- FAQ
- What is the highest point on this trek?
- How long is the Annapurna Circuit trek on this itinerary?
- Are permits included?
- Are meals included during the trek?
- What kind of accommodation should I expect?
- Do I get transportation to and from the trek areas?
- Is there a guide?
- What is not included in the price?
- Is this trek suitable for everyone?
Key Things to Know Before You Go
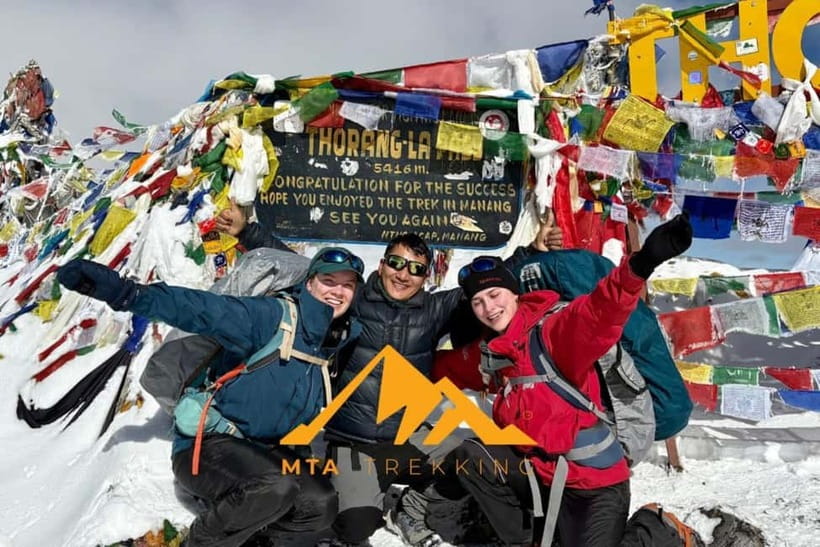
- Thorong La at 5,416m: one of the highest passes on the Annapurna Circuit route.
- Manang acclimatization day: built-in time to adjust at around 4,000m+.
- Local culture stops: Chame, Upper Pisang, Manang, and Kagbeni put real village life on your route.
- Included tea-house and lodge nights: plus all meals during the trek, so you’re not guessing day-to-day costs.
- Guiding that targets altitude pace: past groups highlight guides like Ghanshyam and Gansham adjusting the hike to your needs.
- Emergency rescue assistance included: extra peace of mind for a route with real risk.
Thorong La at 5,416m: Why This Trek Feels Different
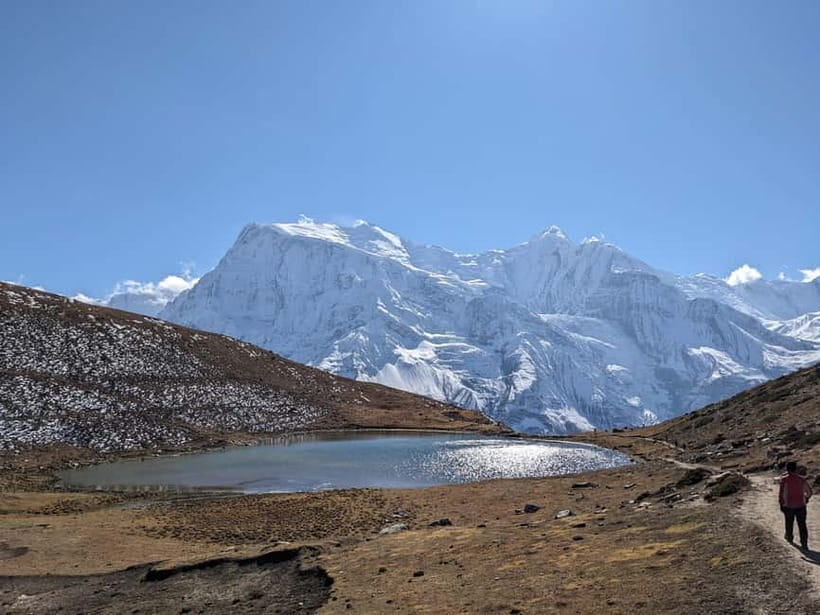
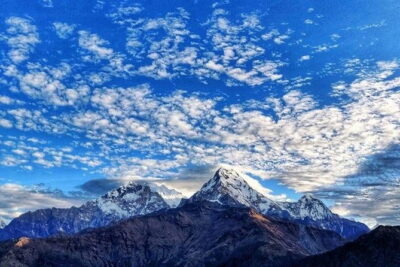
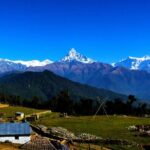
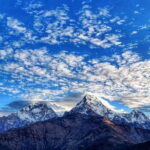
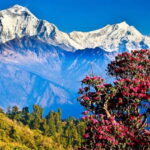
The Annapurna Circuit is famous for a reason, but the star here is the crossing. Thorong La Pass sits at 5,416m, and the day you go over it is not just a checkmark. It’s a physical reset. Your breathing slows. Your steps get careful. The views—Annapurna, Dhaulagiri, and Machapuchare—feel closer because you’re looking across huge altitude changes, not just mountains.
What makes this version especially compelling is the balance: you don’t just rush to the pass. You work your way up through towns like Chame and Upper Pisang, then give your body time to adapt in Manang before you commit to the highest point. That pacing matters for comfort and safety.
You can also read our reviews of more tours and experiences in Pokhara.
Price and Value: What $456 Covers (and What It Doesn’t)
At $456 per person, this trek looks like a budget-friendly way to get the core logistics right—especially if you’re not trying to coordinate buses, permits, meals, and guiding by yourself.
Here’s what you’re paying for, in practical terms:
- Hotel pickup/drop-off in Kathmandu (Thamel area) and Pokhara (Lakeside area).
- Permits including the TIMS card.
- Experienced government registered local guide (English and Hindi).
- All transport between destinations during the trek and the ride back to Pokhara (including public bus from Jomsom).
- Accommodations in tea houses and lodges during the trek.
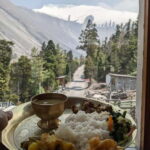
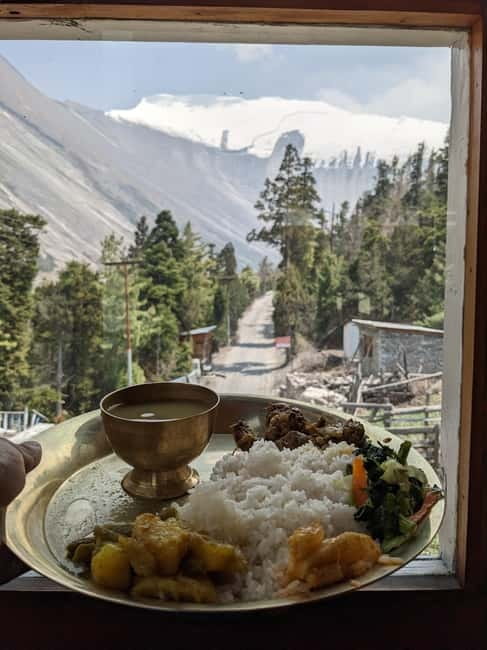
- All meals (breakfast, lunch, dinner) during the trek.
- 1 night in Pokhara at Hotel Orchid after you finish.
- Farewell dinner in Pokhara.
- Emergency rescue assistance if something goes wrong.
What you still need to budget for:
- Travel and rescue insurance (not included).
- Drinks, personal expenses, and typical gear buys or rentals.
- Nepal visa fee and international flights.
- Water, shower costs, phone charging, laundry—stuff that adds up fast on the trail.
If you want a trek where the schedule and meals are handled so you can focus on walking, you’re getting a lot of structure for the price. If you’re a DIY planner with your own gear, the main missing pieces are the insurance and any extra comfort items you bring yourself.
Day 1: Kathmandu to Besisahar to Dharapani
Your day starts with a long transfer: 7–8 hours by bus from Kathmandu to Besisahar, then a sharing jeep to Dharapani. This isn’t the romantic part of the Himalayas, but it’s part of the value. You get local countryside time, and you arrive already positioned for an easy first hiking start the next day.
The smartest way to treat Day 1 is simple: rest hard. Eat what you can. Don’t plan an evening mission around town. You’re building a rhythm for altitude later.
Day 2: Dharapani to Chame (About 6 Hours, to 2,670m)
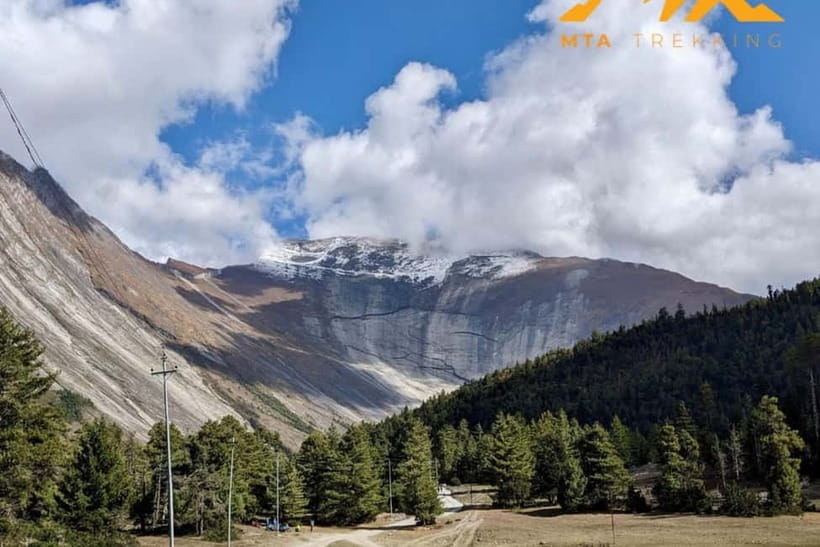
Day 2 is your first real taste of climb. You trek from Dharapani to Chame, walking around 6 hours with a max altitude near 2,670m. The route gives you a gradual shift from lower valley feel toward higher, cooler air.
On the trail you pass a grassy field with views toward Annapurna II, then move through Bagarchhap, where you’ll find a Bhote village and a Buddhist temple. That’s a great reminder that this trek isn’t only about peaks. It’s also about daily life and spiritual landmarks you walk past.
Oak and pine forests show up too, which can feel like a quiet relief compared with the later dry stretches. When you reach Chame, you’re in prime position for a steady climb.
Day 3: Chame to Upper Pisang (5–6 Hours, to 3,200m)
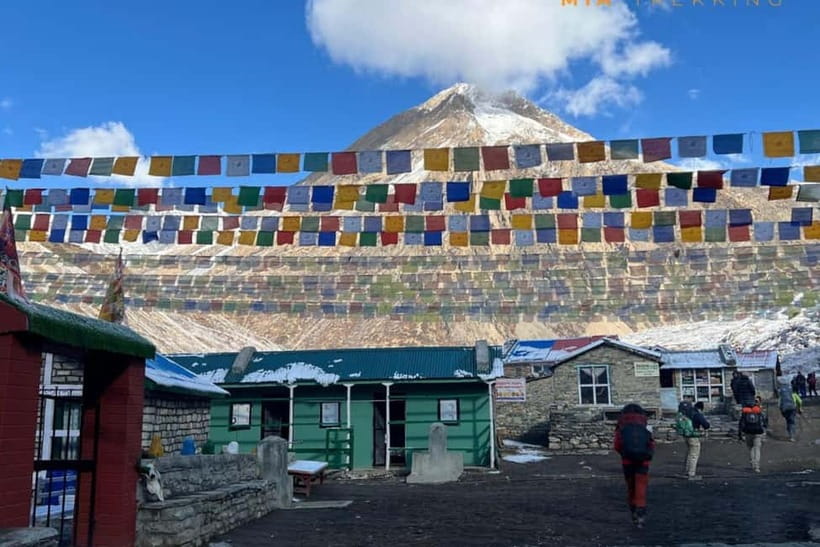
Day 3 climbs to about 3,200m and takes 5–6 hours. This is the day you start noticing the mountain villages changing their style as altitude rises. You walk past an apple orchard, which sounds almost casual—until you realize how high you are and how different the growing conditions become.
The trek goes through Bhratang Valley and then down toward Pisang or up to Upper Pisang. Either way, the real point of this day is to enjoy the change without rushing. Your body will be happier if you stop for short breaks instead of doing one long grind.
That’s also a good day to practice your “altitude habits”: slow steps, steady breathing, and drinking water consistently.
Day 4: Upper Pisang to Manang (5–6 Hours, to 3,540m)
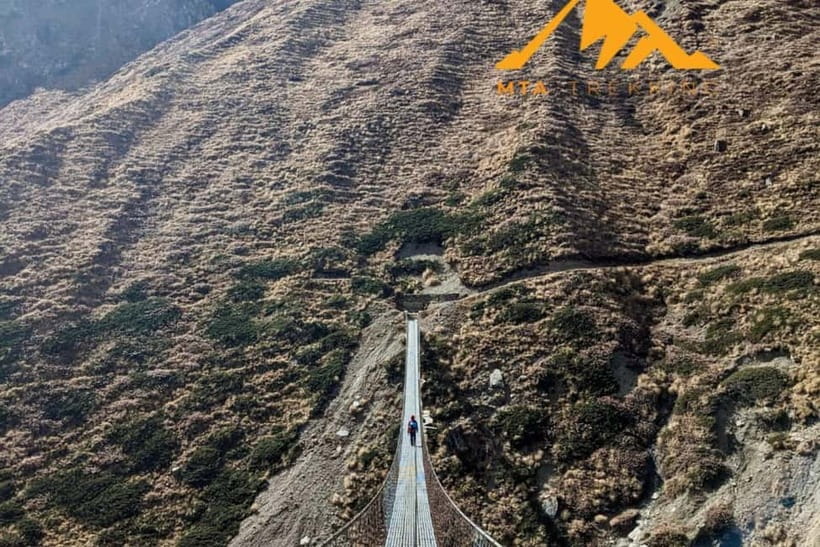
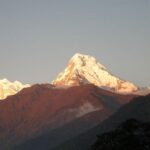
You reach Manang after roughly 5–6 hours, with max altitude around 3,540m. The big theme here is views and valley scale. You’ll see Tilicho Peak, plus Annapurna III and IV, along with a stronger sense of the Marsyangdi River system guiding your route.
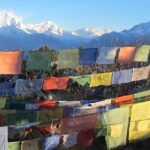
You’ll cross the Marsyangdi River on a wooden bridge, then pass through villages including Mungji and Braga. These places are small, but they matter. They help you understand how communities live along this trekking corridor: food, lodging, prayer flags, and the steady movement of people doing the same route you are.
If you’re prone to getting impatient, Day 4 is a good time to slow down and watch the valley for a minute longer than you think you need.
Day 5: Acclimatization in Manang (About 4,050m)
This is one of the most important days in the whole trip. You acclimatize in Manang with a max altitude listed around 4,050m. Instead of stacking another climb, you get a day to stabilize.
You can take optional short treks, including a walk that involves an icefall view area or time toward Gangapurna Glacier Lake. You’ll also spend time exploring Manang village and visiting a stupa, which gives the day more meaning than just altitude management.
The value of this day is straightforward: if you respect it, Thorong La becomes a harder hike but a more realistic one. If you ignore it, your chances of feeling rough later increase.
In past groups on this circuit, guides like Gansham have been praised for altitude-focused pacing and for helping with practical needs like water treatment. One write-up even mentioned purifier tablets being provided when they were missing. Don’t count on that as a guarantee, but it’s a solid reminder: your guide is there for more than route instructions.
Day 6: Manang to Yak Kharka (Shorter Hike, Harder Breathing)
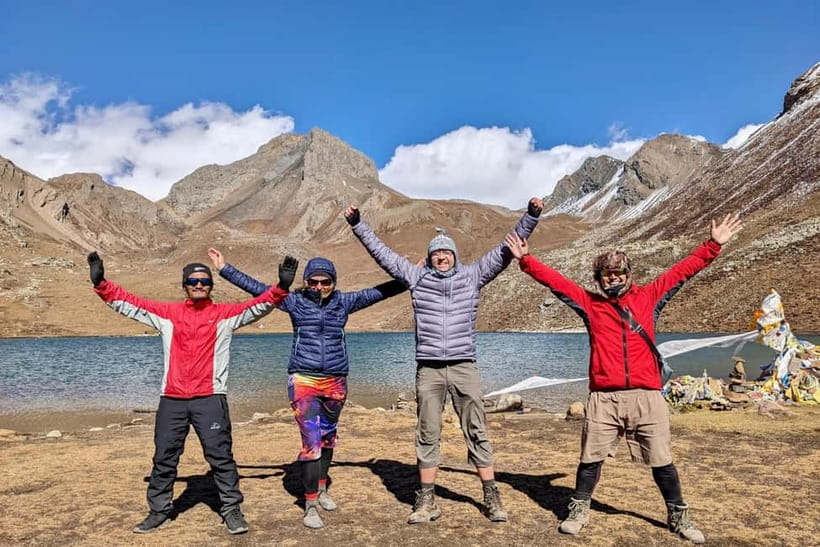
Day 6 is described as about 4 hours to Yak Kharka, with max altitude again around 4,050m. That sounds easy on paper. The catch is how you feel at that height. The walk may be shorter, but the altitude makes breathing slower and your energy more precious.
This is the day where you keep your expectations modest. You’re not trying to set a record. You’re trying to arrive without draining yourself. Take it slow. Let your body do the altitude work.
Day 7: Yak Kharka to Thorong Phedi (4–5 Hours, to 4,450m)
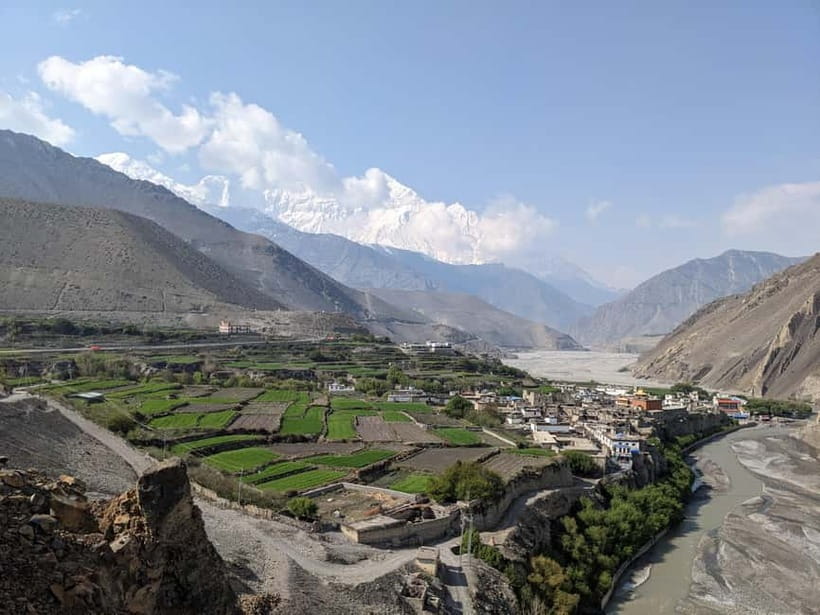
You move to Thorong Phedi after 4–5 hours, with max altitude around 4,450m. The route includes a gradual ascent to a hilltop, then a descent toward the Marsyangdi headwaters.
There’s also a nice detail: you cross a hidden wooden bridge and then ascend the mountain path on the right bank of the Marsyangdi River. That kind of navigation detail is one reason a good guide matters. You’re focused on how you’re walking and how you’re feeling, not on constant route guessing.
By the time you reach Thorong Phedi, the pass is looming. This is usually the day before the big push, so focus on sleep and hydration more than scenery hunting.
Day 8: Thorong Phedi to Muktinath via Thorong La Pass (7–8 Hours, up to 5,416m)
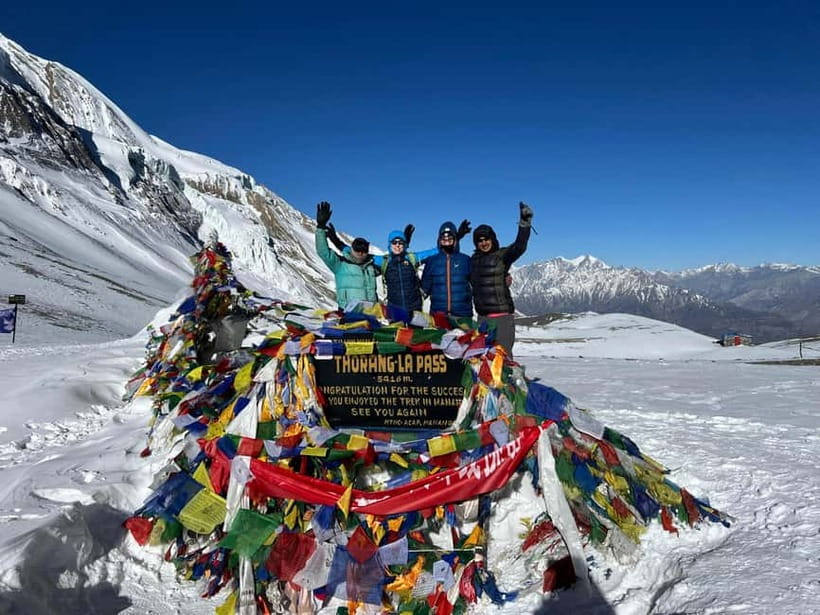
This is the headline day. You trek 7–8 hours and hit 5,416m at Thorong La Pass, then descend to Muktinath.
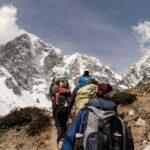
Crossing the pass is exciting in a way that’s hard to fake. It’s not just the altitude; it’s the commitment. Step-by-step you climb into thinner air, and then you earn the descent with views over the Mustang Valley area and toward Dhaulagiri.
If you’ve ever struggled with cold hands on summit-style hikes, plan for it here. Keep your gloves and warm layers ready. Drink when you can, even if you don’t feel like it.
Then the day shifts. Descending toward Muktinath changes your mindset from “climb mode” to “take in the valley” mode, and that’s where the whole trek starts to feel like more than effort.
Day 9: Muktinath to Jomsom via Kagbeni (7–8 Hours)
Day 9 is another 7–8 hour trek. You go from Muktinath to Jomsom, passing through Kagbeni.
Kagbeni is known for its distinctive village look, and the point of stopping here is to see how this region blends Tibetan-influenced culture with the day-to-day needs of trekking life. Muktinath is also a spiritual landmark on this circuit, so you’re not only traveling through space—you’re moving through meaning.
This day can feel like a bridge between high-altitude intensity and the calmer finish stretch. Treat it like a gentle step forward, not a final sprint.
Day 10: Jomsom to Pokhara by Public Bus (About 8 Hours)
You end with an 8-hour public bus ride from Jomsom to Pokhara. Long road days can be tiring, but they’re a clean way to transition out of the trekking pace without adding extra trekking risk.
Once you reach Pokhara, you’re done with altitude walking. You get 1 night at Hotel Orchid and a farewell dinner, which is a nice reset after cold mornings and steady uphill breathing.
Guides, Support, and the Altitude Factor
For a trek like this, the quality of the guide can change your whole experience. The trip includes an experienced government registered local guide, speaking English and Hindi. That means communication is built in, not optional.
In past groups on this route, guides such as Ghanshyam have been highlighted for teaching people how to handle altitude and for adapting the hike pace so guests could reach Thorong La comfortably. Another write-up praised Gansham as a veteran with about 8 years of experience, with support that included guidance based on how you were actually doing.
I also like the private group setup. Fewer people means fewer compromises, especially when altitude is on the line. Your pace can be real, not forced to fit a big crowd.
One more practical note: some groups mention the comfort of having a porter for extra loads, describing porter support with careful balance. Even if porter arrangements aren’t listed in the included items, it’s worth considering for comfort if you tend to feel worn down by pack weight.
What to Bring for Thorong La Comfort
This trek sits at altitude, so your packing list should focus on temperature control and weather proofing. Bring:
- Warm clothing and layers you can adjust
- Long pants
- A waterproof bag
- Sunscreen and sunglasses
- Change of clothes
- Hiking shoes
- Sunglasses (yes again—because glare is real up high)
- Passport or ID card
- Waterproof storage for valuables
Also plan for basic trek logistics. Water treatment matters at altitude, and even if a guide offers support, you should still think about your own water approach. Keep your plan simple and consistent.
Alcohol and drugs are not allowed on this trek, which is a good policy for safety and clarity on high-altitude days.
Who This Trek Fits (and Who Should Skip It)
This is a high-altitude trek with real risk of Acute Mountain Sickness (AMS). You should only consider it if you’re medically prepared for altitude and you follow the acclimatization schedule.
Based on the tour’s own limits, it’s not suitable for:
- Children under 15
- People over 70
- Pregnant women
- People with altitude sickness
- People with respiratory issues
If you meet the basic requirements and you’re willing to take altitude seriously—slow steps, steady hydration, and respecting Manang—you’ll likely enjoy the trek more than you expect.
Should You Book This Annapurna Circuit via Thorong La?
Book this trek if you want a classic route with a strong high-altitude milestone, and you care about getting the logistics handled: permits, meals, tea-house stays, and guiding. The included acclimatization day in Manang is a big reason to feel confident about the plan.
Don’t book it if you’re not ready to treat altitude as the main challenge, not the scenery. Thorong La is the point where good planning meets real physiology. If you’re healthy, curious, and okay with slow effort for huge payoffs, this route is a solid choice.
If you want, tell me your age range, your trekking experience level, and when you’re hoping to go. I can help you sanity-check whether the pacing and altitude profile fits you.
FAQ
What is the highest point on this trek?
The highest point is Thorong La Pass at 5,416 meters.
How long is the Annapurna Circuit trek on this itinerary?
It’s a 10-day trek.
Are permits included?
Yes. The permit and the TIMS card are included.
Are meals included during the trek?
Yes. Breakfast, lunch, and dinner are included during the trek.
What kind of accommodation should I expect?
You’ll stay in tea houses and lodges during the trek, plus 1 night in Pokhara at Hotel Orchid after the trek.
Do I get transportation to and from the trek areas?
Yes. Pick up and drop off from and to your hotel is included, and transport between destinations is included. The return from Jomsom to Pokhara is by public bus.
Is there a guide?
Yes. The tour includes an experienced government registered local guide, with English and Hindi language support.
What is not included in the price?
Soft and hard drinks, travel and rescue insurance, international flights and the Nepal visa fee, personal expenses, and trekking gears are not included.
Is this trek suitable for everyone?
No. It is not suitable for children under 15, people over 70, pregnant women, people with altitude sickness, or people with respiratory issues.