REVIEW · POKHARA
4 Days Mardi Himal Base Camp Trek from Pokhara
Book on Viator →Operated by Peak to Peak Tours and Treks Pvt Ltd · Bookable on Viator
Mardi Himal feels close enough to touch. A four-day trek from Pokhara to about 4,500 meters is a smart way to see the Himalaya without the stress of route-finding. I really like the private guide setup, because it keeps you moving with confidence, and it pairs well with the big views you get along the way, including Fishtail and long Annapurna-range panoramas.
My main consideration is that this trek still asks for effort. The days run around 6–7 hours of hiking, with altitude climbing toward base camp, so you’ll want moderate fitness and real hiking comfort before you go.
The best part is how practical it feels: hotel pickup in Pokhara’s Lakeside area, private-car transfer to Kande, permits taken care of, and guesthouse accommodation included. One more plus from past trekkers: guides like Resham and Milan are praised for making the hike feel smooth, with stories, humor, and even photo help with yaks.
In This Review
- Key things I’d prioritize before you go
- Why Mardi Himal makes sense as a 4-day trek from Pokhara
- Price and logistics: what the $273.14 per person really buys
- Getting started right: Lakeside pickup and the Kande launch
- Day 1: Kande to Forest Camp via Australia Camp and Pothana
- Day 2: Low Camp (3,000m) to High Camp (3,800m) for altitude comfort
- Day 3: Early hike to Mardi Himal Base Camp, then back to High Camp
- Day 4: High Camp down to Low Camp, then Shiding and back to Pokhara
- Guides, permits, and the comfort side of tea houses
- What you should pack (so the trek feels easier)
- Who this trek fits best
- Should you book this Mardi Himal Base Camp trek?
- FAQ
- Where do I get picked up in Pokhara?
- What time does the trek start?
- Is this a private tour or a group trek with strangers?
- How high do you reach at Mardi Himal Base Camp?
- How long are the daily trekking days?
- Is accommodation included?
- Are permits included?
- Are meals included in the price?
- What if weather is bad or I need to cancel?
Key things I’d prioritize before you go
- Private guidance for easier wayfinding (less stress when the trail gets busy or confusing)
- A built-in altitude rhythm with Low Camp (3,000m) and High Camp (3,800m)
- Early morning base camp day for strong visibility and glacier-style views
- Guesthouses and permits handled so you focus on walking instead of paperwork
- Real transfers, not just vague directions (private car to Kande, jeep back from Sidhing)
- Guide-driven small moments like bird spotting, stories, and photo stops
Why Mardi Himal makes sense as a 4-day trek from Pokhara
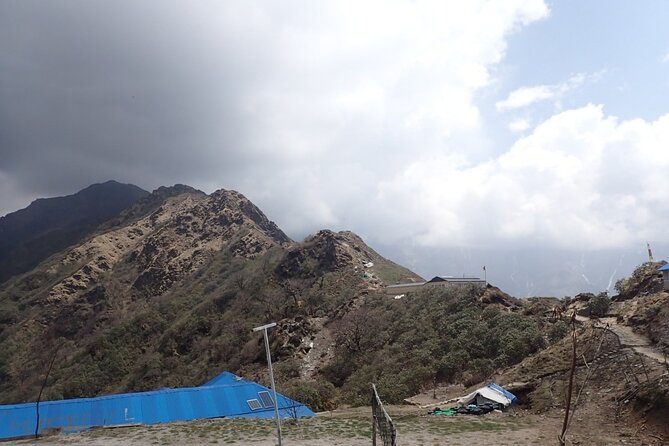
Mardi Himal Base Camp is high enough to feel like you’re entering a different world, but the route stays within a tight time window. That combo is the whole appeal. You get a real trek experience—up, down, and up again—without needing a week to justify it.
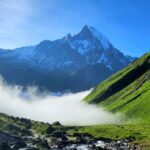
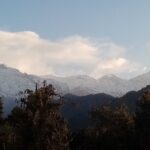
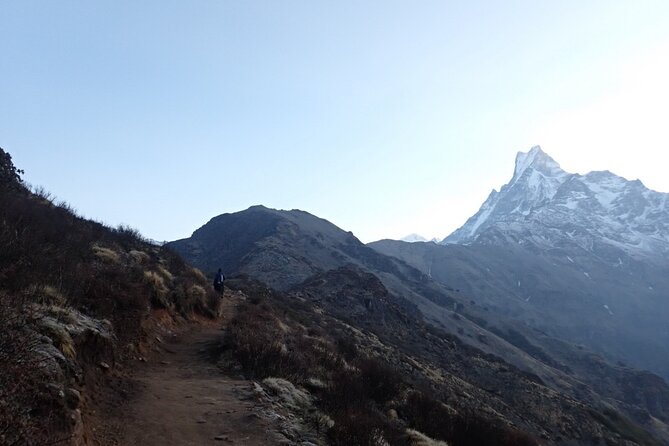
You’ll also be trekking in a region connected to the Annapurna area, and the views are the kind that make you stop every so often just to reset your eyes. Fishtail (Machhapuchhre) is specifically called out as something you can see close, and the Annapurna range shows up on another side. That means your “wow” moments aren’t limited to one single photo spot.
Finally, the private-guide design matters more than people think. When you’re climbing toward 4,500 meters, fatigue makes decision-making slower. A guide helps you keep your pace steady and your timing realistic.
You can also read our reviews of more tours and experiences in Pokhara.
Price and logistics: what the $273.14 per person really buys
At $273.14 per person (for this 4-day, private trek), the value is strongest if you care about the non-walking parts staying handled.
Here’s what’s included that you’d otherwise have to arrange:
- Guesthouse accommodation during the trek
- English-speaking trekking guide
- Hotel pickup and drop-off within Lakeside Pokhara
- Permits: TIMS plus an Annapurna Conservation Area permit
- Transfers: private car to Kande, and a sharing jeep from Sidhing back to Pokhara
- A private trip (only your group)
And here’s what you’ll pay extra for:
- All meals and drinks
- Rescue costs in an emergency
- Gratitude (listed as not included)
So the cost isn’t “just for a walk.” It covers permits, lodging, and the key transport legs. The main variable you control is meals, since they’re available to purchase along the way.
Also note: group discounts are mentioned as a feature. If you’re booking with friends, that can make the per-person number even more reasonable.
Getting started right: Lakeside pickup and the Kande launch
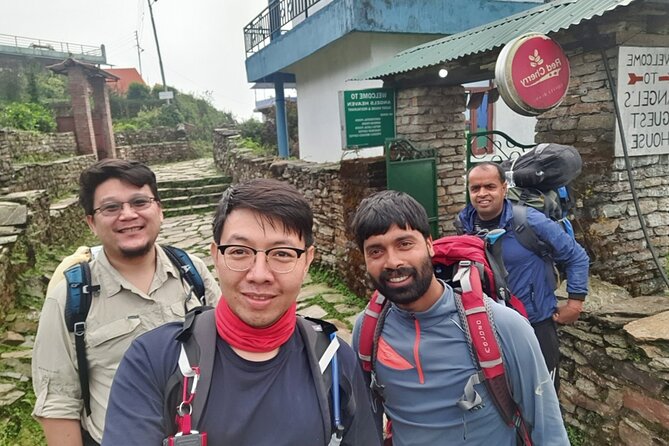
Your day starts early. Pickup is scheduled within the Lakeside area of Pokhara, with the trekking start timed around 8:15am. From there, you drive roughly an hour to Kande, and that’s where the hike begins.
Why this matters: the Pokhara-to-trailhead portion can be slow if you’re doing it alone, and it can eat up energy before you even hit real climbing. Having a private car for the first leg takes that friction away.
Once you’re on the trail, your first day is all about easing into altitude and rhythm without jumping straight into a brutal climb.
Day 1: Kande to Forest Camp via Australia Camp and Pothana
Day 1 is about building your legs while you get your first real taste of the trek.
What happens in plain terms:
- You drive from Pokhara to Kande.
- You ascend to Australia Camp.
- Then you descend toward Pothana.
- You continue toward Pitam Deurali, with trekking time listed around 2–3 hours for that section.
- You finish the day trekking to Forest Camp for the night.
The total day is listed as about 7 hours of trekking.
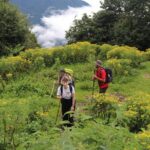
The downside of day 1? It can feel longer than it looks on paper. Early uphill plus later descent can be hard on knees, especially if you start too fast. I’d suggest keeping your effort steady from the first climb to avoid feeling cooked before evening.
Day 2: Low Camp (3,000m) to High Camp (3,800m) for altitude comfort
This is your acclimatization day, and the camp structure helps. You go to Low Camp around 3,000m and then continue to High Camp around 3,800m, with about 3 hours to each segment on the schedule.
The important part isn’t just the numbers—it’s that the trek gives you two “checkpoints” instead of pushing straight upward. That’s the practical meaning of planning for altitude: you gain height in a controlled way so your body has time to adjust.
This day is listed as around 6 hours trekking total, and you’ll sleep at High Camp. Even if you feel okay, don’t treat it like a casual walk. Your breathing may change at 3,800m, and your pace should reflect that.
Day 3: Early hike to Mardi Himal Base Camp, then back to High Camp
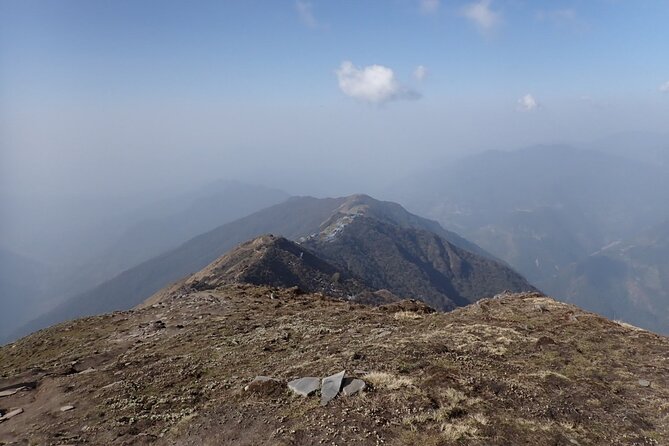
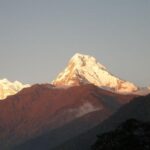
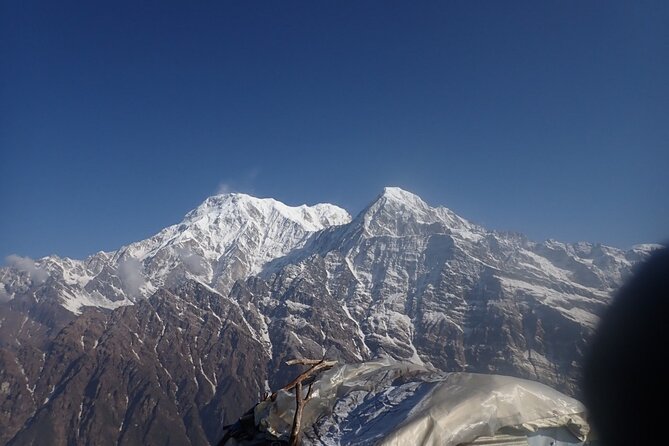
Day 3 is the payoff. You start early in the morning and head for Mardi Himal Base Camp with big Himalayan views.
Two view notes specifically stand out in the plan:
- You’ll get a great look at Fishtail close to your line of sight.
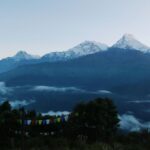
- You’ll also see long Annapurna ranges from another side.
After spending time at base camp, you hike back to High Camp for overnight, for a full day listed around 7 hours.
The main consideration here is time-at-altitude. Base camp is around 4,500 meters (14,763 feet), so even if the trail isn’t technically hard, you’re still working with thinner air. Plan to go slow, take short breaks, and keep your energy for the return.
One of the most consistently praised elements from guides here is how they make the long day feel lighter. In past experiences on this trek, guides have been praised for stories, humor, and even helping with photo moments, which can make the day feel less like a slog.
Day 4: High Camp down to Low Camp, then Shiding and back to Pokhara
This day is shorter on the emotional load because you’re already at your peak height and you’re heading back down.
Schedule highlights:
- Start around 7am.
- Descend from High Camp to Low Camp.
- Continue toward Shiding.
- From Shiding, it’s about 2 hours drive back to Pokhara.
The day is listed at about 6 hours of activity, and it ends with the practical win: you’re not stuck walking the whole way back to town.
Take care on the descent. Your legs may feel fine early, then fatigue quietly shows up as your quads get tired. Trekking poles (if you use them) can help a lot with knee stress on downhills.
Guides, permits, and the comfort side of tea houses
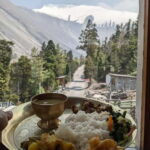
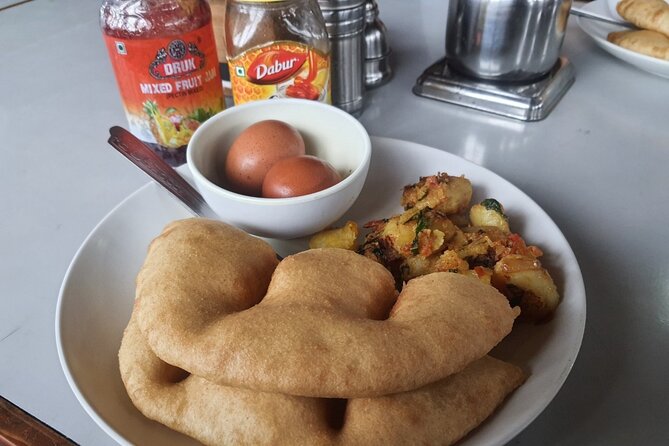
This trek’s comfort level is mostly about smart logistics, not luxury. You’ll stay in guesthouses along the route, and meals are available for purchase rather than included.
That’s why the guide role becomes bigger than just route navigation:
- A good guide helps you keep the pace right for your altitude tolerance.
- They also make the route feel understandable, which reduces decision stress.
- Past trekkers have praised guides like Resham for sharing stories, spotting birds, and using humor to keep morale up.
- Organizers like Milan (and support from names like Madhu and Ravi in accounts of planning) are described as ensuring smooth arrangements from start to finish.
Permits are also included: TIMS plus an Annapurna Conservation Area permit. On a trek like this, that’s not glamorous, but it’s essential. You want those boxes ticked so you’re not scrambling for paperwork mid-trip.
What you should pack (so the trek feels easier)
The plan doesn’t list packing gear, so I’ll stick to practical “don’t get caught” items you’ll actually need at high elevation and early starts:
- Layers for cold mornings at altitude
- A daypack and a way to carry water
- Sun protection (high altitude means stronger UV even when it looks calm)
- Trekking shoes with grip for downhills
- A small first-aid kit (basic bandages, blister care)
- Cash/card for meals, since meals and drinks aren’t included
- Trekking poles if you’re knee-sensitive on descents
If you tend to get cold fast, you’ll appreciate extra warmth on the base camp day.
Who this trek fits best
This trek is best for active hikers with moderate fitness and some hiking experience. The schedule is steady and the days are long enough that couch-to-trek won’t be fun.
It’s also a good match if you:
- want a private guide so the experience feels organized
- care about permits and transfers being handled
- enjoy views more than technical climbing
If you’re new to altitude or new to multi-day trekking, go slowly and don’t try to “prove yourself” on day 2 or day 3.
Should you book this Mardi Himal Base Camp trek?
I’d book it if you want:
- a time-efficient 4-day trek to around 4,500 meters
- private guidance to reduce uncertainty
- permits, guesthouse stays, and key transport legs included
I’d think twice if you:
- know you struggle with long hiking days
- need meals and drinks bundled into the price
- are flexible only when weather cooperates (this trek requires good weather, and the plan notes poor weather can trigger a date change or a full refund)
If you’re an active hiker who wants the Annapurna-region highlights with less stress, this is a sensible, well-run way to do Mardi Himal.
FAQ
Where do I get picked up in Pokhara?
Pickup is offered from your hotel within the Lakeside area of Pokhara.
What time does the trek start?
The start time is 8:15am.
Is this a private tour or a group trek with strangers?
This is listed as a private trip, so only your group participates.
How high do you reach at Mardi Himal Base Camp?
Mardi Himal Base Camp is listed at 14,763 feet (4,500 meters).
How long are the daily trekking days?
The trek days are listed at about 7 hours (Day 1), 6 hours (Day 2), 7 hours (Day 3), and 6 hours (Day 4).
Is accommodation included?
Yes. You get guesthouse accommodation during the trek.
Are permits included?
Yes. Your plan includes TIMS and an Annapurna Conservation Area permit.
Are meals included in the price?
No. All meals and drinks are not included and are available for purchase along the way.
What if weather is bad or I need to cancel?
You can cancel for free up to 24 hours in advance for a full refund. The experience requires good weather, and if it’s canceled due to poor weather, you’ll be offered a different date or a full refund.