REVIEW · MOSHI
Mt Kilimanjaro 360° Trek with Once-in-a-Lifetime Crater Camping
Book on Viator →Operated by PINNACLE ADVENTURES & SAFARIS LTD. · Bookable on Viator
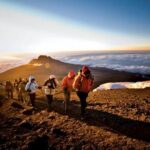
Kilimanjaro with crater camping feels like a different level. This Mt Kilimanjaro 360° Trek tackles the Northern Circuit with big scenic variety and low traffic, then caps it with a night in the crater zone beneath Kilimanjaro’s glaciers. You get the full route rhythm: rainforest starts, exposed plateau cold, high saddle terrain, and a summit push that’s long but structured.
I especially like the way the itinerary supports acclimatization (you don’t just climb, then suffer). I also like the included mountain support: qualified guide leadership, porters and cook, camp setup, and even emergency oxygen for real emergencies. One consideration: altitude is the whole story here—temperatures can drop below zero on exposed sections, and the summit night starts just before dawn.
In This Review
- Key things that make this Kilimanjaro trek worth your time
- Why the Northern Circuit route feels more like a 360° trek than a slog
- Day 1 in Moshi: Mti Mkubwa Camp, rainforest trails, and muddy boot wisdom
- Day 2 to 3: Shira Plateau rim to Shira II, where cold shows up fast
- Day 4 acclimatization around Kibo: Shark’s Tooth, Arrow Glacier, and Barranco Camp
- Day 5 and 6: Buffalo Ridge, Little Lent Hill option, and Rongai Third Cave
- Day 7: School Hut dinner, gear check, and the midnight summit start
- Day 8: Uhuru Peak sunrise and crater camping beneath the glaciers
- Day 9 and 10: Ash Pit morning, Millennium Camp recovery, and Mweka rainforest descent
- Support, gear, and what’s actually included (so you don’t get surprised)
- Price vs value: what $4,211.27 per person buys on Kilimanjaro
- Who should book this Kilimanjaro crater-camping trek
- Should you book Mt Kilimanjaro 360° Trek with Crater Camping?
- FAQ
- FAQ
- How long is the Mt Kilimanjaro 360° Northern Circuit trek?
- Where does the trek start and end?
- What is the difficulty level?
- Does the tour include airport transfers?
- Are guides and porters included?
- What kind of camping setup is included?
- Is oxygen included?
- What meals are included during the trek?
- Is summit night included, and when does the climb to Uhuru Peak start?
- What is not included in the price?
- What is the cancellation policy?
Key things that make this Kilimanjaro trek worth your time
- Northern Circuit routing with low traffic, so you’re not hiking in a constant crowd wave
- Crater Camp night under the glaciers, plus a morning look at the Ash Pit
- Structured altitude pacing, including a key acclimatization day around the Kibo area
- Rainforest-to-desert variety, from muddy trails early on to colder, exposed plateaus later
- Real support setup, from camp chairs/tables/mattresses to daily hot water for washing
Why the Northern Circuit route feels more like a 360° trek than a slog
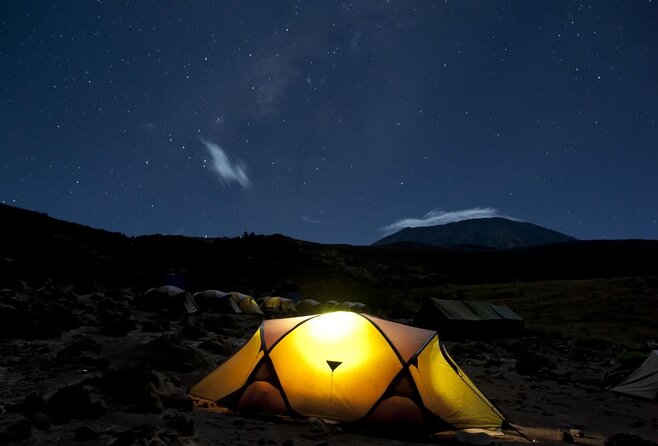
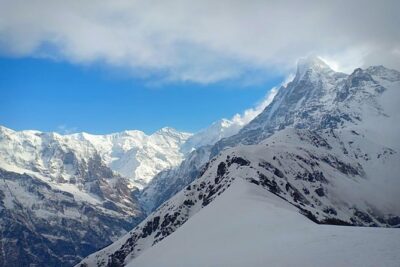
Kilimanjaro gets simplified online. People talk like it’s one straight line to Uhuru Peak. This route is different. The Northern Circuit loops across quieter northern slopes, so the scenery shifts faster and more often. One day you’re in rainforest moods. Next you’re on broad plateaus where the sky looks close and wind cuts right through.
The big practical benefit is less time stuck with the same views. You’ll still gain altitude steadily, but you’ll also get that sense of moving around the mountain instead of repeatedly hiking the same corridor. The overview calls out panoramic views and low traffic, and that matters on summit-fever trips—when the trail is crowded, you spend energy managing people instead of focusing on your pace.
Now the realism check: “medium difficulty” is about hiking style, not altitude safety. Kilimanjaro at 5,895m is not a casual hike. You’re signing up for long days and a midnight-to-dawn summit plan. The good news is that this route is built for acclimatization and doesn’t waste the first days.
You can also read our reviews of more tours and experiences in Moshi.
Day 1 in Moshi: Mti Mkubwa Camp, rainforest trails, and muddy boot wisdom
You start in Moshi, with a pickup option and return transfers included. From Moshi it’s about a 45-minute drive to the Kilimanjaro National Park gate, then you wait as permits are issued. That waiting isn’t glamorous, but it’s normal on Kilimanjaro. You’ll usually use it to get organized, confirm gear, and mentally switch into trekking mode.
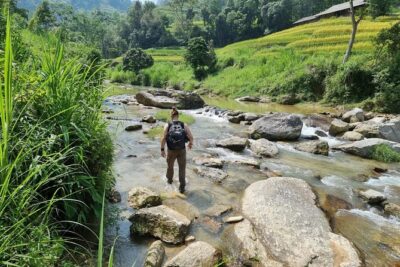
After that, the trek drops into rainforest scenery and windy trails. Expect mud and slippery footing at these lower elevations. This is where your footwear and balance skills get tested early—your shoes don’t care that you’re excited. The practical tip: bring gaiters and use trekking poles. If you’re renting gear in Moshi, consider renting poles as well; they can be the difference between steady steps and a “why is the ground moving?” moment.
You’ll overnight at Mti Mkubwa Camp, gaining from roughly 2,389m to 2,785m. That altitude jump is reasonable. The real goal of day one is to get your legs warm, not to chase a record.
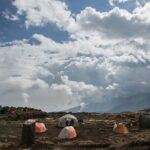
What you’ll notice from day one: the camp setup is handled for you. You sleep in camping gear provided by the operator—tents, camp chairs/tables, and sleeping mattress—and you’re not spending energy setting up camp from scratch.
Day 2 to 3: Shira Plateau rim to Shira II, where cold shows up fast
Day 2 climbs from the rainforest out toward the rim of the Shira Plateau. You go from around 2,785m up to about 3,504m, with about 6 hours of walking. As the forest fades, the air gets thinner and cooler. This is a classic Kilimanjaro pattern: you feel better when the trail is shaded, and you feel exposed once it isn’t.
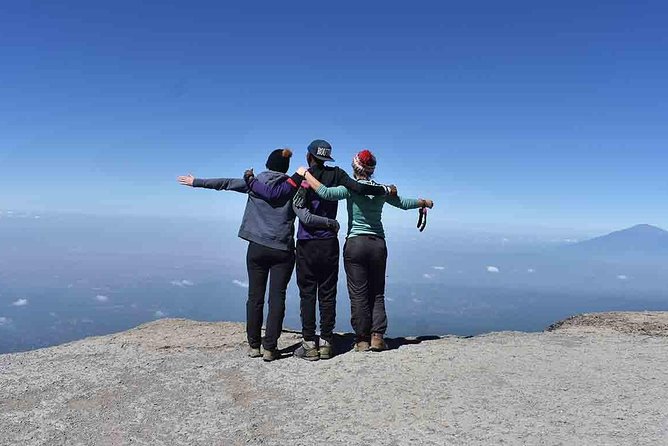
Reaching the plateau rim is also where the trek starts to feel more open and panoramic. Wide views are coming, and with them comes wind. Pack layers you can actually breathe in. If you only brought one bulky puffy, you’ll probably regret it on the ridge sections.
Day 3 is the plateau crossing—Shira I Camp to Shira II Camp—up to about 3,895m. The itinerary also notes that the plateau is exposed and the night can get brutally cold, even below zero. This is one of the most important “bring the right stuff” moments in the whole trip. The route gives you a short-ish day (around 4 hours), but cold doesn’t care that it’s short.
One smart move here is to spend a little extra energy to get a better view from higher ground on the plateau. The plan suggests climbing a bit higher for scenery across the valley and toward the Western Breach area. Just don’t overdo it—your body needs energy for the coming days.
Day 4 acclimatization around Kibo: Shark’s Tooth, Arrow Glacier, and Barranco Camp
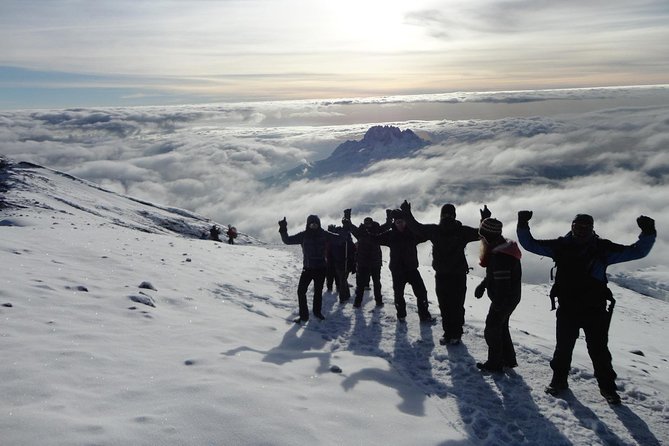
Day 4 is why this route works for many climbers. You start around 3,895m and end near 3,986m, so the overall altitude gain isn’t dramatic. But the day includes moving through higher terrain and key junctions, which helps your body adapt without frying it.
From Shira Plateau you follow a ridge, passing the junction toward Kibo, then continuing south-east toward Lava Tower, commonly called the “Shark’s Tooth.” Right after, you hit another junction toward the Arrow Glacier, then you descend to Barranco Camp.
This day tends to feel like a puzzle: you’re moving up and down while trying to keep your pace steady. The value is that you’re learning how it feels to be at higher altitude while still having enough energy to reach camp. The itinerary also explicitly calls out the importance of acclimatization, and that’s not marketing speak. It’s a survival strategy.
If you like clear milestones, this is the day for them. You’ve got named waypoints (Lava Tower/Shark’s Tooth, Arrow Glacier junctions) that make the route feel navigable and real instead of like “walk and hope.”
Day 5 and 6: Buffalo Ridge, Little Lent Hill option, and Rongai Third Cave
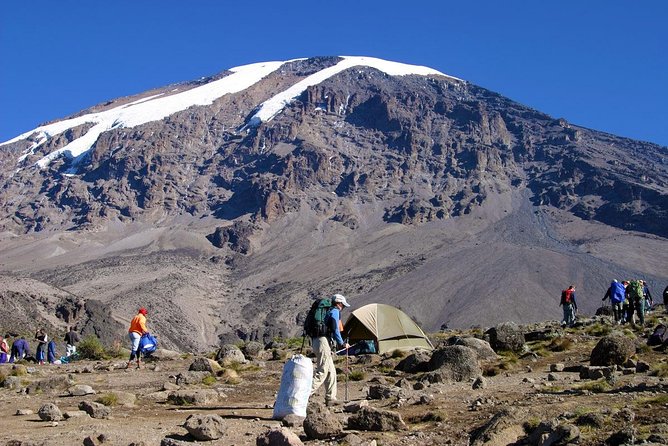
Day 5 climbs and then loses altitude slightly, going from about 4,155m down to around 4,033m. You’ll start with a moderately steep climb out of Moir Valley. There’s also an optional detour: you can climb Little Lent Hill to around 4,375m and then return to the Northern Circuit trail. If you’re feeling strong and the air feels okay, it’s a neat add-on. If you’re not feeling great, skip it. On Kilimanjaro, ego is expensive.
The route then skirts around the northern slopes of Kibo. One of the practical highlights here is the chance to look out over plains to the Kenyan/Tanzanian border area—huge horizon views that make the day feel bigger than your daily mileage.
You end the day at Buffalo Camp, arriving just after midday. Lunch and rest happen here, which matters because day 6 starts up and down again.
Day 6 takes you from Buffalo Ridge area down into Pofu Camp for lunch, then onward around the northern slopes toward Rongai Third Cave, where you’ll arrive mid-afternoon. This is a shorter-feeling day if you’ve acclimatized well. The plan notes you should be feeling better at altitude by this point, and that tracks with the logic of the route: you’ve already done the “work up high, then recover” pattern.
Day 7: School Hut dinner, gear check, and the midnight summit start
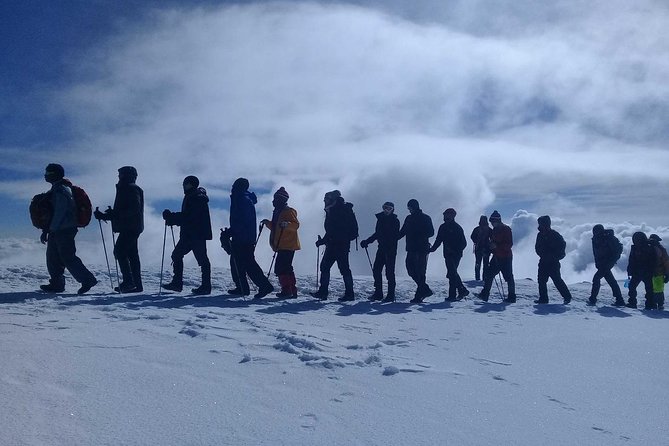
Day 7 is your summit setup day. You go from about 3,936m to roughly 4,717m, gaining around 781m. You’ll climb steadily, pass over the saddle between Kibo and Mawenzi Peak, and continue southwest to School Hut.
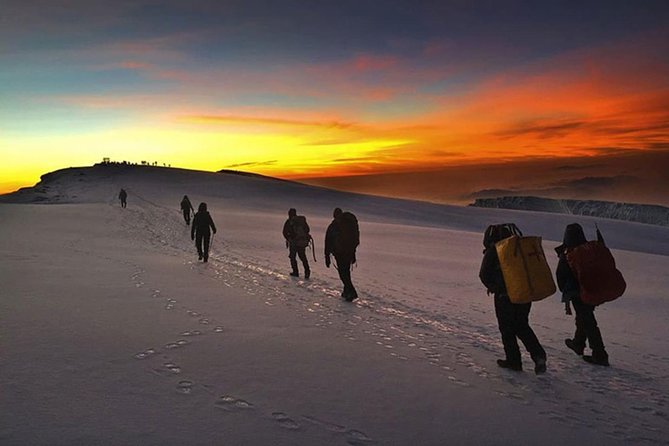
Then comes the big shift: you get an early dinner at School Hut, rest, and begin just before midnight for the summit attempt. The itinerary stresses gear prep before sleep: warm clothes, insulated water bottles, snacks, and a headlamp, plus camera time if the light cooperates. You’ll be grateful you didn’t treat this like a last-minute checklist.
From a planning perspective, this is where you want your body to be calm. If you show up to summit night stressed, you’ll feel it. Keep your pace steady, drink as you’re able, and keep your thoughts simple: one step, then the next.
Day 8: Uhuru Peak sunrise and crater camping beneath the glaciers
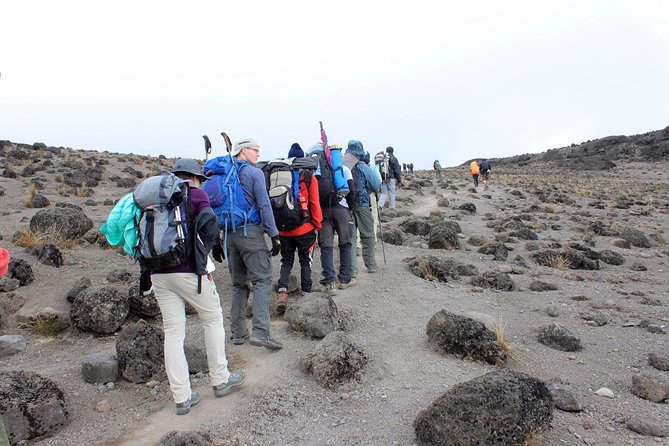
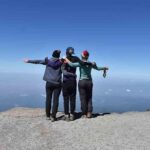
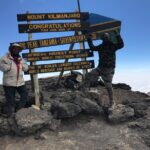
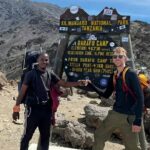
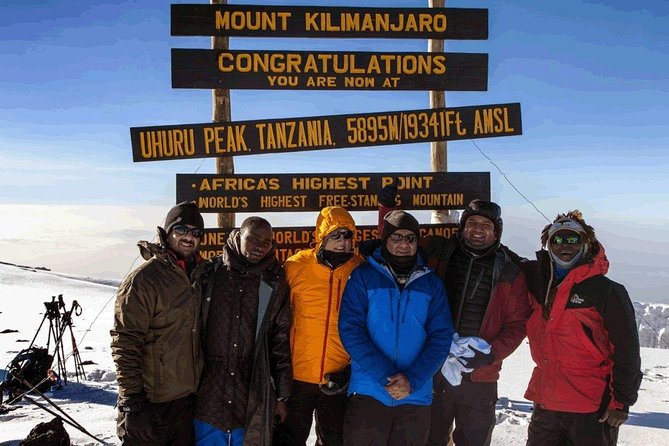
Day 8 is the headline. You ascend to Uhuru Peak (about 5,895m) just before dawn, then celebrate at the summit. After that, you descend into Kilimanjaro’s crater for an unforgettable night at Crater Camp, just beneath the glaciers.
There’s a reason crater camping is a big deal: it changes the emotional tone of the trip. Most Kilimanjaro stories stop at the summit photo. Here, you get a night that feels both remote and surreal—high altitude, cold air, and a very different terrain setting than the standard ridge-camp cycle.
Also, you’re not done after the summit. The itinerary gives this day a long trekking window (around 7–9 hours). Plan for long effort and cold. Even if you’re moving well, you’ll likely feel the drop in temperature once you’re deep into the crater area.
Day 9 and 10: Ash Pit morning, Millennium Camp recovery, and Mweka rainforest descent
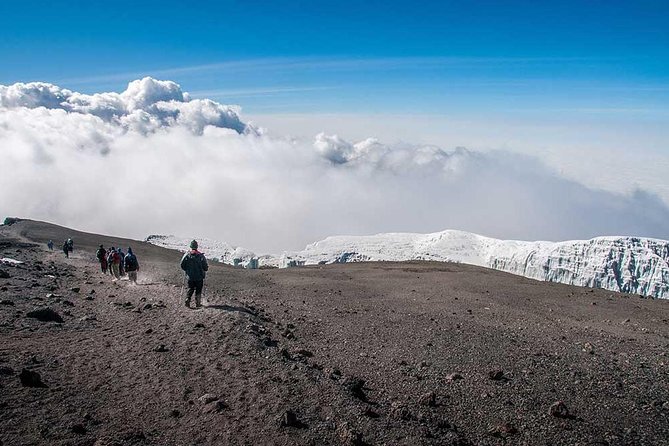
Day 9 starts with exploration of the crater area—specifically the Ash Pit—before descending to Millennium Camp. It’s a shorter day (about 5–6 hours). This “recovery” pacing is more than comfort. After the summit, your body needs time to reset its rhythm.
Day 10 continues the descent into rainforest to Mweka Gate, where you receive your achievement certificate. Then you drive back to Moshi for celebration and relaxation.
That final rainforest descent is often the best kind of tired. Your legs are done with altitude strain, but you still get that shift back into greener air and softer ground compared with the high, rocky zones.
Support, gear, and what’s actually included (so you don’t get surprised)
This trek is set up for travelers who don’t want to manage the logistics of a full-on expedition. Here’s what’s included:
- All fees and taxes (so you’re not separately tracking permit costs)
- Return transfers between Kilimanjaro airport and Moshi, plus back after the trek
- A hotel night after the climb (with breakfast included)
- Emergency oxygen and a basic first aid kit (for emergencies only, not as summit aid)
- Qualified mountain guide(s), assistant guides, porters and cook, with wages as per KINAPA standards
- Camping equipment: tents, camp chairs/tables, and sleeping mattress
- Fresh drinking water and hot water for washing daily
- Meals: breakfast, lunch, and dinner as scheduled
What’s not included (and you should plan for):
- Visas and flights
- Travel and health insurance
- Personal hiking/trekking gear (you rent from equipment stores in Moshi)
- Portable toilet (optional but strongly recommended)
- Personal medicine, water purifying tablets, and snacks/meals not specified
If you’re the type who likes to be ready, build a small “cold weather” kit. The itinerary repeatedly hints at exposure and below-zero nights on the Shira plateau and during high-altitude zones. And no, you can’t solve that with one thin jacket and optimism.
One detail I like from past client accounts: the team’s care includes thoughtful touches around food and comfort, with mention of porters helping source fresh fruits and vegetables when possible. It’s a small thing, but after days of basic camp meals, it can feel like someone remembered you’re a person, not just a body climbing a mountain.
And on guiding style, the praise tends to focus on professionalism and attentive teamwork. Names that show up in past trip reports include Gloria (support and responsiveness before the journey), Frazier (mentioned as part of the tour team), and guides such as JT (chief guide) with assistant Jobeth. Other guide names also come up like Jacob and Kennedy. That pattern matters: you want a team that manages pacing and safety without acting like it’s just another tour bus stop.
Price vs value: what $4,211.27 per person buys on Kilimanjaro
At $4,211.27 per person, this is not a bargain trek. But it also isn’t priced like a bare-bones hike either. In Kilimanjaro terms, the value comes from what’s bundled in and how much operational support you get.
You’re paying for:
- Guides and porter teams (with crew and cook included)
- Camp infrastructure (tents, mattresses, camp furniture)
- Daily water logistics plus hot water for washing
- Park fees and taxes handled for you
- A hotel night after the climb
- Emergency oxygen and first aid basics
- Airport-to-Moshi roundtrip transfers
If you compare that to DIY approaches (where you’d need to hire the whole crew and secure camping systems), the price starts to make sense. Also, private tour format helps here: it’s described as private, so your experience isn’t shaped by strangers with mismatched walking speeds. That matters on summit night.
The main value question for you is risk tolerance. A better supported route tends to reduce chaos. It doesn’t remove altitude risk—but it improves odds by making the schedule workable and the day-to-day running smooth.
So, yes, it’s expensive. But you’re buying structure, systems, and a crater camping experience most people never get.
Who should book this Kilimanjaro crater-camping trek
This trek fits you if:
- You want the Northern Circuit specifically for its quieter trail feel and variety
- You’re motivated by the crater experience, not just a summit stamp
- You can handle cold nights, long trekking days, and a long summit push
- You like having camp support set up for you, with water and basic wash facilities
You should think twice (or talk with the operator before booking) if:
- You’re not confident about altitude strain. “Moderate fitness” is not the same as altitude readiness.
- You hate cold. The itinerary points to exposed plateau nights and below-zero temperatures, and the crater zone is no warmer.
- You get frustrated by early wakeups. Summit night begins just before midnight, with a pre-dawn ascent.
Should you book Mt Kilimanjaro 360° Trek with Crater Camping?
I’d book it if your goal is the full Kilimanjaro story: a quieter circuit route, a supported summit night, and a crater camp night under glaciers. The itinerary’s pacing and acclimatization choices are clear, and the included support is the kind that reduces day-to-day stress when your body is already working hard.
Don’t book it if you want a short, easy hike. This is still a real altitude expedition, with long hours and cold exposure. If that sounds like the kind of challenge you came for, this tour lines up well.
FAQ
FAQ
How long is the Mt Kilimanjaro 360° Northern Circuit trek?
The duration is listed as about 9 to 10 days, with the itinerary showing 10 days including the final descent to Mweka Gate.
Where does the trek start and end?
It starts in Moshi (Moshi Urban, Tanzania) and ends back at the meeting point in Moshi.
What is the difficulty level?
The trek is listed as Medium difficulty, with a requirement for travelers to have a moderate physical fitness level.
Does the tour include airport transfers?
Yes. Return transfers between Kilimanjaro airport and Moshi are included, and transfers back to the airport are also covered.
Are guides and porters included?
Yes. You get a qualified mountain guide, assistant guides, porters, and a cook, with wages as per KINAPA standards.
What kind of camping setup is included?
Camping equipment is included, including tents, camp chairs, tables, and a sleeping mattress.
Is oxygen included?
Emergency oxygen is included for use in emergencies only (not as summit aid), along with a basic first aid kit.
What meals are included during the trek?
Breakfast, lunch, and dinner are included as scheduled on the itinerary.
Is summit night included, and when does the climb to Uhuru Peak start?
The itinerary has a summit attempt starting just before midnight, with Uhuru Peak reached just before dawn on the following day.
What is not included in the price?
Visas and flights, travel and health insurance, personal nature items, personal hiking gear (you rent in Moshi), and optional but recommended items like a portable toilet are not included.
What is the cancellation policy?
You can cancel up to 3 days in advance for a full refund. If you cancel less than 3 days before the experience starts, the amount you paid will not be refunded.