REVIEW · MOSHI
7 Days Kilimanjaro Trekking Machame Route
Book on Viator →Operated by Kiwoito Africa Safaris · Bookable on Viator
Kilimanjaro feels close on Machame. This 7-day trek from Moshi follows one of the most popular routes for a reason: big views and multiple habitat changes, from rainforest to alpine desert. I like that it’s built around real acclimatization (you don’t just rush upward), and I also like the human side—guides such as Sebastiaan Shirima / Sebastian and his team keep showing up in praise for being supportive and professional. The one drawback to plan for is simple: the Machame Route is steep and demanding, so you’ll want solid hiking fitness and patience with long days and cold nights.
Here’s the deal with Machame: you climb more directly than routes with hut stays. You hike 62 km (gate to gate) mostly on trails that feel longer than the map says, and you sleep in tents most nights. If you want the steeper challenge and you’re okay with basic scrambling (especially at Barranco Wall), this itinerary fits the bill.
In This Review
- Key Highlights Before You Go
- Why the Machame Route Works for Most Adventurers
- Price and What You’re Actually Paying For (in plain terms)
- First Day Into the Montane Forest: Machame Gate to Machame Campsite
- Day 2: Shira Plateau Moorlands and the Work Toward Shira Camps
- Day 3: Lava Tower (Shark’s Tooth), Arrow Glacier Area, and Barranco Acclimatization
- Day 4: Barranco Wall Scramble to Karanga Camp
- Day 5: A Short Breather Day to Barafu (The Mental Reset)
- Day 6: Midnight Summit Push to Stella Point and Uhuru Peak
- Day 7: Mweka Gate Certificates, Mud at Lower Elevations, and Back to Arusha
- What the Guide Team Quality Looks Like in Real Life
- Practical Tips for Making Machame Feel Doable
- Who This Trek Best Fits
- Should You Book This 7-Day Machame Trek?
- FAQ
- How long is the Kilimanjaro trek on the Machame Route?
- What time does the trek start?
- Is pickup included?
- Does the trek include park admission tickets?
- Do I need prior hiking experience?
- Can I cancel for a full refund?
Key Highlights Before You Go
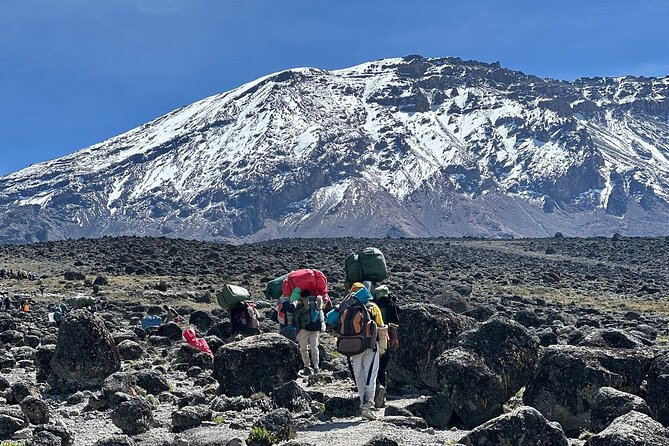
- Machame Route steepness: longer uphill effort, not a gentle stroll.
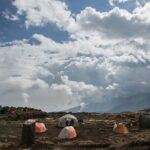
- Tent-based camps: you trade hut comfort for the full trekking experience.
- Acclimatization built in: a “down then up” day around Lava Tower helps your body handle summit altitude.
- Summit timing for sunrise: the midnight push targets Stella Point at 18,600 ft.
- Strong guide-team reputation: names like Sebastiaan Shirima and Sebastian come up often alongside supportive porter teams.
Why the Machame Route Works for Most Adventurers
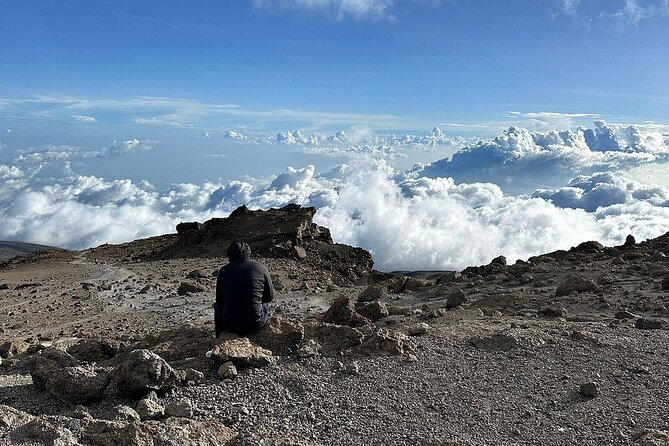
The Machame Route is often chosen because it’s visually rewarding and physically honest. You don’t just climb one kind of scenery. You move through montane forest, then out into moorland, and higher up you’ll feel the air thin over semi-desert and alpine zones. That matters because altitude affects you differently in different conditions, and variety also helps keep your mind engaged on long days.
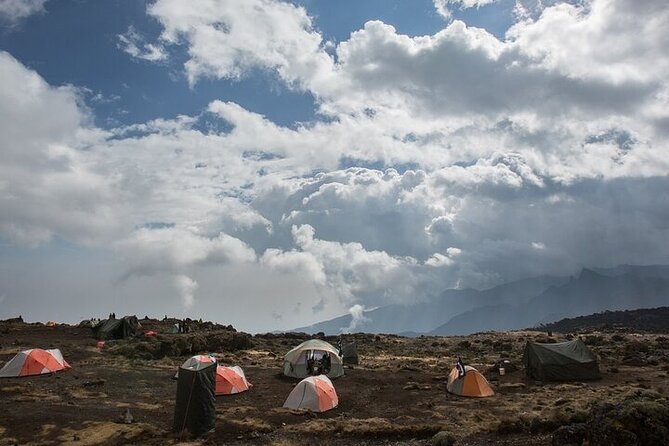
Also, Machame is a tent route. That’s not automatically more comfortable. But it is more “Kilimanjaro”: you’ll set up camp, manage layers, and live on trekking time instead of waiting around for hut schedules. If you like being active—walking, eating, sleeping, repeating—Machame delivers.
The tradeoff is intensity. This route is designed for people with moderate physical fitness and some hiking experience. If you’re new to steep, sustained trails, you can still go—but you should be honest about training and breathing control. Your calves and lungs will both have opinions.
You can also read our reviews of more tours and experiences in Moshi.
Price and What You’re Actually Paying For (in plain terms)
At $2,500 per person for a 7-day climb, you’re paying for a full expedition structure: a guided team, daily camp logistics (including tents), and the access fees tied to the trekking days (the itinerary lists an admission ticket included each day).
Is it “cheap”? No. Is it value for money compared to piecemeal planning? Usually, yes—because Kilimanjaro isn’t just a hike. It’s permits, mountain staff, camp setup, and a real summit push timed to altitude and daylight. A private tour setup also matters: it’s listed as a private activity, meaning only your group participates.
If you’re trying to decide whether to book, the best test is this: do you want a guided climb with a recognized team style (supportive, professional), and are you okay paying for that structure?
First Day Into the Montane Forest: Machame Gate to Machame Campsite
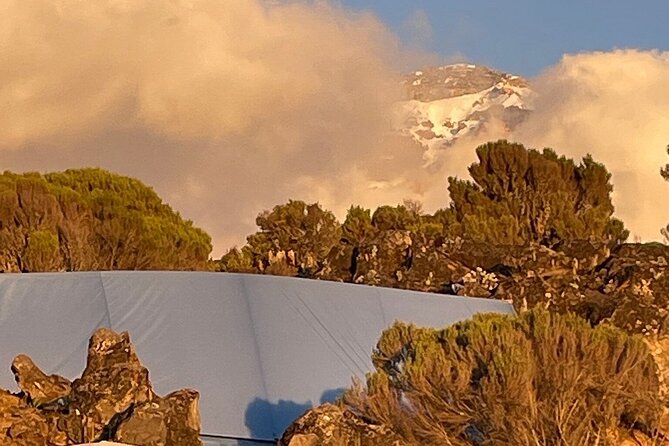
You’ll start early—meeting point time is listed as 7:00 am—and the day begins with a transfer to Machame Gate to sign up. Then you hike into the rainforest on a route that feels greener and more sheltered than what comes later.
Altitude goal: around 3,000 m.
Distance / time: about 11 km, roughly 5 to 7 hours.
What it feels like: lush, humid, and mentally easier than the higher days.
This first day is a warm-up, but not a vacation stroll. Rainforest hiking can still mean steady effort and wet footing. You’ll want to treat it as “learn your pace” time. That sets up your later breathing rhythm.
If you’re someone who runs hot, you might sweat a lot in the montane forest. If you’re the kind of person who gets cold easily, layering still matters—even before the summit cold arrives.
Day 2: Shira Plateau Moorlands and the Work Toward Shira Camps
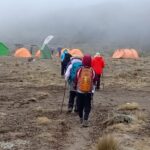
After breakfast, you climb away from the rainforest. The terrain starts to feel steeper, and you’ll go through a valley and up a rocky ridge covered in heath. Then the trail pushes you further into open moorlands on the Shira Plateau.
Altitude change: about 3,000 m to 3,850 m (+850 m).
Distance / time: about 9 km, 4 to 6 hours.
You’ll cross a large river gorge to reach Shira 2 Camp, then continue to Shira Campsite for dinner and the night.
What I like about this day: it gives you a taste of Kilimanjaro’s “different world” feeling without forcing you into the summit madness yet. What to watch: rocky ridges and steep segments can be harder on the knees than flat trails, even when the total distance isn’t huge. Use shorter steps and keep your effort steady.
Day 3: Lava Tower (Shark’s Tooth), Arrow Glacier Area, and Barranco Acclimatization
Day 3 is where Machame proves it takes acclimatization seriously. You move from the Shira Plateau along a ridge toward the junction for Kibo’s peak route, then shift southeast toward the Lava Tower, commonly called Shark’s Tooth.
Then you reach the Arrow Glacier region near 16,000 ft, and later you descend to Barranco Hut at about 13,000 ft.
Here’s the key idea: even though the day is physically demanding, you end at an altitude similar to where you started (around 12,500 to 13,000 ft). That’s not a trick. It’s a smart body-prep day. The walk helps you adapt while limiting the “keep going higher every single day” problem.
Distance / time: about 10 km, 6 to 8 hours.
Habitat: semi-desert, so you’ll feel more exposed.
If the air feels thin, don’t panic. Adjust your pace and focus on smooth breathing. This day rewards calm effort. Pushing hard here can make later days feel harder than they need to.

Day 4: Barranco Wall Scramble to Karanga Camp
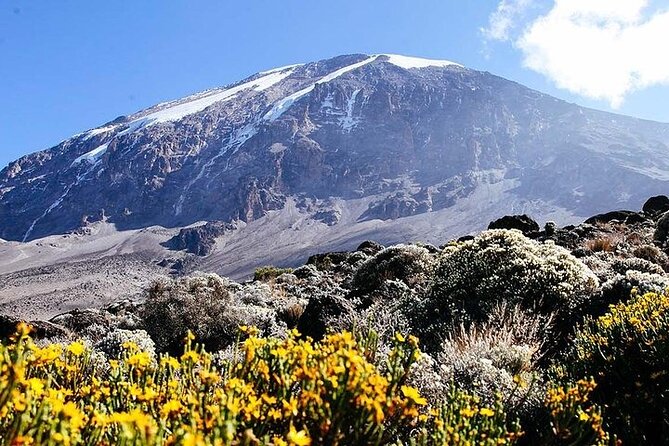
Today gets spicy. After breakfast, the hike begins with a steep traverse up the Barranco Wall, a 257-meter rock face. The route notes basic scrambling skills are required to reach the top of the Karanga Valley.
Then it’s a series of inclines and declines to Karanga Camp at about 3,960 m.
Distance / time: about 7 km, roughly 7 hours.
Habitat: high alpine zone.
Why this day matters: it’s a transition from “walking endurance” to “terrain confidence.” You’re learning how to move on steeper rock and uneven footing without burning your energy.
Potential drawback: if scrambling makes you tense, you’ll lose time and stamina. Go slow. Trust your footing. And remember: this is teamwork. Your guide should be monitoring footing and pacing, and your porter team helps with camp movement so your job is mostly legs and breathing.
Day 5: A Short Breather Day to Barafu (The Mental Reset)
Day five is listed as short and easier. The route starts at Karanga Camp and joins the Mweka trail up toward Barafu at about 4,680 m.
Distance / time: about 6 km, around 3 hours.
Habitat: alpine desert.
Why you’ll be glad this exists: you need energy for the midnight summit push on day 6. This is your chance to relax your body, eat well, and mentally prepare.
Don’t treat it as “easy day, do nothing.” You still want to conserve energy without rushing. The goal is to arrive at Barafu ready for cold, early hours.
Day 6: Midnight Summit Push to Stella Point and Uhuru Peak
This is the day people remember. You’ll start very early, between midnight and 2:00 am, heading between the Rebmann and Ratzel Glaciers.
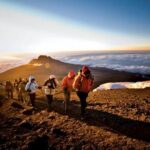
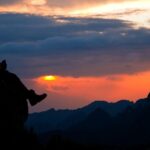
At Stella Point (18,600 ft), there’s a short rest. This is where you may see the most intense sunrise of your trip, weather permitting. From Stella Point, the final stretch to the summit is listed as about 1 hour. Snow may appear along parts of the ascent.
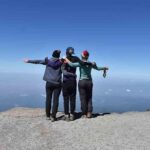
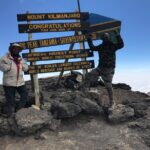
Then you reach Uhuru Peak, the highest point on Mount Kilimanjaro and the continent of Africa.
After that, you descend straight down to Mweka Hut Campsite, stopping at Barafu for lunch. Descents on loose gravel are rough on the legs. You’ll likely need gaiters and good trekking technique—loose rocks love to slip.
What I like here is the structure. Instead of vague summit talk, the plan is time-focused and altitude-aware. If your goal is the sunrise moment and you want a real shot at reaching Uhuru Peak, this itinerary matches that logic.
Big consideration: the midnight start means cold, darkness, and a steady grind. If you’re claustrophobic in the sense of feeling “trapped by effort,” this day can be emotionally tough. A calm guide team helps keep your head clear.
Day 7: Mweka Gate Certificates, Mud at Lower Elevations, and Back to Arusha
After breakfast, you continue descending to the Mweka Park Gate to receive your summit certificates. Lower elevations can be wet and muddy, so footwear and technique matter more than people expect.
From the gate, you walk about another hour to Mweka Village. Then a vehicle meets you and drives you back to your hotel in Arusha.
This day is shorter in hiking time:
- Elevation change: about 10,000 ft down to 5,400 ft
- Distance / time: about 10 km, 3 to 4 hours
- Habitat: rain forest
What’s useful to plan for: at lower elevations, your kit can get damp fast. The itinerary specifically suggests gaiters and trekking poles help on the descent. It also notes shorts and T-shirts might be fine at lower altitudes, but you should keep rain gear and warmer layers ready. In other words: pack for weather swings, not just one climate.
What the Guide Team Quality Looks Like in Real Life
The strongest praise in feedback points to the people leading the climb. Names like Sebastiaan Shirima and Sebastian show up repeatedly, along with supportive guide-and-porter teams that help you keep going when your motivation dips.
Why that matters for you: on summit day, the mountain doesn’t care how confident you feel at home. It cares about your pacing, your breathing, and your willingness to keep moving even when the air turns mean. A good guide team manages rhythm and morale. Porters and support staff also make a big difference because they handle camp logistics, allowing you to focus on the climb.
If you want the experience to feel safer and more encouraging, this is where you’re investing your money.
Practical Tips for Making Machame Feel Doable
You can’t control the mountain. But you can control your approach.
1) Pace like your body pays the bill.
Machame’s steepness means you should walk slower than you think you need. If you go too hard early, later days will feel like a bigger tax.
2) Plan for cold and possible snow.
Summit night can bring snow conditions, and even if you don’t see it, you’ll feel the temperature drop. Bring warm layers and be ready for wind.
3) Treat the Barranco Wall as technique, not bravery.
The route calls for basic scrambling skills. If you’re unsure, rely on the line and your guide’s coaching. It’s easier when you focus on hand/foot placement instead of how high the wall looks.
4) Descents need gear, especially day 7.
Loose gravel and mud are where trekking poles and gaiters earn their keep.
5) Keep your layers simple.
Shorts and T-shirts may work at lower levels, but warmer clothing and rain gear should be within reach. Kilimanjaro can shift fast.
Who This Trek Best Fits
This Machame program is best for you if:
- you want a physically challenging climb with tented camps
- you have moderate hiking fitness and some experience
- you value acclimatization and follow-through on summit day
- you want a private-group experience with a consistent guide team
It might feel like too much if:
- you avoid steep terrain and scrambling
- you’re planning this without training on uphill hiking
- you want maximum comfort and minimal cold exposure
Should You Book This 7-Day Machame Trek?
If your goal is the classic Kilimanjaro experience—steep trails, tent camps, and a timed sunrise summit—this is a strong choice. The best reason to book is the overall climb design: acclimatization is built into the rhythm, and the summit day plan is specific and altitude-focused.
I’d only hesitate if you know you struggle with steep rock, long hours, or cold mornings. Machame will ask for those things. On the flip side, if you’re ready for a real challenge, and you want a supportive team led by guides like Sebastiaan Shirima / Sebastian, it’s the kind of week that tends to stick with you long after the photos fade.
FAQ
How long is the Kilimanjaro trek on the Machame Route?
It’s scheduled for about 7 days, with a gate-to-gate hiking distance of around 62 km (37 miles).
What time does the trek start?
The listed meeting point start time is 7:00 am.
Is pickup included?
Pickup is offered.
Does the trek include park admission tickets?
The itinerary shows an admission ticket included for the trek days.
Do I need prior hiking experience?
The experience is recommended for travelers with moderate physical fitness and some hiking experience.
Can I cancel for a full refund?
Yes. Free cancellation is offered up to 24 hours in advance for a full refund.
—
If you want, tell me your current hiking level (and whether you’ve done any steep trails at altitude). I can help you sanity-check whether Machame’s pacing fits your body and schedule.