REVIEW · MOSHI
Unforgettable 8 Days Lemosho Route Trekking on Kilimanjaro
Book on Viator →Operated by Rede Tours and Safaris (Amore African Safari LTD) · Bookable on Viator
Lemosho keeps things calm early on. You start on the west side through forest and Shira Plateau terrain, and you only meet heavier traffic later near Lava Tower. I like that this schedule balances trekking time with real acclimatization steps, not just long days and hope.
I also like the human side: the guiding team (often led by Nalisis) and camp support matter a lot on Kilimanjaro, and chef Jackson is specifically praised for keeping energy up with solid meals. The main drawback to weigh is the grind built into the route: Day 5 is a steep, vegetation-free scree walk to Barafu, and you’ll be up late for the summit attempt.
In This Review
- Key things I’d zero in on before you go
- Why the Lemosho Route starts calm and stays scenic
- Moshi to Londorossi Gate: the long drive that pays off
- Days 1–3: forest trekking, Shira Ridge, and acclimatization that makes sense
- Day 1: forest to Mti Mkubwa (about 4 hours)
- Day 2: moorland and Shira Ridge to Shira Camp one (about 11 hours)
- Day 3: Shira Plateau acclimatization walk (about 7 hours)
- Day 4 to Lava Tower and Barranco Camp: where the mountain gets louder
- Day 5 to Barafu: steep scree, cold preparation, and a late wake-up
- Day 6 to the Mweka Route connection and Barafu Hut: water and timing matter
- Day 7 to Stella Point: the crater rim test
- Day 8 from Mweka Gate to Moshi: certificates, lunch, and the long descent home
- Price and value: what $1,500 really includes
- Training, packing, and pacing for this exact schedule
- Who this trek is best for
- Should you book this 8-day Lemosho trek on Kilimanjaro?
- FAQ
- How long is the Kilimanjaro Lemosho trek?
- Where does this trek start and where does it end?
- Do you get pickup in Moshi?
- Which gate does the route use at the start?
- What major camps or points are on the route?
- Is the climb suitable for most travelers?
- What meals are included in the price?
- What’s included versus not included?
- What certificates do you receive at the finish?
- What happens if weather is poor?
Key things I’d zero in on before you go
- Low-crowd timing: Lemosho stays quieter until the route joins Machame near Lava Tower
- Shira Plateau acclimatization: moderate plateau walking helps your body adjust before the harder sections
- Lava Tower moment: a high, rocky landmark at 4,630 m where you get strong photo opportunities (and an optional scramble)
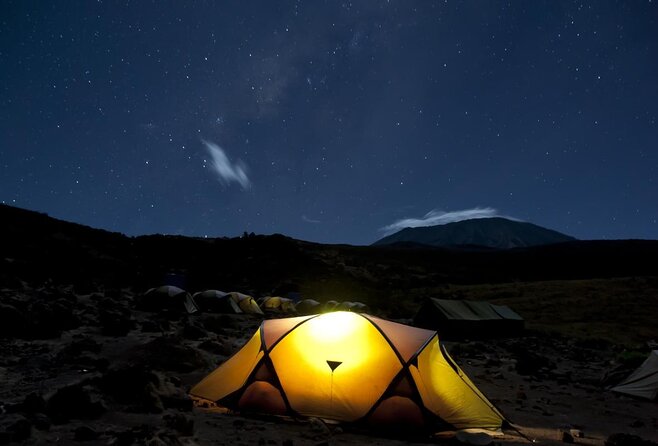
- Barafu reality check: narrow, stony, wind-swept camp and limited water needs real planning
- Stella Point challenge: the crater-rim segment at 5,685 m is where cold and altitude usually show up fast
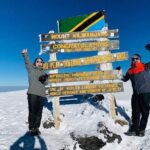
- Certificates at Mweka Gate: green for Stella Point, gold for Uhuru Peak, plus a bottle of champagne for summit success
Why the Lemosho Route starts calm and stays scenic
Lemosho’s big selling point is how it approaches Kilimanjaro. Instead of rushing straight into the hardest altitude, you come in from the west and build gradually. The first section runs through forest, then transitions into moorland and giant heather zones. That means more variety in what you see each day, and more chances for your breathing rate to settle into “working mode.”
You’ll also notice the crowd pattern. This route is described as having low crowds at least until it joins the Machame route close to Lava Tower. In practice, that matters. When the days feel busy, your pace gets swallowed by the crowd. On quieter days, you can keep your own rhythm, stop when you need to, and still make camp on schedule.
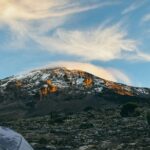
And yes, the views are the reason people chase this trek. You’ll go from shaded forest trekking into open plateau walking, then up to high points like Lava Tower and Stella Point on the crater rim. Even if the weather clouds you in for a stretch, the air gets thinner and the terrain gets more dramatic—so the mountain is doing the talking.
One more reason I like Lemosho for value: it’s often described as offering a strong summit success balance because it gives you time to acclimatize. You can’t control the mountain, but you can control how you treat your body on the way up.
You can also read our reviews of more tours and experiences in Moshi.
Moshi to Londorossi Gate: the long drive that pays off
Your journey starts in Moshi, then you’ll get a briefing at your hotel before heading to Londorossi Park Gate. The drive is about 2.5 hours, and the gate sits at 2,250 m (7,380 ft). This is a real altitude change day, even before you start walking.
After park rules and regulations, you begin the trail and also use a 4WD vehicle for part of the approach toward Lemosho Glades at 2,390 m. That matters because it chops off time on rough roads. On Kilimanjaro, every hour counts—especially on the first day when you’re trying to avoid feeling like you were “thrown” into the climb.
If you’re thinking about logistics, here’s a practical angle: the trek price includes all fees and taxes, but it doesn’t include flights or non-climbing accommodation. So plan your arrival in Moshi well. The briefing day has some structure. You want to be rested enough to pay attention to guide instructions and to get your gear squared away before the first steps.
Days 1–3: forest trekking, Shira Ridge, and acclimatization that makes sense
Day 1: forest to Mti Mkubwa (about 4 hours)
Day 1 is your on-ramp. You walk from the Londorossi area into the forest, heading through trail sections toward Lemosho Glades and then onward to Mti Mkubwa campsite (2,390 m / 7,830 ft). It’s a steady introduction rather than a lung-busting start.
This day is about getting your rhythm. The terrain is friendlier than later days, but you’ll still feel altitude creeping in. I like how the schedule doesn’t waste time with overly long walking. It gives you the chance to feel the air, check your pack weight, and get used to hiking with the team.
Day 2: moorland and Shira Ridge to Shira Camp one (about 11 hours)
Day 2 is where you start noticing the altitude climb. The trail becomes steeper, transitions into moorland, and you cross Shira Ridge at 3,600 m (11,810 ft). Then you drop gently to Shira Camp one, placed by a stream on the Shira Plateau.
One detail you should pay attention to: giant heather moorland and stream crossings are part of the day. Streams mean wet feet if you don’t manage your footing. Heather moorland can also be windy and exposed. So you’ll want layers you can handle without slowing down too much.
Day 3: Shira Plateau acclimatization walk (about 7 hours)
Day 3 is an acclimatization day, and it’s built in the way you want it. You’ll do a moderate walk across the plateau to Shira Camp two on moorland meadows near a stream.
This is the kind of day that makes the later climb more survivable. You’re not just “resting”; you’re moving in a way that helps your body adjust. If you’ve ever felt tempted to rush climbs to save energy, this is the day that gently tells you to slow down. The payoff is later, when you’d rather have your legs and lungs working together.
Day 4 to Lava Tower and Barranco Camp: where the mountain gets louder
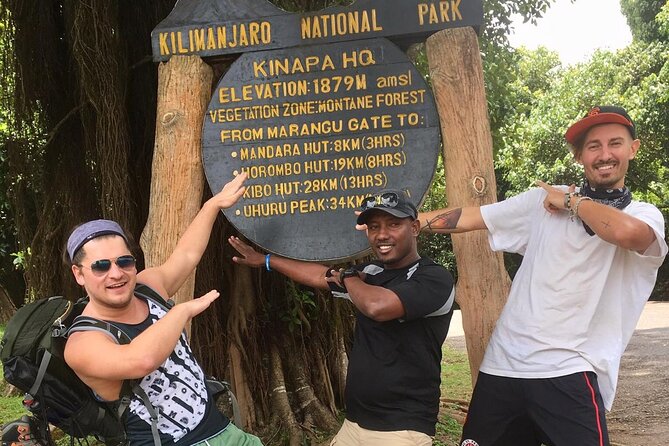
Day 4 is the scenery switch. After breakfast, you hike east on a steep path above the vegetation. After several hours, the route moves into a rocky area where Lava Tower rises at 4,630 m (15,190 ft). It’s described as a chunk of older volcanic activity, and the trail passes right below it.
If you like optional challenges, there’s a “for extra credit” moment here: you can scramble to the top of Lava Tower if you’re sure-footed. It’s not required, but it’s exactly the kind of payoff people remember—because you’re earning it, and the views from that height are a reward for good footing.
After lunch near Lava Tower, you descend for about two hours below the lower cliffs of the Western Breach and Breach Wall to Barranco Camp at 3,950 m (12,960 ft). This is a key transition day: you go from high rocky landmark terrain into camp at a lower altitude, which helps your body reset a bit before Day 5.
The trade-off is that rocky sections can be tough on knees. If you have a history of knee strain, focus on slow steps and good shoe control during the descent. Your guide team will keep things moving, but you need to protect your joints.
Day 5 to Barafu: steep scree, cold preparation, and a late wake-up
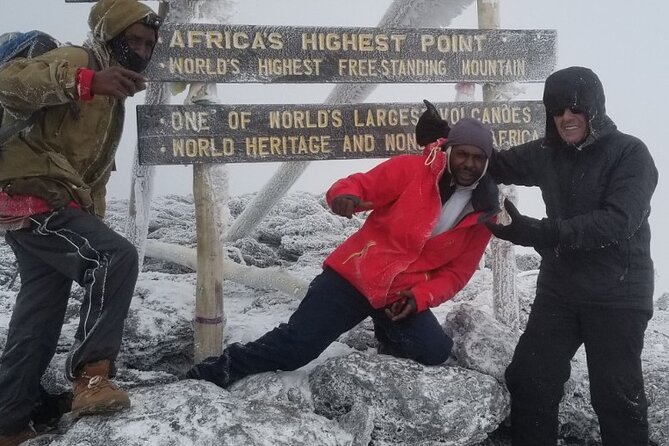
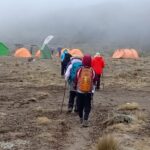
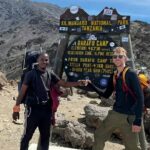
Day 5 is where most people feel the trek tighten up. After a good night’s rest and breakfast, you hike to Barafu camp at 4,640 m. The walk crosses desolate scree slopes with no vegetation. That sounds simple, but scree is punishing: it shifts underfoot and increases effort, especially at high altitude.
The plan is also clear about timing. You’ll arrive, eat, rest, and prepare for the long night and day ahead. Hydration and staying warm are specifically emphasized. Then you’ll have an early dinner and expect a very late wake-up—between 11pm and 12am—to start the summit climb.
This is the part where your mindset matters as much as your fitness. Late starts mean you’ll want your brain switched on for cold and darkness. If you’re the type who panics when sleep gets interrupted, practice a calm routine beforehand: quick warm drink, organized layers, and then “one step at a time” thinking.
Also, keep expectations realistic. Day 5 isn’t just hard. It’s hard while you’re already tired from the altitude. That’s why Lemosho’s earlier pacing matters. You’re building to this moment.
Day 6 to the Mweka Route connection and Barafu Hut: water and timing matter
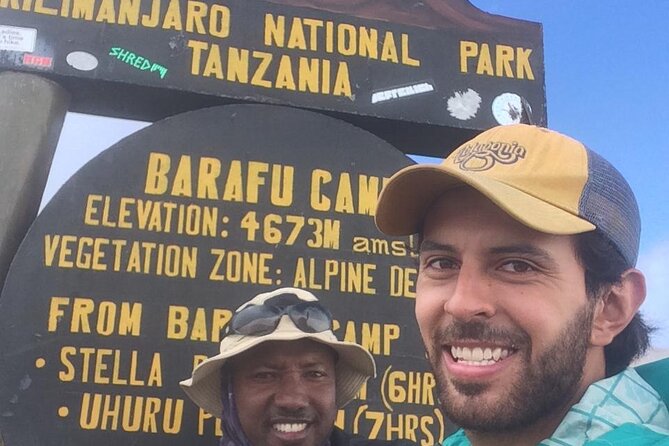
Day 6 starts with a hike east over ridges and valley to join the Mweka Route, which will later serve as your descent route. You’ll turn left toward the mountain and hike up a ridge through sparse terrain for about an hour to Barafu Hut, where you get a hot lunch.
One very practical detail: the last water point mentioned on this route is Karanga Valley. The data also notes there is no water at Barafu Camp. That is not a trivia point; it affects how you pace and how you plan your drinking strategy.
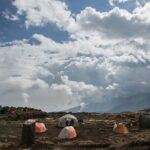
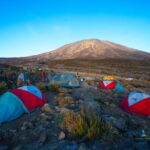
Your tent is pitched on a narrow, stony, wind-swept ridge. Translation: it can get cold and uncomfortable, and footing matters when you’re moving in the dark. Before dark, get your bearings. The route here is preparing you for a push to higher altitude, so you want to spend less energy on fiddling and more energy on survival basics: warmth, hydration, and steady movement.
If you get cold easily, this is the day to be extra intentional about layers and gloves. You’ll be spending time at very high altitude, and conditions can change quickly.
Day 7 to Stella Point: the crater rim test
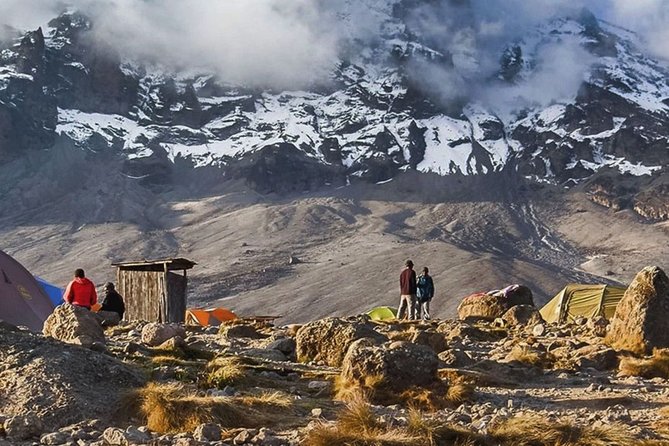
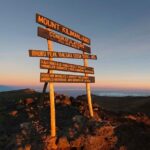
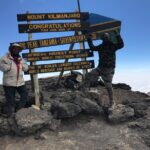
Day 7 begins around 11:30 PM. You’ll likely have hot tea and biscuits, then start your climb through heavy scree between the Rebmann and Ratzel glaciers to Stella Point on the crater rim at 5,685 m (18,650 ft).
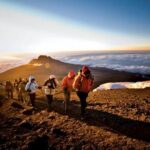
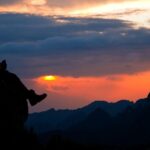
This is described as the most challenging part for most climbers. That checks out logically: you’re high, you’re moving through unstable footing, and cold can make everything feel slower. You stop at Stella Point for a short rest and a chance to see a sunrise. Even if sunrise clouds over, the experience of being at the crater rim is still a huge milestone.
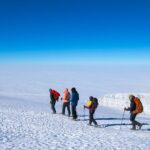
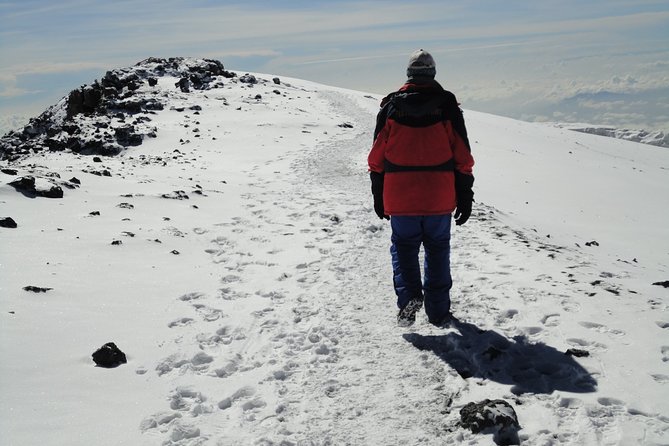
After Stella Point, the route joins the top part of the Marangu Route, but the plan is to not stop too long. Cold and exhaustion can make it hard to restart. You might also encounter snow depending on the season and storms.
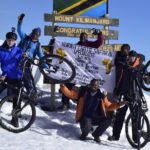
Now, about certificates: Stella Point is tied to the green certificate. Uhuru Peak success triggers the gold certificate. You’ll collect that info later at Mweka Gate. On Day 7 itself, the focus is straightforward: move carefully, protect your energy, and keep your pace controlled.
Day 8 from Mweka Gate to Moshi: certificates, lunch, and the long descent home
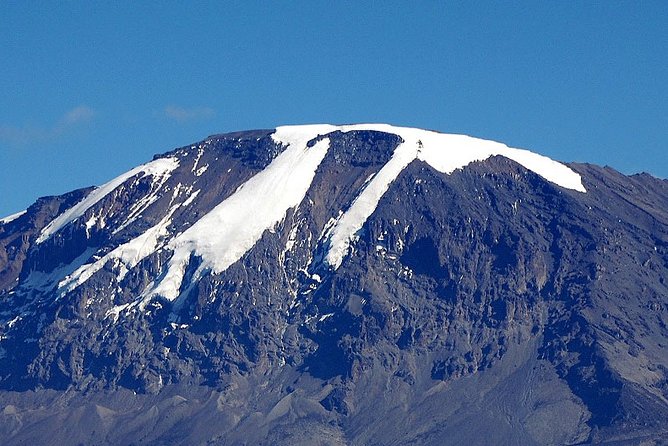
Day 8 starts with breakfast and a short hike (about 3 hours) back to Mweka Gate. There’s a practical instruction around tipping: you won’t tip crew along the way until everyone reaches the gate safely. It’s one of those details that keeps group flow smooth at the finish line.
At Mweka Gate, you sign your name in a register. This is also where successful climbers typically receive summit certificates. If you reached Stella Point you get the green certificate, and if you reached Uhuru Peak you get the gold certificate. The experience notes that summit success is followed by a bottle of champagne.
From the gate, you continue down to Mweka Village (about 3 km) where you’ll get a hot lunch. Then you’re driven back to Moshi, with the trek ending back at your meeting point on Shanty Town Road.
This day is about recovery. The altitude is still in your body, and the descent can strain legs even when the terrain looks easier. Plan for sore knees and tired feet, and treat the hot lunch as part of the survival plan, not a celebratory afterthought.
Price and value: what $1,500 really includes
At $1,500 per person, this isn’t a budget trek. But it’s not just paying for the mountain view either. This price includes all fees and taxes, plus the trip covers multiple meals: breakfast (8), lunch (8), and dinner (7).
It also includes admission ticket coverage during the trek days. You’re not constantly thinking about extra gate fees during the climb. That kind of “quiet clarity” saves stress, especially on a trip where your attention is needed for altitude and pacing.
What isn’t included matters too. You’ll still need to budget for:
- flights and visas
- tipping the crew
- additional park fees (if any are required beyond what’s included)
- non-climbing accommodation in Moshi or elsewhere
- private transportation
- hiking supportive materials (like gear you may need)
One more value angle: the trek is commonly booked well in advance (about 140 days on average). That’s usually a sign of a popular departure window and good planning by operators who can secure staff and logistics. It doesn’t guarantee you’ll get a better experience, but it often correlates with smoother operations.
Group size is capped at a maximum of 100 travelers. That’s a wide number, so it doesn’t mean you’ll be in a huge crowd on the trail. In this route’s case, the crowd reality is more about timing. Lemosho stays quieter until the route joins Machame near Lava Tower.
Training, packing, and pacing for this exact schedule
This itinerary is built around real altitude numbers: Shira Ridge at 3,600 m, Barranco at 3,950 m, Barafu at 4,640 m, and Stella Point at 5,685 m. That means you should train for long hiking days and steep effort, not just short workouts.
You should be ready for:
- long days like Day 2 (about 11 hours)
- a heavy scree day like Day 5 to Barafu
- night climbing at very high altitude with very cold conditions possible
- descents that can aggravate knees
Packing-wise, the most important approach is to reduce fiddling. Day 6 includes wind-swept, stony camp conditions. Day 7 includes high-altitude cold and a very early start in the dark. You want your layers organized so you don’t waste time.
Also, plan around water. Since Karanga Valley is listed as the last water point and there’s no water at Barafu Camp, you should treat hydration as a deliberate plan rather than something you react to.
If you’ve got gear gaps, check what the operator provides versus what you bring. Hiking supportive materials are not listed as included, so don’t assume you’ll get everything at your hotel in Moshi.
Who this trek is best for
This trek fits best if you want:
- the Lemosho Route experience with earlier acclimatization through Shira Plateau
- a schedule that balances scenic trekking with a serious summit push
- a route described as having low crowds for much of the climb
It’s also a good match if you appreciate teamwork. The experience depends on your guide’s pacing and camp support. Named staff like Nalisis (guiding) and chef Jackson (food service) show up as standout mentions, which tells me the operation is trying to keep morale up—because on Kilimanjaro, morale is fuel.
If you’re looking for a gentle, low-effort hike, you’ll likely be disappointed. This is a real trek. But if you’re okay with challenging days and disciplined nights, the route’s structure gives you a fair shot.
Should you book this 8-day Lemosho trek on Kilimanjaro?
If your priority is smart pacing, lower crowd pressure early on, and a classic scenic route that keeps you moving through multiple altitude zones, I’d say this is a strong option to consider. The included meals and fees make it easier to budget, and the route timing helps you acclimatize instead of rushing.
Book it if you:
- want the Lemosho approach from the west via Londorossi Gate
- can handle one very tough scree day and a late-night summit climb
- will take water planning seriously on the high-altitude sections
Think twice if you:
- want a minimalist itinerary with fewer hard hiking days
- have knee issues that flare on rocky descents
- are not ready for night climbing and cold camp conditions
If you can commit to the pace and take altitude seriously, this trek’s mix of forest starts, Shira Plateau acclimatization, Lava Tower views, and Stella Point altitude is exactly the kind of Kilimanjaro experience that sticks with you.
FAQ
How long is the Kilimanjaro Lemosho trek?
The itinerary is listed as 8 days (approximately).
Where does this trek start and where does it end?
It starts at Shanty Town Road in Tanzania and ends back at the same meeting point.
Do you get pickup in Moshi?
Pickup is offered.
Which gate does the route use at the start?
You drive to Londorossi Park Gate before starting the trek.
What major camps or points are on the route?
You pass through places including Mti Mkubwa campsite, Shira Camp one and Shira Camp two, Lava Tower area, Barranco Camp, Barafu camp (and Barafu Hut), Stella Point, then finish at Mweka Gate and Mweka Village.
Is the climb suitable for most travelers?
The info says most travelers can participate.
What meals are included in the price?
Breakfast is included for 8 days, lunch for 8 days, and dinner for 7 days.
What’s included versus not included?
Included: all fees and taxes, meals, and admission ticket coverage. Not included: flights, tipping crew, visas, additional park fees, non-climbing accommodation, private transportation, and hiking supportive materials.
What certificates do you receive at the finish?
At Mweka Gate, summit certificates are issued: climbers reaching Stella Point receive green certificates, and climbers reaching Uhuru Peak receive gold certificates. A bottle of champagne is also noted for successful climbers.
What happens if weather is poor?
The experience requires good weather. If it’s canceled due to poor weather, you’ll be offered a different date or a full refund.