REVIEW · MOSHI
Best Kilimanjaro Adventure 7 days Machame route Trekking
Book on Viator →Operated by Kilinge Adventures · Bookable on Viator
Kilimanjaro rewards patience and good planning. This 7-day Machame route is a smart way to aim for the summit because you build altitude step-by-step, with days that range from easy rainforest walking to tough wall climbs, plus that final early-hours push for sunrise. Two things I really like: the support from the guide, porters, and chef, and the way the itinerary uses camp locations to keep the climb moving while still giving you acclimatization time. One real consideration: summit day starts after midnight, so you need to be mentally ready for a long, cold, uphill stretch.
From the Moshi pick-up area to your camp cookups and sleep setup, this trip is built to keep you moving without juggling every detail yourself. You get camping equipment for sleeping (tent plus mattress setup), and the pacing fits moderate fitness as long as you don’t rush your body. Also, the group size is capped (maximum 100), which can matter if you want a more controlled trek than the biggest, mass-market climbs.
In This Review
- Key Highlights You Should Know Before You Go
- Machame Route in 7 Days: Why This Plan Feels More Human
- Day 1: Machame Gate and a Rainforest Start That Sets the Tone
- Day 2: Shira Camp Day and the Rocky Ridge Work
- Day 3: Lava Tower for Acclimatization, Then Down to Barranco Camp
- Day 4: Karanga Camp and the Steep Barranco Wall Climb
- Day 5: Barafu Camp, Rest-Time, and the Pre-Summit Savings Account
- Day 6: The Midnight Summit Start and Watching Sunrise Over the Great Rift Valley
- Day 7: Mweka to Moshi and a Lush Forest Finish
- Price and Value: What $1,200 Covers (and What You Should Budget For)
- Who This Trek Suits Best (and Who Might Find It Tougher)
- Logistics That Matter: Start Times, Transport, and Group Size
- Should You Book This 7-Day Machame Adventure?
- FAQ
- What route is this trek based on?
- How long is the trek?
- Where does the trek start?
- Are pickup services included?
- What camping and food are included?
- Is the national park fee included in the price?
- Is there free cancellation?
Key Highlights You Should Know Before You Go
- Machame Gate rainforest day: an easier first introduction with lots of birdlife and colobus monkeys to watch for
- Lava Tower acclimatization: a high point climb to help your body handle the altitude before you drop to Shira
- Great Barranco Wall focus: big views after a steep, tough morning climb to Karanga
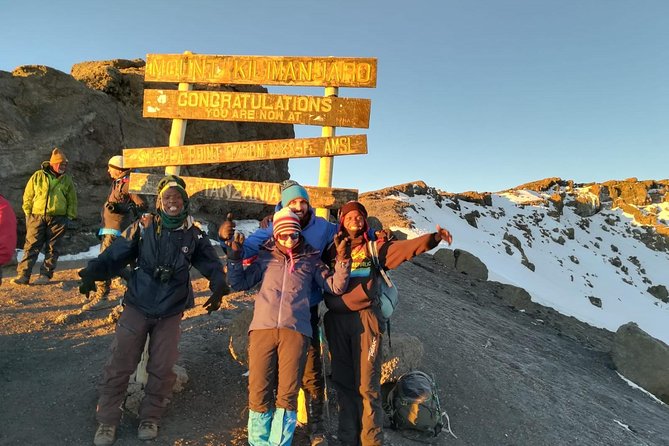
- Summit push for sunrise: early start after midnight, with a long climb that targets the first light over the Great Rift Valley
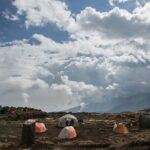
- Camping setup included: tent plus a sleeping mattress setup, handled by the crew
- Team support: porters, chef, and guides working as one operation (people like Victor, Tyson, and manager Thomas have been specifically praised)
Machame Route in 7 Days: Why This Plan Feels More Human
If you’re worried about altitude or you want a climb that makes logistical sense, Machame is often a favorite route because it gives you a gradual rhythm. You don’t just hit the highest points every day. You hike up, you reach a camp, and then you adjust—sometimes with a climb to acclimatize followed by a controlled descent.
That matters for how the trek actually feels. Your first days take you through tropical rainforest, then up toward Shira, then through the classic saddle-and-wall sequence. By the time you’re at the hardest parts, your body has already had a couple of chances to adapt.
The structure also helps your mind. You can look at the schedule and know what you’re working toward: today is about moving to the next camp, tomorrow is about acclimatizing, and the next day is about earning the views. It’s not random. It’s paced, even when it gets steep.
You can also read our reviews of more tours and experiences in Moshi.
Day 1: Machame Gate and a Rainforest Start That Sets the Tone
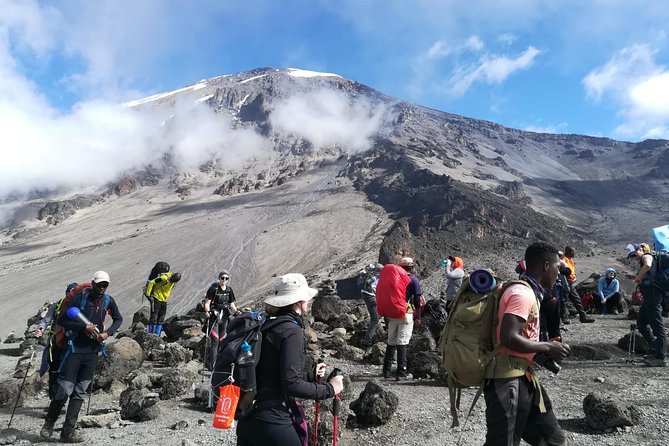
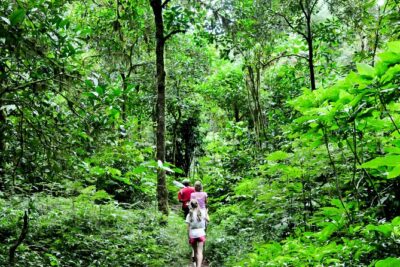
You begin with a drive from Moshi to the Machame gate area. After registration, you start climbing right away—no long delay, no wandering around wondering what comes next. The day itself is designed to be a lighter warm-up: a “nice leisurely hike” through tropical rainforest.
This is the day that helps you find your rhythm. The trail is shaded and surrounded by that humid forest feel, and it’s also where you might spot colobus monkeys and wild birds. Even if you don’t see wildlife every hour, the atmosphere is calmer than higher camps. Your goal is to walk steadily, settle into breathing, and get your legs used to the climb.
You sleep at Machame camp that night. Plan for an early bedtime. Not because anyone is rushing you, but because the next days get progressively more demanding.
Day 2: Shira Camp Day and the Rocky Ridge Work
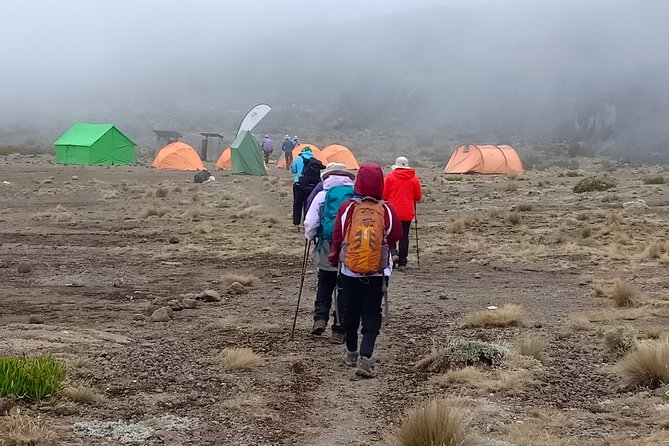
Day two moves you from Machame Hut toward Shira camp. You cross a stream onto its west bank and then follow a path up a steep, rocky ridge. It’s not a flat day. Expect criss-crossing on the way up, then a reach into the Shira area at the base of a semi-circular wall of rocks.
This is an important shift: you’re leaving the softer, forest-floor feel and moving toward terrain that asks for more effort from your calves and knees. The trek time is listed around 5 hours, which sounds manageable until you realize it’s steep in sections and you’re gaining altitude as you go.
If you’re the type who likes to measure progress, focus less on speed and more on steady steps. You’ll reach Shira camp at the end of the day, and that camp becomes your launching point for the acclimatization climb on day three.
Day 3: Lava Tower for Acclimatization, Then Down to Barranco Camp
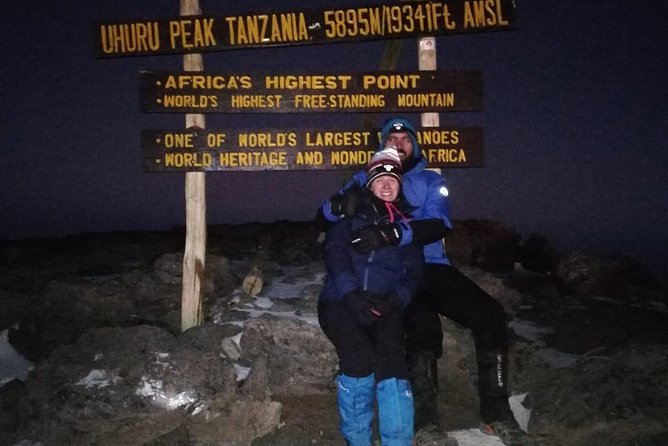
Day three is where you earn the right to feel a bit more confident later. You hike from Shira camp up to Lava Tower (15,000 feet) specifically to acclimatize. Then you proceed down to Barranco camp via the Great Barranco Wall.
What I like about this day is the “push then reset” pattern. You go high enough to challenge your body and encourage adaptation, but you don’t just keep climbing in a straight line. Instead, you descend toward a camp where you’ll sleep and recover.
You spend around 6 hours total. The wall route usually changes your focus: you pay attention to foot placement, you keep your breathing consistent, and you let the views do what they can. Once you’re in Barranco camp, you’ll likely appreciate how the camp experience matters too. Tonight’s camp is described as one of the best on the mountain, which tells you this isn’t only about distance—it’s about where you pause.
Day 4: Karanga Camp and the Steep Barranco Wall Climb
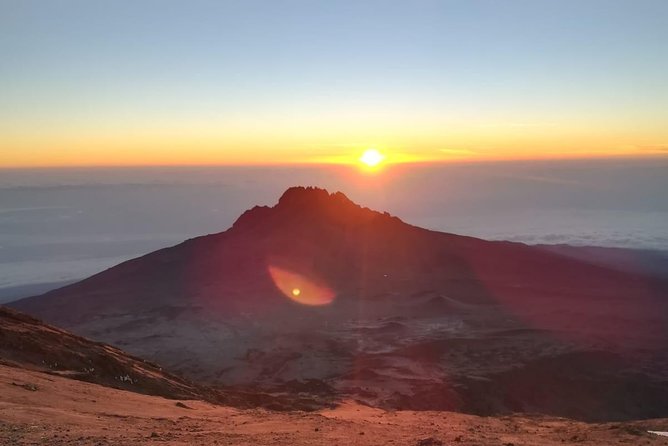
From Barranco camp, you climb up through the edge of the Great Barranco Wall. This is described as a tough morning climb on a steep trail, but once you reach the top, the views are very rewarding.
This day is a classic Kilimanjaro moment: the morning can feel like work, and then—if you pace it and keep moving—it turns into payoff. The trek time is around 7 hours, and this is the kind of day where rushing makes things harder than they need to be.
You end at Karanga camp. It’s a useful stop because it positions you for the next day’s final-camp approach and then the summit attempt. If you want one practical takeaway, it’s this: day four is your “confidence builder.” You’ve done steep terrain before, and now you prove you can handle it again.
Day 5: Barafu Camp, Rest-Time, and the Pre-Summit Savings Account
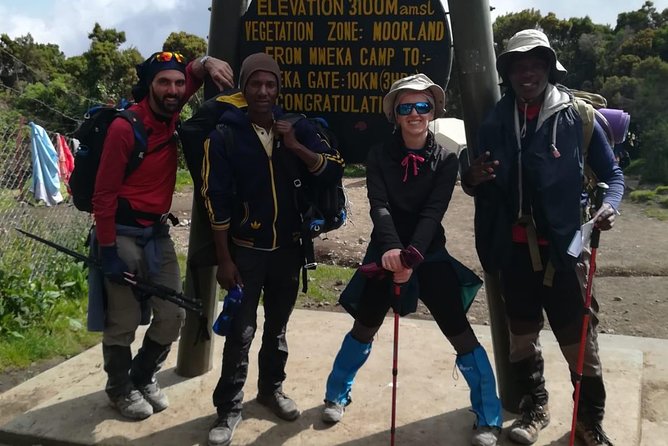
Day five is shorter than the previous days and hikes up to the final camp before the summit day. You’ll reach Barafu camp, and the itinerary is clear about what this day is for: get lots of rest, because you’ll need your energy later for the climb to the roof of Africa.
This is where the trip earns its “smart planning” reputation. After building altitude and doing steep wall sections, you don’t get thrown into another huge hike. You save what you have. You also start learning a basic rhythm of this mountain: conserve, eat, sleep, repeat.
The climb time is listed around 5 hours, so you don’t spend all day grinding. Still, don’t mistake “shorter” for “easy.” You’re already spending days at altitude, and your body still pays attention to every effort you make.
Day 6: The Midnight Summit Start and Watching Sunrise Over the Great Rift Valley
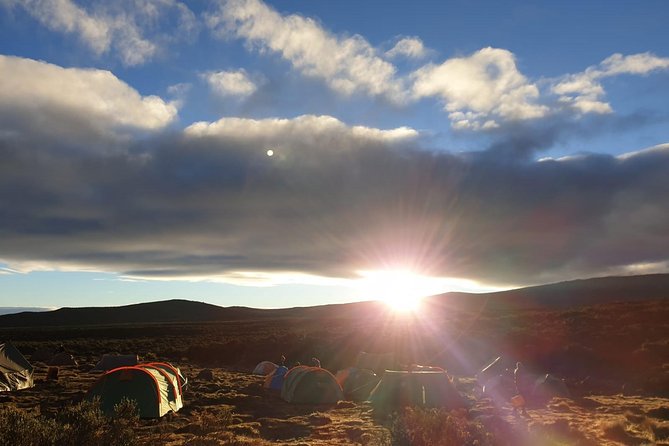
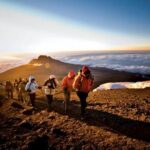
This is the day people talk about, and the schedule reflects why. You start trekking early just after midnight. The walk today takes 10–14+ hours, with an 1,100-meter ascent in just over 3 km. The itinerary also says the ascent is about 6–8 hours.
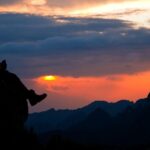
You’re trying to reach the summit to watch the sunrise over the Great Rift Valley, then you descend down the mountain to below the tree line. That combination—very steep early uphill work, then a long descent—means you need to think in stages, not in a single line of effort.
What I appreciate is that the itinerary doesn’t gloss over reality. It tells you it’s long. It tells you it’s steep. And it tells you it’s sunrise-focused. That helps you mentally prepare.
After sunrise and pictures, you shift into descent mode. Then you sleep at Mweka camp. This overnight is your recovery checkpoint before the final day.
Day 7: Mweka to Moshi and a Lush Forest Finish
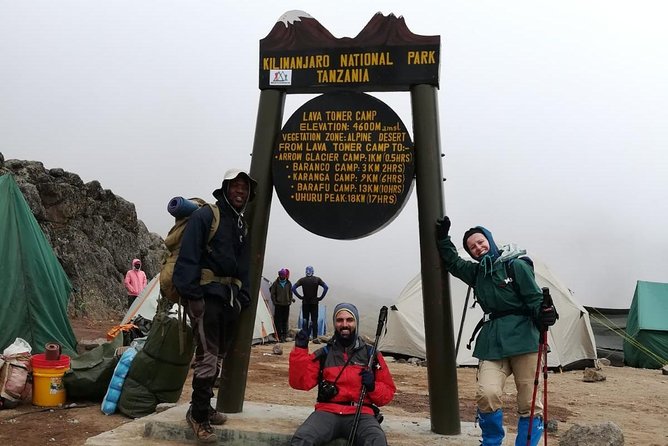
Your final day is a short hike out—around 3 hours—through lush forest. Then you meet the driver with the vehicle at the Mweka park gate and return to your hotel in Moshi/Arusha.
If the summit day is the big headline, day seven is the quiet exhale. Your legs might not feel great, but the route is shorter and designed to transition you from mountain mode back to normal life.
It’s also a nice practical close: you get a clear handoff from walking to driving. No confusion about pickup once you’ve finished.
Price and Value: What $1,200 Covers (and What You Should Budget For)
At $1,200 per person, this trek can feel like a big number until you look at what you’re actually getting. You’re not just buying a set of walking days. You’re paying for a full camp operation: sleeping tent and mattress setup, plus a team including guides, porters, and a chef. And you’re also getting included meals—6 breakfasts, 7 lunches, and 6 dinners.
That’s a real value point. Having your food and camp logistics handled matters on Kilimanjaro. It reduces the amount of stuff you need to carry and the number of moving parts you have to manage, especially when your body is tired.
One thing to watch: tipping/gratuity, travel insurance, and national park fee and tax are not included. The daily schedule also shows “admission ticket free” for multiple days, but the package fine print still says park fees and tax aren’t included. Before you go, ask for a clear, single total in writing so there are no surprises.
Who This Trek Suits Best (and Who Might Find It Tougher)
This route is best for people who want a structured 7-day climb and prefer a team that handles the heavy logistics. It’s also a good fit if you have moderate physical fitness and you can stay consistent even when the hikes get steep.
It’s not the right match if your plan is to move at a casual walking pace all the way through. Summit day is a long push starting after midnight, and the itinerary spells out the long duration and significant ascent.
That said, this climb can still work for non-athletes if they follow the pacing and take recovery seriously, especially on day five before the summit night. The support element is key here, and that’s where the provider’s staff like Victor, Tyson, and manager Thomas have been singled out for helping make the journey feel doable, even when moments get challenging.
Logistics That Matter: Start Times, Transport, and Group Size
The start time is listed as 8:30 am, and the tour is based in Moshi. You also get pickup offered and a mobile ticket, which is the kind of practical detail that reduces stress when you’re arriving in a new country.
The experience is also capped at maximum 100 travelers. That doesn’t mean you’ll be crammed into a massive mob on the trail every day, but it does suggest it’s not designed as an ultra-private trek. If you like predictable group management, this is a helpful boundary.
Also, the itinerary runs on weather reality. The experience requires good weather. If poor conditions cancel it, you’ll be offered a different date or a full refund. That matters because altitude travel is always sensitive to conditions.
Should You Book This 7-Day Machame Adventure?
You should book this trek if you want:
- a Machame-route plan that includes acclimatization (including Lava Tower)
- steep challenge days with a clear purpose (Barranco wall work and Karanga positioning)
- a summit attempt built around sunrise viewing
- camp logistics handled by a crew, with sleeping tent and mattress setup included
You might hold off or ask more questions if:
- you’re worried about the commitment of a midnight summit start and a very long day
- you want your total trip cost fully itemized up front, since tipping and park fees/tax aren’t included in the listed package
FAQ
What route is this trek based on?
This is the Machame route for a 7-day Kilimanjaro adventure.
How long is the trek?
It’s listed as 7 days (approx.).
Where does the trek start?
The experience is based in Moshi, Tanzania, and the start time is listed as 8:30 am.
Are pickup services included?
Yes, pickup is offered.
What camping and food are included?
Included camping equipment covers sleeping setup (tent and sleeping mattress). Meals are included: breakfast (6), lunch (7), and dinner (6).
Is the national park fee included in the price?
No. National park fee and tax are not included.
Is there free cancellation?
Yes. Free cancellation is available up to 24 hours in advance of the experience’s start time for a full refund.