REVIEW · MOSHI
Kilimanjaro Trek 6 Days Marangu Route
Book on Viator →Operated by Kilitwende Adventures · Bookable on Viator
Kilimanjaro feels close when you sleep in huts. This Marangu Route climb from Moshi mixes serious altitude with practical comfort: you’re in shared mountain huts instead of living out of a tent. I also like that the setup is crew-led and food-heavy, with three meals a day during the climb so you can focus on pacing and breathing.
The big trade-off is that even with the comfort, the summit night is still brutal. Day 4 starts just before midnight and the walking is steep and stony, plus some key gear like a sleeping bag may cost extra if you don’t pack it. The good news: you can add an extra day for acclimatization, which can help you arrive more ready for that push.
In This Review
- Key things that make this Kilimanjaro Marangu trek work
- Hut Life on Marangu: Why This Route Feels More Practical
- Price and Value: What $1,846.16 Actually Covers
- Day 1 From Moshi Briefing to Marangu Gate: Forest Walking and Registration
- Day 2 to Horombo Hut: Moorland, Elevation Gain, and the Maundi Crater Rim
- Day 3 Toward the Saddle and Alpine Desert: Where Pace Becomes a Survival Skill
- Day 4 Midnight Summit Strategy: Hans Meyer Cave, Gillman’s Point, and the Steep Stony Climb
- Day 5 Descent to Marangu Gate: Mandara Hut, Certificates, and Real Recovery
- Crew and Safety: Guides, Porters, Oxygen, and Local Support
- What You’ll Need to Pack (and What You Can Rent in Moshi)
- Who Should Choose Marangu (and Who Might Rethink the Plan)
- Should You Book Kilimanjaro Trek Marangu Route for 5 Days (or the Optional 6)?
- FAQ
- How long is the Kilimanjaro trek on the Marangu Route?
- What time does the trek start?
- What kind of accommodation do you use on the Marangu Route?
- Are meals included during the climb?
- Is oxygen included?
- What is the cancellation policy?
Key things that make this Kilimanjaro Marangu trek work
- Shared hut accommodations keep you out of tents and make sleeping more manageable
- Maundi Crater rim detour gives strong photo odds of Kibo Crater and glaciers on clear days
- Water planning matters: you’re advised to stock up early for the saddle day
- Midnight summit plan passes recognizable points like Hans Meyer Cave and Gillman’s Point
- Summit certificates: green for Gillman’s Point, gold for Uhuru Peak
- A local-feeling crew with motivated guides like Robert and Donovan, plus porters handling your gear
Hut Life on Marangu: Why This Route Feels More Practical
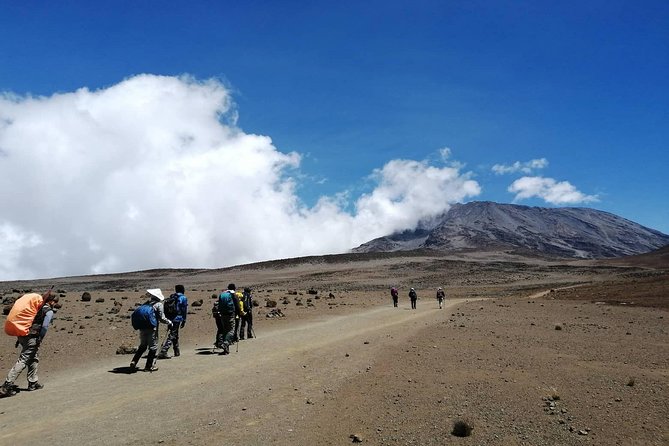
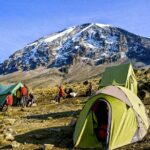
If Kilimanjaro is on your bucket list, the Marangu Route’s hut system is a huge reason people choose it. Instead of carrying a tent and setting up camp, you move from hut to hut in shared basic beds. It doesn’t mean luxury. It does mean you’ll spend less energy on camp logistics and more energy on acclimatization and rhythm.
This route also keeps you in familiar “camp rhythm” each night. You hike during the day, you eat well (meals are included during the climb), and you recover in a place designed for trekkers heading up Kilimanjaro. That matters because the climb is really about managing fatigue before the real altitude test arrives.
I also like that the camps have a bit of creature comfort you can buy if you want it, including mineral water, soft drinks, chocolates, and even beer at each camp. No, it’s not essential. Yes, it can be nice when you’re cold and want something familiar.
You can also read our reviews of more tours and experiences in Moshi.
Price and Value: What $1,846.16 Actually Covers
This climb costs $1,846.16 per person, and the value comes down to what’s bundled versus what’s not. What’s included is more than just guides and a bed.
Included highlights you should care about:
- Expert guides, cook, assistant guides, and porters
- Park entry fees, Marangu hut fees, forest fees, and rescue fees (with 18% VAT on tour fees/services)
- Oxygen tank in case of emergency
- Transfers to and from the mountain gates
- Hotel accommodation for 1 night before and 1 night after (bed and breakfast)
- Three meals a day during the climb
- Bottled water on the first day boiled and filtered on the mountain
- Summit certificate administration on completion
What you should budget separately:
- Personal gear (and some items can be rented in Moshi), plus tips for porters and guides
- A sleeping bag (listed rental cost $40 if needed) and walking boots ($40) and other gear if you’re not prepared
- Any drinks beyond the included climb meals, and hotel meals in Moshi before/after
- International travel docs like visas and insurance (plus flights)
So the real decision isn’t just the sticker price. It’s whether you want the operator to handle the messy parts: hut fees, park fees, the mountain kitchen, and the porter network. If that sounds like a relief, this is priced like a “less thinking, more hiking” plan.
Day 1 From Moshi Briefing to Marangu Gate: Forest Walking and Registration
Your day starts with a briefing from the climbing guides, then a transfer to Marangu Gate (about 45 minutes, arriving around 9:00 am). Before you hike, you’ll handle the normal registration steps at the gate in Marangu village.
This first hiking stretch is about 5 hours over roughly 12 km, with a climb of about +720 m through montane forest. It’s a good day to get your breathing settled and test your layers. Forest conditions can still feel warm, then suddenly chilly when clouds roll in, so being able to adjust is key.
Bring a backpack for the small stuff you’ll actually need while walking: camera, extra clothing, skin oil, a rain jacket, and essentials that won’t live in your porter-managed pile.
One small but important reality: you’re signing up for height, not just distance. Day 1 is easier than the days to come, but don’t use that as a reason to speed up. Start calm, because Day 4 will come whether you feel ready or not.
Day 2 to Horombo Hut: Moorland, Elevation Gain, and the Maundi Crater Rim
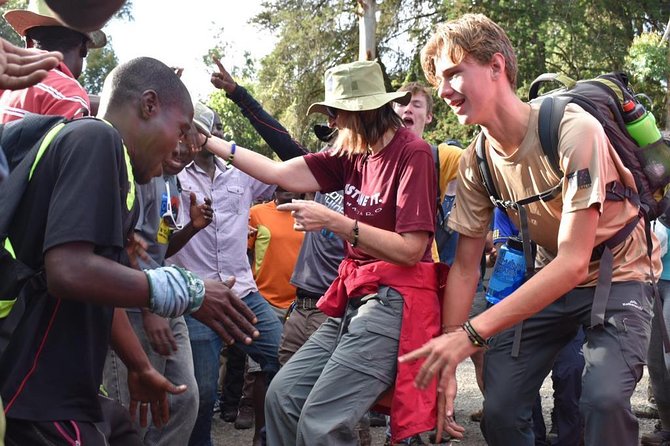
Day 2 runs about 6 hours over around 15 km with a bigger elevation push (+1020 m). The habitat shift is one of the more interesting parts of the climb: you leave forest behind and step into moorland.
After breakfast, you climb toward Horombo hut with a picnic lunch. The trail includes a short forest section after Mandara hut, then it opens into moorland around the Maundi Crater base.
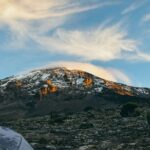
This is also where you get a recommended detour: going up to the Maundi Crater rim. The payoff can be big on a clear day—expect views toward Kibo Crater, and sometimes even glimpses of the glaciers of Kibo. If photography matters to you, this detour is worth taking seriously. It’s not long, but it’s where the day turns from “climb” into “wow.”
The downside to moorland trekking is weather can change fast. You may start calm and end in wind, so keep your rain jacket accessible.
Day 3 Toward the Saddle and Alpine Desert: Where Pace Becomes a Survival Skill
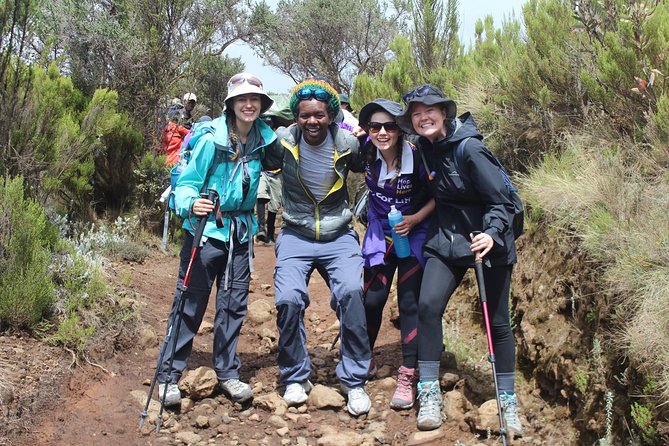
Day 3 is about 6 hours and roughly 15 km, with +980 m elevation gain, and it moves you into alpine desert. This is the day when many people start feeling that oxygen has thinned out.
You’ll be advised about route choices to the “Saddle” between Mawenzi and Kibo, and the instruction is clear: stick to the lower route. It’s easier, and it also takes you past the last watering point. That detail isn’t trivia. It’s logistics tied to safety.
Here’s the practical move: stock up with the water you’ll need, because the next watering point is at Horombo hut when you return on your descent. On Kilimanjaro, dehydrated feels like altitude sickness. Drink steadily and don’t try to “save water” for later in a panic.
Even if your legs feel good, slow down. The “hard” part of altitude climbs is often how quickly you burn energy before your body has time to adapt. Day 3 is where smart pacing pays rent.
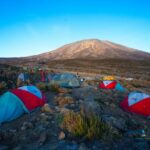
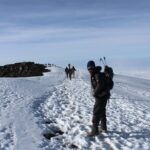
Day 4 Midnight Summit Strategy: Hans Meyer Cave, Gillman’s Point, and the Steep Stony Climb
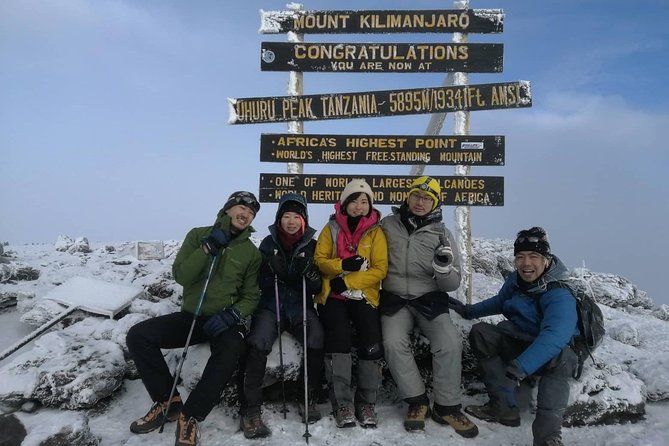
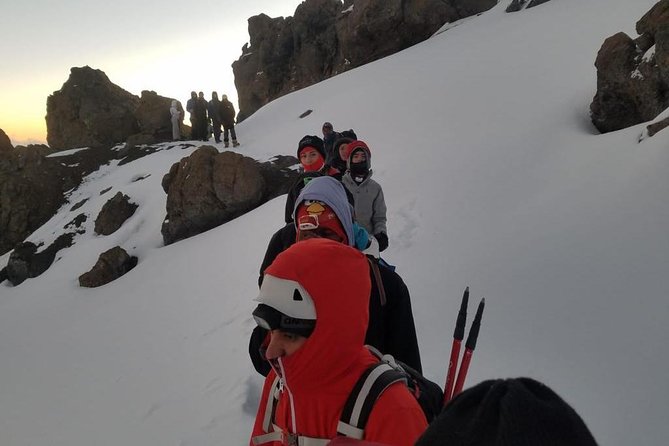
Day 4 is the toughest day: about 10 hours of hiking over roughly 27 km with a net gain of +1195 m and a descent of –2175 m along the way. You’ll hike through stone scree and into the ice-capped summit zone.
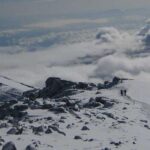
You’ll be woken just before midnight, then head out in cold darkness up a rocky path toward Hans Meyer Cave at 5150 m. You can take a short rest there before continuing to Gillman’s point at 5680 m. This is likely the most demanding section of the route: steep, stony, and slow-moving by design.
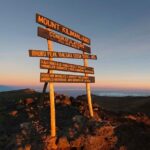
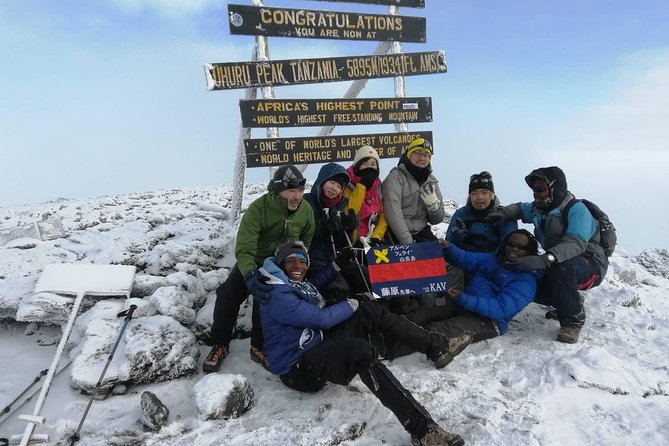
From Gillman’s Point, you may walk through snow for the next couple of hours. Then the plan is to reach the summit at Uhuru Peak. Once you’re that high, you don’t need heroics. You need steady steps and the ability to stay focused when your brain starts bargaining with you.
Two things I’m glad this itinerary spells out:
- The climbing markers (Hans Meyer Cave, then Gillman’s Point) give you a mental checklist.
- The route timing is realistic: this is not a “quick hike” day. It’s a long night, and you should treat it like one.
Day 5 Descent to Marangu Gate: Mandara Hut, Certificates, and Real Recovery
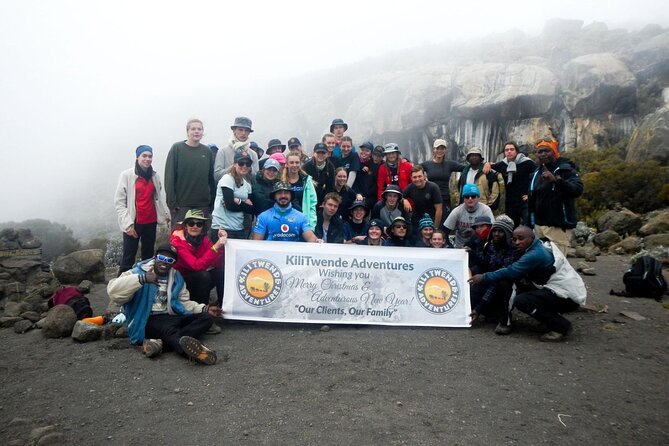
After an early breakfast, you’ll start your descent. Day 5 is about 6 hours over roughly 27 km, with a drop of about –1740 m through moorland and rain forest.
You pass Mandara hut and continue down toward Marangu gate, where you’ll sign a register and receive your summit certificate. The certificate details are straightforward:
- If you reached Gillman’s Point, you receive a green certificate
- If you went all the way to Uhuru Peak, you earn a gold certificate
Even if you’re chasing gold, the green certificate matters. It’s proof you made it through the hardest altitude territory on the Marangu Route.
When you reach Marangu gate, you transfer back to your hotel for a long hot shower and time to sleep in a bed. The “recovery day” feeling is real, and it’s part of why hut routes work well: you’re not just surviving the climb, you’re returning to normal life fast.
Crew and Safety: Guides, Porters, Oxygen, and Local Support
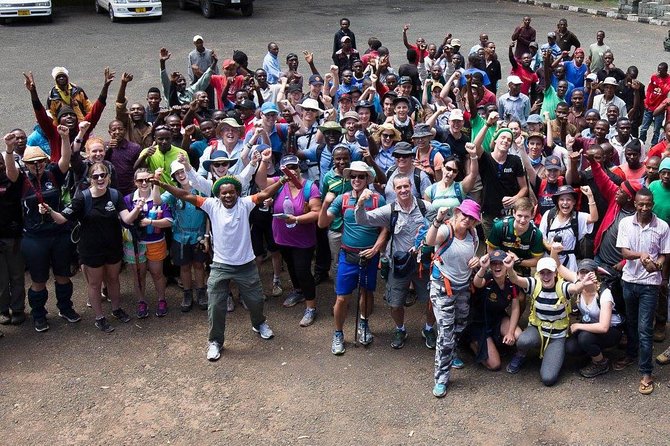
This is one of the most praised parts of the experience in feedback you can learn from. People highlight service that feels sincere and supportive without being pushy. They also note the operation uses dedicated Tanzanian staff, with the kind of logistics you want at altitude: trucks, organized bags, and people who handle the mountain workload.
The porter system matters on Kilimanjaro. Your porters handle equipment and supplies, so you can carry only what you need for the day hike. That can mean the difference between finishing Day 2 feeling solid versus dragging into Day 3.
On the guide side, you may be motivated by names like Robert and Donovan, who are singled out for pushing encouragement and support. It’s not just “being nice.” On summit night, that kind of coaching helps you keep moving when you’re cold, tired, and tempted to stop too often.
Safety-wise, oxygen tank support is included in case of emergency. That’s not a guarantee of a smooth outcome, but it’s a real reassurance that the plan includes contingency thinking.
What You’ll Need to Pack (and What You Can Rent in Moshi)
Gear is a common sticking point, and this itinerary makes it clear what’s not included. Personal gear and equipment may be rented in Moshi before you start trekking, and rental costs listed include:
- Sleeping bag: $40
- Duffle bag: $35
- Hiking boots: $40
- Walking sticks: $10
Even if you rent, try not to improvise in the last 24 hours. Cold nights and fast weather shifts can punish wrong choices.
A practical packing list based on what you’ll actually carry on the hike:
- A rain jacket
- Camera or phone with a secure cover
- Extra cloth (layers you can add or remove)
- Skin oil (if that’s part of your routine)
- A small set of essentials in your backpack while porters manage the bulk
On the mountain, the itinerary also notes bottled water on day one is boiled and filtered. After that, you’ll rely on the water plan for each stretch. That includes the specific advice to stock up for the saddle day because you won’t have the same access until you return to Horombo hut.
Who Should Choose Marangu (and Who Might Rethink the Plan)
This trek is suited for people with moderate physical fitness. That phrase sounds casual, but on Kilimanjaro it means you can hike for hours at a steady pace, handle stairs and steep sections, and you’re not new to being uncomfortable.
Choose this if you:
- Prefer hut sleeping over tents
- Want a route with built-in daily food and crew support
- Are motivated by the structured “camp rhythm” of a well-planned itinerary
Consider other options if:
- You hate the idea of midnight wake-up and a very long summit night
- You’re not able to prepare for cold, steep walking on Day 4
- You don’t want to manage gear and costs for sleeping essentials
If you’re on the fence, the optional extra acclimatization day offered by the operator is worth seriously thinking about. It’s built for improving your odds by adding more time for your body to adjust.
Should You Book Kilimanjaro Trek Marangu Route for 5 Days (or the Optional 6)?
Yes—if you want a Kilimanjaro plan that feels organized, staffed, and built around comfort where it counts. The hut system alone helps a lot. The included meals, guides, porters, hut fees, and rescue coverage turn it into a “let the team run the machine” style of trekking.
I’d book if you’re also the type who follows pacing advice, drinks water when told, and takes the schedule seriously. This itinerary gives you clear milestones (Hans Meyer Cave, Gillman’s Point, and the certificate markers), and that structure helps you stay calm on summit night.
I’d think twice if you’re trying to “wing” gear or you’re hoping for an easy climb. Day 4 is a long, steep night climb, and the altitude doesn’t care about good intentions.
FAQ
How long is the Kilimanjaro trek on the Marangu Route?
The core itinerary is about 5 days. The operator also offers an extra day to add acclimatization, which makes it closer to a 6-day plan.
What time does the trek start?
The meeting point start time is 8:30 am.
What kind of accommodation do you use on the Marangu Route?
You sleep in shared huts along the route, which means no tents are required.
Are meals included during the climb?
Yes. Three meals a day are included during the climb.
Is oxygen included?
An oxygen tank in case of emergency is included.
What is the cancellation policy?
Free cancellation is offered. You can cancel up to 24 hours in advance for a full refund. If you cancel less than 24 hours before the start time, the amount you paid will not be refunded.