REVIEW · POKHARA
From Pokhara: 4-Day Mardi Himal Base Camp Trek
Book on GetYourGuide →Operated by Snow Peak Tours and Travels pvt. ltd. · Bookable on GetYourGuide
Four days, big mountains, and calmer trails. This private Mardi Himal trek from Pokhara takes you through rhododendron forests, climbs to High Camp, and gives you mountain views that feel close enough to reach.
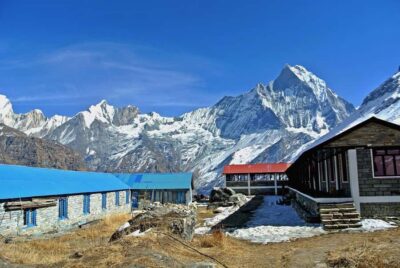
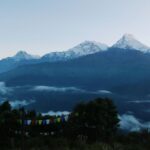
I really like the pacing options. You’re not locked into one suffering level, and the route still delivers sunrise drama over Machapuchhre and Annapurna South.
One heads-up: this is a physically demanding hike. Expect steep sections, lots of stairs, and cold temps at altitude, plus sunrise visibility can be hit-or-miss with cloud.
In This Review
- Key Highlights You’ll Actually Feel
- Mardi Himal in 4 Days: Why This Route Works
- From Pokhara to Kande and Forest Camp: Easy Start, Real Climb Ahead
- High Camp Day: Rhododendron to the Views of Machapuchhre
- Sunrise Push to Mardi Viewpoint and the Base Camp Choice
- Low Camp to Siding, Lumre, and Back to Pokhara
- Tea House Nights: Comfort Level, Food Choices, and Realistic Expectations
- Guide and Porter Value: The Difference Between a Trek and a Stress Test
- Getting Permits, Staying Safe, and Handling Altitude
- Price and Value: Is $138 Actually Fair?
- Who This 4-Day Mardi Himal Trek Best Fits
- Should You Book This Mardi Himal Trek?
- FAQ
- Is this trek private or shared?
- How long is the Mardi Himal Base Camp trek?
- How hard is the hike?
- What’s the highest point on this route?
- Are permits included?
- Do I need to submit my passport in advance?
- What language is the guide?
- Is accommodation included?
- Is travel insurance required?
- Can I cancel for a full refund?
Key Highlights You’ll Actually Feel
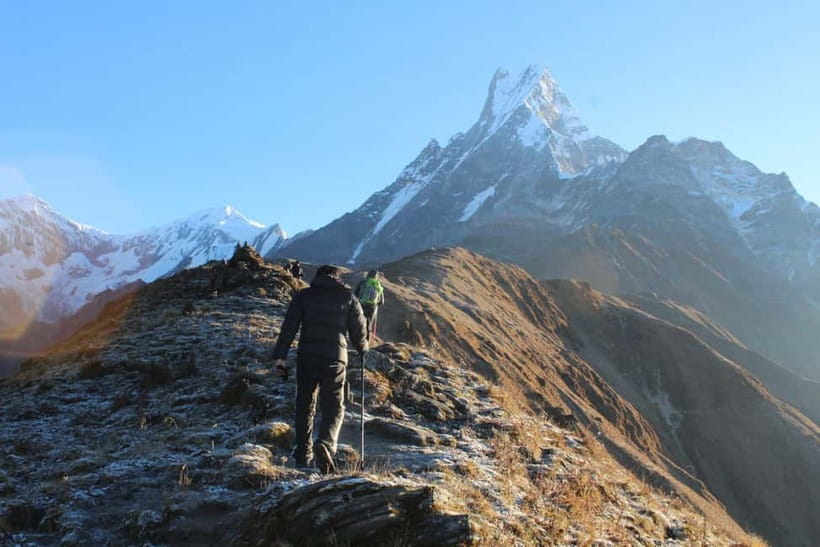
- Machapuchhre sunrise vibes from the high viewpoints when the sky cooperates
- Rhododendron and oak forests on the way up, then an alpine feel near the top
- Private guiding that adjusts to you, with guides named Anil, Tanka, and Santosh praised for patience
- Optional effort on Day 3, from Mardi Viewpoint to a higher base-camp goal if you’re fit
- Cozy tea houses in small mountain stops, with meals included only if you choose that add-on
- A quieter route feel compared to more famous Annapurna trails, especially on the mountain sections
Mardi Himal in 4 Days: Why This Route Works
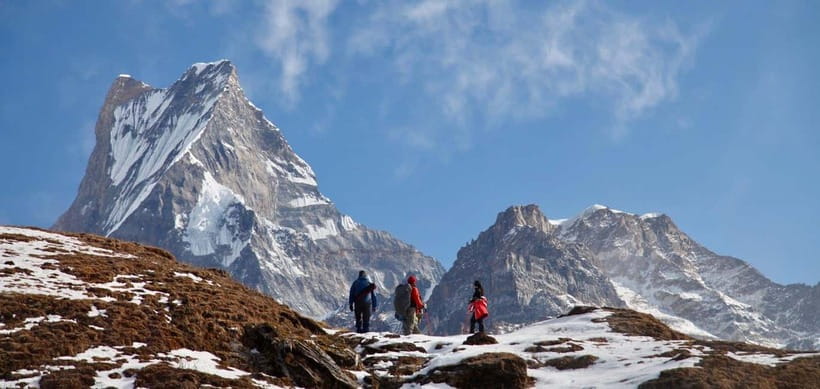
If you want Annapurna drama without spending a week on a trail, Mardi Himal is a smart match. The big win is how the scenery changes fast: forest paths turn into higher, windier viewpoints within just a few days.
You start near Pokhara, then climb to a high point around 3,580 m, push higher for views near 4,200 m, and—if you feel good—go toward 4,500 m. That’s a lot of altitude experience in a compact schedule, so you get the “Himalaya moment” without burning your whole vacation.
The private format matters too. A trekking guide can slow down for you, speed up if you’re feeling strong, and handle the little decisions (when to stop, how long to linger for photos, what pace feels safe). In the feedback I saw, guides like Anil and Tanka got called out for being patient and attentive—exactly what you want on stairs.
You can also read our reviews of more tours and experiences in Pokhara.
From Pokhara to Kande and Forest Camp: Easy Start, Real Climb Ahead
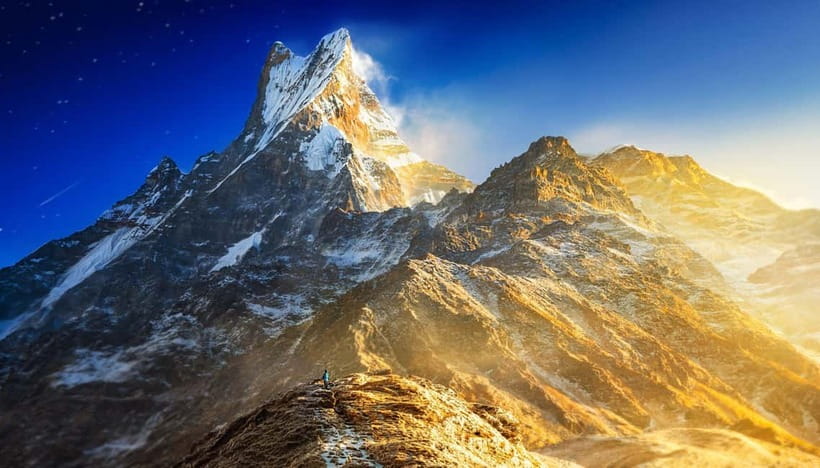
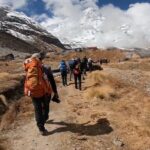
Day 1 starts with a short drive from Pokhara to Kande, roughly an hour. Then you begin hiking through trails that connect spots like Australian Camp and Pothana, with forest shade and early mountain glimpses.
The day is set up well for your first rhythm. You’ve got several hours of walking—about 5–6 hours—ending around Forest Camp at 2,550 m. That’s high enough to feel the mountain air, but not so high that you’ll be miserable right away.
The path choice here is practical. You’ll spend a chunk of the day in rhododendron-heavy terrain, which tends to feel cool and scenic as you gain elevation. Just remember: even when it looks lush and gentle, you’re still climbing for real.
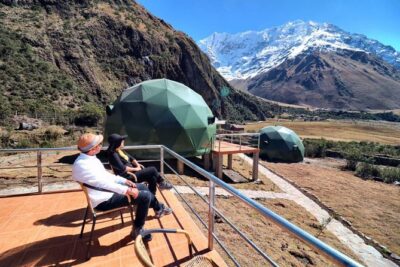
Overnight is in a teahouse in Forest Camp. Expect simple comfort: a warm room if you’re lucky with weather, hot drinks when you can, and the same basic mountain setup you’ll find throughout the route. This is one of those treks where you sleep well because you earned it.
High Camp Day: Rhododendron to the Views of Machapuchhre
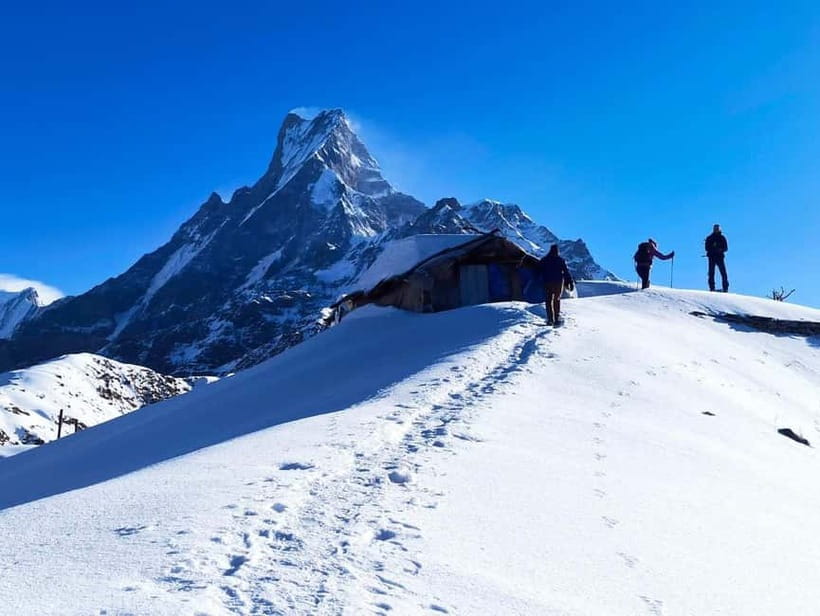
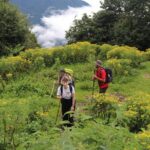
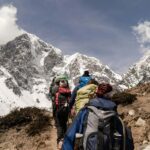
Day 2 is where Mardi Himal starts to feel like a proper trek. You’ll hike uphill for about 6–7 hours through dense rhododendron and oak forests, gaining height steadily toward High Camp at 3,580 m.
This is also the day you’ll feel the altitude shift in your breathing. It’s not just “climbing”; it’s climbing while moving from warmer forest to colder air. Your guide’s job isn’t only navigation—it’s pacing. In the feedback, guides were praised for adjusting pace when trekkers needed breaks, which is a big deal when your legs are tired and your lungs start negotiating.
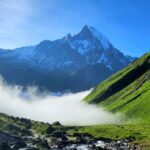
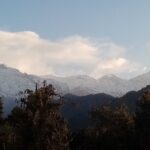
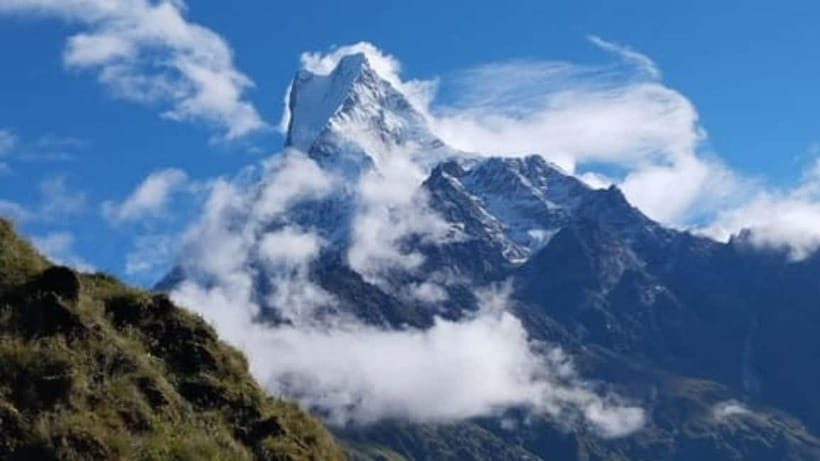
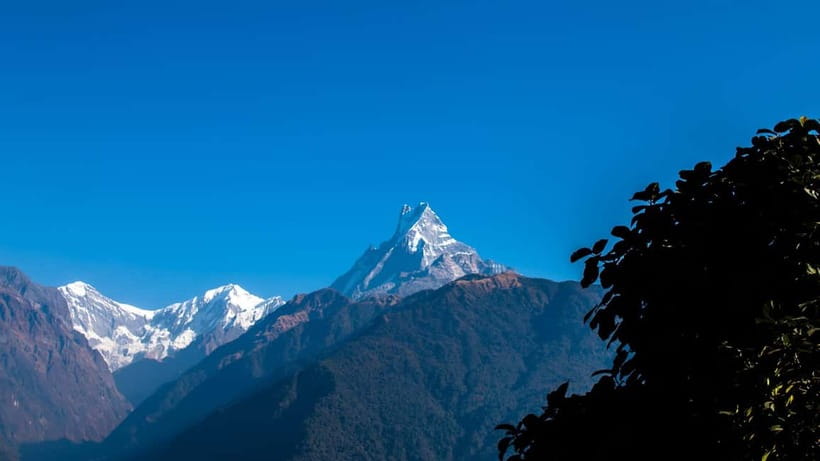
When you reach High Camp, the reward is the view focus. You’re aiming for scenes like Machapuchhre and Annapurna South. One thing to know: at these heights, clouds can roll in quickly. So if you see clear skies, use the time you have for photos and short breaks.
You stay another night at High Camp. That means one more chance to soak in the mountain drama, and it also sets you up for a potentially early start the next morning.
Sunrise Push to Mardi Viewpoint and the Base Camp Choice
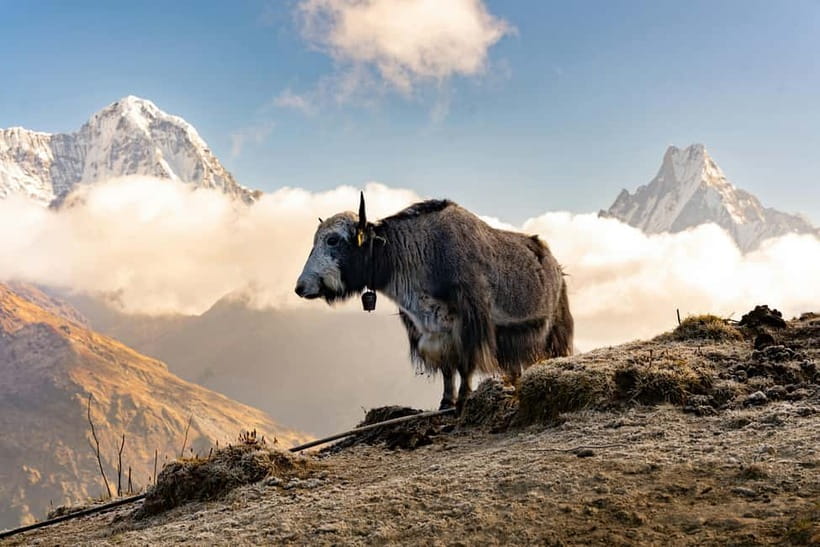
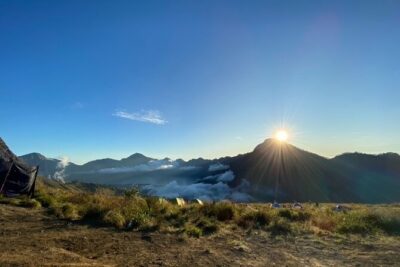
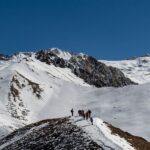
Day 3 is the “big decision” day. You start early with a hike of about 3–4 hours to Mardi Himal Viewpoint around 4,200 m. From there, you get sunrise over the Annapurna range with Machapuchhre as a highlight from high altitude viewpoints.
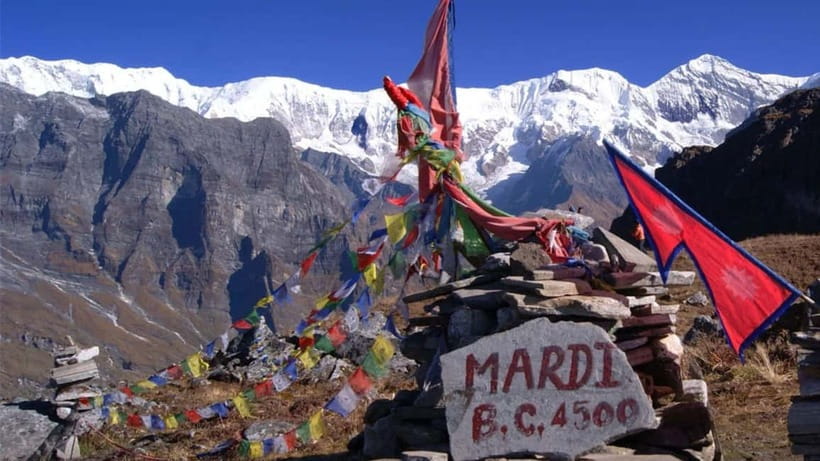
Here’s the practical part: the route is designed so you can go as far as you’re comfortable. There’s an optional push to Mardi Himal Base Camp near 4,500 m if you’re fit and feeling good. If you’re not, you still get a strong viewpoint experience without stretching yourself too far.
This is where trekking skills become less about toughness and more about smart energy use. At altitude, going “hard” can backfire. Your best move is steady walking, short stops, and saving the final effort for viewpoint time (not for fighting your own pace).
Then you descend to Low Camp around 2,970 m. The downhill takes roughly 3–4 hours. It’s usually easier for your lungs but harder on your knees and feet. Bring shoes you trust and take your time on any steep steps.
Evening at Low Camp brings a different vibe. The air feels less sharp, and you get the sense you’re exiting the “cold zone” and returning toward village trails.
Low Camp to Siding, Lumre, and Back to Pokhara
Day 4 is about finishing strong, not crushing yourself. You hike downhill to Siding Village for about 4–5 hours. Then there’s a shorter walk of about an hour onward to Lumre.
This part matters because it feels less like the peak-day grind and more like a travel day with views. You’re also moving through smaller stops that feel remote compared with the busiest trekking corridors.
After the hike, you drive back to Pokhara, roughly an hour. So yes, you end the trek with motion and recovery time, not a second all-day climb. That’s a big part of why this 4-day plan works for many schedules.
Tea House Nights: Comfort Level, Food Choices, and Realistic Expectations
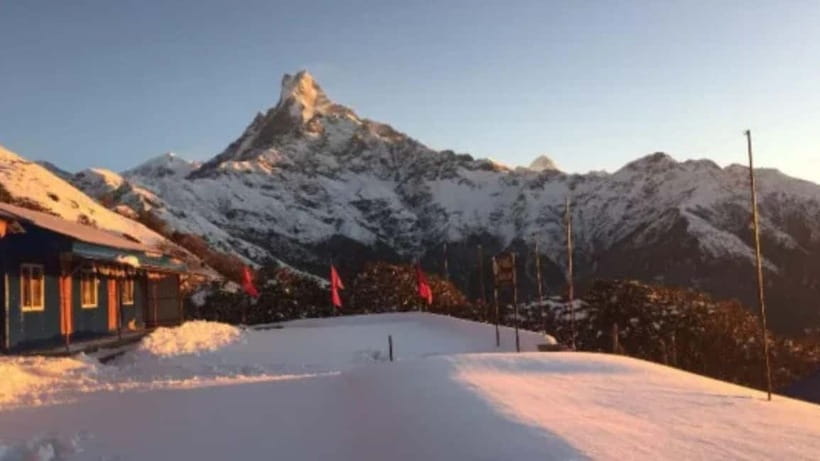
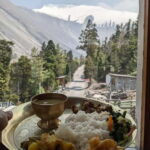
This trek uses simple tea houses or lodges along the route. That usually means warm drinks, basic meals, and shared spaces where you can recharge and plan tomorrow.
Food is typically part of the experience, but the important detail is selection. The trek can include breakfast, lunch, and dinner if you pick that option. If you don’t, you’ll likely order food at the tea houses like most trekkers do.
Here’s my practical budget advice: one solo traveler warned that the meals-included upgrade can cost much more than ordering à la carte. I wouldn’t assume every plan is overpriced, but it’s worth checking how the included meals are priced versus buying what you actually want each day.
Also plan for drinks. Tea and coffee are often available, and water rules can vary by place and season. The safe play is to budget for hot drinks and any extras, and keep cash on hand as personal expenses are not included.
Guide and Porter Value: The Difference Between a Trek and a Stress Test
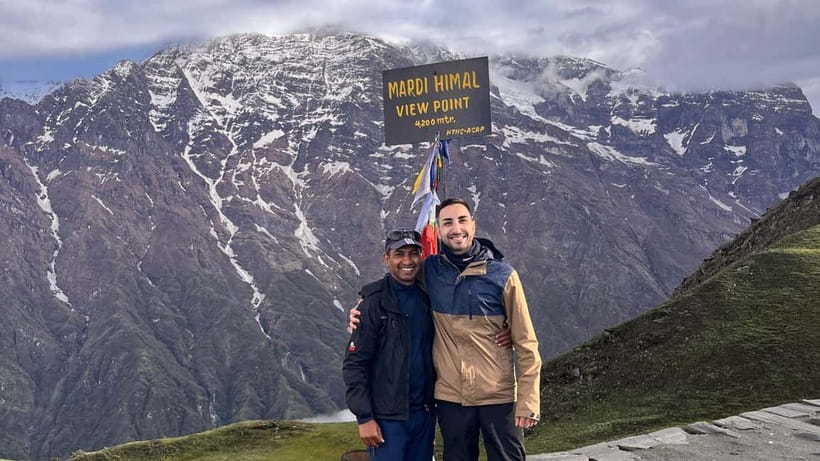
The private guiding is the core value here. You get an English-speaking trekking guide certified by the Nepal Government, plus help with paperwork like required permits and TIMS fees being handled.
What you feel day to day is pacing and confidence. In the feedback, guides such as Anil, Tanka, Dhanapati, Bala, and Santosh were praised for being kind, attentive, and flexible. That shows up when you need extra stops, when steep stairs slow you down, or when you want to keep the walk enjoyable instead of turning it into a battle.
A porter can also be included if you select that option. If you’re carrying your own gear, you’ll move slower and feel the fatigue sooner. With a porter, you can focus on walking and breathing. One review even highlighted porter support during stair climbs, which is exactly where weight becomes the problem.
If you’re traveling solo, this kind of support can also make the trek feel more manageable. The route still has effort, but you’re not stuck figuring everything out alone.
Getting Permits, Staying Safe, and Handling Altitude
Permits and paperwork are included. You’ll need to submit a copy of your passport at least one day before the trek so permits can be arranged for the Government of Nepal.
Altitude is the other safety reality check. While you’re not going to extreme heights like the tallest routes in Nepal, you still climb to around 4,200 m and potentially 4,500 m. Cold temps are common up high, and that can change fast even within a day.
Travel insurance is mandatory. That’s not a suggestion—it’s part of the safety requirement. Make sure your policy covers trekking activity at these elevations.
What to bring is straightforward: comfortable shoes, warm layers, and a passport or ID card. Also pack a camera and cash. Temperatures can vary significantly, so bring clothes for both warm daytime walking and cold early mornings.
Price and Value: Is $138 Actually Fair?
At $138 per person for a 4-day private trek, the value comes from what’s handled for you. You’re paying for a certified guide, permits and TIMS fees, transportation in and out of Pokhara, tea house accommodation, and a first aid kit.
This pricing can make sense especially because you’re not just buying a route—you’re buying planning and risk reduction. The guide and the paperwork matter, and private pacing means you don’t feel forced to do everything at a single speed.
One cost question is meals. If your plan includes meals, verify what’s included and compare it to ordering at tea houses. If it’s not clearly priced, you might end up paying more than you expected, which one traveler flagged after booking a meals-included option.
Also consider porter add-ons. If you’re trying to keep this trek fun (not punishing), a porter is often worth it for comfort, especially if you’re not used to hiking with gear.
Net: for a 4-day private guided experience with transport and permits handled, this price can be a solid deal. Just sanity-check any included meal upgrades and decide what carry setup you want.
Who This 4-Day Mardi Himal Trek Best Fits
This trek fits well if you want a high-mountain view payoff in a short window. You’ll get forest walking, cold-weather viewpoints, and sunrise potential without needing a week of training.
It also fits beginners with support. The route is still physically demanding, but private guiding and optional effort on Day 3 can help you match the hike to your fitness level.
You’ll likely enjoy it if:
- you like quiet trails and frequent scenery changes
- you want a clear plan with tea house nights
- you care about sunrise viewpoints, especially Machapuchhre
- you’re okay with stairs and steep sections
If you hate cold mornings or you’re not comfortable with altitude at around 4,200–4,500 m, you may prefer a lower-elevation trek. But if you can walk steadily and bring warm layers, this is a rewarding choice.
Should You Book This Mardi Himal Trek?
Yes, consider booking if you want a focused 4-day Annapurna trek with private guidance, a manageable structure, and a real chance at big sunrise views. The itinerary’s “choose-your-effort” approach on Day 3 is especially helpful—Base Camp is optional, but the viewpoint is still the payoff.
Skip or rethink the booking if you’re expecting an easy stroll. This hike includes steep climbs, many stairs, and cold altitude conditions. Also double-check meal-included add-ons so you don’t pay extra for food you’d rather pick yourself.
If you do book, do one thing that makes a huge difference: pick shoes you trust for downhill steps, and plan warm layers for early mornings near the viewpoint.
FAQ
Is this trek private or shared?
It’s a private group trek, with a professional guide and optional porter depending on what you select.
How long is the Mardi Himal Base Camp trek?
The duration is 4 days.
How hard is the hike?
It’s physically demanding. You can expect steep sections and lots of stairs, plus altitude changes that can feel tougher than the trail distance suggests.
What’s the highest point on this route?
You’ll reach Mardi Himal Viewpoint at about 4,200 m. There’s an optional push to Mardi Himal Base Camp around 4,500 m if you’re fit.
Are permits included?
Yes. Trekking permits and TIMS fees are included, and the provider handles the paperwork.
Do I need to submit my passport in advance?
Yes. You should submit a copy of your passport at least one day before the trek so permits can be arranged.
What language is the guide?
The live tour guide speaks English, Hindi, and Nepali.
Is accommodation included?
Yes. You’ll stay in simple tea houses or lodges along the trekking route.
Is travel insurance required?
Yes. Travel insurance is mandatory for safety and peace of mind.
Can I cancel for a full refund?
The offer states free cancellation up to 24 hours in advance for a full refund.