REVIEW · KATHMANDU
Manaslu Circuit Trek – 14 days of Himalayan Adventure
Book on Viator →Operated by Wonder Himalaya · Bookable on Viator
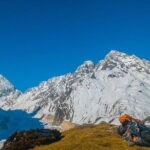
Manaslu Circuit Trek turns big mountain scenery into a step-by-step journey, with Manaslu (8,163 m) looming above you for days. I like that the route is planned around real trekking days, plus a built-in acclimatization stop to help you keep moving comfortably. The mix of Budhi Gandaki river valleys, rhododendron forests, and Buddhist sites keeps the days varied instead of repeating the same scenery.
A second thing I really like is the way the experience takes care of the practical stuff. You get a licensed trekking guide, strong support from the team, and even an oximeter to check heart rate and oxygen saturation, along with trekking gear like a down sleeping bag and walking poles.
One drawback to consider: it’s not a casual walk. You need moderate physical fitness, and the trek includes a high pass day (Larkya La), which means long walking hours and cold, thinner-air conditions.
In This Review
- Key things to know before you go
- Manaslu Circuit Trek: what you’re really signing up for
- Day 1 in Kathmandu: arrival support that reduces stress
- Day 2: the drive to Maccha Khola and your first river views
- Days 3-4: Jagat and the Budhi Gandaki river corridor
- A practical note
- Days 5-6: Namrung, Bihi Phedi, Bihi, and Tibetan-influenced trails
- Day 7: Shyala to Sama Gaon and the Manaslu massif getting closer
- Day 8: acclimatization at Birendra Taal and Labrang Gompa
- Days 9-10: Samdo and the rockier climb with prayer flags
- What to watch
- Day 11: Larkya La Pass and the long move down to Bhimtang
- Day 12: forest descent and lower-elevation relief
- Day 13: the long ride back toward Kathmandu
- Day 14: airport transfer and the final check
- Price and value: what $1,099 really covers
- Guides, safety checks, and gear support you’ll feel on-trail
- Who this trek is best for (and who should pass)
- Should you book this Manaslu Circuit trek?
- FAQ
- Where is the meeting point when I arrive in Kathmandu?
- Does the trip include pickup or transfers in Kathmandu?
- How long is the Manaslu Circuit Trek?
- What permits are included?
- Is there oxygen monitoring on the trek?
- What trekking gear is included?
- What’s the cancellation rule if I need to change plans?
Key things to know before you go
- Manaslu Conservation Area plus restricted-area permits are included, so you’re covered for the legal side of the route.
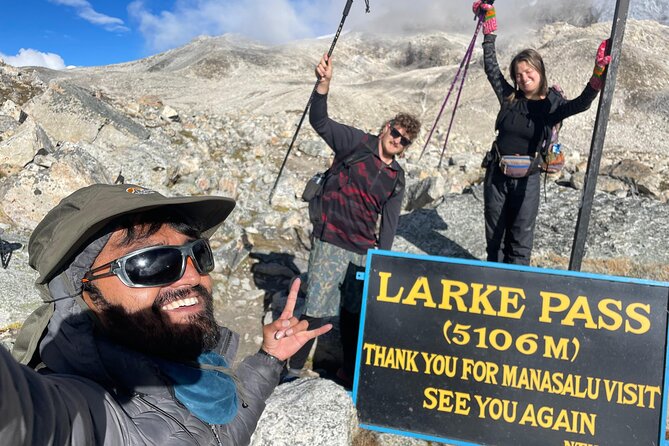
- Larkya La Pass is the main high-altitude milestone, then you drop toward Bhimtang.
- Acclimatization day includes a short hike to Birendra Taal Lake and a monastery visit (Labrang Gompa / Kargya Chholing).
- Culture shows up often: mani walls, chortens, prayer flags, and Tibetan-influenced villages.
- Care-focused guiding is part of the package; guides like Santosh are highlighted for staying attentive to the group.
- Most meals are included, which helps your budget, but bottled water and snacks aren’t.
Manaslu Circuit Trek: what you’re really signing up for
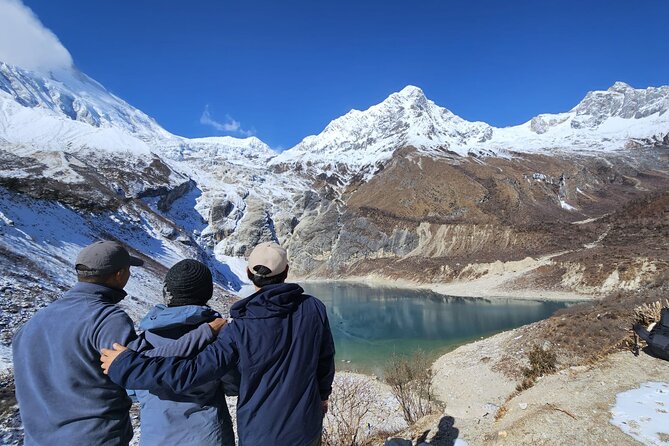
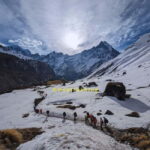
This trek is about altitude, yes—but it’s also about rhythm. The Manaslu Circuit builds slowly: forests and river valleys first, then the trail starts feeling higher and more exposed, with the Manaslu massif becoming harder to ignore.
What makes Manaslu feel special is the blend of mountain drama and human detail. You’ll pass through settlements with Tibetan influence, see Buddhist architecture up close, and walk past mani walls and chortens where the trail has a spiritual feel—not just a scenic one. And because this trek is often less crowded than other famous Nepal routes, you’re more likely to feel like you’re sharing the mountains with locals and your small group rather than a constant stream of foot traffic.
You can also read our reviews of more tours and experiences in Kathmandu.
Day 1 in Kathmandu: arrival support that reduces stress
You land at Tribhuvan International Airport, and a Wonder Himalaya representative meets you with a placard holding your name. That small touch matters more than you’d think. In Kathmandu, your first job is usually figuring out where to go next, where your bags should be, and how your first day will unfold. Having that person waiting helps you get your bearings fast.
This is also where your trip becomes real: you’ll confirm the plan for the days ahead and get a sense of who’s on your team. If you’re trekking solo, this first contact is especially useful—one of the strong points mentioned in traveler experiences is that staff like Niranjan help match the right offer to your preferences.
Day 2: the drive to Maccha Khola and your first river views
After early breakfast in Kathmandu, you head out by road toward Maccha Khola. The drive is not just transportation—it’s your warm-up and your orientation to the region’s major geography.
Along the way, you’ll witness views of the Trishuli and Budhi Gandaki River. Those rivers aren’t just pretty from the car. Later, the trekking route will follow the same valley logic—water, terraces, forest edges, and suspension bridges. By day 2, you start seeing how the landscape is organized around the river system.
You’ll spend the night in Maccha Khola, setting you up to begin the official trek on day 3.
Days 3-4: Jagat and the Budhi Gandaki river corridor
Day 3 starts with an early trek from Maccha Khola to Jagat through lush subtropical forest and along the banks of the Budhi Gandaki River. This is a nice first trekking day because the forest keeps your mind busy: you’re not only looking at mountains, you’re watching trail life—trees, shade, river sounds, and the steady work of walking.
One of the things you’ll notice quickly is the number of suspension bridges. They sway above rushing rivers and streams. That’s fun, but it’s also useful training for the mental rhythm of trekking: stay focused, step calmly, don’t rush.
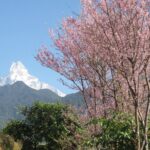
Day 4 continues into dense forest and rhododendron with more suspension crossings. Rhododendron season can vary by month, but even without peak blooms, this kind of trail gives you softer footing and lots of cool shade. It’s the kind of trekking that feels like a “real Nepal” forest hike rather than a constant ridge-walking day.
A practical note
These first trekking days are where your gear should settle in. If your boots rub, day 3 is when you fix it. Use the rhythm to test your stride before the harder altitude days start.
Days 5-6: Namrung, Bihi Phedi, Bihi, and Tibetan-influenced trails
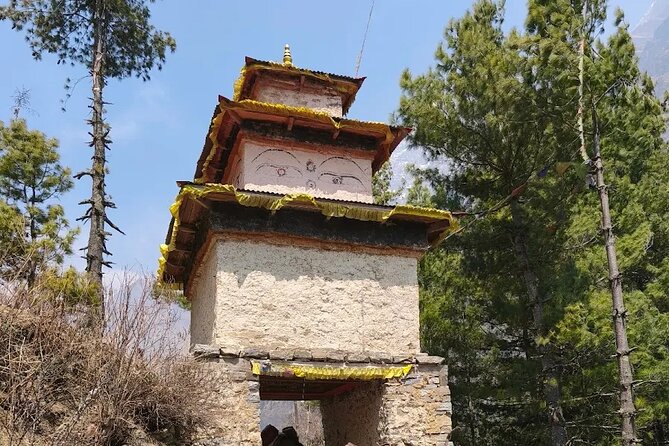
Day 5 brings you from Deng toward Namrung, with a passage through Bihi Phedi and Bihi. This is where you start getting more obvious cultural texture. Tibetan influence becomes more visible, and the trail begins to feel like it’s passing through living cultural zones, not just wilderness.
You’ll also keep walking through dense forest, which helps keep your pace steady. Namrung is a turning point: you’re moving toward higher, more open views, but the trail still offers enough “breathing space” in the forest.
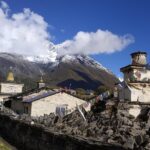
Day 6 continues from Namrung to Shyala. Expect an ascent through forests filled with rhododendron and pine. And you’ll pass traditional Buddhist features like mani walls and chortens.
For me, days like this are the sweet spot. You get two wins at once:
1) you’re gaining elevation gradually, and
2) the trek has meaning beyond scenery, with symbols you actually walk past and see in context.
Day 7: Shyala to Sama Gaon and the Manaslu massif getting closer
From Shyala to Sama Gaon, the trail shifts into alpine forests and open ridges. This matters because it changes how you experience the mountain. In forests, you see glimpses. On ridges, you see more at once—and the Manaslu massif starts taking up more space in your thoughts.
The route is also described as giving breathtaking views of the Manaslu massif along the way. Even when the weather hides the peak for a moment, you usually get enough partial views to keep hope alive for the next day.
Sama Gaon feels like a natural base before your acclimatization and higher push. By this point, your body is warm from walking, but you’re not yet fully in the “exposure and cold” phase.
Day 8: acclimatization at Birendra Taal and Labrang Gompa
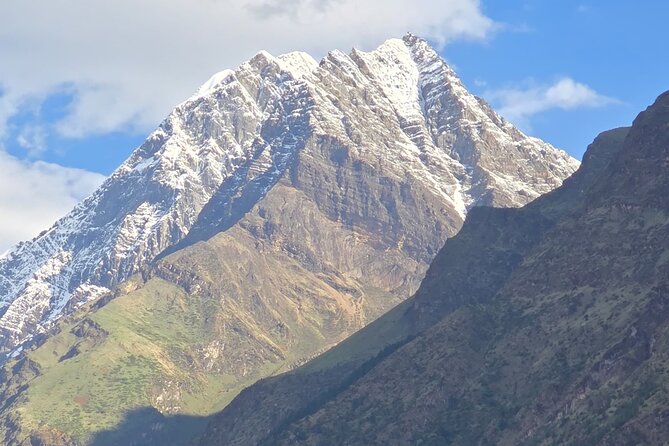
Day 8 is a dedicated acclimatization and rest day. That’s not a luxury day—it’s a smart planning day. You’re building stamina and giving your body time to adjust as you move toward Samdo and higher elevations.
You’ll also do a short hike to Birendra Taal Lake. The lake is named after the late King Birendra of Nepal. The day stays active but manageable (the hike time is listed as 2 hours with free admission in the itinerary details).
Then comes a culture stop: Labrang Gompa or Kargya Chholing monastery. The plan includes visiting and observing monks during blessing ceremonies.
This day is valuable for two reasons:
- Physically, it helps you tolerate altitude changes more comfortably.
- Mentally, it breaks the “always walking uphill” feeling and gives you a calmer pace before Larkya La day.
Days 9-10: Samdo and the rockier climb with prayer flags
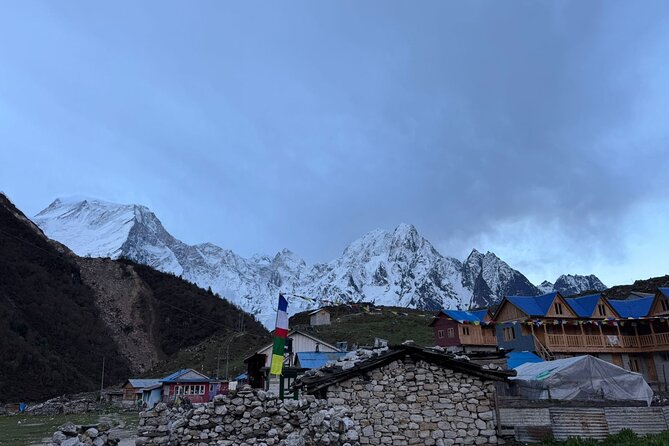
Day 9 takes you from Sama Gaon toward Samdo, with Manaslu peak watching over you every step. As you ascend, the description points to changing terrain. Even without exact technical details, you can assume this stage is less about soft forest trails and more about higher, more exposed walking.
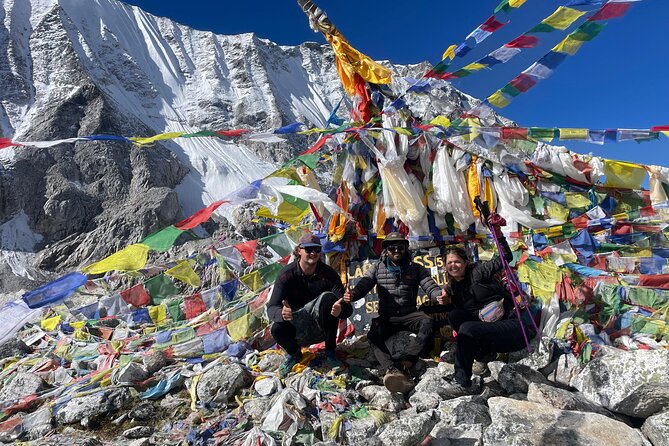
Day 10 continues higher into the mountains via rockier trails. Views broaden as you go, with sights of tall peaks like Manaslu and other nearby mountains. Prayer flags show up along the way, and that small visual cue becomes a trail marker. Once prayer flags appear often, it’s a sign you’re deeper in the high-altitude spiritual zones.
If you like photography, this is a good two-day window. If you’re not a photographer, you’ll still appreciate the way the view forces you to keep looking up and adjusting your pace.
What to watch
On high days, keep your breathing controlled. The oximeter and monitoring are part of the trip support, but you still need to manage your own pace. Slow is your friend.
Day 11: Larkya La Pass and the long move down to Bhimtang
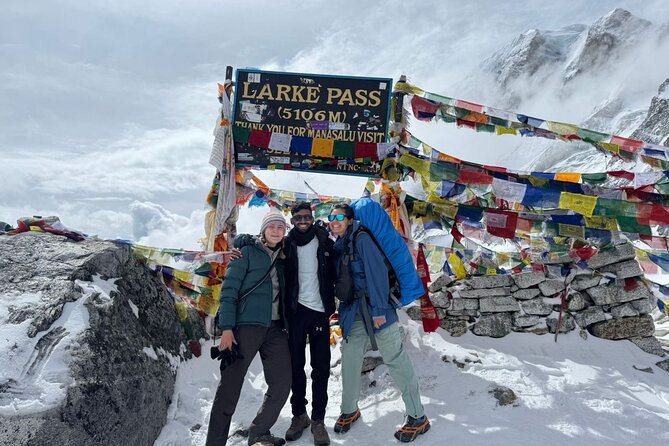
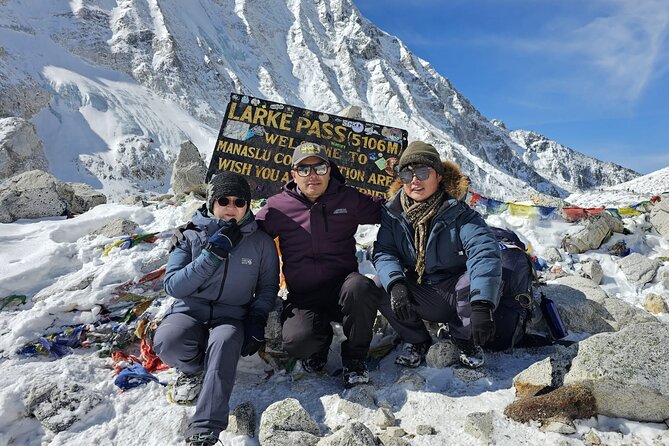
This is the day with the big headline: crossing Larkya La Pass, then heading toward Bhimtang.
You start early with breakfast. The route heads across the pass and then continues toward Bhimtang, crossing small streams along the way. The itinerary notes that after about two to three hours of walking, you continue onward.
Then comes the more demanding part: continuing downhill for the next four to five hours through rocky paths and open valleys until you reach Bhimtang. That downhill walking can be tough on knees and calves. Even if the elevation drops, your legs still work hard.
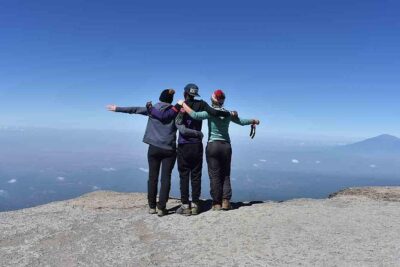
The payoff is the view when you arrive: Bhimtang is described as giving stunning mountain views with snowcapped peaks. That “we made it” feeling is real on this kind of day, because you’ve done both the altitude and the walking endurance.
Day 12: forest descent and lower-elevation relief
Day 12 starts with an early breakfast and begins your descent into lower elevations from Bhimtang. You’ll go through pine and rhododendron forests again, with occasional glimpses of distant mountains.
This is one of the most satisfying days for recovery. Your body gets a break from the high, exposed feel, and your mind gets a break from constant altitude focus. The trail still keeps you moving, but it’s more forgiving than the pass day.
If you’ve had any minor aches, this is the day to pay attention to how your body reacts to downhill. Proper pacing matters here more than people expect.
Day 13: the long ride back toward Kathmandu
Day 13 shifts gears. After trekking days, you’ll spend a long journey back to Kathmandu. The plan includes a jeep drive to Besisahar, and you’ll travel in a vehicle through rough roads while seeing the scenery from the window.
You’ll reach Besisahar from Tilije within the timeframe listed in the itinerary description, and then continue on. This day is not for speed-loving travelers. Think of it as recovery time—let the vehicle absorb the bumps while you hydrate and let your legs cool down.
Day 14: airport transfer and the final check
On the last day, you’ll be transferred to Tribhuvan International Airport. The itinerary specifically asks you to make sure luggage is packed and nothing is left behind.
That’s a great reminder in Nepal treks, where bags often change hands and timelines get busy. Do a last sweep of your room and keep your essentials close until you’re at the airport.
Price and value: what $1,099 really covers
At $1,099 per person, this trek isn’t cheap. But it’s priced like a guided expedition with key costs handled for you.
Here’s the value logic based on what’s included:
- Permits are included: Manaslu Conservation Area Permit, Annapurna Conservation Area Permit, and a Restricted Area Permit.
- A government-registered trekking guide is included.
- Gear is included: a down-filled sleeping bag and walking poles.
- Meals are heavily covered: lunch (11), dinner (11), and breakfast (13).
- Oxygen monitoring via an oximeter is included.
- Route map and the core logistics between Kathmandu and the trekking start/end are included using public transportation segments.
What’s not included matters for budgeting:
- bottled water
- coffee/tea
- alcohol
- snacks
- travel insurance and medical evacuation
- personal expenses
- electronic device re-charge
- private transportation (if you want it)
So the smartest budgeting move is simple: plan for water, snacks, and small daily extras yourself, while letting the big-ticket trail costs run through the trip operator.
Guides, safety checks, and gear support you’ll feel on-trail
One of the most praised aspects in the experiences shared with this trek is the level of care from guides. In particular, names like Santosh appear with notes about waiting for anyone who falls behind and going out to check when someone needs help.
That kind of attention isn’t about drama. It’s practical: trekking groups don’t all move at the exact same speed, and at altitude you don’t want anyone pushed past safe limits.
The trip also includes an oximeter to check heart rating and oxygen saturation. That’s not a magic device, but it can help your guide keep an eye on how your body is handling altitude. It also gives you more information instead of guessing.
On gear: the down sleeping bag and walking poles are included. Even if you’re used to trekking, this takes away the hassle of getting the right items with you. Just remember: you’ll still need your personal layers and basic trekking kit.
Who this trek is best for (and who should pass)
This is well-suited for trekkers with moderate physical fitness who want a real circuit without it turning into a full-on mountaineering campaign.
You’ll likely enjoy it if you:
- like combining big views with frequent cultural stops (mani walls, monasteries, prayer flags)
- want guided support and oxygen monitoring
- are okay with a high pass crossing and a long downhill day
You might want to reconsider if you’re looking for a flat, easy hike. Larkya La Pass and the long walking days mean you need to take pacing seriously.
Should you book this Manaslu Circuit trek?
If you want a Himalayan trek where the planning covers the hard parts—permits, a licensed guide, gear, meals, and altitude monitoring—this is a strong value setup. You’re also getting a route that tends to feel less crowded, with plenty of Tibetan-influenced culture and monastery time, not just “walk, photo, repeat.”
I’d book if you’re ready for long days, you respect altitude, and you want the kind of trek where a guide’s attention (like the care noted for Santosh) actually matters.
I would not book if you want total freedom from physical challenge or if you expect private transportation included. This trek is designed around shared logistics and trekking effort, not comfort-first shortcuts.
FAQ
Where is the meeting point when I arrive in Kathmandu?
A Wonder Himalaya representative meets you at Tribhuvan International Airport (TIA) in Kathmandu holding a placard with your name.
Does the trip include pickup or transfers in Kathmandu?
Pickup is offered. The itinerary also includes transfers at the start and an airport transfer on the final day.
How long is the Manaslu Circuit Trek?
The trek is listed as 14 days (approximately).
What permits are included?
The included permits are the Manaslu Conservation Area Permit, Annapurna Conservation Area Permit, and a Restricted Area Permit.
Is there oxygen monitoring on the trek?
Yes. The trip includes an oximeter to check heart rate and oxygen saturation.
What trekking gear is included?
Included trekking equipment includes a down-filled sleeping bag and walking poles.
What’s the cancellation rule if I need to change plans?
Free cancellation is allowed up to 24 hours in advance for a full refund. Within 24 hours of the experience start time, the amount paid is not refunded.