REVIEW · POKHARA
7-Day Trek to Annapurna Base Camp from Pokhara
Book on Viator →Operated by CAN Travels · Bookable on Viator
One of the best mountain days on earth starts in Pokhara. This 7-day Annapurna Base Camp trek mixes big peak views with real village walking through places like Ghandruk and Sinuwa, plus real chances to chat with Gurung and Magar communities along the way. I like that the trip handles the nuts-and-bolts (permits, guesthouses, transfers) so you can focus on the trail and the altitude moment.
I especially like the guide setup. You’ll travel with a friendly, English-speaking trekking guide, and the experience quality shows up through names like Biru, Amrit, and Shiva, all mentioned in past group reports for being calm, careful, and good at keeping things on track. The other thing I really like is the practical inclusion of trekking poles, plus the emergency first-aid kit carried with the guide.
One drawback to plan for: the route asks for real effort. You’ll tackle a 7-hour uphill day to Upper Sinuwa, then reach Annapurna Base Camp at about 3900m, so strong fitness matters and your pace will need to match the mountains, not your ego.
In This Review
- Quick Hits: What’s Special About This Annapurna Trek
- Pokhara to Annapurna Base Camp: Why This Route Feels So Real
- From Lakeside Pokhara to Siwai: Getting on the Trail Fast
- Day 1 Ghandruk: Modi River Walking and Village Life
- Day 2 Upper Sinuwa: One Long Climb, Big Reward Later
- Day 3 Toward Deurali and the Annapurna Sanctuary Zone
- Day 4 Annapurna Base Camp: Machhapuchhre Base Camp to the 3900m Moment
- Day 5 Down to Bamboo: Decent Trail, Careful Descent
- Day 6 Jhinu Danda: Forest Switchbacks and Chomrong Khola
- Day 7 Suspension Bridge to Samrung Khola and Back to Pokhara
- Price and Logistics: What Your $345 Really Buys
- Guide Quality and Support on the Trail
- Guesthouses and Food: Plan for Purchases, Not Full Board
- Pace, Fitness, and Altitude: The Real Decisions You’ll Make
- Should You Book This Annapurna Base Camp Trek?
Quick Hits: What’s Special About This Annapurna Trek
- Hotel pickup in Pokhara Lakeside plus an organized drive to Siwai to start Day 1.
- Guesthouse stays included during the trek, so you’re not spending your trip time hunting rooms.
- Permits and official documents included, which saves stress before you reach trail chaos.
- Trekking poles included, one per person, helpful on both climbs and descents.
- A private trek for your group, not a cattle-call style tour.
- Base Camp day includes a 730m climb after reaching higher terrain via Machhapuchhre Base Camp.
Pokhara to Annapurna Base Camp: Why This Route Feels So Real
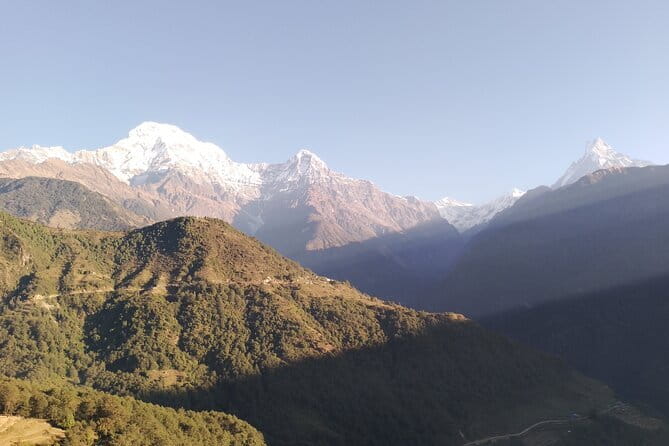
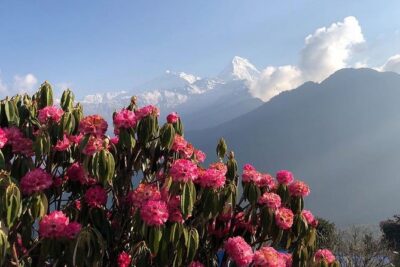
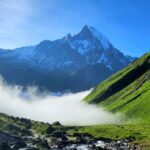
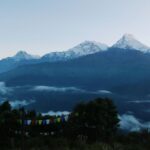
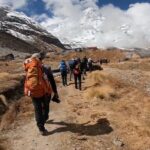
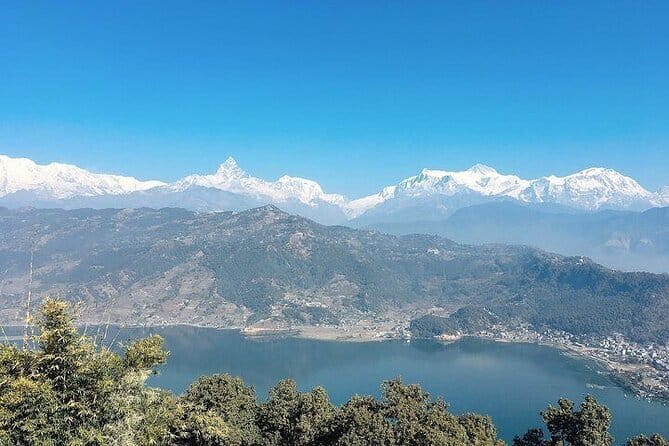
This trek is built around a classic rhythm: walk through villages, climb through forest and ridges, then hit the high, airy zone where the Annapurna massif dominates the sky. You also get more than just views. On this route, you’re walking through communities tied to the Annapurna region, and you’ll have chances for cultural exchanges with Gurung and Magar people, including local food stops you can choose while you’re on the move.
Pokhara is a smart staging point. You get to begin in a comfortable town environment (especially Lakeside), then you’re out on the trail without spending days just getting to the trailhead. And because the trek includes official permits and guesthouses, it feels like you’re hiking a route with local support rather than winging it.
You can also read our reviews of more tours and experiences in Pokhara.
From Lakeside Pokhara to Siwai: Getting on the Trail Fast
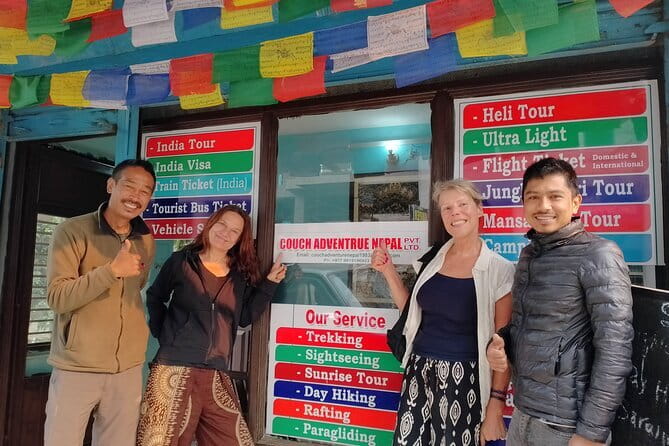
Your day starts with pickup within the Pokhara Lakeside area. The schedule lists a 2:15 pm start time, then you drive to Siwai and begin trekking to Ghandruk on Day 1. That afternoon timing can actually be helpful: you waste less time in “half-day travel” mode and you get into walking sooner.
For transfers, the trip uses shared jeep or bus for the Pokhara-to-Siwai move and the Samrung Khola-to-Pokhara return. Shared rides usually mean a bit of waiting while other passengers catch up, but it keeps costs lower. The tradeoff is simple: you’ll want to be flexible on exact ride timing.
Day 1 Ghandruk: Modi River Walking and Village Life
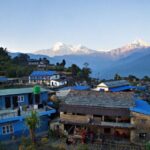
Day 1 is a transition day done right. You drive to Siwai, then trek to Ghandruk. The trail follows the Modi River area and passes authentic villages and hills, so you’re easing into the trek without starting with a brutal all-day grind.
Ghandruk matters for a couple reasons. First, it’s a village setting that feels lived-in, not staged. Second, it gives you a warm-up for the Annapurna valley walking that comes next. You’re also gaining trail knowledge: how the dirt paths curve, where steep sections pop up, and how quickly your legs adapt once the “motion trance” kicks in.
Tip: on your first night, keep your packing tight and your layers ready. Mountain weather can shift, and you’ll want to be able to respond fast when the temperature drops after sunset.
Day 2 Upper Sinuwa: One Long Climb, Big Reward Later
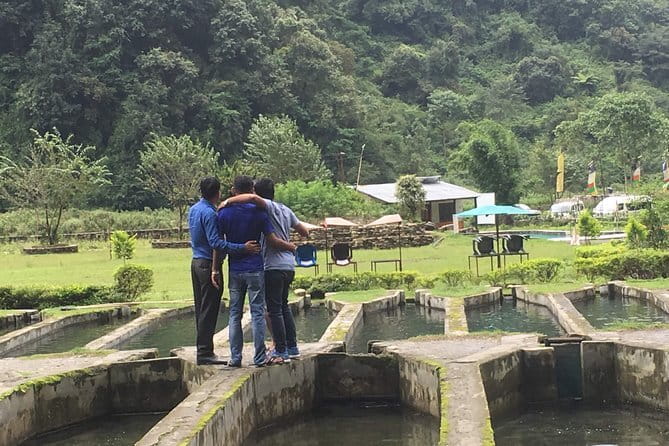
Day 2 moves from Ghandruk to Upper Sinuwa. The walking is described as a strenuous climb and takes around 7 hours (with lunch break built in). That’s the kind of day where good pacing beats speed.
Upper Sinuwa is where the trek starts to feel more alpine. The route is uphill and the air quality changes as you gain elevation. You’ll likely notice more open views and more “mountain air” feeling, which is great for motivation. But it’s also the day where fatigue can sneak in, especially if you go out too fast.
What I’d do in your shoes: keep your breathing controlled and aim for steady effort. If you feel yourself sprinting sections, slow down. You’ll need your legs for the days that follow.
Day 3 Toward Deurali and the Annapurna Sanctuary Zone
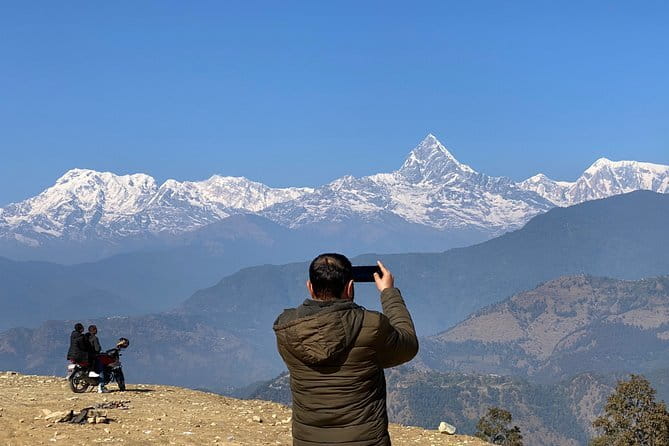
On Day 3, you overnight in Upper Sinuwa, then trek toward Deurali and the Annapurna Sanctuary area. The walk is described as going uphill and getting cooler as you go, with a winding path that helps you keep your rhythm.
This is one of the days that builds the “big moment” expectation for Base Camp. You’re not at the high point yet, but you’re moving into the environment where the peaks feel closer and the air feels sharper. Expect around 6 hours of walking.
The tricky part isn’t the distance. It’s your body adjusting to altitude. Even if you feel fine at breakfast, you may feel your breath change as the day goes on. Plan for that and don’t treat every “tight chest” feeling as a personal failure.
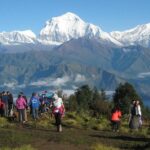
Day 4 Annapurna Base Camp: Machhapuchhre Base Camp to the 3900m Moment
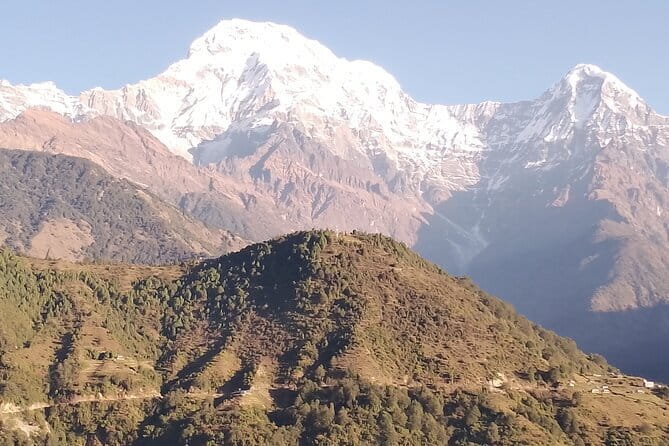
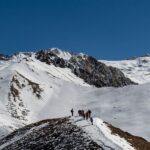
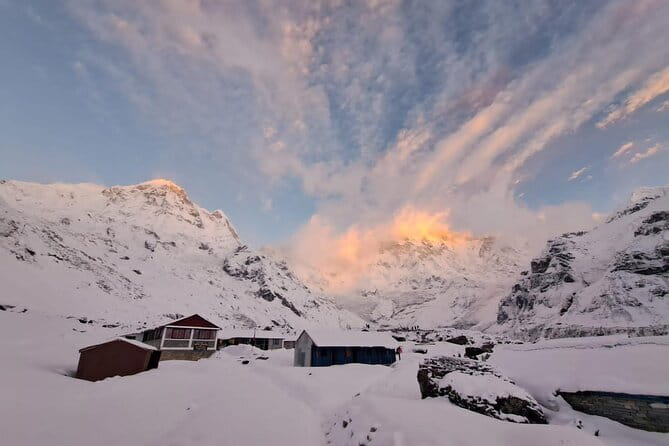
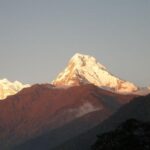
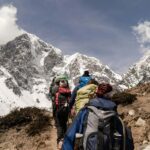
Day 4 is the payoff day. After breakfast, the trek goes up toward Machhapuchhre Base Camp, and then you climb about 730m to reach Annapurna Base Camp, listed at around 3900m.
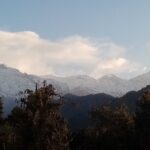
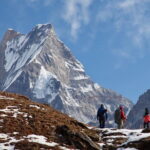
This is where the Annapurna massif turns from impressive to unforgettable. The route is described as going up with the sanctuary approach, so you’ll feel the air thin as you gain height. Even if you’re fit, plan to walk slower than you think. The goal is to arrive calm, not wiped out.
A practical note: Base Camp time matters. Take a moment before you rush for photos. Sit, drink something warm, and let your breathing settle. That small habit often makes the whole experience feel more real.
Also, the day includes a long effort, around 7 hours total. If you keep your pace controlled in the climb, your descent later (even just to the next stop area) will feel more manageable.
Day 5 Down to Bamboo: Decent Trail, Careful Descent
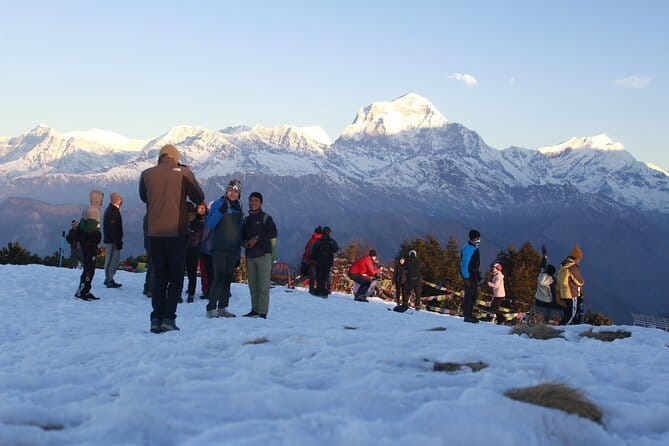
After Base Camp, you head back down to Bamboo. The route is described as decent, but the instruction you should respect is simple: come down carefully. You’ll likely be tired, and descents turn tired legs into stiff legs fast.
Day 5 is around 6 hours and includes a descent via Deurali, Himalaya, and Dovan. That “see familiar names again” feeling can help psychologically. You’re not just dropping into nothing; you’re retracing through stages that you’ve already learned.
If you’re prone to knee discomfort, this is where trekking poles pay off. Even if they feel awkward at first, they reduce the shock on your knees during longer downhill sections.
Day 6 Jhinu Danda: Forest Switchbacks and Chomrong Khola
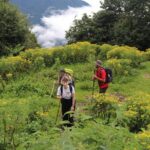
Day 6 is a mix of climbs, forest walking, and village approaches. From Bamboo, the route includes a short steep up to KhuldiGhar, then a downhill segment through forest toward the lone spot area called Sinuwa-Danda. After that, you descend to Chomrong Khola, cross a bridge, climb briefly, and reach Chomrong village.
Total time is listed at around 6 hours. This is the kind of day where the environment changes often: open views, then enclosed forest feel, then village rhythm again. Those changes keep your attention from going numb, even if your legs are tired.
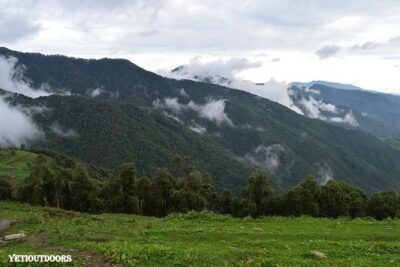
The forest sections are often easier on the senses than on the knees. You’ll feel steadier shade and cooler air, which can be a relief after higher-altitude days. Still, keep your steps controlled on downhill dirt.
Day 7 Suspension Bridge to Samrung Khola and Back to Pokhara
Your final day is about finishing the hike clean and getting back to Pokhara smoothly. The route includes a short downhill walk with a long suspension bridge to Samrung Khola, then you catch a local jeep back to Pokhara.
The itinerary describes the whole final segment as around 6 hours, ending at Pokhara Lakeside. That ending matters. After days of guesthouse life and trail food, arriving back in a real town setting helps you reset.
If you can, save some energy for one last evening moment in Pokhara. You’ll be tired in a good way, and a soft landing makes the whole trek feel complete.
Price and Logistics: What Your $345 Really Buys
At $345 per person, this trek is priced as a guided, documented, supported route rather than a bare “self-booked hike.” The big value comes from what’s included:
- Hotel pickup and drop-off within Lakeside
- English-speaking trekking guide
- Trekking permit and official documents
- Guesthouse accommodation during the trek
- Pokhara to Siwai and Samrung Khola to Pokhara transfers by shared jeep or bus
- Trekking poles included (one per person)
- Emergency normal first aid kit with the guide
- Private trek for your group
What’s not included is also important for budgeting. Food and drinks are available on purchase during the trek, and personal expenses are on you. There’s also an optional cost for a porter per day ($25), listed with the note that one porter covers two people.
So is it good value? In my view, it is if you want the comfort of planning handled: permits, lodging, and transport are the parts that usually turn into last-minute stress. If you’re the type who already has permits sorted, your own guide, and your own lodging plan, then you may compare prices. But for most people, paying for organization is worth it because it protects your time and energy.
Guide Quality and Support on the Trail
This trek’s “feel” depends heavily on the guide. Your trip includes a friendly English-speaking trekking guide, plus an emergency first aid kit carried with the guide. The names that show up repeatedly in past group feedback include Biru, Amrit, and Shiva, and they’re described as careful with safety, patient, and good at keeping things comfortable.
Even with strong organization, mountains can be unpredictable. A good guide makes small decisions that matter: pacing, rest timing, and how you handle altitude and weather changes. You’ll also benefit from someone who can explain what you’re seeing and why the route works.
One more practical perk: it’s described as a private trek. That’s not a guarantee of luxury, but it does mean the pace and attention can be tuned to your group, instead of forced into a mixed group’s timeline.
Guesthouses and Food: Plan for Purchases, Not Full Board
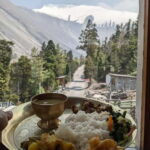
You’ll stay in guesthouses during the trek, and the trip doesn’t include meals. That means you’ll be choosing food and drinks while you walk. For me, that’s not a negative. It keeps you flexible, and it lets you eat what actually feels right at the time.
Expect meals that fit trekking life: warm, filling, and geared for energy. The itinerary gives you long walking days (often around 6–7 hours), so your food choices will matter.
Practical approach: eat early on walking days, carry water (as you’re able), and avoid making your stomach your limiting factor. On high-altitude days, food that sits heavy can ruin the afternoon. Keep it simple.
Pace, Fitness, and Altitude: The Real Decisions You’ll Make
This trek explicitly notes that travelers should have strong physical fitness. That makes sense because the walking days are not short, and Day 2 plus the Base Camp day are serious.
Here’s what you can take from the route itself:
- Day walking times often land around 6–7 hours
- Day 2 includes a strenuous uphill climb to Upper Sinuwa
- Day 4 includes a 730m climb to Base Camp
- Base Camp is around 3900m
Altitude doesn’t care how motivated you are. The practical move is to walk slower than you think you should and to keep your energy for the last push on Day 4.
If you’re a beginner, don’t assume “7 days” means easy. This is doable for many people with preparation, but it isn’t a stroll. Train your legs before you go, and be honest about your comfort with sustained uphill walking.
Should You Book This Annapurna Base Camp Trek?
Book it if you want a guided, organized trek that removes the biggest headaches: permits, guesthouses, and the key transportation legs. The price looks fair for the support included, especially if you prefer traveling with an English-speaking guide and trekking poles on day one.
Think twice if you know you’re not ready for strenuous climbs or if altitude makes you anxious. The trek goes to about 3900m, and Day 4 includes a major uphill effort. If you’re unsure, you’ll feel better choosing a plan that matches your fitness level rather than your pride.
If you want my clean recommendation: this is a strong choice for hikers who want real Annapurna walking with solid support, and who like the idea of earning Base Camp on a route that goes through actual villages and community life along the way.