REVIEW · POKHARA
4 Days Poon Hill Trek from Pokhara
Book on Viator →Operated by Arpan Nepal · Bookable on Viator
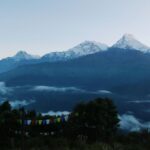
A few steps can change your view. This 4-day Poon Hill trek from Pokhara is built around the Sunrise over Mt. Annapurna and the human scale of Gurung village life along the route. I especially like how the plan mixes big mountain moments with real trail time through villages and forests, not just one scenic stop and done.
One thing I really value is the support: an English-speaking trekking guide, hotel pickup and drop-off, and guesthouse accommodation so you’re not juggling details after a long day. The main drawback to consider is that meals and your personal expenses are not included, so your actual budget depends on what you choose to eat along the way.
In This Review
- Key things that make this trek worth it
- Why Poon Hill Sunrise Is the Big Reason to Do It
- Price and Logistics: What the $229 Per Person Actually Buys
- Day 1: From Nayapul to Ulleri and Settling Into Trek Mode
- Day 2: Rhododendron Trails to Ghorepani and Better Views on the Move
- Day 3: Poon Hill Sunrise, Then Down the Trail to Tadapani
- Day 4: Ghandruk Villages, Then Jeep and Car Back to Pokhara
- Guides Really Shape Your Experience Here
- Guesthouses Along the Way: Comfortable Enough to Keep Trekking
- Fitness Reality Check: What Moderate Means on a 4-Day Trek
- What to Expect on the Trail (Beyond the Postcard Stops)
- Who This Trek From Pokhara Is Best For
- Quick Tips That Will Make Your Trek Easier
- Should You Book This 4-Day Poon Hill Trek?
- FAQ
- What time does the trek start from Pokhara?
- Is pickup and drop-off included?
- How many days is the trek?
- Is guesthouse accommodation included?
- Are permits included?
- Are meals included in the price?
- What if I need to cancel last minute?
Key things that make this trek worth it
- Sunrise mission, done efficiently: you hike early to Poon Hill for the morning views, then continue onward the same day
- Gurung village culture: Ghandruk and nearby stops give you a feel for local life, not just trails
- Rhododendron trail segments: Day 2 runs through rhododendron forest scenery and wider mountain-range views
- Guesthouse comfort (simple, not fancy): you stay in guest houses with overnight rest planned into the route
- Guides who pace you: guides like Gobinda, Krishna, and Milan are highlighted for keeping the hike at your level
- Permits and TIMS included: trekking permit and TIMS card are part of the package, which saves you hassle
Why Poon Hill Sunrise Is the Big Reason to Do It
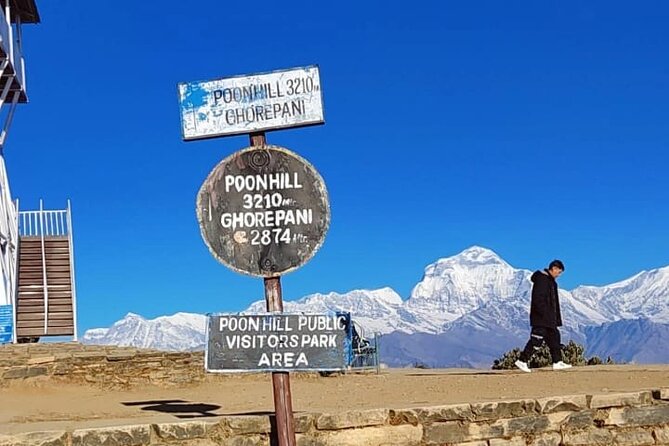
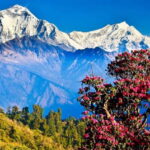
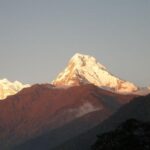
Poon Hill is famous for a reason: it gives you a classic sunrise angle over the Annapurna region, and you can experience that without committing to a long, high-altitude trek. This route peaks around 3,210 meters at Poon Hill, so you get the reward of altitude views without the extended grind of a longer expedition.
What I like about this setup for you is timing. The sunrise visit is built into Day 3 with a relatively short early walk to the viewpoint, then you’re not stuck for hours afterward wondering what comes next.
The other reason this trek works is that you’re not just hiking “to a view.” You spend time moving through rural villages and forest paths, then end in the cultural stop at Ghandruk before returning to Pokhara.
You can also read our reviews of more tours and experiences in Pokhara.
Price and Logistics: What the $229 Per Person Actually Buys
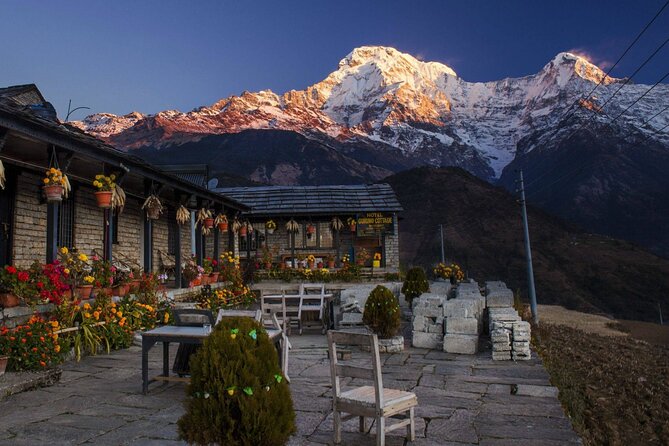
At $229 per person, the value comes from what’s included, not just the headline price. You get hotel pickup and drop-off, necessary transfers by private vehicle, an English-speaking trekking guide, guesthouse accommodation for the planned nights, and the key paperwork: a trekking permit and your TIMS card.
Also, it’s structured as a private experience for your group (so you’re not mixed into random strangers mid-trek). Even though this is private, there is at least one point where you use a sharing jeep for the route back toward Nayapul—so you’ll still experience a local-style transport moment.
What to watch: meals are not included. That means you should plan on budgeting for breakfast/lunch/dinner at teahouses or guesthouse dining. It also does not include rescue costs in an emergency, so think of that as standard trekking reality.
Day 1: From Nayapul to Ulleri and Settling Into Trek Mode
Day 1 starts with a drive to Nayapul, then you trek on to Ulleri. The trek time listed is about 6 hours, and that’s a solid first day: long enough to feel like a real mountain day, but not so long that you’re destroyed before you even reach the “sunrise part.”
Ulleri is a good first stop because it introduces you to the village-and-trail rhythm early. You’ll start seeing the mix of paths, homes, and small guesthouse stops that define how the Annapurna foothills feel.
A practical note: if this is your first multi-day trek, you’ll likely appreciate day one for how it sets your pace. The route doesn’t demand a sprint from minute one, and your guide’s job includes keeping you moving smart rather than moving fast.
Day 2: Rhododendron Trails to Ghorepani and Better Views on the Move
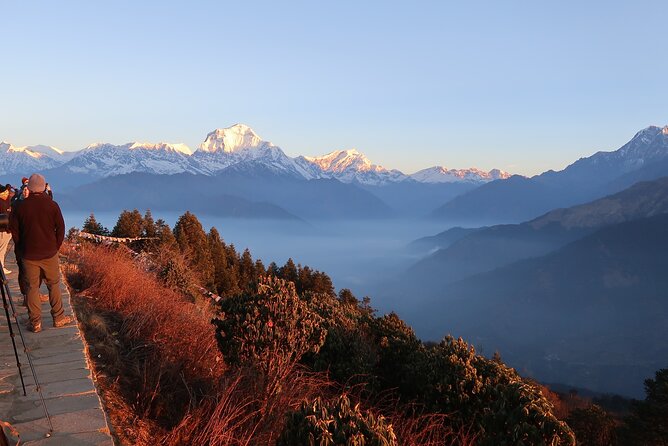
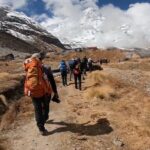
Day 2 hikes to Ghorepani through rhododendron forests, with mountain-range views building in the background as you gain elevation. The trek is also listed at around 6 hours, so it keeps a steady rhythm across the first half of the journey.
Why this day matters: it’s the bridge between “getting started” and “payoff season.” Ghorepani positions you close to the Poon Hill area, which is exactly why morning sunrise treks can work on a 4-day schedule. You’re putting yourself in the right place without needing a huge travel day on top of hiking.
You should also expect your energy to change on this day. Forest sections can feel cooler and shaded, which helps, but the uphill effort still adds up. Bring a steady mindset: you want consistent steps more than heroic surges.
Day 3: Poon Hill Sunrise, Then Down the Trail to Tadapani
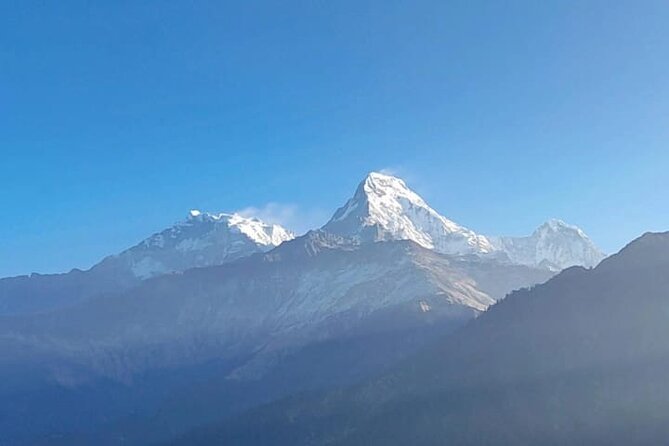
Day 3 is the highlight day, and it’s designed with a clear rhythm: early trek to Poon Hill for the sunrise view, then you head back and continue onward to Tadapani for the overnight.
You’ll walk to Poon Hill for about 45 minutes for the sunrise moment, then spend time at the viewpoint before returning to Ghorepani and continuing to Tadapani. The total day time is listed as around 7 hours, including the viewpoint stop and the continued trek onward.
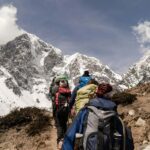
This is also where your guide can make a noticeable difference. Guides like Gobinda and Krishna are specifically praised for pacing and for helping trekkers get the best sunrise experience without rushing. One review even notes assistance when someone sprained an ankle, which is exactly the kind of real-world support you hope for on a trek that depends on footing.
Overnight in Tadapani gives you a quieter end-of-day reset. It’s not just another sleep slot; it keeps you on a logical path toward Ghandruk on Day 4.
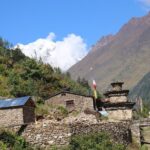
Day 4: Ghandruk Villages, Then Jeep and Car Back to Pokhara
Day 4 starts with a trek from Tadapani to Ghandruk, then onward to Kimche. The walking portion is listed as 8 hours, followed by sharing jeep travel to Nayapul and then a car ride back to Pokhara.
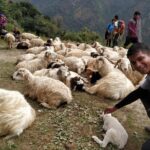
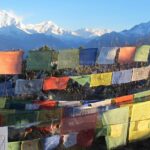
This day is great if you like village atmosphere. Ghandruk is one of the better-known rural Gurung settlements in the area, and it’s the cultural counterweight to the sunrise viewpoint. You get more than scenery—you get a sense of how people live, build, and move through the terrain.
There’s also a practical benefit to ending in Pokhara. You don’t have to keep trekking to reach a major town. You finish with a drop-off at the Lakeside area so you can eat, shower, and decompress.
One consideration: the long day (listed as 8 hours) can feel tiring after several trekking days. If your priority is comfort at the end, treat Day 4 as your “finish smart” day—take breaks, keep water up, and don’t race the clock.
Guides Really Shape Your Experience Here
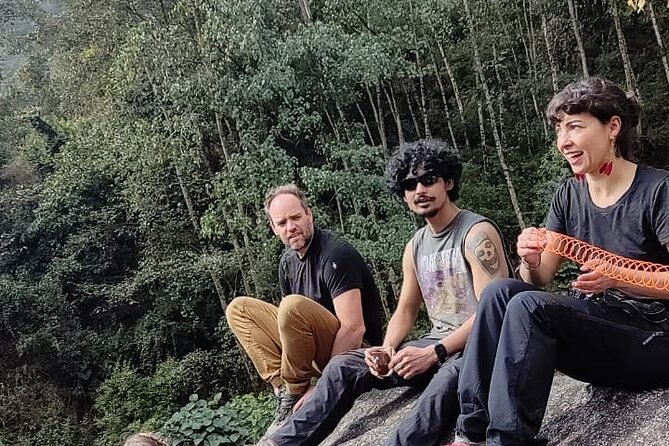
This trek is rated extremely well, and a lot of the praise centers on the guides. Names showing up include Gobinda, Krishna, and Milan, and the consistent theme is simple: they help you match your pace and stay confident on the trail.
What that means for you is less guessing. An English-speaking guide helps with route flow and practical decisions, especially if you’re new to multi-day trekking. You also get help navigating the daily trade-offs: how fast to push, where to pause, and how to keep energy steady for the next section.
If you want a trekking experience that feels supportive rather than demanding, this is the kind of operation where that style can actually matter.
Guesthouses Along the Way: Comfortable Enough to Keep Trekking
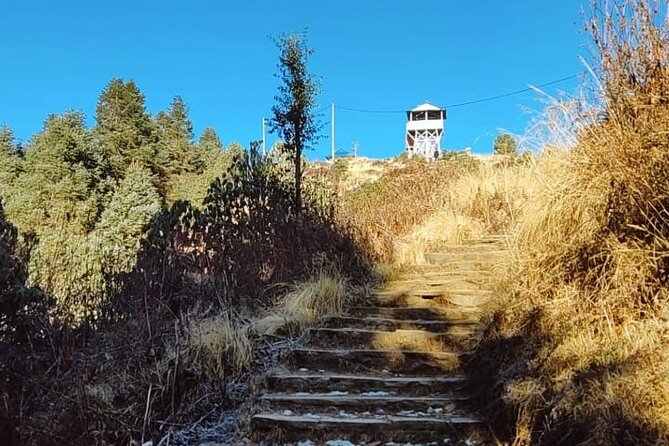
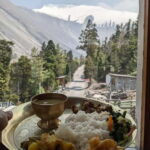
The route includes accommodation in guest houses, which is a big part of why a trek like this can be done in a short 4-day window. Guesthouses mean you’re not carrying tents or worrying about camping logistics, but they’re still basic—think clean beds and hot drinks rather than hotel luxury.
The good news is that comfort is built into the plan. You’re not camping at random points; you’re sleeping in places chosen for a workable route progression. That matters when your body is tired and you want rest that lets you wake up for sunrise and the next day.
If you’re picky about bedding or want modern amenities, you should temper expectations. But if you want a genuine trek feel without the chaos, the guesthouse approach is usually the right compromise.
Fitness Reality Check: What Moderate Means on a 4-Day Trek
The trip is best for travelers with moderate physical fitness. That’s honest. You’ll hike several days in a row, with day times around 6 to 8 hours depending on the day.
Altitude is a factor mainly around the viewpoint height. Still, you should expect the air to feel different near 3,210 meters and plan accordingly. Go slow, drink water, and don’t treat the sunrise day like a sprint—early mornings can fool your body.
If you’re new to multi-day hikes, you’ll likely find comfort in the fact that this route gives you manageable segments and built-in rest nights. Your guide’s pacing style is part of that equation, especially if you have any doubts about stamina.
What to Expect on the Trail (Beyond the Postcard Stops)
You should anticipate more than just one big-view moment. The days include forest walking and village stretches, and the route timing supports a mix of quiet moments and viewpoint highlights.
One memorable theme from the experience details is wildlife and greenery—things like monkeys and langur can show up around wooded sections and near activity areas. You might also see a lot of lush forest and river-adjacent trail feel depending on conditions and season.
One more honest note: mountain views depend on weather. The sunrise “plan” only works when the skies cooperate, so if clouds roll in, you might still enjoy the trek but should avoid expecting a perfect show every time.
Who This Trek From Pokhara Is Best For
This is a strong fit if you:
- Want the Poon Hill sunrise experience without a long expedition
- Prefer a guided, organized trek with permits and transport handled
- Are comfortable with moderate daily hiking and guesthouse nights
- Like cultural stops, especially Ghandruk
It’s also a good first-trek option. The itinerary is structured so you can learn your pace early and still reach the famous viewpoint on Day 3.
If you’re chasing a quiet, private-feeling trek, the private-group setup helps. Just remember you can still share some transport segments (like the jeep portion on Day 4).
Quick Tips That Will Make Your Trek Easier
- Start early with a calm mindset. The Poon Hill day is timed for sunrise, and your body will thank you for pacing.
- Plan your food budget. Meals are not included, and teahouse costs add up fast if you don’t watch them.
- Bring cash and confirm payment expectations with the operator before you go. (You’ll likely pay for meals and personal extras along the way.)
- If you have knee/ankle concerns, tell your guide early. The guide support style matters, especially on uneven sections.
- Keep your layers simple. Mornings are often cooler, and you’ll warm up as you climb and walk.
Should You Book This 4-Day Poon Hill Trek?
I’d book it if you want a classic Annapurna foothills trek with a smart schedule: sunrise, villages, guesthouse nights, and fewer logistics headaches. For $229, the inclusion of an English-speaking guide, pickup/drop-off, transfers, guesthouse accommodation, and the trekking permit + TIMS makes it easy to compare against DIY trekking.
Skip it (or rethink) if you strongly dislike basic guesthouse conditions, you want all meals included, or you’re looking for a low-effort outing. Also, if you’re sensitive to early mornings, be ready for the sunrise timing that drives the whole route.
If you’re the kind of traveler who likes practical structure—so you can focus on views, footsteps, and local village life—this trek is a solid choice from Pokhara.
FAQ
What time does the trek start from Pokhara?
The meeting/start time is listed as 8:30 am.
Is pickup and drop-off included?
Yes. Hotel pickup and drop off are included, along with necessary transfers by private vehicle.
How many days is the trek?
It’s a 4-day trek, with the itinerary laid out across Ulleri, Ghorepani, Poon Hill and Tadapani, then Ghandruk and Kimche back toward Pokhara.
Is guesthouse accommodation included?
Yes. You get accommodation in guest houses for the nights included in the itinerary.
Are permits included?
Yes. The tour includes a trekking permit and your TIMS card.
Are meals included in the price?
No. All meals and personal expenses are not included.
What if I need to cancel last minute?
You can cancel for a full refund if you cancel up to 24 hours in advance of the experience start time. If you cancel within 24 hours, the amount paid is not refunded.