REVIEW · KATHMANDU
Annapurna Base Camp Trekking
Book on Viator →Operated by Accessible Adventure Pvt. Ltd · Bookable on Viator
Annapurna Base Camp starts with a plan. This 12-day trekking package maps out the route, schedules the key transport legs, and handles the permits so you can focus on the trail. I like the licensed English-speaking guide and the included gear (sleeping bag, down jacket, duffle bag), because those two things reduce stress right away. One more big plus: the route mixes the high-impact ABC climb with a famous sunrise add-on at Poon Hill.
For value, I also appreciate that the trek runs on tea house stays with logistics taken care of, and that you’re not doing the day-to-day decision making alone. The main drawback to think about is that meals during the trek are not included, and you’ll also need your own spending money for water and cold drinks since those are listed as not included.
In This Review
- Quick takeaways before you commit
- Kathmandu and Pokhara setup: where the trip gets real
- Price and logistics: what $749.90 really buys you
- Day-by-day on the trail: how the route is paced
- Day 1: Arrive in Kathmandu and meet your team
- Day 2: Drive to Pokhara Lakeside
- Day 3: Birethanti to the Ulleri climb and Ghorepani area
- Day 4: Poon Hill sunrise, then Tadapani
- Day 5: Chuile to Sinuwa
- Day 6: Sinuwa to Deurali
- Day 7: The big day to Annapurna Base Camp (via Machhapuchhare Base Camp)
- Day 8: Descend from ABC to Bamboo
- Day 9: Bamboo down to Jhinu Danda and the hot springs area
- Day 10: Jhinu Danda hot spring time, then back toward the route to Pokhara
- Day 11: Pokhara to Kathmandu (the longest transfer day)
- Day 12: Depart via Tribhuvan International Airport
- The guide and porter setup: why it feels safer than DIY
- Teahouses, comfort, and what you pay for on your own
- Gear you’ll care about at altitude
- Who this trek suits best
- Should you book this Annapurna Base Camp trek?
- FAQ
- How long is the Annapurna Base Camp trekking tour?
- Where does the trip start and end?
- What transfers are included?
- Is the Annapurna Base Camp trek guided?
- What trekking gear is provided?
- What permits are included?
- What is not included during the trek?
- Is it a private tour?
Quick takeaways before you commit
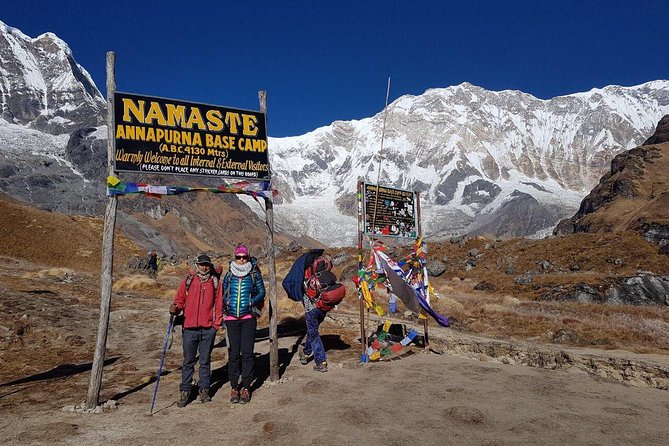
- ABC at 4,130 m: you’ll get the big goal, plus a slow build that gives you time to adjust
- Guide + porter support: plan includes a licensed guide and porter help (not just a driver and a map)
- Gear is partly covered: sleeping bag and down jacket help if you don’t want to rent or buy
- Poon Hill sunrise included in the schedule: it’s a high-reward morning without adding extra complexity
- Hot springs at Jhinu Danda: a real recovery moment after the descent
- Food and cold drinks add extra cost: budget for lunches, dinners, and drinks along the way
Kathmandu and Pokhara setup: where the trip gets real
Your trek begins with a smooth start in Kathmandu. You’re met at the airport and transferred to your hotel on Day 1, then you meet your trek leader at a pre-trip briefing later that day. That briefing matters because it’s where you get the practical rhythm: gear use, pacing, and how your group will move on trekking days.
On Day 2, you drive to Pokhara Lakeside. The schedule also uses Kathmandu and Pokhara time as buffers, which is helpful since the Annapurna region can feel weather-driven and altitude-sensitive. Pokhara is your staging area—an easy place to sort layers, confirm cash for meals, and mentally shift from city pace to mountain pace.
You can also read our reviews of more tours and experiences in Kathmandu.
Price and logistics: what $749.90 really buys you
At $749.90 per person for a 12-day trek, you’re paying for more than a route. You’re also buying a bundle of practical items: TIMS and the Annapurna Conservation Area Permit, transport connections (Kathmandu–Pokhara round-trip by tourist bus), and private transfers to the trek starting and ending points.
This package also includes a lot of what typically turns into surprise costs. You get a duffle bag, sleeping bag, and down jacket for trekking use, plus a first aid kit as part of the support setup. There’s even a t-shirt, a trekking map, and a trip achievement certificate, which isn’t life-changing, but it does signal that the outfitter is thinking about the full trek experience, not just walking days.
The part that can surprise you: food and cold drinks are not included. That means you’ll still be paying on the trail for breakfasts/lunches/dinners and drinks, and cold drinks include things like bottled water per the trip notes. If you prefer predictable daily spending, plan a simple budget for each teahouse day before you go.
Day-by-day on the trail: how the route is paced
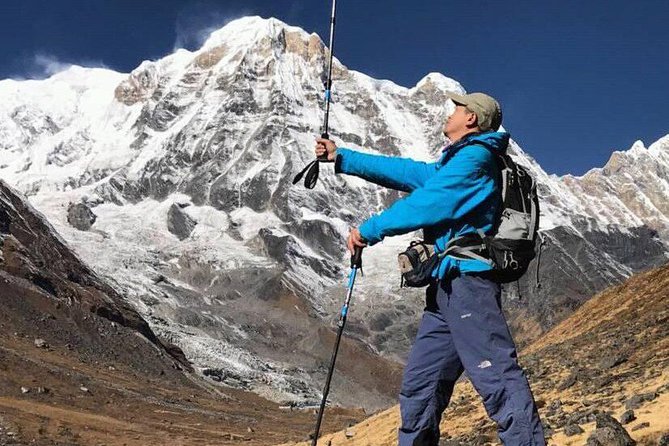
This is a 12-day plan with a clear arc: acclimatize in stages, reach Annapurna Base Camp, then descend via teahouse villages and finish with a hot-spring stop before returning to Pokhara and Kathmandu.
Day 1: Arrive in Kathmandu and meet your team
Day 1 is about you getting settled. You’ll be picked up at the airport and moved to your hotel, then your guide briefing happens later in the day. That meeting is where you’ll learn how your group will handle early starts, trekking etiquette in tea houses, and the basics of altitude safety.
Day 2: Drive to Pokhara Lakeside
You’re off to Pokhara Lakeside on Day 2, with a full day of travel accounted for. Pokhara is a practical waypoint: you’ll sleep somewhere comfortable before your legs take over. It’s also where you can double-check your packing because once the trek begins, you won’t want to be re-running gear errands.
Day 3: Birethanti to the Ulleri climb and Ghorepani area
Day 3 starts your walking life with a drive toward the trailhead, then the trekking begins. You’ll pass through stops like Birethanti and Ulleri, then continue toward the Ghorepani area, with an additional rest stop at Nangethanti mentioned along the way.
The key thing here is the first real uphill effort. Ulleri tends to feel like the start of your leg training. It’s not just scenery—it’s a warm-up in a region where your body needs time to adjust.
Day 4: Poon Hill sunrise, then Tadapani
This is one of the best “return on effort” mornings on the itinerary. You’ll go for Poon Hill sunrise (around 3,210 m) with a short early hike from Ghorepani. It’s a big viewing payoff without requiring a full day of extra altitude work.
After sunrise, you trek onward to Tadapani (around 2,630 m). Tadapani is where you feel the Annapurna region’s mix of forest and village walking, and it’s a useful stop for breaking up your next ascent toward higher camps.
Day 5: Chuile to Sinuwa
Day 5 moves from Chuile (about 2,300 m) toward Sinuwa (around 2,340 m). This is one of those days that feels balanced: you gain altitude gradually without jumping straight to the highest zones. That matters because it helps you keep your energy steady for what comes later.
Sinuwa is divided into lower and upper sections, and your schedule positions you for the next push upward. This is good trekking math: you’re building height while giving your body time to settle.
Day 6: Sinuwa to Deurali
Day 6 brings you from Sinuwa to Deurali. Your trek climbs toward higher terrain, with the itinerary noting Deurali in the range of 2,890 m and also referencing Deurali landmarks around 3,174 m depending on the day’s route positioning. That means you’ll feel the altitude more strongly than earlier days.
This is where pacing matters. You want steady effort, not sprinting. The upside is that you’re already close to the zone where the mountain views become less about distant peaks and more about being surrounded.
Day 7: The big day to Annapurna Base Camp (via Machhapuchhare Base Camp)
Day 7 is the centerpiece. You’ll head to Annapurna Base Camp (around 4,130 m), passing by Machhapuchhre Base Camp (noted around 3,700 m). That stop is a huge psychological checkpoint because it tells you you’re approaching the top of your trek.
The itinerary indicates you’ll ascend from the Deurali or higher area side and then continue to base camp. Plan to take your time and follow your guide’s pace, especially once the air gets thinner and your breathing slows down.
Day 8: Descend from ABC to Bamboo
After reaching ABC, Day 8 is a controlled descent from 4,130 m down to Bamboo (about 2,350 m). Descents can still be tough on knees, but the altitude relief helps your body recover. This day is about finding steady footing and letting your system reset after a high day.
Bamboo is also a good tea house base for regrouping. You’ll sleep at a lower altitude again, which makes the next stages more manageable.
Day 9: Bamboo down to Jhinu Danda and the hot springs area
Day 9 takes you from Bamboo to Jhinu Danda (about 1,780 m). This is another “this matters later” step because you’re setting yourself up for recovery. The hot springs are part of why this itinerary is popular, and they’re not just marketing fluff—your body will appreciate the chance to soak after days of hiking.
Day 10: Jhinu Danda hot spring time, then back toward the route to Pokhara
Day 10 includes Jhinu Danda hot spring time (listed separately), followed by a trek toward Siwa or Ghandruk Phedi and then onward to Pokhara Lakeside for the night. The itinerary notes that the exact trekking route depends on your choice, so you might take a path that affects how the final walking hours feel.
This is the day where you should think about comfort. If you’re nursing sore spots, you’ll want to keep your pace gentle and let the soak do its job.
Day 11: Pokhara to Kathmandu (the longest transfer day)
Day 11 brings the return drive from Pokhara to Kathmandu, described as covering around 200 km and taking about 8 hours. That long transfer is the price of finishing the trek loop, and it’s why the itinerary includes a full day in Pokhara the day before.
It also means you should travel light. After a trek, you want your gear situation to be simple and your hotel plan in Kathmandu ready to go.
Day 12: Depart via Tribhuvan International Airport
Day 12 is checkout and airport departure time. The trek is over, and the day is kept short in the schedule, which is what you want—less running around, more stress-free goodbyes.
The guide and porter setup: why it feels safer than DIY
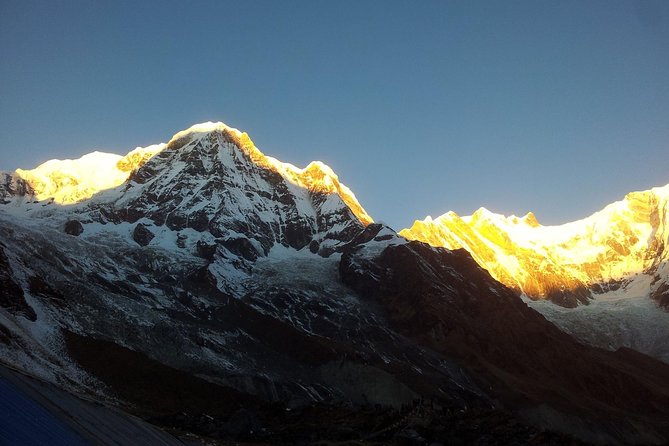
This package leans on human help. You’ll have one licensed professional guide and porter support noted as 1 porter for two trekkers. For solo trekkers, it also explicitly states that porter support is not included, so that’s a key decision point if you’re traveling alone.
I also like that the support staff details include salary, food, equipment, insurance, and transportation as part of the overall included package. That doesn’t change your hiking, but it does affect how stable the trek operation is. You’re less likely to find yourself negotiating for the basics mid-trek.
One review example named Avi as the trek guide and Robin as the porter, and the praise focused on patience and safety. I take that as a signal worth paying attention to: on ABC treks, the difference between a stressful trip and a smooth one often comes down to how calmly your guide manages pace, weather changes, and group needs.
Teahouses, comfort, and what you pay for on your own
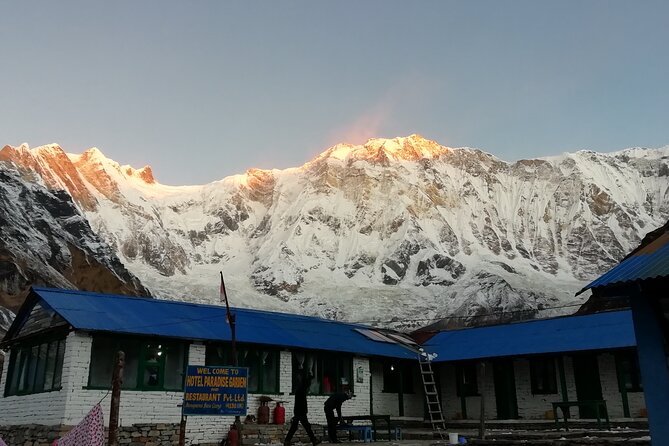
You’ll stay in tea houses along the trek, and the trip notes say the plan includes a “best teahouse” selection. What that means in real life is simple: you’re not sleeping in a tent setup organized by you, and you’re using the region’s established trekking infrastructure.
What’s not included is the meal plan. Breakfast, lunch, and dinner during the trek are not listed as included, and cold drinks (including water) also are not included. That means you’re choosing between paying for each meal at teahouses and packing your budget accordingly.
My practical advice: travel with a cash buffer and a small “routine.” Each tea house usually works on similar logic—order food in advance if you can, keep a slow pace, and don’t expect your day’s energy to match the menu. Also, if you’re someone who gets dehydrated easily, you’ll want to treat hydration as part of your plan, not an afterthought.
Gear you’ll care about at altitude
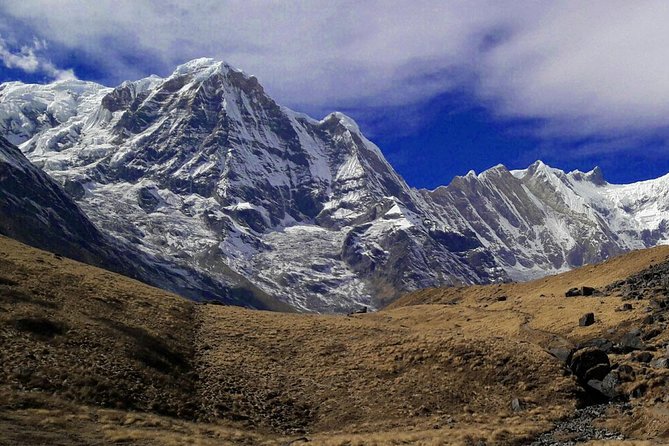
The package helps with some cold-weather basics: you get a down jacket and a sleeping bag for trekking use, plus a first aid kit in the support setup. That can be a huge value if you hate renting gear in a hurry or if you’re traveling light from outside Nepal.
Even with included gear, you still need to think about layers. The itinerary moves from Kathmandu’s city conditions to high-altitude trekking zones where nights and mornings can feel very different from daytime. Bring your own gloves, hat, and base layers if you have them, and keep your layering system simple so you don’t waste time messing with clothes on cold mornings.
Who this trek suits best
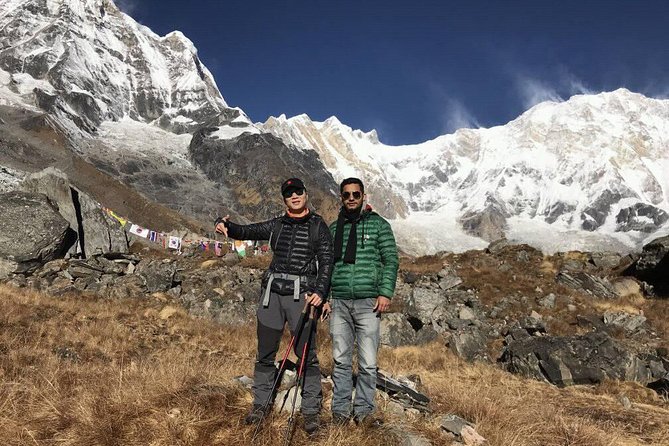
This plan is aimed at people with moderate physical fitness. It’s not a casual stroll, especially with the uphill start toward Ulleri and the later push to ABC at 4,130 m.
You’ll likely enjoy this trek if you:
- want an organized plan with permits and logistics handled
- prefer walking with a licensed guide and porter support
- like the idea of stacking highlights (ABC + Poon Hill sunrise + Jhinu Danda hot springs)
- want tea house trekking rather than camping
You might think twice if you:
- dislike managing meal spending daily
- are traveling solo and strongly want porter help (solo porter is listed as not included)
Should you book this Annapurna Base Camp trek?
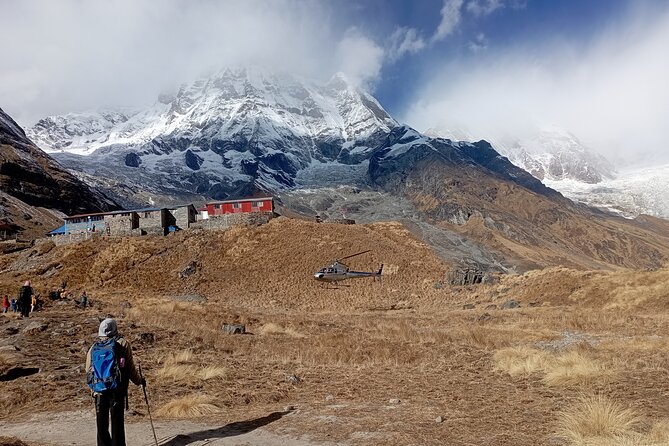
I’d book it if you want a solid, well-run trek where the hardest work is the walking, not the paperwork and logistics. The included permits, the guide and porter structure, and the gear support make it a good value for people who want to stay focused and not scramble. The itinerary also balances big moments with recovery time, especially with the slow build toward ABC and the hot springs finish at Jhinu Danda.
If you’re cost-sensitive, do the math on what you’ll spend on meals and cold drinks along the way. And if you’re going solo, confirm how you feel about carrying your own load, since porter support for solo travelers is explicitly not included in the notes.
FAQ
How long is the Annapurna Base Camp trekking tour?
The tour is listed as 12 days (approximately).
Where does the trip start and end?
It starts in Kathmandu, Nepal, and ends at Tribhuvan International Airport in Kathmandu.
What transfers are included?
You get round-trip tourist bus transfers between Kathmandu and Pokhara, plus private transfers to the trek starting point and ending point.
Is the Annapurna Base Camp trek guided?
Yes. The package includes a licensed professional guide who is English-speaking, and porter support is also included based on the group plan.
What trekking gear is provided?
The trip includes a duffle bag, sleeping bag, and down jacket for use during the trek, plus a first aid kit is included in the provided support.
What permits are included?
The tour includes TIMS and an Annapurna Conservation Area Permit.
What is not included during the trek?
Food during the trek (breakfast, lunch, and dinner) is not included, and cold drinks are also not included. Accommodation in Kathmandu and Pokhara is not included either.
Is it a private tour?
Yes. It’s described as private, and only your group will participate.