REVIEW · KATHMANDU
Everest Base Camp Trek Via Salleri
Book on Viator →Operated by icicles adventure treks and tours · Bookable on Viator
Salleri makes Everest feel like a new route. This trek swaps the usual bustle for isolated Sherpa villages, terrace farms, and river-valley footpaths that lead you to Everest Base Camp through Takshindo and the Salleri approach. I like the way the trek is built around acclimatization days, not just mileage, so your body has a chance to adjust before the higher passes. A second big win is the in-house support—the guide and porter setup is the kind of practical help that keeps problems small instead of scary. One possible drawback: you still need solid stamina and a calm attitude about altitude, because the schedule pushes up to Kala Pathar-level elevation and then back down.
If you care about a route that feels more local and less copy-paste, this one leans hard into that. The trek passes places like Takshindo Gompa, quiet canyons, and far-off settlements tucked in river valleys, where Sherpa culture shows up in daily life, not just scenery. I also like that the included package handles many of the big logistics items—transport, park permits, key gear, and lodge choices—so you can focus on walking and recovering. The main consideration is that meals aren’t included, so you’ll want to budget for food along the way and plan around tea-house pricing.
Overall, the Everest Base Camp Trek via Salleri is a smart choice if you want the Everest payoff with a less crowded-feeling approach and a team that stays on top of the details.
In This Review
- Key Things I’d Book This For
- Why the Salleri Route Changes the Everest Trek Feel
- Price and What You’re Actually Getting for It
- Arrival in Kathmandu and the Day 1 Reality Check
- The Start of the Trek: Kathmandu to Takshindo via Road
- Takshindo to Khari Khola: Settling Into the River Valley Pace
- Khari Khola to Puiyan: Higher, Cooler, and More Mountain-Linked
- Puiyan to Phakding: Building a Base for Namche
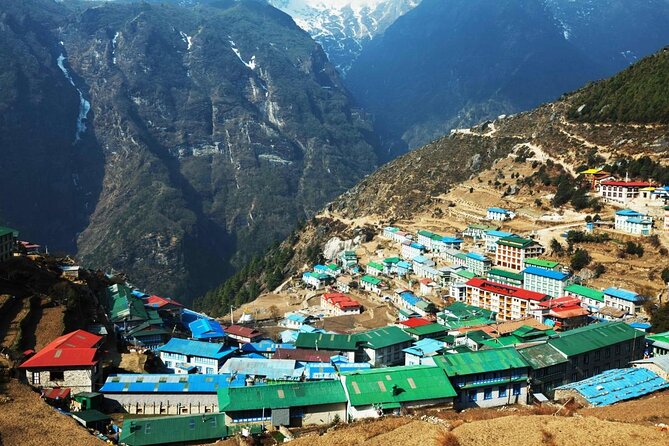
- Phakding to Namche Bazaar: The Most Important Town on Many Everest Treks
- Acclimatization Day: Everest View Hotel Hike
- Namche to Tengboche: Bigger Heights, Religious Calm
- Nagerjun Acclimatization: A Second Chance to Adjust
- Tengboche to Dingboche: Moving Toward the High Country
- Dingboche to Lobuche: The March Toward Everest Base Camp
- Lobuche to Everest Base Camp (Gorakshep): The Big Goal Day
- Kala Pathar to Pheriche: The Sunrise-Style High View (Without Promising Weather)
- Back Down Through Namche and Phakding: Recovery Through Movement
- Phakding to Puiyan and Khari Khola to Takshindo: Repeating the Route in Reverse
- Drive Back to Kathmandu and Farewell Day
- Guides, Teamwork, and the Little Things That Save Your Trip
- What to Pack and How to Use the Included Gear
- Permits and the Paperwork You Must Handle
- Who This Trek Suits Best (And Who Should Rethink)
- Should You Book the Everest Base Camp Trek via Salleri?
- FAQ
- How long is the Everest Base Camp Trek via Salleri?
- Where does the tour start and when?
- Is this a private tour?
- What permits and fees are included?
- Do I need passport photos?
- Are meals included?
Key Things I’d Book This For
- Salleri approach: a quieter path to Everest Base Camp that avoids the usual Lukla-driven feel
- Sherpa villages and Takshindo Gompa: you get culture and daily valley life, not just views
- Real acclimatization structure: hikes like Everest View Hotel and Nagerjun help you climb safer
- Support that actually matters: guide + porter ratio is set up to keep you moving comfortably
- Included gear for comfort: down jacket, sleeping bag, and trekking duffle reduce what you must carry
- Hot showers at key stops (when available): attached bathroom with hot shower at Lukla, Phakding, and Namche
Why the Salleri Route Changes the Everest Trek Feel
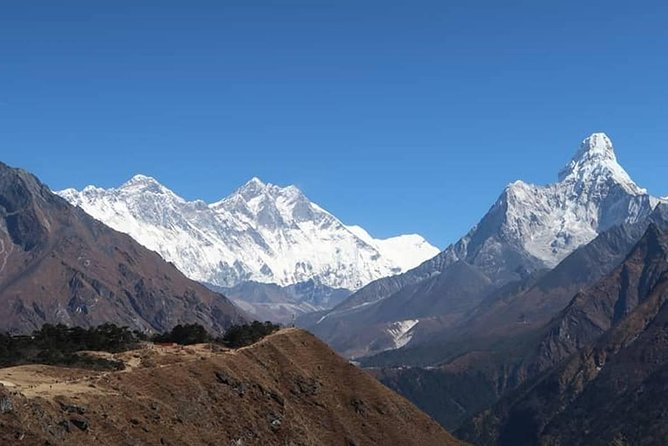
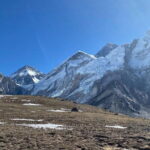
Most Everest trekkers picture the same rhythm: fly in, start hiking, follow the well-worn corridor. The Everest Base Camp Trek via Salleri keeps the goal the same—base camp on foot—but changes the vibe early on. Instead of launching straight into the most-trafficked base-camp approach, you head into isolated villages and far-off settlements tied to river valleys. That means you spend more time in places that feel lived-in and less like a trekking waiting room.
I also like that the trek leans into the in-between moments. You’re walking past terrace farms, river crossings with real motion, and narrow sections where the trail funnels you close to the land. It’s not just about arriving at a famous point. It’s about seeing how people survive at altitude—where they farm, how they move water, and how communities cluster around gompas and trade routes.
If you want the Everest payoff but don’t want your days to feel like you’re joining a conveyor belt of trekkers, this route fits that better.
You can also read our reviews of more tours and experiences in Kathmandu.
Price and What You’re Actually Getting for It
The listed price is $1,952, and you should judge it by what’s bundled versus what you still pay separately.
What’s included in the core cost:
- Ground transport in local jeep (including airport transfer)
- Guide and porters, with 1 porter for 2 hikers
- Best available lodges during the trek
- Down jacket and sleeping bag (during the trek)
- Duffle bag for your trek load
- Sagarmatha National Park permit fee and TIMS fee
- A few useful trip extras like a trekking map, team T-shirt, and achievement certificate
- Food and insurance for the guide/porters (the team gets support too, not just you)
- Attached bathroom with hot shower at Lukla, Phakding, and Namche (when those lodge setups are available)
What isn’t included:
- Meals
- Travel insurance and international airfare
- Personal expenses (like laundry, beverages)
- Tips/gratuities for trekking staff
Value check: for a trek of this length, the big hidden costs are usually transport complexity, permits, and staffing. Here, those are already handled, which is a real relief when you’re trying to keep altitude climbing safe. The main “budget holes” are meals and your own travel insurance/airfare, plus tips at the end.
So I’d call this price fair if you’re the type of traveler who wants the heavy lifting done for you, and you’re comfortable paying separately for day-to-day food and your own insurance.
Arrival in Kathmandu and the Day 1 Reality Check
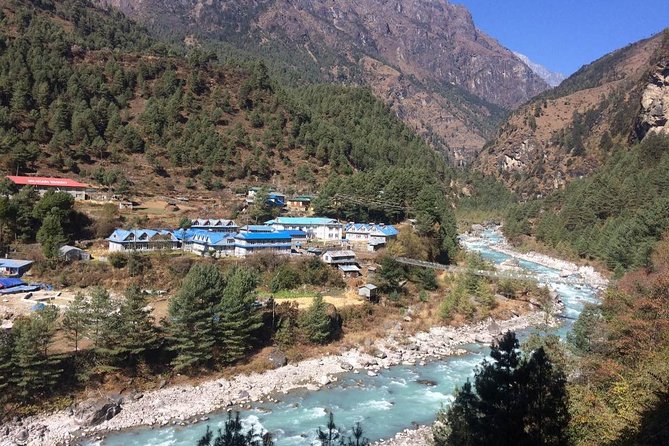
Your trek starts in Thamel, Kathmandu, with a 6:15 am start time. You arrive at Tribhuvan International Airport and then you’re taken care of by ground transport.
This is the part where you should slow down. Kathmandu is busy and loud, but your next days depend on a calm plan:
- get enough sleep
- drink water steadily (not in huge gulps)
- keep your gear organized the night before
- remember that some of what you carry affects how well you climb later
Because the trek includes a porter share (1 porter for 2 hikers), you won’t be hauling everything yourself. Still, you’ll feel the difference between walking with a sane load versus a messy load.
The Start of the Trek: Kathmandu to Takshindo via Road
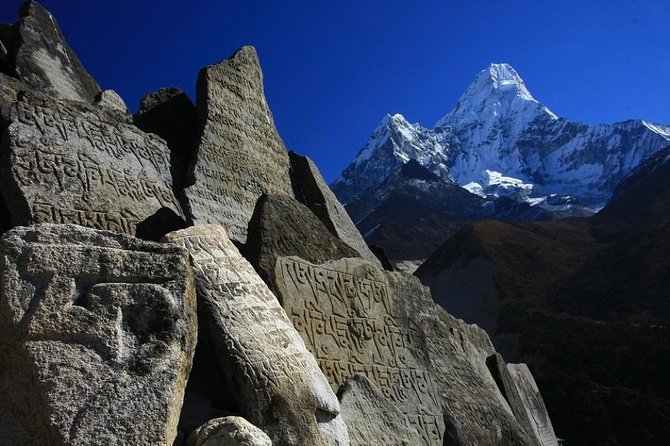
A big part of why this trek feels different is the opening movement. You drive from Kathmandu toward Phaplu and Ringmo, then begin walking to Takshindo (about 3,071 m / 10,072 ft). The day blends a long drive plus a short walk, including roughly a half-hour of hiking time on arrival.
Why this matters:
- The drive lets you gain elevation without spending the day burning your legs too early.
- Takshindo becomes your first real “Everest foothold,” where you can start reading the air and your body’s pace.
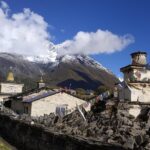
You also get Takshindo Gompa in the early story, which sets a spiritual and community tone. Even if you’re not visiting temples for long, the gompa presence helps explain how these places function. It’s not just mountains. It’s people, routine, and belief.
Takshindo to Khari Khola: Settling Into the River Valley Pace
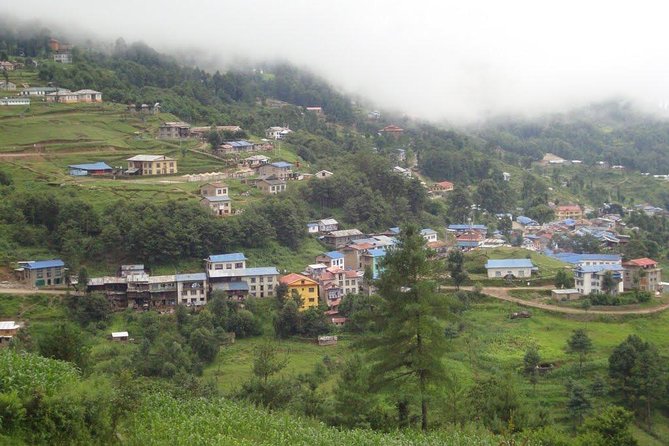
Next, you head from Takshindo to Khari Khola (around 2,194 m / 7,196 ft). Expect a day that’s more about finding rhythm than sprinting elevation.
Here’s what to watch:
- how your breathing changes after the first uphill moments
- whether your hydration is steady
- whether you’re carrying too fast or too tense
This is where I’d keep your goal simple: walk comfortably, not heroically. The Salleri approach is a long trek, so your best strategy is to make each day feel manageable.
Khari Khola to Puiyan: Higher, Cooler, and More Mountain-Linked
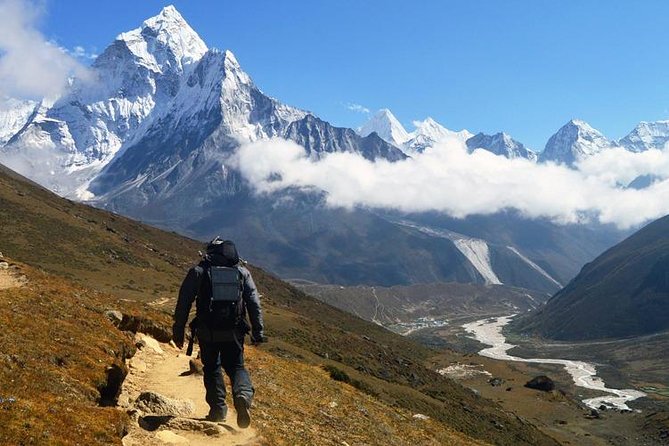
From Khari Khola to Puiyan (about 2,890 m / 9,479 ft), the air gets thinner and the terrain starts to feel more “Everest-adjacent.” This is another step that matters because you’re moving toward bigger acclimatization days later.
You’ll likely notice:
- colder mornings
- windier trail sections
- a greater need to keep snacks and water easy to access
Even if you feel good, keep your pace steady. That’s not just good trekking advice—it’s altitude survival advice.
Puiyan to Phakding: Building a Base for Namche
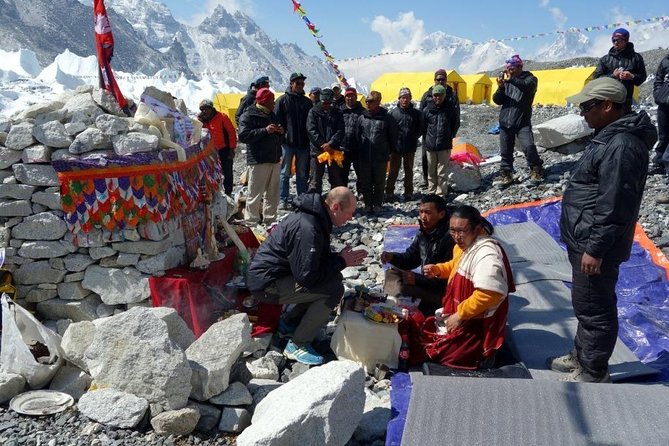
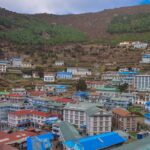
You then trek from Puiyan to Phakding (about 2,652 m / 8,699 ft). Phakding is a common type of Everest gateway village: a place where the trail tightens into a lived-in trekking corridor.
This part of the trip is useful because it prepares you for Namche Bazaar, the big hub where acclimatization becomes more structured.
One comfort note: included lodge setups include attached bathrooms with hot showers at Phakding (when available). That’s not a luxury detail. In cold weather, hot water can be the difference between “my body feels stiff” and “I’m ready for tomorrow.”
Phakding to Namche Bazaar: The Most Important Town on Many Everest Treks
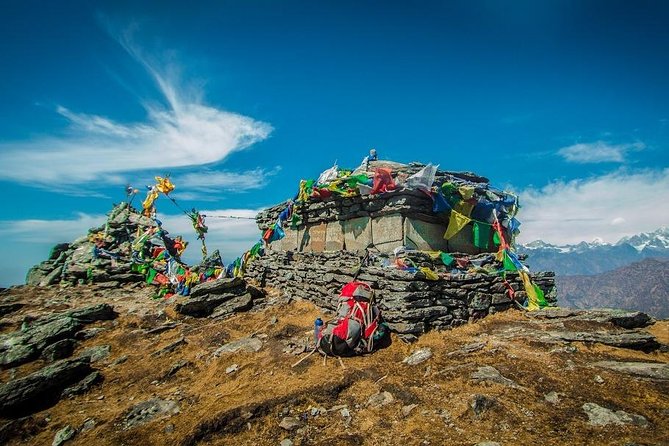
The trek climbs from Phakding to Namche Bazaar (about 3,440 m / 11,283 ft). Namche is the place where you feel Everest logistics and culture mixing together. You get the biggest jump in elevation up to this point, so this day is where I’d focus on breathing and stopping before you feel breathless.
In Namche, you’re setting up for your acclimatization day. You don’t just arrive—you prepare.
Acclimatization Day: Everest View Hotel Hike
On your acclimatization day, you hike up to Everest View Hotel and return. The whole point is to help your body adapt while controlling how hard you push.
If you’re wondering why this type of day matters: altitude isn’t only about reaching a high point once. It’s about how your body reacts afterward. A controlled climb helps you keep those reactions smoother later when you go higher.
Also, this is a good time to practice your personal “altitude routine”:
- warm layers early
- slow steps
- frequent small hydration
- keeping your mind calm
Namche to Tengboche: Bigger Heights, Religious Calm
You move from Namche Bazaar to Tengboche (about 3,860 m / 12,660 ft). Tengboche is famous on Everest treks for its religious setting and mountain backdrop, and in a Salleri route it feels like a bridge between village life and the higher approach.
This stop matters because it’s a psychological waypoint. You’re still in the trekking world, but the peaks feel closer and the air feels thinner.
You should plan on a slower pace here—longer breaks and less rushing—especially if you wake up feeling the altitude.
Nagerjun Acclimatization: A Second Chance to Adjust
Your schedule includes another acclimatization day with a hike to Nagerjun and return. That’s a smart design choice. Two acclimatization moments spaced through the trek reduce the risk of your body getting surprised later.
It also means you don’t treat acclimatization like a checklist. You treat it like training. The more you repeat gentle climbing patterns, the easier the higher days tend to feel.
Tengboche to Dingboche: Moving Toward the High Country
Next, you head from Tengboche to Dingboche (about 4,410 m / 14,464 ft). Dingboche is a step into colder, more exposed trekking. You’ll feel it in your hands, your sleep, and how quickly you get tired.
What helps here is consistency:
- keep warm gloves ready
- eat even when appetite dips slightly
- don’t save all your energy for base camp day
This is where “slow and steady” stops being advice and becomes the whole plan.
Dingboche to Lobuche: The March Toward Everest Base Camp
You trek from Dingboche to Lobuche (about 4,910 m / 16,105 ft). Lobuche is closer to the Everest machine of the high approach: fewer comforts, more focus, and more dramatic terrain.
A drawback to be honest about: days at this height often feel longer, even when the distance is similar. Your body spends more energy just staying warm and moving slowly.
Your best tool is discipline. Stick to your pace. Keep your stops short and purposeful.
Lobuche to Everest Base Camp (Gorakshep): The Big Goal Day
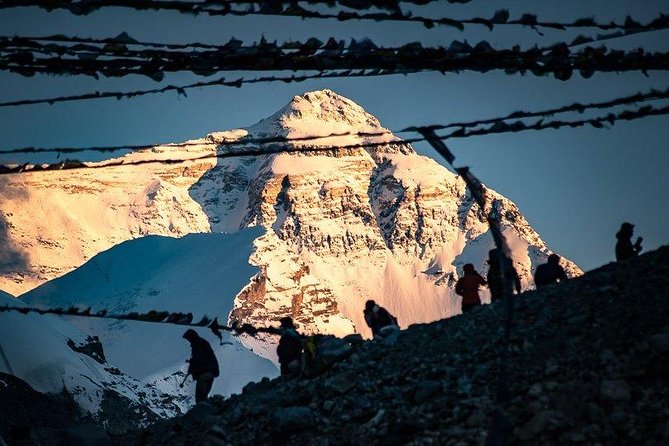
You then go from Lobuche to Everest Base Camp (about 5,364 m / 17,594 ft) and Gorakshep. This is the emotional peak of the trek—the day you’ve been working toward.
A practical heads-up: base camp itself is not a gentle place. Even if conditions are fine, the altitude is intense. Take your time walking, and when you reach the goal, spend time there without trying to turn it into a photo sprint.
If you feel shaky or winded, it’s not the moment to prove anything. Enjoy the place, breathe, and treat safety like part of the experience.
Kala Pathar to Pheriche: The Sunrise-Style High View (Without Promising Weather)
From Gorakshep, you climb to Kala Pathar (about 5,545 m / 18,188 ft), then trek to Pheriche (about 4,210 m / 13,809 ft). Kala Pathar is known for views, and it’s also physically demanding.
The bigger value of this day is the contrast:
- high point effort
- then a descent back toward more breathable air
That pattern helps your body recover for the return trek. Still, altitude can make descents feel rough. Keep your footing careful. Your knees are part of the system.
Back Down Through Namche and Phakding: Recovery Through Movement
You trek from Pheriche back toward Namche and then down to Phakding. The route includes returning through the same communities that helped you acclimatize, which makes it easier to judge your progress day by day.
Another comfort detail: Namche and Phakding have lodge setups with attached bathrooms and hot showers included in the trip design. That helps you sleep better, and better sleep helps you recover.
Phakding to Puiyan and Khari Khola to Takshindo: Repeating the Route in Reverse
Then you return through Phakding to Puiyan, Puiyan to Khari Khola, and Khari Khola to Takshindo. Reversing the trek can feel easier on paper but it’s still physically real.
Here’s the trick I’d use: treat the return days like recovery hikes, not victory marches. Let your legs loosen up naturally and keep your pace forgiving.
You’ll likely appreciate the Salleri route even more on the way back, because the villages start to feel familiar instead of new.
Drive Back to Kathmandu and Farewell Day
On your final trek-to-road transition, you drive back via Ringmo and Phaplu to Kathmandu. The schedule suggests about 8 hours of driving plus a short walk, then a farewell day.
This is the last stretch where you’ll want to keep your feet moving and your hydration steady. Long drive days can stiffen you up. Try a short walk when you can, and plan for a calmer end-of-trip evening.
Guides, Teamwork, and the Little Things That Save Your Trip
The most praised aspect of this trek is how well the guide team handles real-life trekking issues—route timing, lodging, and changes when plans don’t work.
In past departures, people specifically mentioned guides like Pooja (lead) and Prem (assistant) on a women’s Everest Base Camp run, with the team staying attentive to needs from lodging to meals. Other guide names that came up include Prakash, Manoj, and Neel—and the standout theme was problem-solving when flights were not possible, with quick jeep re-organization after clear explanations.
Even if you’re not thinking about it day-to-day, that ability matters on an Everest trek. Weather, schedules, and transport can change fast, and having a team that communicates well keeps you from spiraling.
I also appreciate the structured staffing: 1 porter for 2 hikers means your load is more manageable, and your energy goes toward walking—not battling a heavy pack.
What to Pack and How to Use the Included Gear
The trek includes a down jacket and sleeping bag during the trek, plus a trekking map and trek duffle bag. That’s a huge help if you don’t want to rent or buy high-end cold-weather gear.
What you still need to bring is your personal comfort system:
- layers you can adjust throughout the day
- gloves and a warm hat for colder mornings
- socks you trust
- basic sun protection
- any personal toiletries
- your passport photos for permits (more below)
Tip: because the included down jacket is provided, you can pack lighter than you might for a do-it-yourself trek. Still, altitude cold can be tricky—your personal layers matter.
Permits and the Paperwork You Must Handle
This trek includes Sagarmatha National Park permits and the TIMS fee. The trip data also asks you to bring 2 passport size photos for the permit process.
So don’t wait until the day before you travel in Nepal. Get the photos sorted early. Small paperwork delays are common when travelers scramble at the last minute.
Who This Trek Suits Best (And Who Should Rethink)
This is built for travelers with moderate physical fitness. That means you don’t need to be a mountaineer, but you do need to be willing to hike several hours a day, walk on uneven paths, and keep a steady pace through altitude.
You’ll likely love this trek if:
- you want an Everest Base Camp route via Salleri that feels quieter and more village-focused
- you enjoy cultural stops like Takshindo Gompa
- you appreciate guided support and clear planning
- you want the comfort of included gear and lodge choices
You might want to rethink if:
- you need meals fully handled (meals are not included)
- you’re uncomfortable paying extra for insurance, airfare, and tips
- you get flustered by altitude demands and schedule discipline
Should You Book the Everest Base Camp Trek via Salleri?
I’d book it if your priority is a less standard Everest route with strong team support, and you like the idea of seeing Sherpa villages and river-valley life before you reach the big-name summit moments. The pricing also makes sense if you want permits, transport, guide staffing, and key gear bundled so you’re not juggling too many details yourself.
Don’t book it expecting comfort-level trekking the whole time. At this altitude, you’ll work for every view, especially on days like Kala Pathar. But if you show up prepared, keep your pace sane, and let the acclimatization structure do its job, this trek has a genuine sense of adventure.
If you want, tell me your hiking experience level and whether you’re traveling solo or as a couple. I can help you sanity-check the match and what to emphasize when you pack.
FAQ
How long is the Everest Base Camp Trek via Salleri?
The trek runs for about 20 days (approx.).
Where does the tour start and when?
It starts in Thamel, Kathmandu, with a 6:15 am start time.
Is this a private tour?
Yes. It’s listed as a private tour/activity, so only your group participates.
What permits and fees are included?
The package includes Sagarmatha National Park permits and the TIMS fee.
Do I need passport photos?
Yes. You should bring 2 passport size photos for the permit process.
Are meals included?
No. Meals are not included in the trip price.