REVIEW · POKHARA
6 days Annapurna Basecamp Trek
Book on Viator →Operated by iTour Nepal Private Day Tours · Bookable on Viator
First-time readers: Annapurna Basecamp can feel intense, but this route is built to feel short and steady. You’ll get those famous 360-degree views, including a sunrise look at Annapurna I, plus the colorful walk through rhododendron country. I also like that the plan leans on licensed, experienced guides and teahouse comfort, not guesswork.
The best parts are the big-picture ones: seeing Annapurna South, Huinchuli, and Mt Fishtail from the foothills, then moving into the Annapurna Sanctuary and finally reaching base camp. One thing to keep in mind is that meals aside from breakfast cost extra, and teahouse facilities can be basic depending on where you sleep.
In This Review
- Key Highlights at a Glance
- Why This 6-Day Annapurna Basecamp Trek Works So Well
- Pokhara Start: Getting Positioned Before You Hit the Trail
- Day 1: Chhomrong Viewpoint and Jhinu Danda’s Suspension Bridge
- Day 2: Into the Foothills and Annapurna Sanctuary
- Day 3: Rhododendron Forest Country Toward Machhapuchchhre
- Day 4: The Day Annapurna Base Camp Finally Shows Up
- Day 5: Sunrise Over Annapurna I and a 360-Degree Morning
- Day 6: Back to Greenery and the Comfort of Civilization
- Price and Value: Is $450 Fair for This Trek?
- What’s Included vs. What You Should Budget for
- Group Size, Safety, and Why the Guide Matters Here
- Gear and Fitness: What You’ll Want to Know Before You Go
- Who This Trek Suits Best (And Who Might Want Another Option)
- Should You Book This 6-Day Annapurna Basecamp Trek?
- FAQ
- Is lunch and dinner included?
- Do I get teahouse accommodation?
- Is a porter included?
- What does the guide cover?
- Is there a sunrise at Annapurna Base Camp?
- What’s the group size?
- What’s included in the gear support?
Key Highlights at a Glance
- A safety-first rhythm with a guide who’s insured and used to this trail
- Teahouse nights with breakfast included, so your day-to-day logistics stay simple
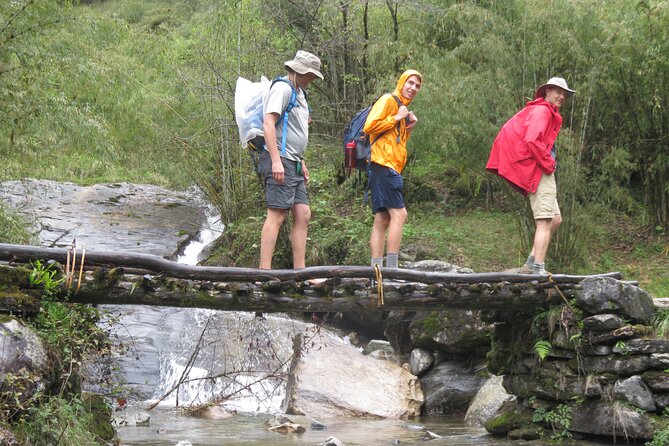
- Suspension bridge moment at Jhinu Danda (285 m long, 135 m up) right near the start
- Rhododendron-rich walking through thick forest sections and valley basins
- An Annapurna I sunrise payoff with early light and color shifts at base camp
- Small group size (max 20) for a calmer feel on trail
Why This 6-Day Annapurna Basecamp Trek Works So Well
Annapurna Basecamp is famous for a reason: once the valley opens up, you start seeing peak after peak stacked like a giant wall. What surprised me about this 6-day format is how it keeps your energy focused. You’re not trying to cram ten tough days into one rushed week; instead, you’re moving at a pace that lets the views land—and lets you keep going.
I also appreciate the practical shape of the days. The schedule includes long hiking days (often listed around 12 hours in the plan), but the structure is built around predictable progress: foothills, sanctuary, deeper valley sections, then base camp, then return. That matters because trekking fatigue isn’t just sore legs—it’s also constant decision-making. Here, the guide handles the flow.
One more reason it’s a good fit: you’ll be in teahouses with breakfast provided. You’re not living off guesswork meals, and you get a consistent daily rhythm to aim for, even if lunch and dinner aren’t included.
You can also read our reviews of more tours and experiences in Pokhara.
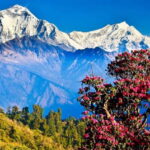
Pokhara Start: Getting Positioned Before You Hit the Trail
Pokhara is your launch pad, and this trek includes private transportation and pickup offered. That’s not a small detail—getting to the trail with less stress helps you show up with better energy. You’re already adjusting to Nepal logistics, altitude changes, and trail timing, so minimizing extra travel admin is worth real money.
You’ll also be working with a guide who’s licensed and insured, which is a comfort factor when weather or trail conditions shift. Annapurna is usually manageable, but “manageable” still means you need someone who understands how the day should feel: when to start, when to slow down, and when the safest plan is the simplest plan.
Day 1: Chhomrong Viewpoint and Jhinu Danda’s Suspension Bridge
Day 1 is the classic Annapurna mood-setting combo: viewpoint drama, then a bridge that makes you feel small in the best way.
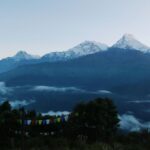
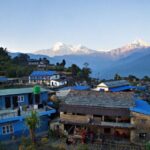
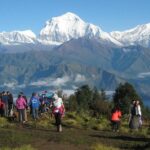
Chhomrong sits around 2,150 m and is known as a strong viewing spot for Annapurna South (7,219 m), Huinchuli (6,441 m), and Mt Fishtail. That early exposure does two things for you. First, it gives you visual landmarks so later valleys feel easier to read. Second, it reminds you why people come here in the first place—peak views that don’t require you to be an expert photographer.
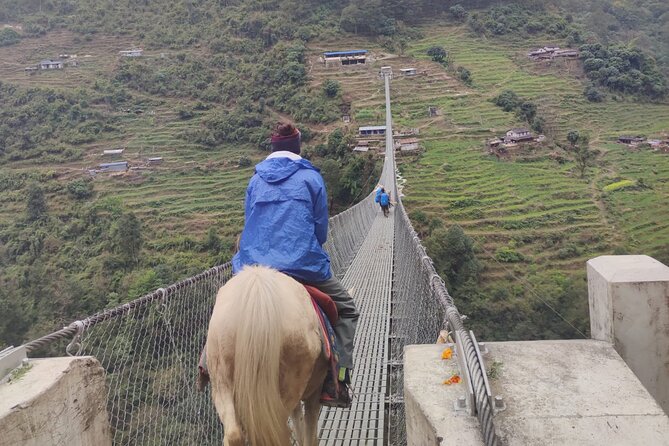
Then you head toward Jhinu Danda, including a stop at the suspension bridge. This bridge is 285 m long and hangs about 135 m above the Kimrong River. Even if you don’t love heights, this is the kind of moment that breaks up the travel day and snaps your brain into trekking mode.
Practical note: the plan keeps admission tickets free on these stops, which is nice, but the bigger value is the sequencing. You’re not spending Day 1 staring at paperwork or wasting time. You’re walking into the landscape.
Day 2: Into the Foothills and Annapurna Sanctuary
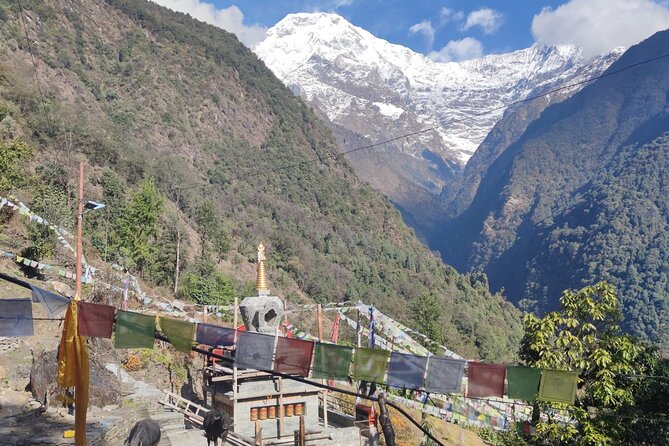
Day 2 starts with views—morning light hitting Annapurna South and Mt Fishtail—then shifts into a trail that swings up and down across the Annapurna foothills. After that, you move toward and into the Annapurna Sanctuary, where the valley begins to feel more enclosed and “real” in a way that’s hard to describe until you’re in it.
This is where trekking becomes more than sightseeing. The up-and-down sections in foothills are useful training: your body learns the rhythm, and you learn how to pace. If you go out too fast on Day 2, you’ll feel it later. If you listen to your guide and keep a steady effort, you’ll arrive feeling like you still have a reserve.
What I like about this day is the balance. You get scenery early, then you get a gradual push into the zone where bigger mountains start dominating your thoughts.
Day 3: Rhododendron Forest Country Toward Machhapuchchhre
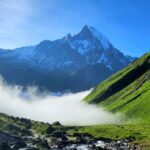
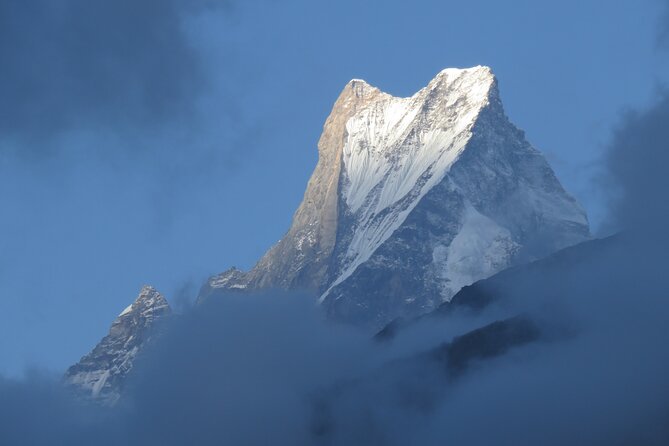
Day 3 is about valley travel and forest walking, with a big peak context hanging in the background: Machhapuchchhre. You’ll pass through a place described as Dovan, in the Modi River valley basin, positioned between Hiunchuli and Mardi Himal.
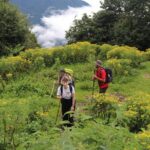
The highlight here is the rhododendron forest. The plan emphasizes thick rhododendron sections, and that’s exactly the kind of walking that keeps your mind from getting bored. Forest trails also make temperature feel more stable. Sun and wind can be fierce in open areas, so getting shaded stretches can help your comfort without changing your hiking goals.
There’s also a strategic aspect to this day. Walking upstream through the Modi River system is the setup for the base camp approach. Even if you don’t have “base camp” in your sights yet, your body is learning the direction and the effort style needed for later.
If you’re sensitive to cold, Day 3 is a good day to keep your layers consistent. Trees help, but valley mornings can still be chilly.
Day 4: The Day Annapurna Base Camp Finally Shows Up
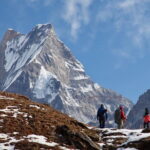
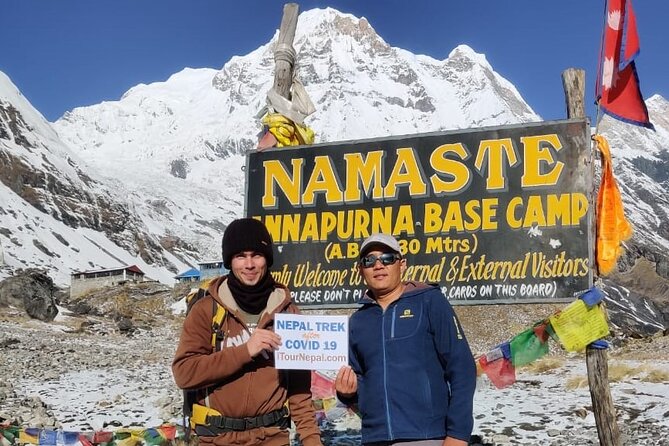
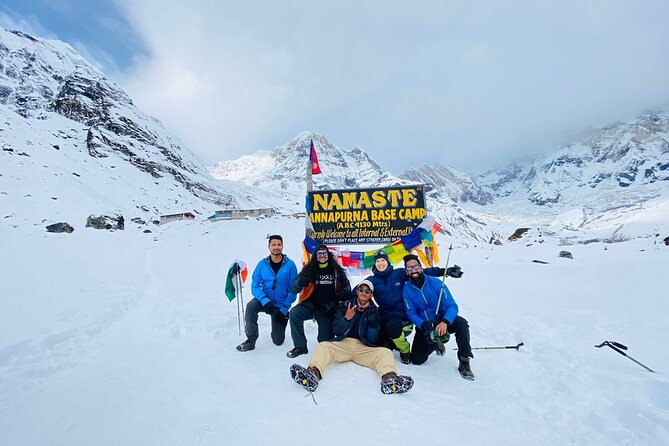
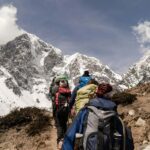
Day 4 is the big one: reaching Annapurna Base Camp. The approach from Deurali is described as especially scenic, with undisturbed views of Mt Fishtail, Annapurna III, Annapurna South, and Annapurna I, plus more peaks. This is the day when the mountains stop feeling like distant ideas and start feeling like you could touch the edges of the world.
You follow the Modi Khola upstream on the way in. The watercourse matters here because rivers carve valleys, and valleys guide your walking line. It’s not just geography—it’s wayfinding. A good guide keeps you from wandering, and following the valley helps you keep your effort consistent.
What I love about the base camp arrival day is the payoff feeling. After days of foothills, sanctuary, and forest, you finally get the wide, dramatic view that Annapurna Basecamp is known for. This is also where you’ll start noticing weather patterns more. If skies are clear, you’ll get those long sightlines; if clouds roll in, you’ll still feel the scale, just with more mood.
Teahouse accommodation is included, so you won’t be scrambling for lodging options on arrival. That keeps the day from turning into a second job.
Day 5: Sunrise Over Annapurna I and a 360-Degree Morning
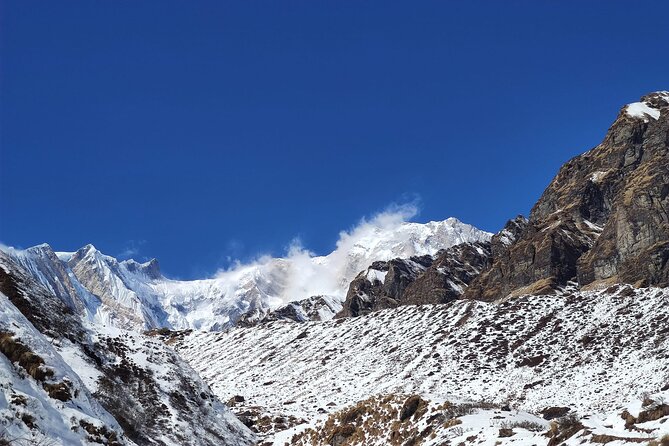
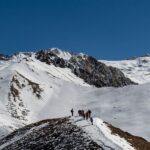
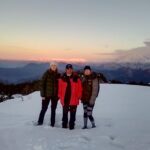
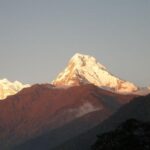
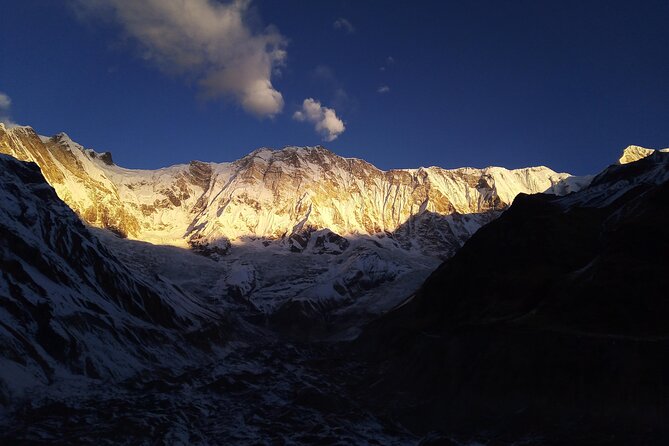
If there’s one moment this trek is built around, it’s sunrise at base camp. Day 5 includes early morning viewing, with the famous detail that the light shifts the colors of Annapurna I. You’ll get a 360-degree view when the day first wakes up, which is the perfect time to understand how peak ranges are actually layered.
Here’s the practical truth: sunrise hikes aren’t only about beauty. They teach you altitude and cold handling. You’ll want warm layers that still move with you and a plan for staying comfortable while you wait for light. A guide’s job is to time the moment correctly, and this trek clearly prioritizes the sunrise window.
After the peak show, the day is set up as an easier morning at the base camp area. That matters because it’s the emotional peak of the trip—then you still have to walk out the next day. The plan gives you a chance to soak in the view without turning the day into another brutal march.
Day 6: Back to Greenery and the Comfort of Civilization
Day 6 is about the letdown that feels good. After a few days in a colder, more remote valley, returning to greenery and civilization can feel like someone turned the volume down. The plan includes breakfast with far-reaching views of layered hills and the Modi River valley, which is a nice way to make the departure feel respectful, not sudden.
This is also when you’ll appreciate that you didn’t carry extra burdens. The trek includes gear support like a duffle bag / sleeping bag / anti-slip crampon as required. You may not use everything every day, but having the right items when you need them is a huge quality-of-life upgrade.
The return section is simpler in mood than in difficulty. You’ll still be trekking, but you’re moving toward familiar routine: food timing, warmer air, and a gradual reset of your system.
Price and Value: Is $450 Fair for This Trek?
At $450 per person, this is priced like a “real trek with real support,” not a low-cost sightseeing walk. The value comes from what’s included:
- Licensed, experienced guide (insured)
- Private transportation
- Teahouse accommodation
- Breakfast included (5 days)
- All fees and taxes
- Gear support: duffle bag / sleeping bag / anti-slip crampon as required
The costs that are not included also make sense and are common on trekking routes: lunch and dinner, bottled drinks/coffee, tips, and porter service if you choose it. A porter is listed as $30 per day, which can be a smart upgrade if you want to protect your knees and energy for the later sections.
Also, insurance for you isn’t included. That’s not a criticism of the trek—it’s just smart for you. Trekking insurance is what keeps a weather wobble or injury from becoming a financial nightmare.
If you compare this trek to DIY trekking, the biggest “hidden” value is decision-making. Someone plans the trail pace, handles the logistics, and keeps your day from turning into a series of questions. That’s time and stress you don’t get back.
What’s Included vs. What You Should Budget for
To avoid surprises, plan your trekking budget around these points from the start:
Included
- All fees and taxes
- Private transportation and pickup offered
- Breakfast (5x)
- Teahouse accommodation for the nights
- Licensed, experienced, insured guide
- Duffle bag / sleeping bag / anti-slip crampon as required
Not included (typical extra budget categories)
- Lunch and dinner
- Porter (optional) at $30/day
- Your personal travel insurance
- Bottled drinks, coffee from machine
- Small possible charges in teahouses for toiletries, Wi-Fi, and charging gadgets
- Tips for guide/porter (service charges are included in hotel and restaurants, but tips aren’t)
I like this setup because it lets you control spending on meals and comfort. You just need to carry the cash planning in your head early.
Group Size, Safety, and Why the Guide Matters Here
This trek runs with a maximum of 20 travelers. That keeps things social but not chaotic, which is good for trail navigation and for getting answers quickly when conditions change.
What stands out in the provider’s approach is the emphasis on safety and care. Past trekkers highlight that the team actively manages safety and makes sure everything follows the plan. That kind of attitude matters when weather flips fast or when fatigue makes people take risky shortcuts. A competent guide is the difference between a memorable trek and a stressful one.
You may be assigned different staff depending on dates, but names that show up in client feedback include Rabi (owner) and guides such as Saroj. Having that continuity behind the scenes often means smoother communication and fewer last-minute problems.
Gear and Fitness: What You’ll Want to Know Before You Go
The trek fits people with moderate physical fitness. That sounds broad, but here’s how I interpret it: you should be comfortable hiking for long hours and handling stairs-like uphill segments without stopping every five minutes. The plan lists long days (around 12 hours), so your fitness should support steady walking.
Gear is partly provided: duffle bag, sleeping bag, and anti-slip crampons as needed. Still, I strongly suggest you bring the basics you know you’ll rely on: layers for cold mornings, rain protection, and footwear that works for rocky and muddy trail.
Altitude also matters. The trek includes high viewing points and base camp conditions, so even fit people feel the thin-air effect. The smartest move is to take it slow on uphills and let your breathing settle.
If you’re going in expecting an easy stroll, you’ll be disappointed. If you’re going in expecting steady work with a huge view payoff, you’ll feel right at home.
Who This Trek Suits Best (And Who Might Want Another Option)
This trek is ideal if you want:
- A classic Annapurna Basecamp experience with a short, structured 6-day flow
- Teahouse comfort with breakfast included
- A guide-led route that reduces decision fatigue
- The big sunrise moment over Annapurna I
It might not be your best choice if:
- You want lunch and dinner fully included (here, only breakfast is included)
- You hate cold mornings and waiting for sunrise without much flexibility
- You’re not comfortable with long hiking days, even if the route is considered safer/shorter than some alternatives
If you’re traveling as a couple, solo, or with friends, the group size helps you feel connected without feeling packed in.
Should You Book This 6-Day Annapurna Basecamp Trek?
I think you should book it if you want the Annapurna Basecamp hits—foothill views, rhododendron forests, a suspension bridge start, and a sunrise at base camp—without turning the trip into constant logistics management. The combination of licensed guide support, teahouse stays, and breakfast included makes it feel organized in the way that actually matters on a mountain trail.
Book it with a clear mindset about cost: the headline price is good value, but you’ll still budget for lunch/dinner, tips, and optional porter help. If you want lighter legs, consider the porter option at least for the tougher segments.
One more checklist tip: pack for cold mornings and variable weather, and don’t rush the early climbs. The trek rewards steady pacing—and when the sunrise hits, you’ll understand why people plan for this trip months ahead.
FAQ
Is lunch and dinner included?
No. Breakfast is included for 5 days, but lunch and dinner are not included.
Do I get teahouse accommodation?
Yes. Teahouse accommodation is included as part of the trek.
Is a porter included?
Porter service is not included. A porter is available for $30 per day if you want one.
What does the guide cover?
You get a licensed, experienced, insured guide. The trek also includes private transportation and pickup offered.
Is there a sunrise at Annapurna Base Camp?
Yes. The plan includes an early morning sunrise experience at Annapurna Base Camp, with a 360-degree view and popular color changes of Annapurna I.
What’s the group size?
The maximum group size is 20 travelers.
What’s included in the gear support?
The trek includes a duffle bag and sleeping bag, plus anti-slip crampon as required.