REVIEW · INDONESIA
Mount Rinjani Trekking 2D/1N Summit Sunrise & Sunset Views
Book on GetYourGuide →Operated by Mount Rinjani Hike · Bookable on GetYourGuide
Mount Rinjani is one of those climbs that feels bigger than the map. You’re chasing sunrise from the summit and spending the night on the crater rim, with Segara Anak Lake in the mix. It’s a tough 2-day effort, but the schedule is built around the best light and the most dramatic viewpoints.
I especially love how much is handled for you: experienced English-speaking guides, professional porters, tents, sleeping gear, cooking setup, and set meals. I also like that the trek is designed as an adventure with real scenery stops, not just a long march—crater-rim views at the end of Day 1, then the early push to peak.
One consideration: this trek is physically demanding and it gets cold near the summit. If you have heart issues, vertigo, or low fitness, you should skip it—this is not a casual hike.
In This Review
- Key highlights you’ll feel right away
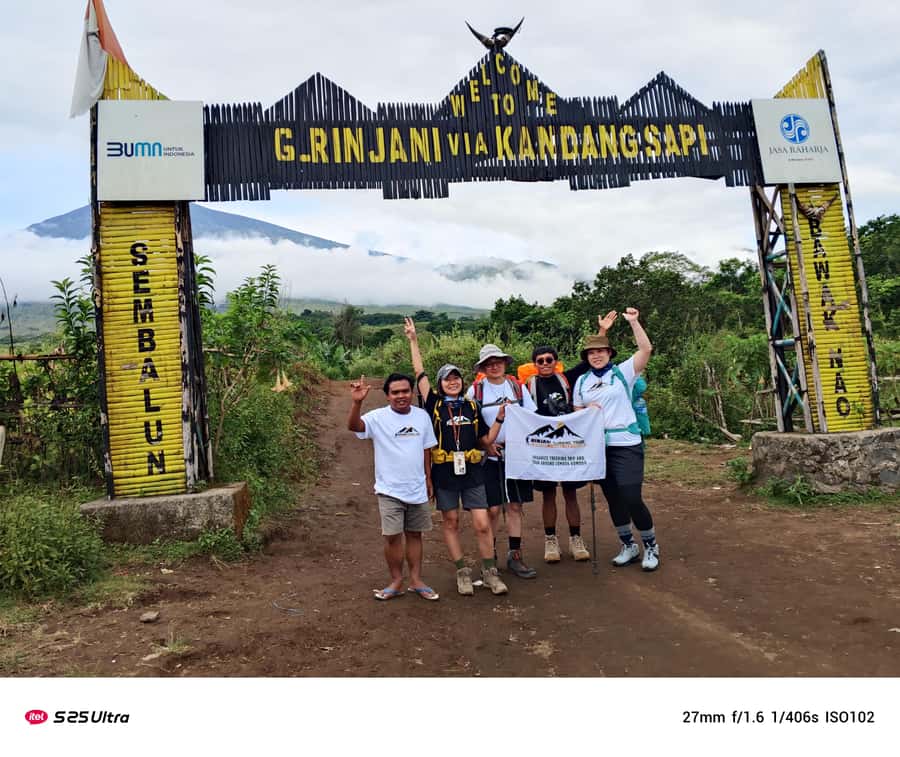
- Entering Mount Rinjani on the Sembalun Route
- Day 1: Sembalun hike all day to the crater rim camp
- Day 2: the 2:00am wake-up and the summit push to sunrise
- Descending: rainforest or milder slopes depending on your route transfer
- Segara Anak Lake and crater views: why this trek is more than a peak
- Guides and porters: the support that makes a hard hike feel manageable
- What’s included in the price (and how the value adds up)
- Gear and packing: avoid the common mistakes
- Fitness check: who this trek suits best, and who should think twice
- Weather risk and summit closures: how to think about the one big uncertainty
- Should you book this Mount Rinjani 2D/1N Sunrise & Sunset style trek?
- FAQ
- How long is the Mount Rinjani trek?
- Where does the trek start and what route is used?
- What time do you start hiking to the summit?
- What’s the hardest part of the trek like?
- What’s included with the trek?
- How do you handle luggage and what can you store?
- What transportation is included after the trek?
- What should I bring that is not included?
- Is the trek accessible for people with medical concerns?
Key highlights you’ll feel right away
- Sunrise timing: wake around 2:00am and start the summit hike at about 2:30am
- Crater-rim camping: set up camp at the crater rim and eat with your guide’s cooking
- Segara Anak Lake views: you’ll see the lake and surrounding scenery during the trek
- Most intense section comes early: a rocky, gravel-like accent around 5:00am
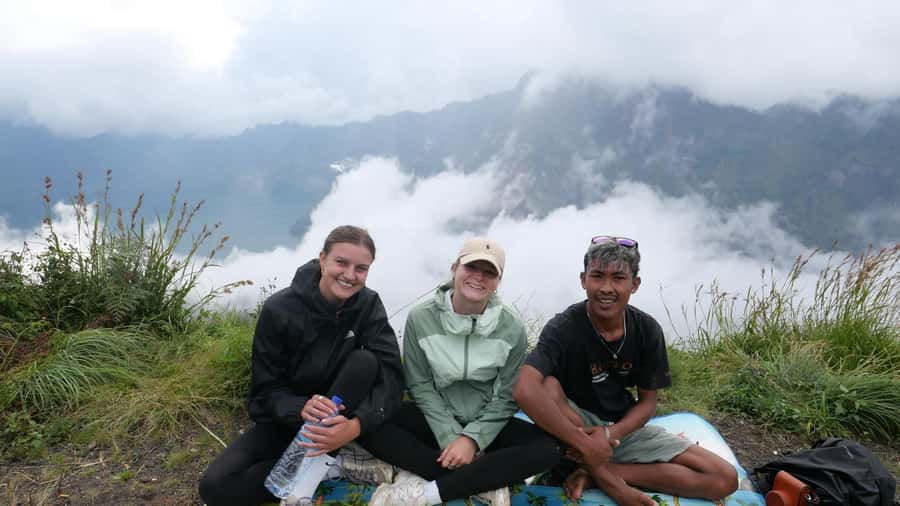
- Guides and porters make it: crews like Jack and August, plus Nun, Ajis, Peaky, and Wahdi are repeatedly praised
- Weather can affect the summit: one group had the summit closed due to conditions, but the trip still ran well
Entering Mount Rinjani on the Sembalun Route
This is a classic Rinjani format: start from Sembalun, build altitude all day, then wake up for the hard part before sunrise. The first leg matters because it sets your rhythm. You’re not just hiking to walk; you’re hiking to get to a very specific viewpoint at the right time of day.
Most people will appreciate the balance here: Day 1 is long and physical, but it ends with camp already set on the crater rim. That means you’re not scrambling for logistics in the dark. Porters are there with equipment, and you get dinner and views before sleep.
One more detail that helps: there’s storage in the office for your backpack, so you can keep your load sane. You’ll still bring personal snacks and the basics for warmth, but you won’t be dragging everything up the mountain.
You can also read our reviews of more tours and experiences in Indonesia.
Day 1: Sembalun hike all day to the crater rim camp
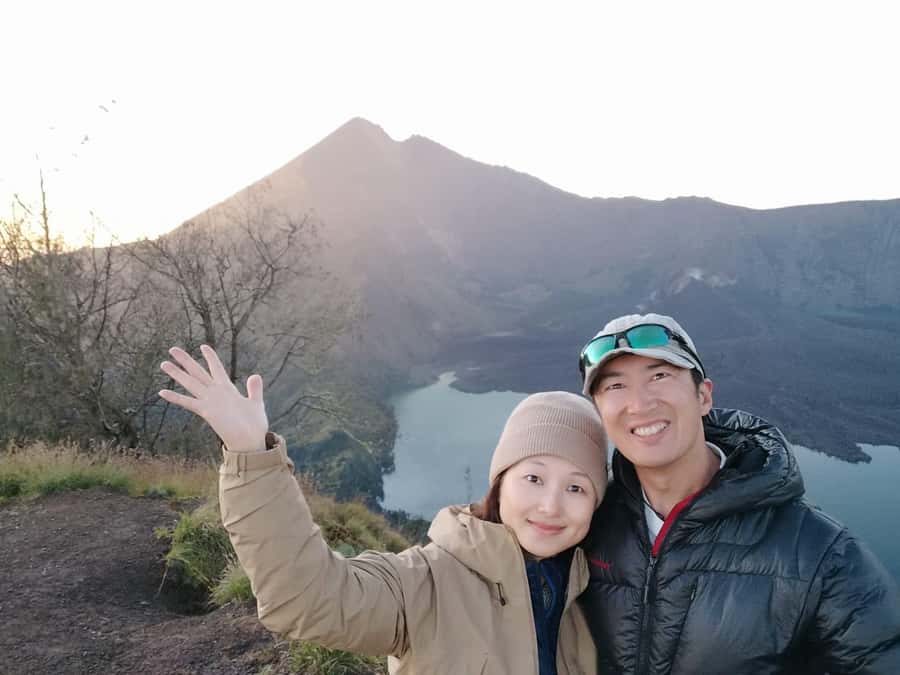
You start with breakfast and coffee or tea, then get about a 1-hour drive to Sembalun. After that, you’re hiking through the day until late afternoon, with a lunch stop in the middle.
Here’s why Day 1 feels worth it even if your legs complain: you’re moving toward a payoff that’s not delayed. By late afternoon, you arrive at the crater rim and your porters are already setting up camp. That timing is a big quality-of-life factor on an overnight trek. Instead of stressing about tents, you can focus on soaking in the crater views and plotting tomorrow’s early start.
Expect a full-day workload. Even if you consider yourself fit, you should plan for fatigue. The good news from multiple experiences is that organization stays tight—water, food, and support are part of the plan, not an afterthought.
Night falls on the crater rim, and you’ll be treated to evening views before dinner. This is also where you learn a practical rule for volcano treks: pack for cold. Even when you start in warmer conditions, the rim can feel chilly, and you’ll want warm layers and a hat.
Day 2: the 2:00am wake-up and the summit push to sunrise
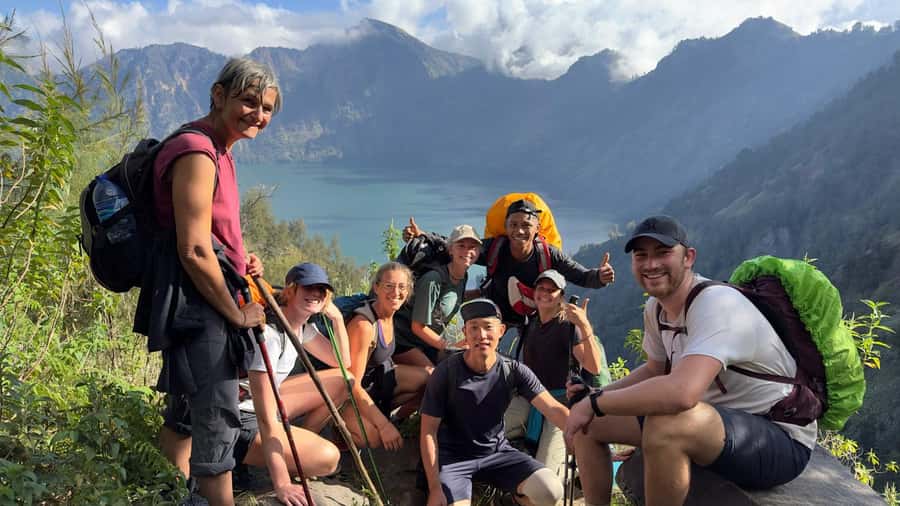
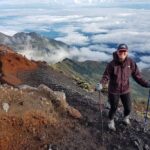
Your day begins early: wake around 2:00am, grab a quick breakfast, and start hiking around 2:30am toward the summit. You’ll reach the toughest part around 5:00am. This section is described as a rocky accent with loose, gravel-like footing.
That description matters because it changes how you should prepare mentally. This is less about technical climbing and more about endurance on slippery material. Loose rocks slow you down and tire your quads fast. The route is strenuous, but the guidance notes that you’re not in a danger-of-falling-off situation—still, you should move carefully and keep your balance.
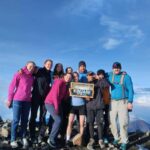
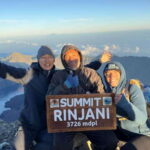
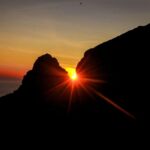
You’ll reach the summit just before sunrise and then spend about 20–30 minutes at the peak. That’s a short window on purpose. In practice, you’ll want to be ready to look, breathe, and take photos without burning all your energy before the descent.
Then it’s back down to the crater rim for a bigger breakfast. This is your second gut-check: you’ve just gone up hard, and now you’re turning around and descending. It’s usually where people realize they need trekking poles (if you use them), good shoe grip, and a steady pace.
Descending: rainforest or milder slopes depending on your route transfer
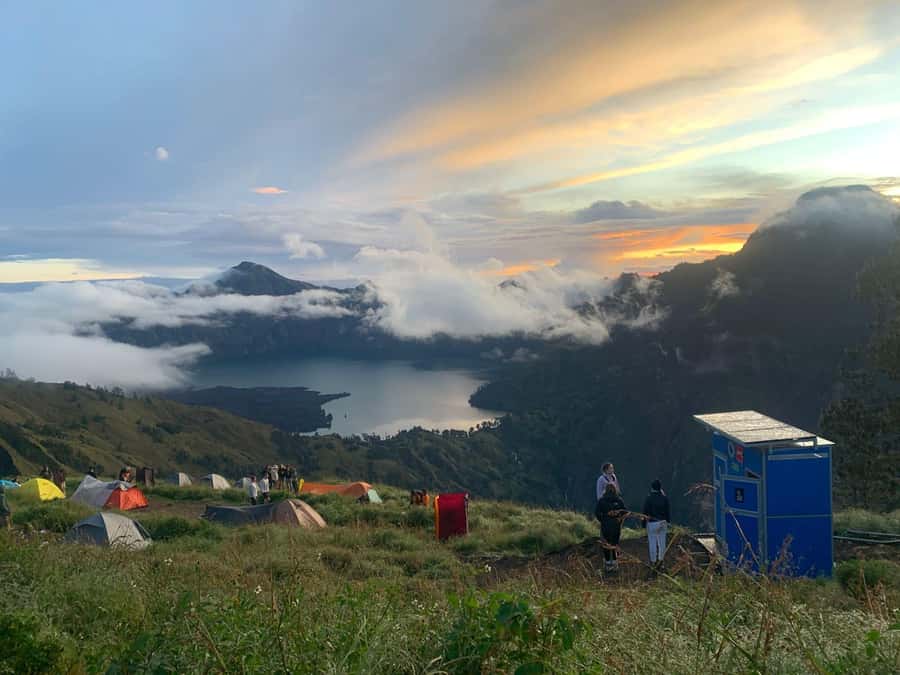
After the summit, the descent connects to where you’re going next—either toward the Sembalun side or the Senaru side.
If you’re heading back to Sembalun, the descent is described as mildly steep. If you’re going toward Senaru, most of the day goes through thick rainforest. That difference affects how the day feels:
- A milder descent still takes time, but the surface stress may feel different.
- A rainforest descent can mean more humidity and a slower, heavier walking rhythm.
Either way, you’ll stop for lunch mid-day and then keep going after. Once you reach the bottom, you’ll be driven back to your port or airport area—Bangsal harbor or Mataram—depending on your transfer.
If you plan to continue with other adventures, you may be brought back to a homestay area in Senaru. So this trek can work as a clean opener or a bridge into the rest of your Lombok trip.
Segara Anak Lake and crater views: why this trek is more than a peak
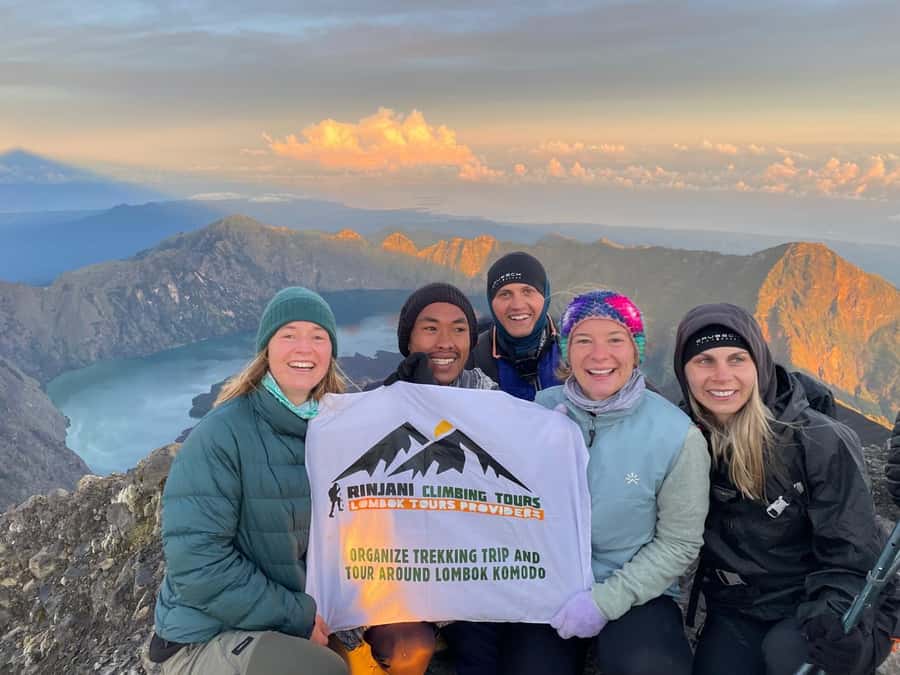
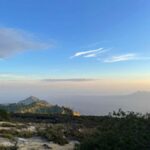
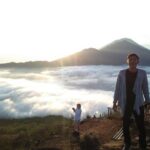
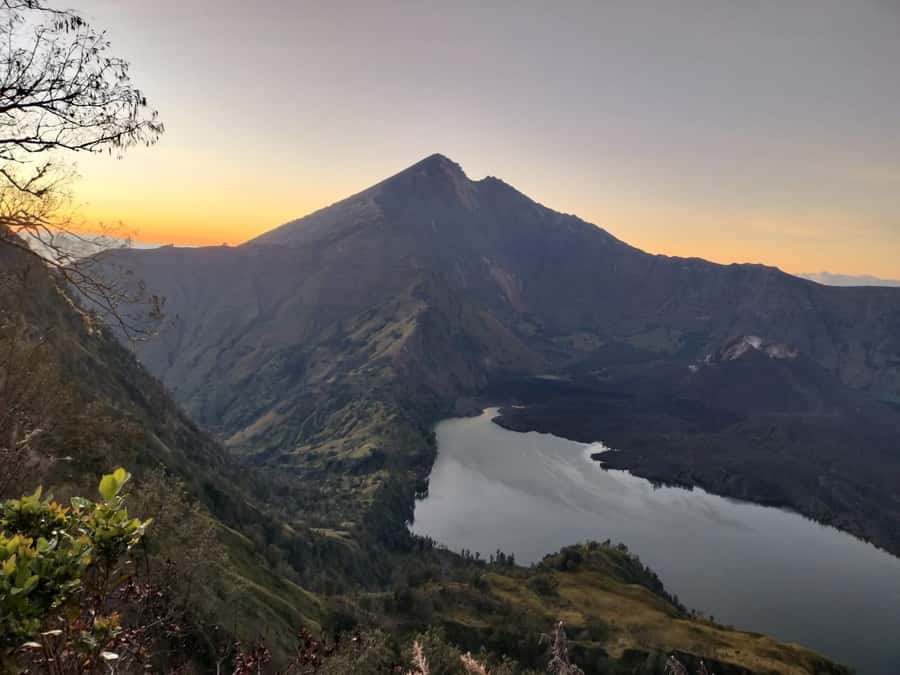
Sure, the summit sunrise is the headline. But what makes Rinjani special is the crater rim setting and the presence of Segara Anak Lake. You’re not looking at a distant landmark from far away. You’re moving through a landscape where the lake becomes part of your atmosphere—something you can feel in the scenery as you gain elevation and then camp.
Day 1 puts you near the crater rim by late afternoon, meaning you get a chance to enjoy the views before sleep. Day 2 gives you the peak light moment and then transitions right back to crater rim breakfast. That structure keeps the day from turning into only pain, only photos, and only walking.
Also, the highlights mention sunset views from the Senaru crater rim. Even if your biggest sunset moment depends on conditions and timing, the overall experience is clearly built around big light: sunrise from the summit and crater-area sunsets in the broader itinerary flow.
Guides and porters: the support that makes a hard hike feel manageable
This trek lives or dies with the human team. The praise you see repeatedly isn’t just about being friendly—it’s about being effective.
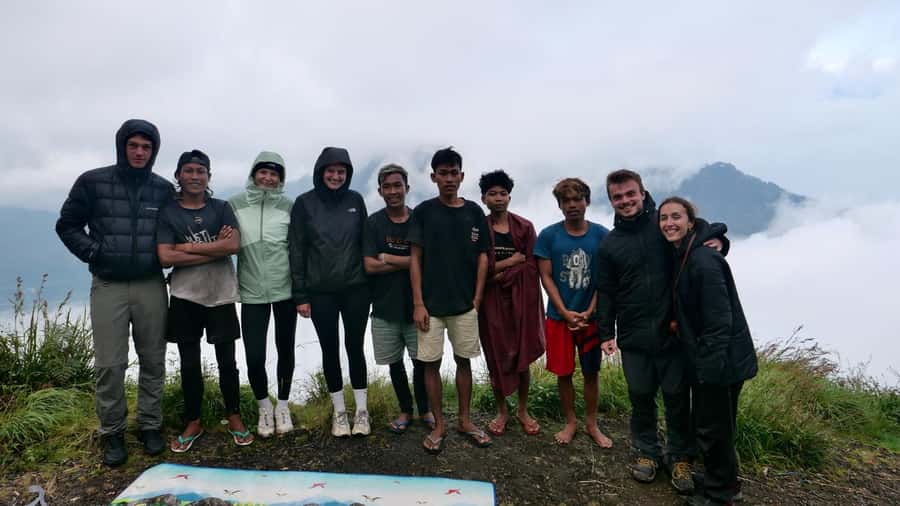
Names like Jack and August show up in positive feedback, but so do guides such as Nun, Peaky, Ajis, and Wahdi. Across those stories, the common thread is real-world competence: guides who keep you on schedule, speak English well (and Indonesian too), stay attentive, and help you keep moving when you slow down.
Porters get major credit for carrying the cooking utensils and camping equipment, plus being steady around camp and meal times. If you’ve never done an overnight volcano trek before, that matters more than you’d think. When your load is lighter, your body lasts longer. You can then focus on breathing and footing instead of fighting your backpack.
Practical takeaway: bring the gear you need for night and early morning. One review specifically suggested walking boots and a flashlight. Even if your guide manages the timing, your visibility is still on you.
And yes, food quality gets mentioned a lot. One person wished for bigger breakfast portions, which is useful info: expect the meals to be good, but don’t assume you’ll feel stuffed before the summit. Bring snacks for yourself so you’re not white-knuckling the climb feeling hungry.
What’s included in the price (and how the value adds up)
At $200 per person for 2 days, it’s not a cheap activity, but it’s also not just a ticket to a mountain. Your included items cover the biggest costs on a trek: people, camp gear, food, water, and transport.
Here’s what you’re paying for in practical terms:
- An experienced English-speaking guide and professional porters
- Camping essentials: tents, sleeping bags, sleeping mats, plus a toilet tent and toilet paper
- Meal and drinks service: 3x meals a day, plus tea and coffee
- Water during the trek: 3 liters of mineral water per day/person
- Cooking setup for guide meals (cooking gear)
- Trekking insurance (included in the package)
- Transportation after the trek to Bangsal harbor or Mataram
- Pick-up around Senaru and transportation to the starting point
- Storage in the office for your backpack when you don’t need it
What’s not included is also important for value decisions. You’ll need to budget for trekking shoes, warm clothes, and extra personal food. Also, tips for guide and porter are not included.
If you’re comparing this to cheaper options, the difference is usually the same: you’re either paying for support and camp setup, or you’re doing more of the hard work yourself. On a volcano trek, that support is worth real money.
Gear and packing: avoid the common mistakes
Based on what’s listed as what to bring (and what people say helps), your packing list should be practical, not optimistic.
Bring warm clothing and rain gear. Even if your day starts in decent weather, crater and summit conditions can turn cold. Add a hat and sunscreen. Sunrise trekking means you get cold air plus strong morning light—your face and neck still need protection.
You’ll want:
- Hiking shoes (trekking shoes are not included)
- A hat
- Sunscreen
- Snacks
- Rain gear
- A camera
- A flashlight or headlamp is smart for early morning (even if it’s not listed, it’s recommended)
The package handles camp comfort: sleeping bag and mat are provided. That’s a big deal, because hauling those yourself is heavy. Also, the toilet tent and paper are included, which is one less thing to track during the trek.
One personal note: treat your daypack like it’s sacred. Keep your snacks, water bottle if you prefer, jacket layers, and electronics organized. Don’t plan to rummage in the dark on Day 2.
Fitness check: who this trek suits best, and who should think twice
This trek is labeled challenging, and the “not suitable for” list tells you it’s not negotiable. It’s not suitable if you have heart problems, vertigo, or low level of fitness.
Even if you’re reasonably active, ask yourself if you can handle:
- A full day of hiking on Day 1
- An overnight camp on a high, cold rim
- A very early summit start at about 2:30am
- A strenuous rocky, loose-footing accent around 5:00am
- Descent afterward while still tired
If you’re the type who enjoys hard walks with a clear reward—views that feel like a physical accomplishment—this fits. If you’re looking for a scenic easy hike, you’ll probably hate the effort.
Weather risk and summit closures: how to think about the one big uncertainty
Volcano trekking always has a weather element. The information here notes that weather can affect the itinerary. One experience specifically mentions that the group was unlucky with weather and the summit was closed.
So here’s the mindset I’d use when booking: treat the itinerary as a plan for sunrise conditions, not a guaranteed summit. You can still end up having a strong trek, but don’t let the booking expectation be only about reaching the top.
To make the risk easier, pack for cold and rain, and keep your attitude flexible. Your guides and porters will do what they can within safe conditions.
Should you book this Mount Rinjani 2D/1N Sunrise & Sunset style trek?
If you want an overnight volcano trek with strong organization, and you’re ready for an early, tough summit push, I think this is a solid choice. The included gear and support remove a lot of stress, and the itinerary is designed around high-impact viewpoints: crater rim camping, then summit sunrise.
You should skip or look for a different option if:
- cold conditions make you struggle
- you have heart issues or vertigo
- you know your fitness won’t handle Day 1 plus the early Day 2 climb
- you need a guaranteed summit come rain or fog
My practical final advice: book this only if you can commit to being uncomfortable for a couple of days in exchange for real mountain rewards. Train a bit first, bring warm layers, carry your own snacks, and show up ready to move. The mountain doesn’t care if it’s your first trek—so you might as well be ready for it.
FAQ
How long is the Mount Rinjani trek?
It’s a 2-day trek with overnight camping, including a Day 1 hike to the crater rim and a Day 2 summit sunrise hike and descent.
Where does the trek start and what route is used?
The route described is the Sembalun Route for the trek to the summit.
What time do you start hiking to the summit?
You wake around 2:00am and begin the summit hike at about 2:30am.
What’s the hardest part of the trek like?
Around 5:00am you reach the toughest section described as a rocky accent with loose, gravel-like footing. It’s strenuous, but it is described as not being in a danger of falling off the mountain.
What’s included with the trek?
The package includes an English-speaking guide and porters, tent and camping gear (sleeping bag and mat), meals (3x per day) and tea/coffee, water (3 liters of mineral water per day/person), toilet tent and toilet paper, cooking gear, trekking insurance, and transportation after the trek.
How do you handle luggage and what can you store?
There is storage in the office for your backpack what is not needed for the hike.
What transportation is included after the trek?
You’ll be transported to Bangsal harbor or Mataram after the trek. Pick up around Senaru and transportation to the starting point are also included.
What should I bring that is not included?
You should bring warm clothing, hat, hiking shoes, sunscreen, snacks, camera, and rain gear. Trekking shoes are not included, and extra food is not included.
Is the trek accessible for people with medical concerns?
The trek is not suitable for people with heart problems, vertigo, or low level of fitness.