REVIEW · INDONESIA
Mount Rinjani Trekking 2D-1N Summit
Book on GetYourGuide →Operated by Cakrawala Rinjani Trekking · Bookable on GetYourGuide
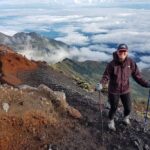
Mount Rinjani rewards early mornings. This 2D-1N summit trek runs you from Sembalun up to the crater rim, then to the top for sunrise before you descend back down. You’ll also camp on the crater rim on night one, so you’re not stuck watching the day from a distance.
I love the way this route breaks the climb into clear checkpoints, with stops at Pos 1 (around 1,300m), Pos 2 (1,500m), Pos 3 (1,800m), and then the crater rim (2,639m). I also like that the package handles the basics for you: experienced guide, porters, meals, and even water (3 liters per day), so you can focus on walking and breathing.
One thing to consider: this is a real challenge. The climb and the descent both take effort, and night equipment can be hit-or-miss since the provided front lamps could be better for the summit push.
In This Review
- Key Points I’d Circle Before You Go
- Sembalun to Summit: The Real Appeal of This 2D-1N Trek
- Sembalun Morning: Gentle Open-Meadow Climb to Pos 1 and Pos 2
- Pos 3 to the Crater Rim: Where the Day Turns Steeper
- Night One at the Rim: Sleep in the Clouds and Plan for Early Wake-Up
- Pre-Dawn Summit Push: 3:00 am Start to the 3,726m Top
- The View Checklist at the Top: What You’ll See in the Sunrise
- Descent to Sembalun: The Part That Keeps Your Legs Talking
- Price and What You Get for Around $143
- Logistics That Matter: Pickup, Meeting Point, and Getting Back
- What to Pack So Day 2 Doesn’t Feel Worse
- Who This Trek Suits Best (And Who Should Skip It)
- Should You Book This Mount Rinjani 2D-1N Summit Trek?
- FAQ
- What is the trek route for the 2D-1N Mount Rinjani summit experience?
- What time do you start on Day 2?
- At what height do you reach the summit?
- What views are included at the top?
- Are meals and drinking water included?
- Do you get trekking gear like a headlamp and gloves?
- Is the national park permit included in the price?
- Who should not join this trek?
Key Points I’d Circle Before You Go
- Sembalun start + checkpoint pacing makes a long day feel more manageable
- Crater rim camping gives you a sunset and sunrise chance without changing plans
- Pre-dawn summit timing starts around 3:00 am for a sunrise at the top
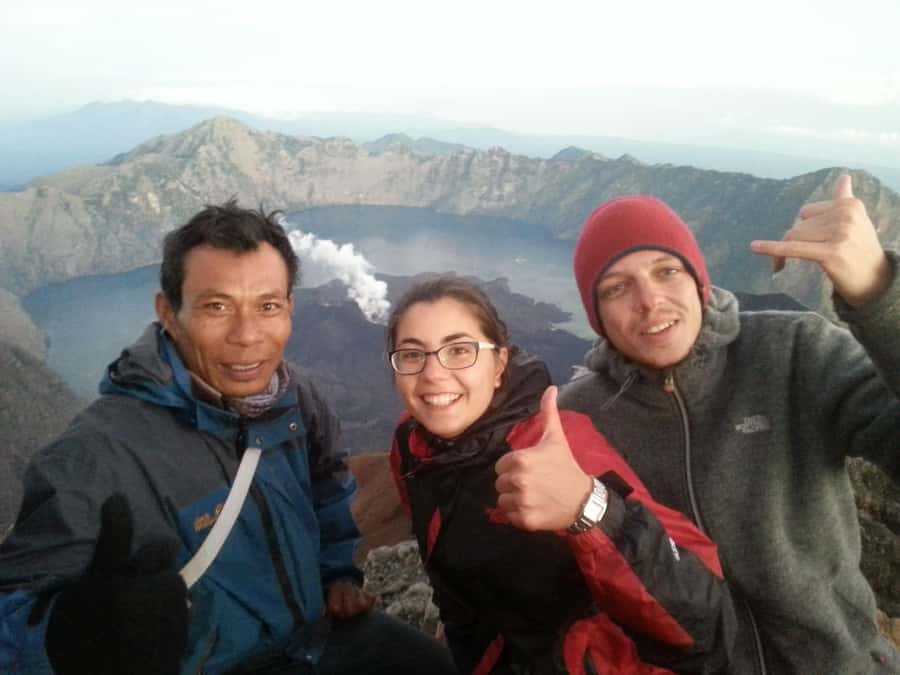
- Big panorama payoff at 3,726m (Lombok, Bali, Tambora, and Segara Anak)
- Meals and water included (breakfast, lunch, dinner + 3L water/day) helps you travel lighter
- Headlamp quality may limit visibility, so plan for this on the dark sections
Sembalun to Summit: The Real Appeal of This 2D-1N Trek
This is the kind of trek that feels simple on paper: Day 1 to the crater rim, Day 2 to the summit and back. But the timing and altitude do the heavy lifting. You’re walking long hours, sleeping at elevation, then pushing upward again in the dark for that sunrise moment.
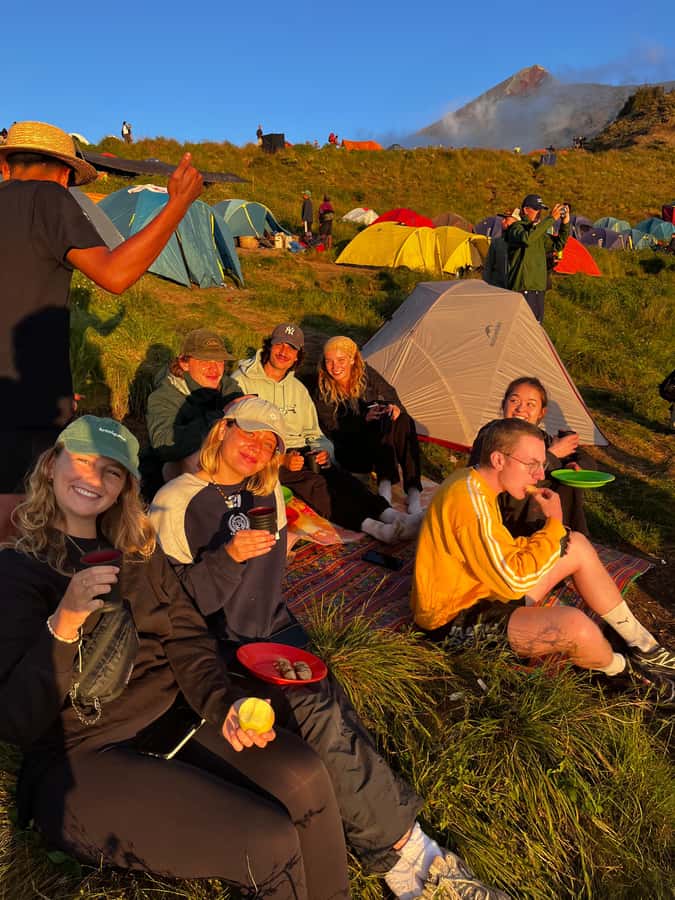
What makes it special is the rhythm. Night one isn’t just a stopover. You’re set up on the crater rim around 2,639m, so you can watch the light shift over the caldera area and settle into the trek before the summit alarm clock hits.
This trek fits best when you want an intense, experience-focused trip. It’s not positioned as a relaxed stroll, and the reviews lean into the same point: you’ll work for the views, and you should be ready for the climb and the descent to both feel tough.
You can also read our reviews of more tours and experiences in Indonesia.
Sembalun Morning: Gentle Open-Meadow Climb to Pos 1 and Pos 2
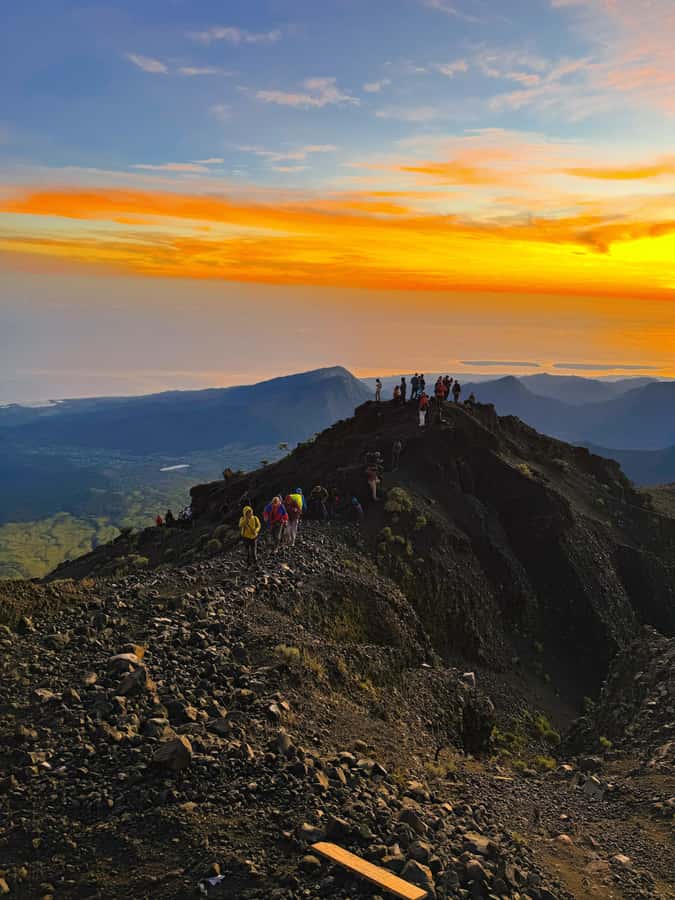
Day 1 starts with pickup around 07:00 from your hotel, then a drive to Sembalun where you begin trekking around 08:00. The early part is described as a gentle climb through open meadow—this matters because it helps your body settle before the steeper parts show up later.
You’ll reach Pos 1 (about 1,300m) after roughly two hours of walking, then another 40 minutes to Pos 2 (around 1,500m). Lunch is taken at Pos 2, which is a smart setup: you’re not waiting until the day is already heavy to refuel.
What you should know practically: those first elevations will still feel like work if you go out too fast. I’d treat the early pace like training—steady and controlled—so you arrive at lunch with energy left instead of just willpower.
Pos 3 to the Crater Rim: Where the Day Turns Steeper
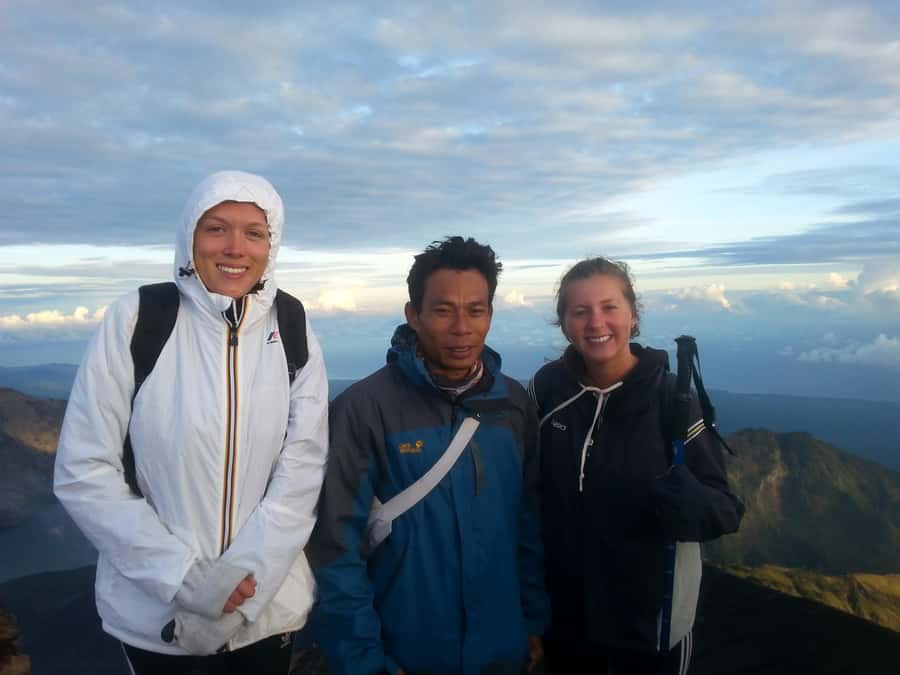
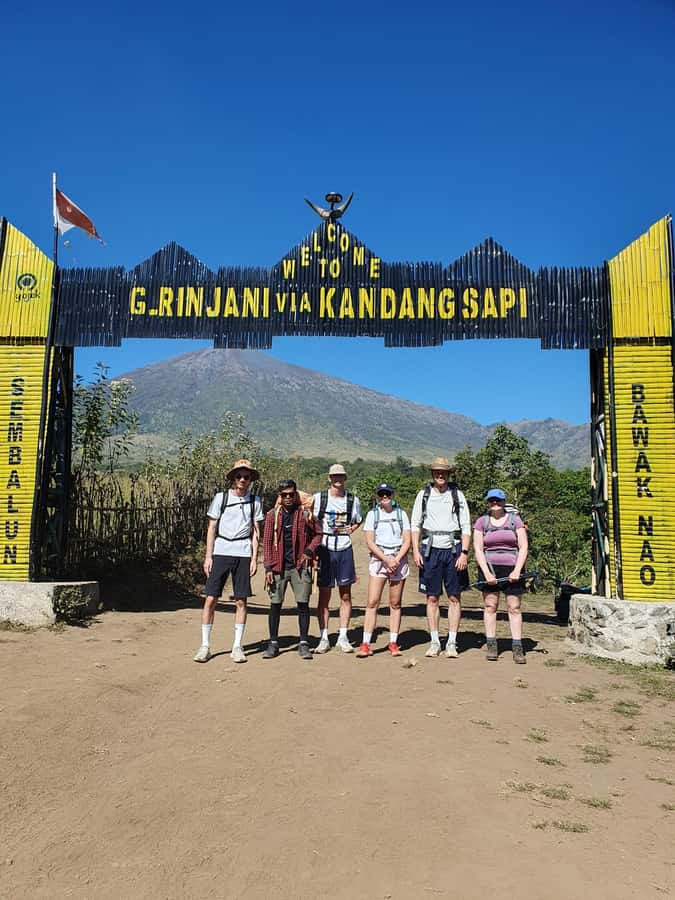
After lunch, you continue to Pos 3 (about 1,800m). From there, you move toward the Sembalun crater rim at 2,639m, and this part is described as taking about three hours including a prolonged steep climb.
That “prolonged steep climb” is the phrase I’d put at the top of your mental checklist. It’s where many people feel the altitude and the slow burn in the legs. If you’ve ever gotten through the easier start of a hike but then felt punished later, this is that moment—except it’s the main event of Day 1.
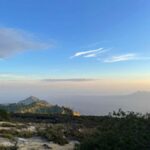
When you get to the crater rim, you camp for the night. The reward isn’t just the campsite view; it’s the timing. You can enjoy both sunrise and sunset from the rim, which makes night one feel like a destination rather than a logistical necessity.
Night One at the Rim: Sleep in the Clouds and Plan for Early Wake-Up
You’ll camp on the crater rim after reaching 2,639m. Then you wake up around 02:00 am for a hot drink and a light breakfast before the summit push.
This is where I want you to manage expectations. Sleeping at elevation, on a trek schedule, after a long hiking day isn’t like a normal hotel night. You’re not meant to drift into a deep, lazy sleep. You’re meant to rest enough to function, then climb.
Also, since this trek includes an overnight camp, the temperature shift can matter. The packing list calls for warm clothing and rain gear—take that seriously. Even if daytime feels manageable, the early morning hours can feel cold when you’re dressed for movement, not standing still.
Pre-Dawn Summit Push: 3:00 am Start to the 3,726m Top
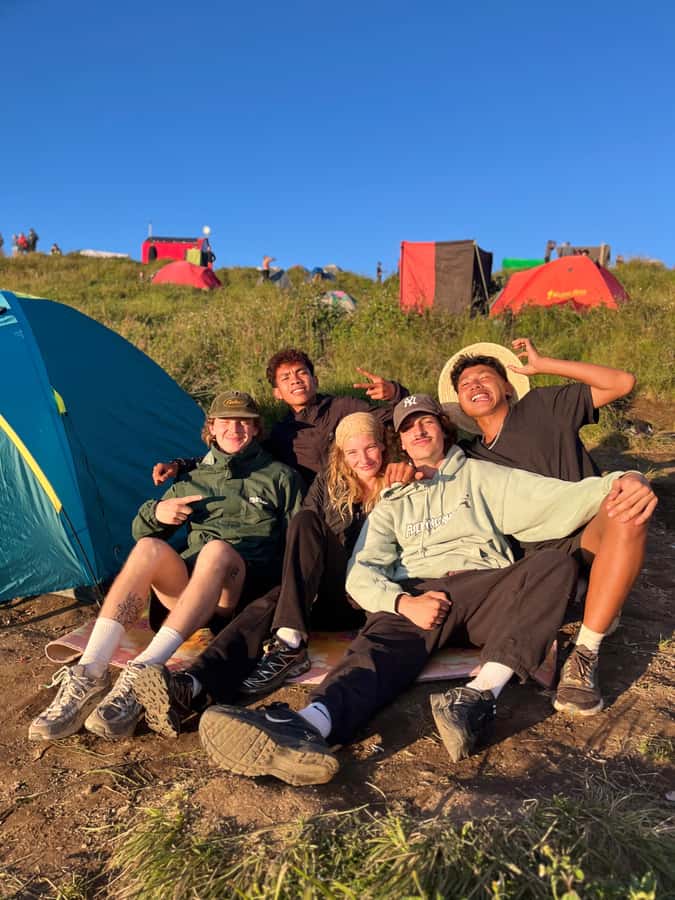
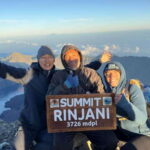
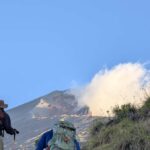
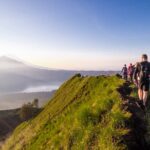
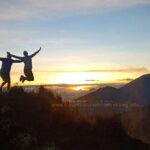
Day 2 begins in the dark: hot drink and light breakfast around 02:00, then start heading to the summit at 03:00. By 06:00 you can reach the summit at 3,726m, with sunrise and panoramic views.
That timing is tight, and it’s why headlamps are a big deal. One of the reviews flags that the front lamps provided could be better, and when visibility is limited, you’ll feel it. If you want to minimize stress, bring a small backup light if you have one, or consider upgrading to something brighter than average.
The best way to handle the summit phase is simple: don’t chase speed. The goal is steady breathing and consistent foot placement. The summit part usually feels long because you’re walking through darkness, then through the mental moment of waiting for light.
The View Checklist at the Top: What You’ll See in the Sunrise
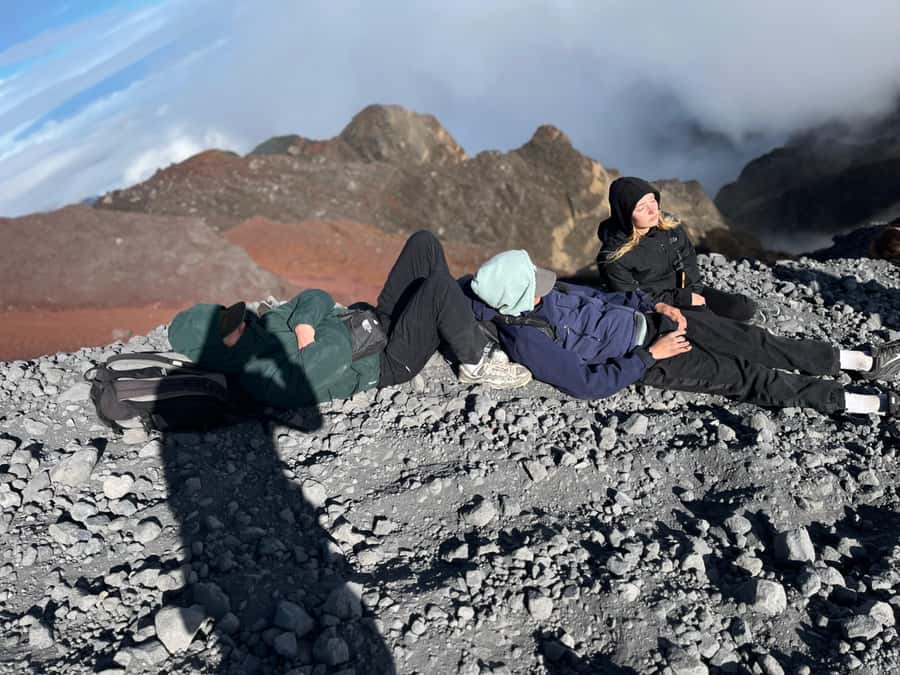
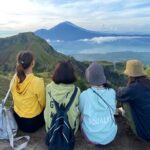
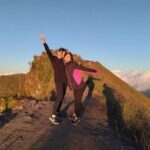
Reaching the summit at 3,726m isn’t just about being high. It’s about the range of things you can see once the sunrise hits.
From the top, the panoramic view includes:
- Lombok island
- Mount Bali
- Mount Tambora in Sumbawa
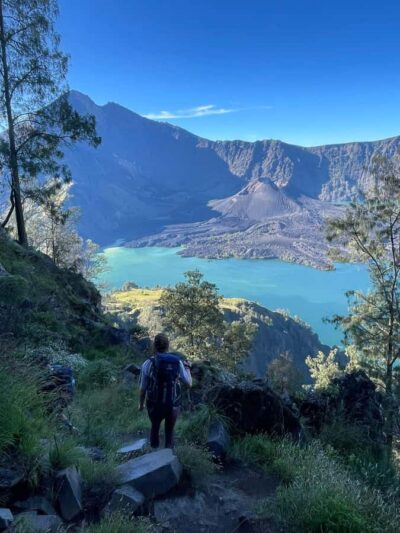
- Segara Anak Lake
This is why a sunrise summit is worth the pain. Daylight turns the terrain from “dark effort” into a map you can understand. You’re not just watching a pretty glow; you’re getting orientation—how the islands relate, how far the volcanic systems stretch, and where the lake sits in the larger crater setting.
You’ll also descend after summiting. The itinerary calls for a two-hour descent into the camp site for breakfast, which helps you recover before the longer walk down toward Sembalun.
Descent to Sembalun: The Part That Keeps Your Legs Talking
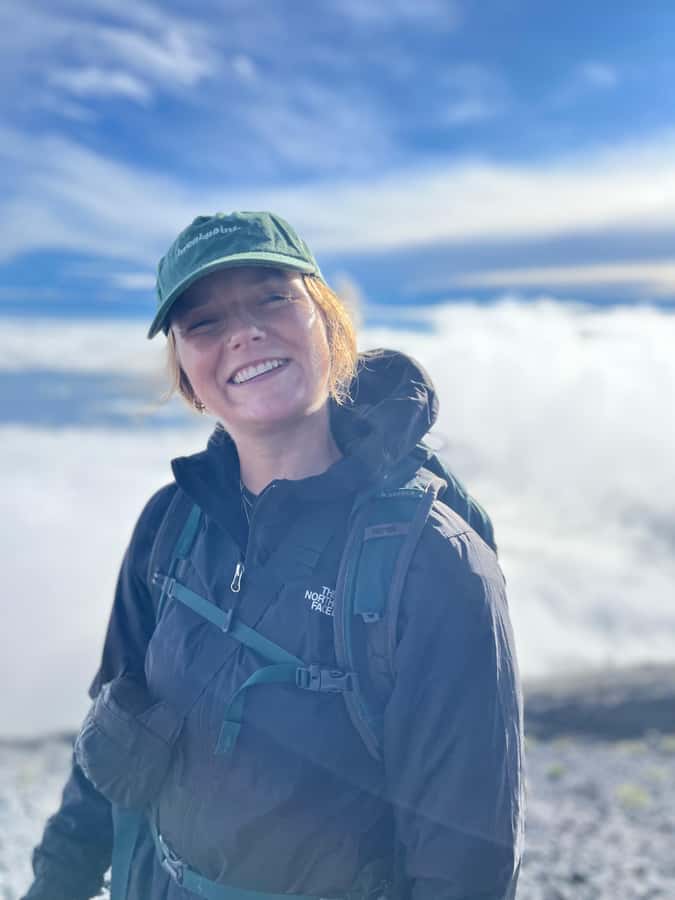
After breakfast at the camp site, you continue descending to Sembalun village, which takes about five hours to reach.
This is where the trek keeps its promise: it’s challenging both upward and downward. On summit treks, people often feel the ascent is the hard part, then the descent surprises them with sore knees and burning quads. Here, the schedule sets you up for exactly that.
A quick practical note: bring good hiking shoes and use trekking poles if you have them (the package mentions hiking poles). Downhills are easier when your weight moves with your steps rather than fighting your joints.
Once you finish, transport is included back toward Bangsal harbour, Mataram, and Senggigi, so you’re not stuck figuring out your next move right after the hike.
Price and What You Get for Around $143
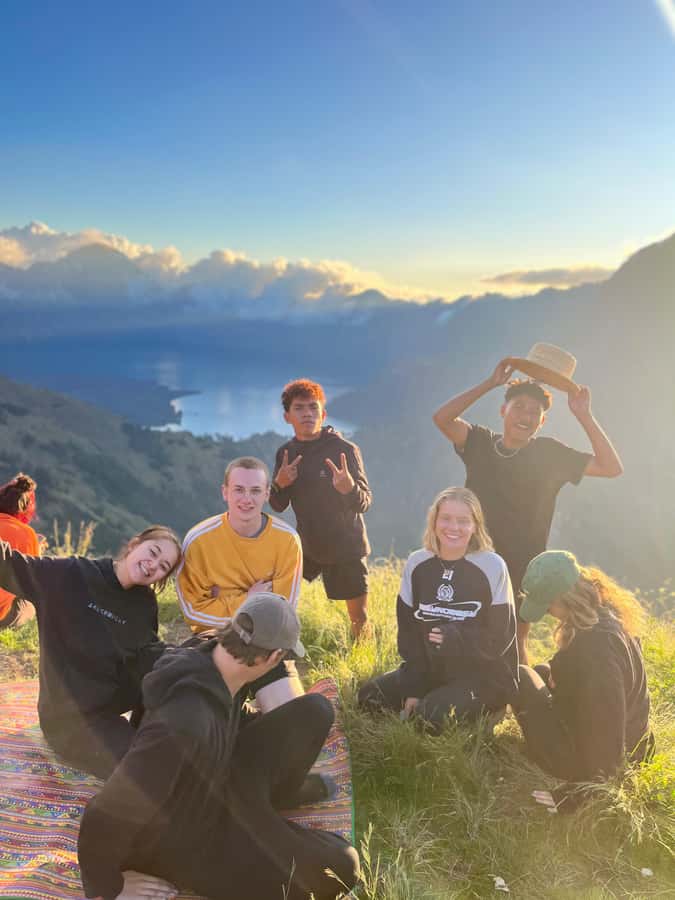
The price listed is about $143 per person. For a 2D-1N trek with summit access, that’s not just paying for footsteps—it’s paying for the structure.
Included items that affect real value:
- Experienced trekking guide
- Porter support to carry equipment
- Pick-up transport from your hotel in Senaru to the start point
- Water: 3 liters per day per person
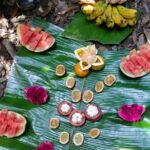
- Fruits and cookies with chocolate
- Meals: lunch, breakfast, and dinner three times
- Hiking poles, headlamp, gloves
- Trekking insurance
- Luggage storage available at the Cakrawala Rinjani office
- Transport after the trek to Bangsal harbour, Mataram, and Senggigi
What’s not included:
- National park permit (IDR 200k per day, or 400k for 2 days)
- Hotel room and pickup transport
- Extra transport cost if you want pickup outside the Port Bangsal: 150k per person
When I judge value, I focus on stress reduction. This itinerary provides the logistics and supplies that would normally be a pain to organize yourself—meals, water, guide, and porters. The trade-off is that you still have to show up fit and prepared. You’re not buying comfort; you’re buying support.
Logistics That Matter: Pickup, Meeting Point, and Getting Back
The start details are straightforward but you should confirm timing. You’ll be picked up around 07:00 and driven to Sembalun for a start around 08:00.
The meeting point is listed as Welcome to Lombok. The provider also asks you to inform them if you’re already in your hotel and whether you stay around Senaru, since they’ll meet you for a briefing. If you’re staying in a different area, you might need to coordinate pickup, and the data says pickup outside Port Bangsal costs extra (150k per person).
After the trek, your transport is included to Bangsal harbour, Senggigi, and Mataram. If you’re connecting to another part of Lombok, this matters a lot because trekking fatigue is real. You want the ride handled, and it is.
What to Pack So Day 2 Doesn’t Feel Worse
This trek’s packing list is built around cold mornings, rain, and long walking hours. I’d treat it like a must-do checklist:
Bring:
- Warm clothing
- Rain gear
- Hiking shoes
- Sunscreen
- Camera
- Snacks (useful when your appetite runs ahead of your schedule)
- Water (even though 3 liters/day is provided, having more can help)
- Garbage bag
You’ll also get hiking poles, a headlamp, and gloves. Still, keep in mind the review note about headlamp performance. If you already own a reliable small headlamp, bringing it can save you from squinting in the dark.
One more good habit: keep your summit and summit-photo kit simple. When you’re walking at night and early morning, extra fiddling slows you down.
Who This Trek Suits Best (And Who Should Skip It)
This program is described as good for experienced trekkers and for people in good level conditions. It’s also clearly not for everyone.
Not suitable for:
- Children under 12
- Pregnant women
- People with back problems
- People with heart problems
If you’re the kind of traveler who enjoys a real challenge, prefers sunrise views over beach time, and can handle long days on your feet, you’ll likely love this. If your idea of hiking is 90 minutes on flat trails, you’ll feel overwhelmed.
Also, English is listed as the language, which helps if you want clear guidance and simple communication with your team.
Should You Book This Mount Rinjani 2D-1N Summit Trek?
If your goal is a high-voltage volcano experience with sunrise payoff, this trek makes sense. The pacing includes clear checkpoint stops, meals are planned, and transport is handled after you finish—so you’re not just buying a “hard hike,” you’re buying a whole day-by-day system.
I’d book it if:
- You want crater rim camping plus a summit sunrise in one trip
- You can handle both ascent and descent
- You’re okay with very early wake-up and cold morning walking
I’d think twice if:
- You’re sensitive to challenging terrain and long walking hours
- You worry about night visibility (because the headlamp setup can be weak)
- You’re dealing with any of the listed health limitations
Bottom line: this is a serious trekking experience designed for people who want effort, teamwork, and views that actually earn their place.
FAQ
What is the trek route for the 2D-1N Mount Rinjani summit experience?
You start from Sembalun around 08:00, hike through Pos 1, Pos 2, and Pos 3, then reach the Sembalun crater rim for camping overnight. The next morning you start to the summit around 03:00 and return down to Sembalun after breakfast.
What time do you start on Day 2?
On Day 2, you wake around 02:00 for a hot drink and light breakfast, then begin heading toward the summit at 03:00.
At what height do you reach the summit?
The summit height listed is 3,726 meters.
What views are included at the top?
From the summit, you can get panoramic views of Lombok island, Mount Bali, Mount Tambora in Sumbawa, and Segara Anak Lake.
Are meals and drinking water included?
Yes. Lunch, breakfast, and dinner are included three times, and water is provided at 3 liters per day per person.
Do you get trekking gear like a headlamp and gloves?
Yes, the included items list headlamp and gloves, along with hiking poles and other trek support items.
Is the national park permit included in the price?
No. The permit is not included, and it’s listed as IDR 200k per day or IDR 400k for 2 days.
Who should not join this trek?
It’s not suitable for children under 12, pregnant women, people with back problems, or people with heart problems.