REVIEW · INDONESIA
Mount Rinjani Climbing 2D/1N Summit Trek 3726M
Book on GetYourGuide →Operated by Rinjani Climbing Tours} · Bookable on GetYourGuide
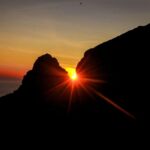
Sunrise on Rinjani is a body-and-soul alarm clock. This 2D/1N summit trek puts you at the Sembalun Crater Rim overnight, then races you to a cold, dramatic summit view over Lombok and the wider islands of West Nusa Tenggara.
I really like two things here: the warm, practical breaks (including a hot drink at Post 3) and the way the logistics are handled by an experienced English-speaking guide plus porters. You’re not stuck managing camp gear or cooking tools after a tough hike, which matters on Rinjani.
One consideration: the summit day is early and demanding, with a very steep final hour and cold air up high. If you’re not comfortable with steep climbs and sleeping outdoors, this won’t feel fun.
In This Review
- Key Highlights That Matter on This Trek
- Why This 2-Day Mount Rinjani Summit Trek Works (Even If You’re Busy)
- The Itinerary: Day 1 From Sembalun Village to Sembalun Crater Rim
- Posts 1 and 2: Moving With a Plan
- Post 3: Lunch, a Hot Drink, and a Real Reset
- Afternoon to Crater Rim: Sunset and Lake Views
- Night on the Rim: What Camping Feels Like at This Altitude
- Day 2: 2:30 AM Wake-Up and the Summit Push to 3726M
- Stage 1: Moderate Climb for About Two Hours
- Stage 2: Fairly Easy but Long
- Stage 3: The Final Steep Hour
- Summit Views: What You’re Climbing For
- Coming Down: Crater Rim Breakfast, Then Back to Sembalun by Noon
- Price and Value: What $133 Covers and What You Still Need
- What to Bring (So You Don’t Spend the Trek Complaining)
- Who This Trek Suits Best (And Who Should Skip It)
- The Real Role of the Guide and Porters (Why You Feel Supported)
- Should You Book This Mount Rinjani 2D/1N Summit Trek?
Key Highlights That Matter on This Trek
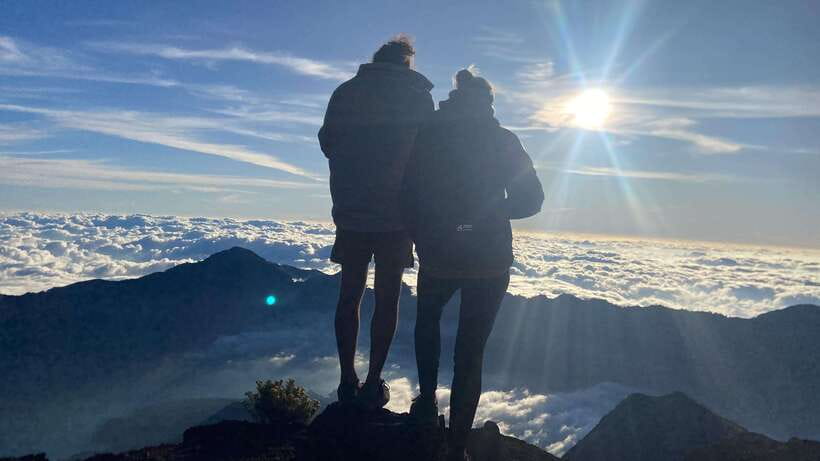
- Sunrise timing is the whole game: wake around 2:30 AM and start the summit climb at 3:00 AM
- Post 3 is a real energy reset: there’s a planned break with a hot drink and proper lunch timing
- Sembalun Crater Rim is your basecamp view: camp there and watch the lake and mountains change through sunset and sunrise
- The summit view covers serious territory: Lombok, Bali, Mt. Tambora (Sumbawa), and Segara Anak Lake
- Porters handle the heavy stuff: cooking utensils and camping equipment are carried for you
- Fuel is built in: 3 meals a day plus fruit like banana and pineapple, plus tea and coffee
Why This 2-Day Mount Rinjani Summit Trek Works (Even If You’re Busy)
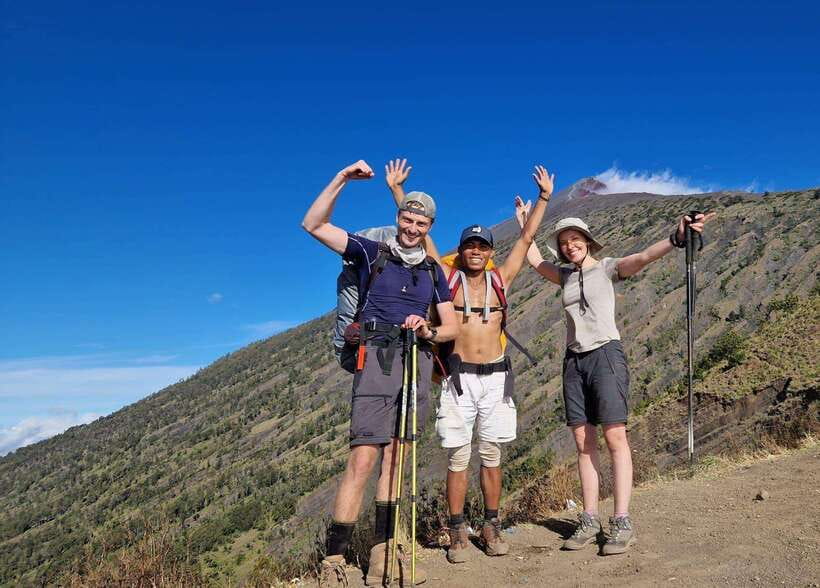
Mount Rinjani is famous for being demanding, but this 2-day/1-night format is popular for a reason: you get a proper summit attempt without turning your holiday into a 5-day survival expedition. You’ll also spend real time at Sembalun Crater Rim, not just passing through.
What I like for your planning brain is that the day structure is built around altitude and energy. You climb in stages with rest points, then you do the summit push early when temperatures are lower and the light show is worth the effort.
And yes, you’ll start feeling the effort fast: warm gear and hydration matter. But if you come prepared, the payoff feels very real, not just Instagram-real.
You can also read our reviews of more tours and experiences in Indonesia.
The Itinerary: Day 1 From Sembalun Village to Sembalun Crater Rim
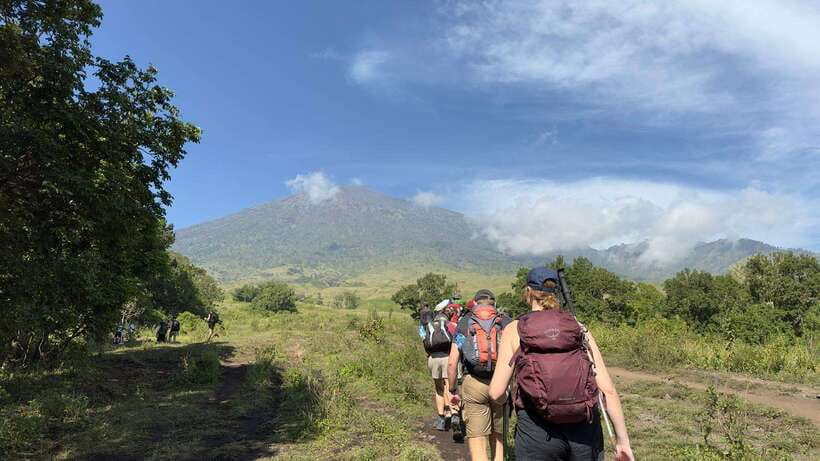
Your day starts after breakfast, then you’re transferred to Sembalun village by a mountain car. From there, you’ll arrive at the Rinjani Information Center and begin the trek toward the Sembalun Crater Rim.
From the start, the hike is paced with planned stops, not a random suffer-fest. You’ll stop at Post 1, then continue to Post 2, and then you build toward the longer break at Post 3.
Posts 1 and 2: Moving With a Plan
Posts 1 and 2 are your rhythm-makers. They’re where you can catch your breath, check your footing, and adjust your pace to the trail and your breathing—not to someone in front of you walking like they’re late for a meeting.
This matters on Rinjani because stamina at altitude is more about consistency than heroics. A steady pace during these early hours often makes the later climbs easier.
Post 3: Lunch, a Hot Drink, and a Real Reset
Then comes Post 3, where the schedule includes a significant rest—listed as around 2 hours—after a pre-Post 3 break. This is the part I consider the most practical: you get time to eat properly, warm up a bit, and stop before your legs turn to rubber.
The highlight specifically mentions a delicious lunch and a hot drink at Post 3. If you’ve ever hiked hungry at altitude, you know this kind of stop can change the entire mood of the day.
Afternoon to Crater Rim: Sunset and Lake Views
After lunch and your break, you continue onward until you reach the Sembalun Crater Rim. The plan is to spend the night camping there and enjoy the surrounding views.
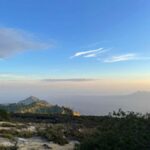
This is where the itinerary earns its keep. You’re not only chasing the sunrise tomorrow—you get sunset and sunrise views over Segara Anak Lake, Sembalun village, and the broader Rinjani area. Camping at the rim also means you’re close enough to the views to actually enjoy them, not just stare from a moving bus.
Night on the Rim: What Camping Feels Like at This Altitude
Sleeping outdoors near a volcano doesn’t come with luxury, but the tour setup is designed to make it manageable. You’ll have a tent, plus sleeping bags and mats, along with a toilet tent and toilet paper.
You’ll want to take the warm clothing instruction seriously. The trek guidance flags cold temperatures at higher altitudes, and that’s not the time to be brave with a thin layer.
Practical tip: treat the evening like you’re preparing for an early race. Keep your warm items organized so you’re not digging around inside a bag when your body feels half-asleep.
Day 2: 2:30 AM Wake-Up and the Summit Push to 3726M
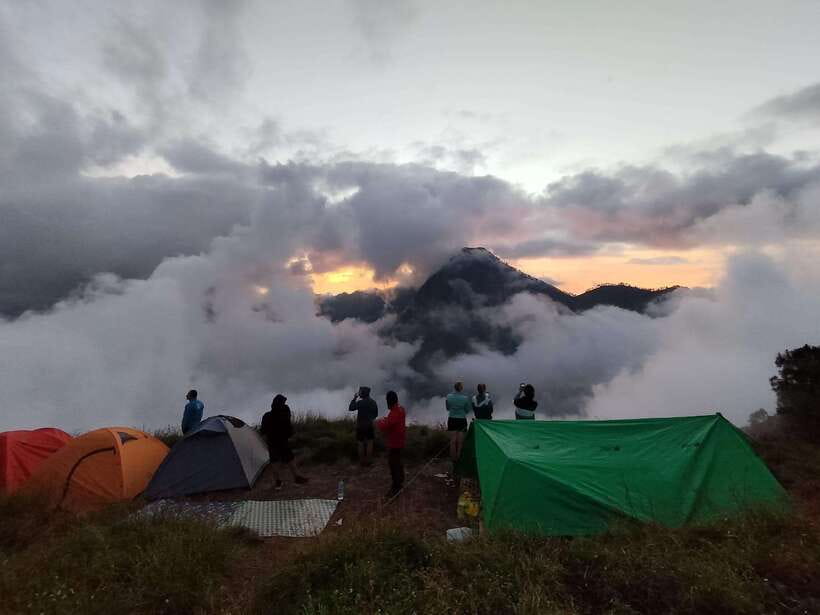
Day 2 is the classic Rinjani rhythm: wake at 2:30 AM for a light breakfast, then start the trek to the summit at 3:00 AM. The early start is there for two reasons—cooler air and the timing to reach the viewpoint for sunrise.
Stage 1: Moderate Climb for About Two Hours
The first part is described as a moderate climb for around 2 hours. This stage is where you can find your tempo. It’s still work, but it’s not yet the steep grind that shows up later.
Keep an eye on your breathing here. If you burn out too fast in the first stage, the rest of the day becomes a slow, painful negotiation with your legs.
Stage 2: Fairly Easy but Long
Then you move into a fairly easy but long trek. The wording is important. You may not feel constant steep pressure, but it stretches out the effort and keeps your muscles active for longer than you expect.
This is the stage where trekking poles (not included on this option) can be helpful for some people—but the key is still pacing. Think steady movement rather than speed.
Stage 3: The Final Steep Hour
The last hour is described as very steep and difficult. This is where you find out if your plan matches your body today.
Don’t gamble on shortcuts—stay with the trail and let your guide steer you. If you’ve ever taken a wrong step while tired, you’ll understand why “safe and steady” wins here.
Summit Views: What You’re Climbing For
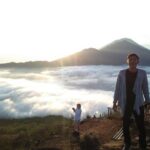
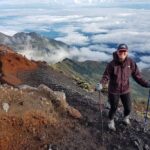
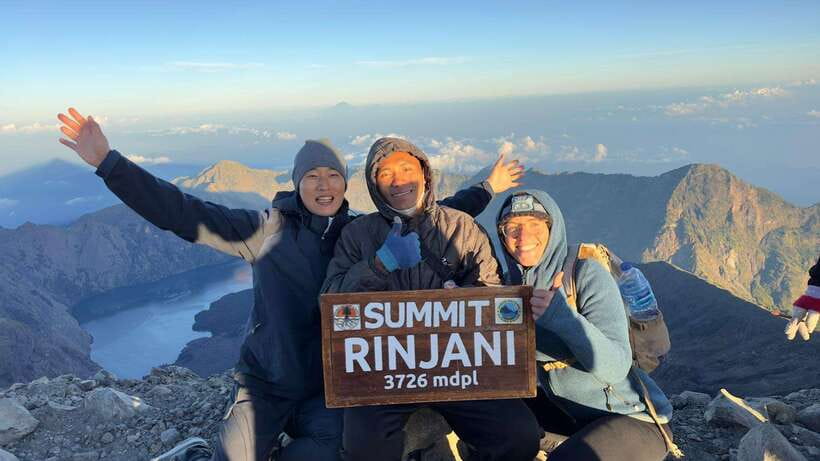
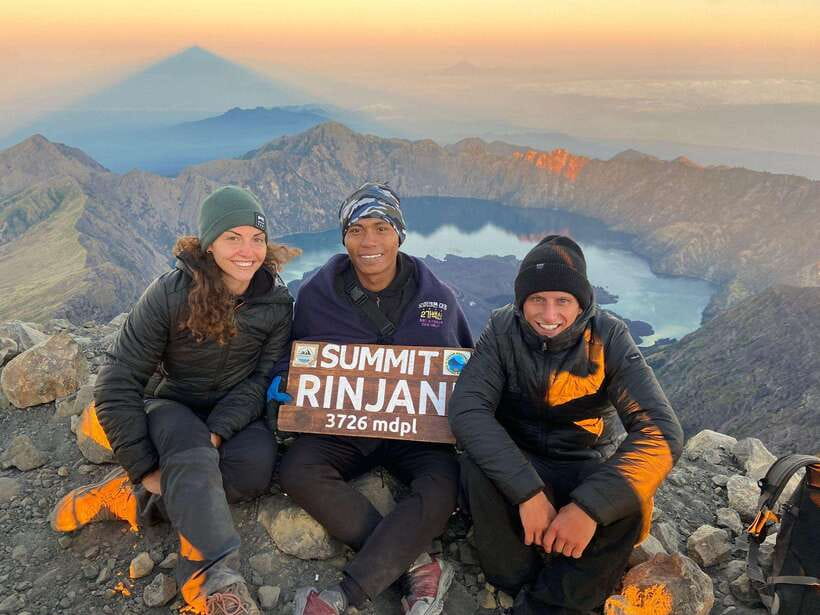
Once you reach the summit, the viewpoint is described as covering a wide area: all of Lombok island, Bali, Mt. Tambora in Sumbawa, and Segara Anak Lake.
Even if you’ve seen photos before, the real value is how the terrain shows relationships between islands and water. On this trek, sunrise isn’t just pretty—it helps you read the geography.
And then you do the smart part: after sunrise, you start descending before the energy drains out of you.
Coming Down: Crater Rim Breakfast, Then Back to Sembalun by Noon
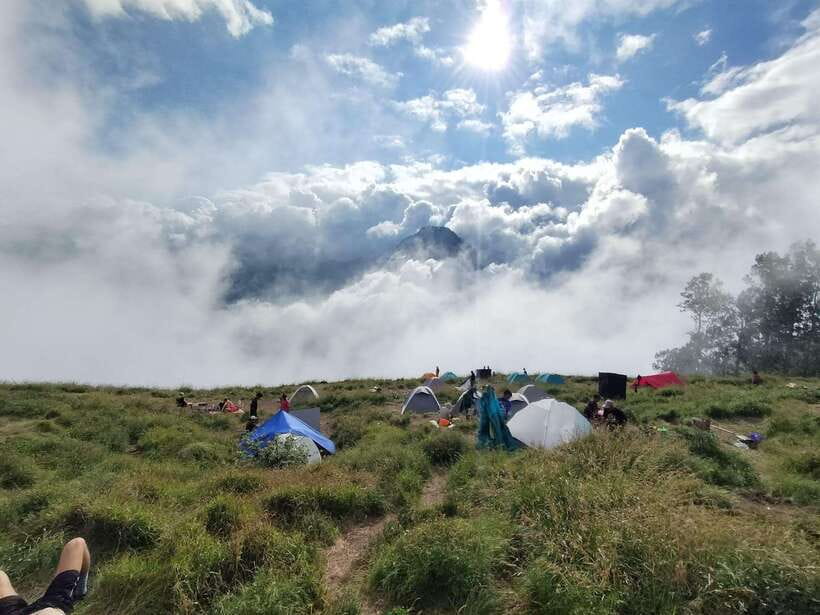
After sunrise, the plan is to go down to Sembalun Crater Rim and have breakfast. That matters because your body needs fuel after summit effort.
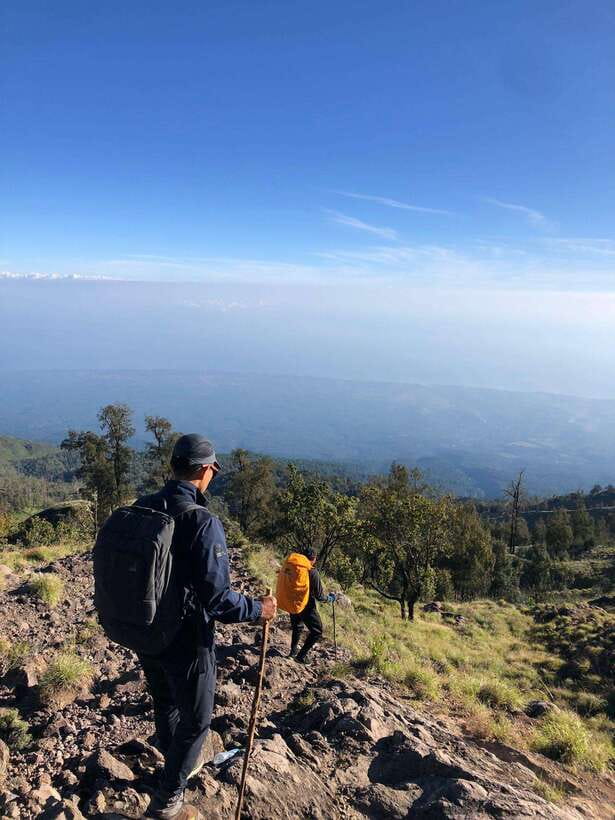
Then, you continue descending to Sembalun village for about 4–5 hours. Lunch is planned at Post 3 or Post 2, and you’re expected to arrive in Sembalun village around noon.
This is one of the nicer outcomes of a tight 2-day format. You don’t end your vacation with an all-day extra hike. You’ll still be tired, but it’s the good kind of tired—the kind where a hot shower feels like a prize.
Price and Value: What $133 Covers and What You Still Need
At $133 per person, the big value is how much is included for a summit attempt: guide and porters, meals (3 times a day), drinking water (3 liters mineral water per day/person), camping gear like tents and sleeping gear, and support items like tea and coffee plus fruit such as banana and pineapple.
You also get transportation to the starting point, plus optional pickup around Senaru (the driver brings your name on paper). There’s even storage in the office for your backpack items you don’t need during the hike.
What’s not included is also important for budgeting: the National Park Rinjani entry ticket, trekking shoes, trekking pole, headgear, jacket/warm clothes, and tips for your guide and porters.
So, is it good value? For most people, yes—because you’re paying for support, food, water, and camp setup, not just someone pointing at a map. If you already own all the gear and are comfortable with planning meals and carrying your own equipment, the decision changes. But on a summit trek, most folks prefer having the heavy lift handled.
What to Bring (So You Don’t Spend the Trek Complaining)
The tour list is straightforward. Bring warm clothing, hiking shoes, camera, snacks, and water.
A few practical notes you’ll thank yourself for:
- Bring extra warmth for the night and early morning. The plan includes sleeping gear, but cold air is still cold air.
- If you get cold easily, pack layers you can adjust during the climbs.
- Bring a small amount of snacks for the moments when you need a quick morale boost between posts.
Also, smoking isn’t allowed, so plan accordingly.
Who This Trek Suits Best (And Who Should Skip It)
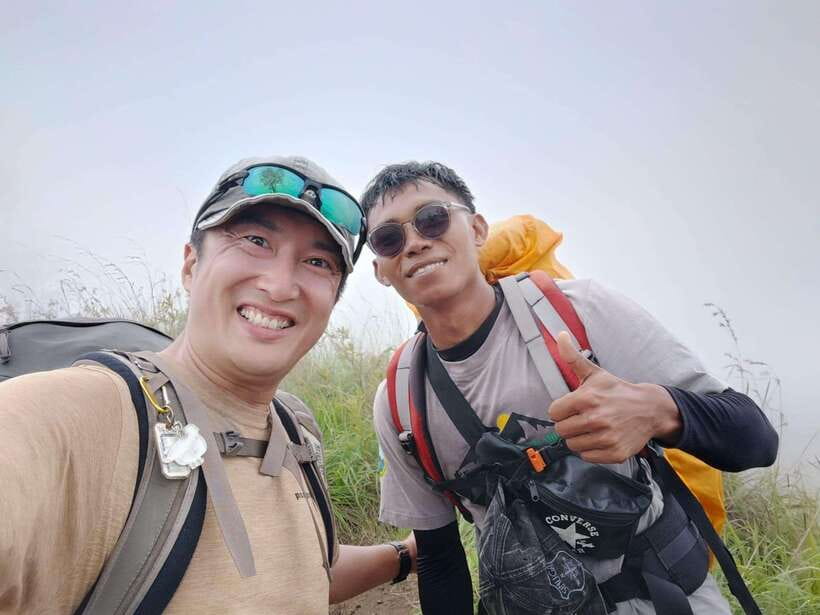
This is a challenging trek with steep climbs, and it’s not designed for everyone. The tour specifically says it’s not suitable for:
- children under 10 years
- pregnant women
- people with back problems
- people with heart problems
If you’re healthy and can handle early starts plus a steep final hour, you’ll likely enjoy this. The itinerary is structured for those who can keep moving even when the trail gets rough.
If you’re on the edge fitness-wise, take it as a sign to slow your pace and listen to your guide. This trek rewards preparation more than stubbornness.
The Real Role of the Guide and Porters (Why You Feel Supported)
The trek includes an experienced English-speaking guide and professional porters who carry the cooking utensils and camping equipment. That’s not a small perk—it’s what lets you focus on walking and staying warm, not on managing camp logistics while your thighs complain.
The guide also keeps the schedule on track: rest points at Post 1 and 2, the longer break at Post 3, camping at the rim, then the early summit climb. On a volcano with changing conditions, that kind of coordination matters.
Should You Book This Mount Rinjani 2D/1N Summit Trek?
If you want the sunrise summit experience plus the Sembalun Crater Rim camping and big-view geography across islands, this is a solid fit. The schedule is tight, the support is real (meals, water, camp gear, porters), and the trekking plan is clearly built around your energy levels.
I’d say book it if:
- you’re comfortable with steep, early-morning effort
- you want others to handle camp gear and cooking setup
- you value a guided sunrise-at-the-top goal
Skip it if:
- you’re worried about the steep final hour and cold night conditions
- you have any of the listed health or mobility limitations
Bring warm layers, respect the pace, and you’ll likely end the trip feeling like you earned your view.