REVIEW · LOMBOK
Rinjani trekking 2D 1N RIM
Book on Viator →Operated by Green Rinjani Trekking · Bookable on Viator
Mt. Rinjani has a way of stealing your attention fast. This 2-day, 1-night hike from Senaru to the crater rim trades big-tech luxury for real mountain time, camp setup by your porters, and that crater-rim payoff at sunrise and sunset. I especially like that the package includes camping gear and food/drinks, and that you get a private tour so your group can move at a sane pace. The main drawback: you still need solid boots/clothes and you’ll likely want a headlamp for early morning darkness on Day 2.
Here’s how it feels: day one walks through jungle shade, then shifts to open savana views as the trail gets steeper. Day two is a long descent back to Senaru, with the sunrise and crater-lake photos as the reward before you start going downhill again.
In This Review
- Key Things That Make This Rinjani Trek Worth It
- Senaru To Rinjani Rim: What You’re Actually Signing Up For
- Morning Registration And The Rainforest Start: Day 1, Pos 1 To Pos 2
- Pos 3 Lunch And Monkey-Proofing: Mondokan Lokak At 2,000m
- Leaving The Rainforest: Savana Views, Steep Trail, And The Cemara Lima Break
- Sunset Over The Gilis And Bali’s Mt. Agung: Why Day 1 Night Here Feels Special
- Day 2 Sunrise And The Big Descent: Senaru Rim Back To Village
- Who This Trek Is For (And Who Should Rethink)
- Guide And Porter Quality: The Part You’ll Notice
- Packing Reality Check: What To Bring Versus What They Provide
- Value For $205: Where Your Money Goes (And Where It Can Cost Extra)
- Should You Book This Rinjani 2D1N Crater Rim Trek?
- FAQ
- How long is the Rinjani 2D 1N trek from Senaru?
- Where does the trek start and end?
- What time does the trek start?
- Is this a private tour?
- What is included in the price?
- Do I need to bring a headlamp?
- Are trekking shoes included?
- Can I arrange an extra porter for my luggage?
- Do they provide breakfast and lunch?
- Is the tour suitable for beginners?
Key Things That Make This Rinjani Trek Worth It
- Private group pace: You’re not stuck matching strangers on a tight schedule.
- All camping kit included: Tent, sleeping bag, mat, even a toilet tent and camp table/chairs.
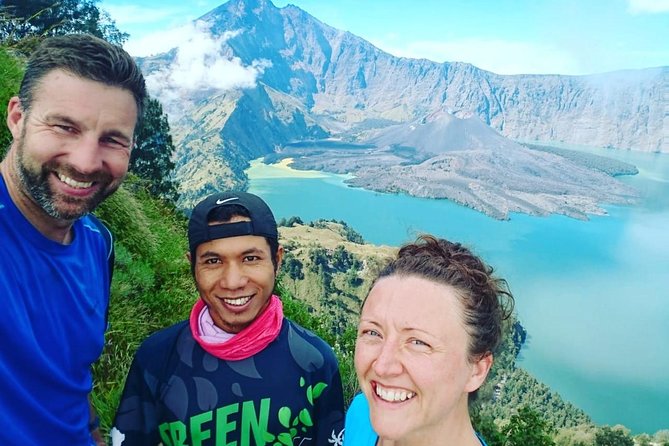
- Real crater-rim viewpoint moments: Sunrise over the crater lake area and sunset with views toward the Gilis and Bali’s Mt. Agung.
- Good stops built into the climb: Breaks at higher positions with fruit/snacks and a cooked lunch.
- Guide-and-porter team: They handle the hard logistics like cooking and setup while you focus on walking.
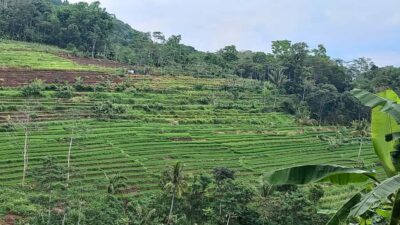
- Jungle + savana mix: You’ll get rainforest humidity first, then open hillside views and steep sections later.
Senaru To Rinjani Rim: What You’re Actually Signing Up For
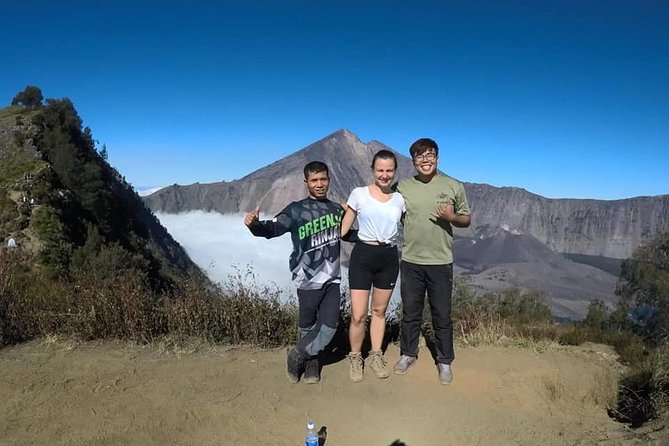
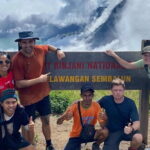
This trek is built for one outcome: getting you up to Pelawangan 1 / Senaru Crater Rim (2,641m) and letting you enjoy the crater-rim views like you have time to breathe. You’re hiking in two main styles. Day 1 starts in a cooler-feeling village area and rainforest shade, then gradually transitions into more open ground and steeper sections as you gain altitude.
It’s also a “support team” trek. You’re not carrying everything. The package covers camping gear and food/drinks, plus a guide and porters. That matters because Rinjani is not just about being tough. It’s about staying steady and not burning out too early, especially on the steeper parts near the top.
Price-wise, $205 for two days can be a fair deal if you value that support and the included gear. The big money-saver here is that you’re not separately renting camping equipment, arranging meals, or hiring porters just to have a place to sleep. That said, you’ll still need to bring the personal items you’re told to pack—especially proper trekking shoes and basic clothing for sun and dust.
You can also read our reviews of more tours and experiences in Lombok.
Morning Registration And The Rainforest Start: Day 1, Pos 1 To Pos 2
You start early, typically 7:30–8:00am for trekking, and registration happens at the Rinjani Trekking Centre, Pos 1 in Senaru Village (601m). The morning start is smart. You’re hiking while it’s cooler and before the heat ramps up too hard.
The first part is not just a warm-up. It’s a preview. You walk through open stretches where you can see green plant life tied to local farming (like coffee trees and bamboo). Then, after about 30 minutes, you reach the gate of the tropical rainforest.
Once you enter the rainforest, the trail changes personality. The humidity rises, the sun gets muffled by the canopy, and you’ll hear wildlife—there’s mention of black/brown monkeys along the way. There’s even a short break around 15 minutes before you continue deeper into the jungle track.
You’ll spend roughly three hours total getting from Pos 1 toward Pos 2. And then you reach Pos 2 (1,500m), called Montong Satas. This is one of the most practical parts of the itinerary. It’s where the trek stops being pure climbing and becomes a managed effort.
At Pos 2, you get a real recovery break. The team sets you up with soft drinks, crackers, and fresh fruits—banana and pineapple show up here. You also get time to lay down and reset before pushing higher.
Drawback to plan for: the jungle sections can feel slow and hot, so if you’re prone to getting dehydrated or impatient, build in calm. You’re not late. You’re letting the team pace the climb.
Pos 3 Lunch And Monkey-Proofing: Mondokan Lokak At 2,000m
From Pos 2 to Pos 3 is about two hours, still in the rainforest environment for much of the stretch. This is also where you may notice local seasonal plants. There’s a note that strawberries grow along the way during June, July, August.
When you arrive at Pos 3 (2,000m), called Mondokan Lokak, it’s lunch time. Porters and guide cook, and you’ll be served fresh fruit and biscuits/snacks during the meal breaks.
Now, here’s a detail you’ll be glad you heard: the area has brown monkeys, and sometimes they try to grab things. The warning is clear—don’t leave your small backpack unattended. In practice, that means keep your valuables with you and use your day pack like it’s a locked drawer, not a set-and-forget bag.
After about 1.5 hours resting at Pos 3, you continue upward.
This stretch matters because it’s not just about reaching altitude. It’s where you build your rhythm. If you start strong and rush, you’ll pay for it later. If you take your time here, the final move to the crater rim feels less like a wall and more like a series of doable steps.
Leaving The Rainforest: Savana Views, Steep Trail, And The Cemara Lima Break
After lunch, you’ll continue toward the crater rim. The route changes again. About the first 25 minutes from the Mondokan Lokak area, you’re still transitioning from the rainforest environment. Then you come out of the forest and into savana—open hillside walking with more view exposure.
This is the part that many people remember most, even if it’s tough. You get wider sightlines as you climb, and you can see back toward the Senaru village area at points along the way.
The trail becomes steeper, and you’ll want to accept that your legs will get a workout. There’s a scheduled break called Cemara Lima, after which you continue toward Pelawangan 1 / Senaru Crater Rim.
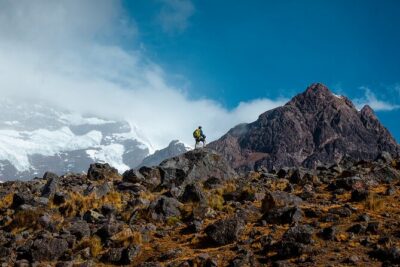
The final push to camp is about one hour. The terrain is described as stony and quite steep up, so trekking poles can help if you have them (they’re listed as optional), but your feet and balance are still the main tools.
Once you reach Pelawangan 1, you camp overnight near the rim. You’ll use the included camping setup—tent and sleeping gear are part of the package—plus there’s even a toilet tent at camp.
Sunset Over The Gilis And Bali’s Mt. Agung: Why Day 1 Night Here Feels Special
Even if you’re not the type who gets misty-eyed at mountains, you’ll understand why people plan their whole trip around this rim viewpoint.
From the crater rim area, you’re in position for dramatic sky timing:
- Sunset views toward the three Gilis and Bali’s Mt. Agung
- Sunrise the next morning with additional crater-area views
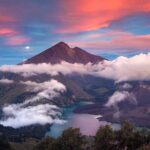
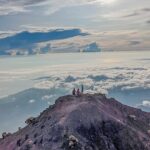
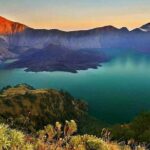
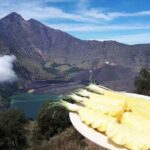
You’ll also have a chance to see the crater-lake world. The plan calls out Lake Segara Anak and Rinjani’s peak at 3,726m in the sunrise framing. The idea is simple: you arrive at the rim on Day 1 evening, then you treat the night as part of the show rather than just a stopover.
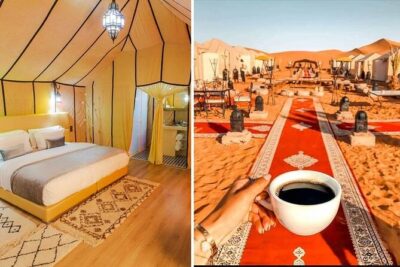
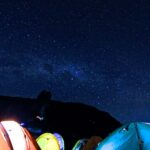
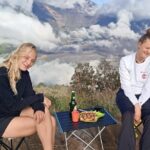
And yes, you’ll sleep under stars. This is the part of the experience where included gear matters. A lot of “adventure” tours skimp on comfort. Here, you get a sleeping bag, mat, camp pillow, and even a camp chair/table, so you can actually relax instead of bracing for a rocky night.
Day 2 Sunrise And The Big Descent: Senaru Rim Back To Village
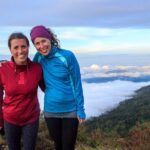
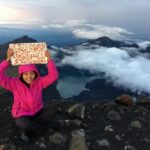
Day 2 starts with breakfast and the sunrise moments. You’re told to enjoy the sunrise and take pictures with the crater lake scenery before you head down. This is a good structure for your energy. You’re not rushing into descent immediately. You get the viewpoint payoff first, then you start losing altitude.
After sunrise and breakfast, you hike down to Senaru Village. Plan for 5–6 hours of descent. That’s a long downhill stretch, so treat it like a cardio-plus-legs workout. Even if it’s less steep than the climb, it can still wear you out because your knees and quads do the work.
You’ll arrive back around 12:30pm to 1:00pm, then a private car transfer takes you onward to your next destination.
Who This Trek Is For (And Who Should Rethink)
This trek fits best if you:
- Have moderate physical fitness
- Enjoy guided nature walking and don’t mind some steep, stony trail
- Want a “support team” experience where you’re not dealing with camping logistics
- Like sunrise/sunset timing and want a reason to camp at altitude
You might reconsider if:
- You’re sensitive to steep climbs or long descents
- You don’t like early starts
- You hate carrying any items at all (even though porters carry camp gear, you’ll still need a personal day pack)
Also, it’s described as a private tour. That makes it great for couples, small groups, or anyone who doesn’t want to hike like it’s a school line.
Guide And Porter Quality: The Part You’ll Notice
What makes this trek feel smooth is the team work behind the scenes. The structure is clear: a local guide leads you and porters help with hauling and camp setup. They also cook your meals and keep water/snacks available along the way.
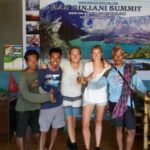
In past experiences with this operator, guides mentioned include Dana, Adi, Yun, Sri, and Ubang. Porters get named too, including people like Jamal and Jaka. The common thread: people describe the guides as attentive and supportive with the group’s pace and needs, and the porters as central to making the campsite happen.
You don’t need a fancy guide script to benefit. You benefit when someone can read the terrain, manage breaks, and keep you safe and comfortable. This trek is set up so that you get that help built in.
Packing Reality Check: What To Bring Versus What They Provide
One of the most useful things about this trip is what’s already covered.
Included:
- Tent, sleeping bag, sleeping mat, camp pillow
- Camping chair and table
- Toilet tent
- Meals and drinks: lunch, dinner, breakfast, snacks, bottled water, plus coffee/tea
- Alcoholic beverages are included
- Guide and porter service
- Transfers/pick-up
Not included:
- Headlamp/hand torch
- Trekking shoes
- Long pants/trousers
- A small daily pack
- Trekking jacket
- Tips
- Extra porter for your own luggage: $22/day (if you need it)
- Airplane ticket
My practical advice: don’t treat the headlamp as optional. You’re camping, and the morning starts early. Even if you’re not hiking in the dark for hours, having a torch saves you from clumsy campsite moments.
And bring proper footwear. A stony, steep trail punishes weak soles fast.
Value For $205: Where Your Money Goes (And Where It Can Cost Extra)
At $205, you’re paying for more than the hike. You’re paying for:
- Guide service
- Porter service
- Camping gear setup and overnight accommodation
- Meals, drinks, and water across two days
- Transfers
That’s the real value equation. A lot of “budget” adventures look cheaper until you add up camping rentals, extra food runs, transport, and porter fees. Here, the structure keeps those costs inside the price.
The only likely add-on is the things you personally forgot or chose to skip:
- Headlamp
- Trekking shoes
- Long pants/trousers
- A daily pack
- Optional extra porter if you want help carrying your own luggage
So, if you show up prepared, this can feel like a good value. If you show up under-prepared, the cost creeps up quickly.
Should You Book This Rinjani 2D1N Crater Rim Trek?
Book it if you want a classic Rinjani experience with the hardest part (logistics) handled for you. You’ll hike from Senaru to the 2,641m crater rim, sleep beside the crater, and get sunrise and sunset views that are the whole point of the mountain.
Don’t book it if you hate steep terrain, want an easy stroll, or you’re missing the basics like trekking shoes and at least a small daily pack. The trek has effort built in, and you’ll get the most out of it if you come ready.
If you do book, plan to be flexible with your pace. The private setup is there for a reason: it helps you enjoy the climb without turning it into a race.
FAQ
How long is the Rinjani 2D 1N trek from Senaru?
The trek is about 2 days. Day 1 involves hiking up to the crater rim and overnight camping, and Day 2 includes a breakfast and a 5–6 hour descent back to Senaru.
Where does the trek start and end?
It starts at Senaru Village / Lombok (with registration at the Rinjani Trekking Centre, Pos 1) and ends back at the meeting point after returning to Senaru Village and taking a transfer.
What time does the trek start?
The start time is listed as 7:00am, with trekking beginning around 7:30–8:00am.
Is this a private tour?
Yes. It’s described as a private tour/activity, meaning only your group participates.
What is included in the price?
Included features list overnight accommodation, camping equipment (tent, sleeping bag, sleeping mat, etc.), food and drinks, local guide and porter, pick up and transfer, and items like bottled water, breakfast, coffee/tea, lunch, dinner, and snacks. Alcoholic beverages are also included.
Do I need to bring a headlamp?
Yes, a headlamp/hand torch is not included, and it’s specifically noted in the provided packing list.
Are trekking shoes included?
No. Trekking shoes are listed as not included.
Can I arrange an extra porter for my luggage?
Yes. Extra porter service for your own luggage is listed at $22/day.
Do they provide breakfast and lunch?
Yes. Breakfast is included, and lunch is provided during the trek (at the higher resting stop near Pos 3).
Is the tour suitable for beginners?
The trip is described as suitable for moderate physical fitness. If you’re unsure, assess your ability for steep, stony sections and a long downhill on Day 2.