REVIEW · LOMBOK
2D1N Senaru Crater Rim Trekking
Book on Viator →Operated by Lombok Volcano Trekking · Bookable on Viator
A volcano crater rim is the kind of trip you remember. This 2D1N Senaru Crater Rim trek is built around a private guide and porters (so you set the pace), plus a camp setup that’s genuinely comfortable for nights at 2,641m. I especially like the way it pairs big-eye-candy views—sunset over the Gili Islands and Mount Agung—with practical support, like mattresses, pillows, and a proper toilet tent. One thing to keep real: even the easiest “rim” option still means a serious uphill day.
The main drawback is effort. You’ll climb more than 2,000m in a day, and the trek can feel tougher than you expect, especially if weather turns wet or you’re not used to steep trails.
In This Review
- Key highlights worth planning around
- Entering the crater rim from Senaru: what makes this route the smart choice
- Price and logistics: what $156 covers (and what costs extra)
- What’s included
- What’s not included
- Day 1: from Senaru’s forest to the rim (and why the stops matter)
- Registration and the climb rhythm
- Forest trekking to Pos 1 and Pos 2
- Lunch at Pos 3 (around 2,000m)
- The steeper grassland section to the rim
- Camp on the rim with big-view sunset
- Sunset time: comfort camping at the crater edge
- What your guide adds at this moment
- The sunset payoff is not just a photo moment
- Day 2: sunrise, breakfast, then the descent back to Senaru
- The descent route and planned breaks
- Private pace and porter support: where this trek earns its 4.9 rating
- Why guide names matter here
- The real difficulty: how hard is it, and who should go
- What “moderate” means in this case
- Weather is the wild card
- What to pack for this 2D1N rim camping trek (based on what’s not provided)
- Should you book the 2D1N Senaru Crater Rim Trek?
- FAQ
- What time does the trek start, and where do I meet?
- How long is the trek?
- What’s included in the price?
- What extra costs should I expect?
- Do I need to bring trekking shoes and rain gear?
- Is this trek private?
- Can I change or get a refund after booking?
Key highlights worth planning around
- Crater rim camping at 2,641m with sunset and sunrise moments built in
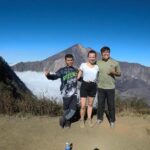
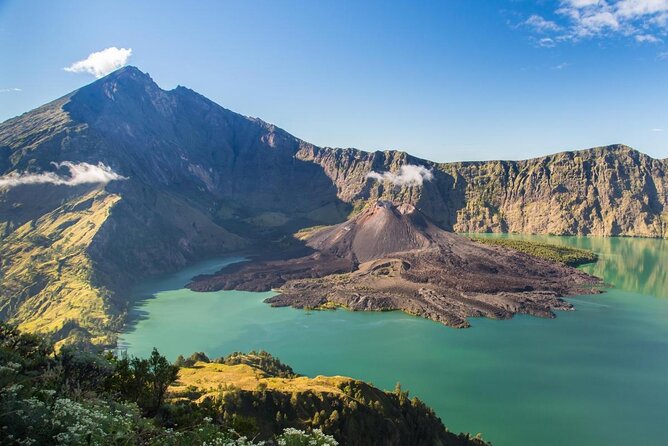
- Views spanning Bali, the Gili Islands, and Rinjani features like Segara Anak and Gunung Baru
- Private pace with an English-speaking guide plus porters carrying cooking and camping gear
- Comfort-focused gear: tent, sleeping bags, mattress, pillow, and a toilet tent with paper
- Day 2 timing works for schedules: back in Senaru around 1pm
Entering the crater rim from Senaru: what makes this route the smart choice
Mount Rinjani is one of those places people hype up hard. The good news: you can still get an unforgettable Rinjani experience without committing to the full, extremely demanding climbs that some routes require.
This trek goes to the crater rim from Senaru, reaching about 2,641m. That matters because the rim is where you get the “wow” look into the Rinjani world—without needing a multi-day push to the very top. One useful reality check from real trek experience: the shorter 2D1N format stops at roughly the rim level (around the 2,600m area), not the highest peak. If your goal is the very top near 3,700m, you should plan for a longer trek instead.
So what you’re choosing here is a focused Rinjani hit: steep, but controlled; brutal enough to feel like a real achievement, but not so drawn out that you spend your whole holiday fighting altitude and fatigue.
You can also read our reviews of more tours and experiences in Lombok.
Price and logistics: what $156 covers (and what costs extra)
At $156 per person for 2 days, this trek is priced like a value option for a guided, porter-supported overnight on the rim. But the fine print affects your total, so don’t skim it.
What’s included
You get:
- An English-speaking trekking guide and professional porters
- Porters carrying cooking gear and camping equipment
- Food and drinking water: 3 liters of mineral water per person per day
- Camping setup: tent, toilet tent and paper, sleeping bags, mattress, and pillow
- Luggage storage at the operator’s Lombok Volcano Trekking office
What’s not included
You should budget for:
- Rinjani National Park fees: IDR 250,000 per person per day
- Transportation: pickup before and transfers after the trek aren’t included
- Your own personal trek gear: trekking shoes, rain jacket, long pants, gloves, and a head lamp/hand torch
If you’re doing Lombok as a base and you can handle arriving on your own terms, the included camping comfort and porter support help this price feel fair.
One more practical point: the tour is private, and your group sets the pace. That can be a big deal on a hike like this. When the climb gets steep, pace control reduces the “start too fast” problem that burns people out early.
Day 1: from Senaru’s forest to the rim (and why the stops matter)
Day 1 is where the trek earns its reputation. You start from Senaru at 601m, then work your way up through changing terrain, with rest points along the way.
Registration and the climb rhythm
The day begins with registration at the Rinjani Trek Centre in Senaru. The formal start helps set expectations: you’re not wandering. You’re trekking on a route with planned pauses.
Forest trekking to Pos 1 and Pos 2
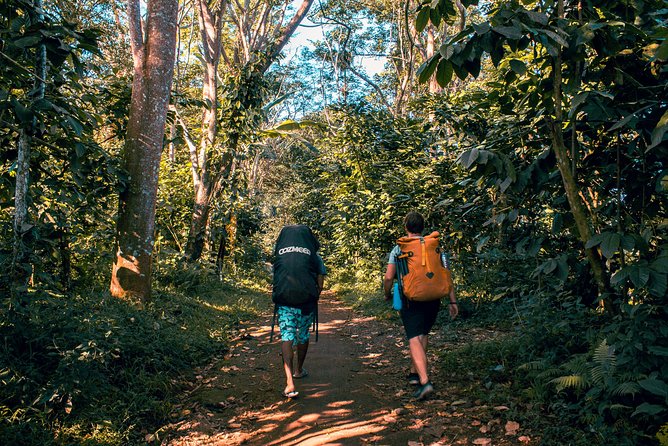
From the start, you move through dense tropical forest. This section is slower than the steeper bits later, but it’s also where you feel the altitude creeping in. The advantage of the planned stop structure is mental: you always know there’s a next check-in.
Lunch at Pos 3 (around 2,000m)
Lunch happens at Pos 3 (2,000m). This is a key moment. At that height, you’re already above the “warm-up” stage. Eating here means you’re fueled for the tougher push.
The steeper grassland section to the rim
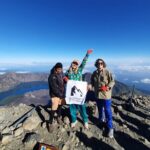
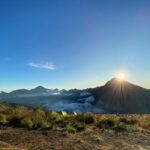
After lunch, the trail turns steeper as you climb through grassland to the Senaru Crater Rim (2,641m).
This is often the part that surprises people who imagined the rim as a quick scenic detour. It isn’t. It’s a real ascent, even on the easier rim route. But it’s also where the payoff starts to become visible, because the rim makes the world open up fast.
Camp on the rim with big-view sunset
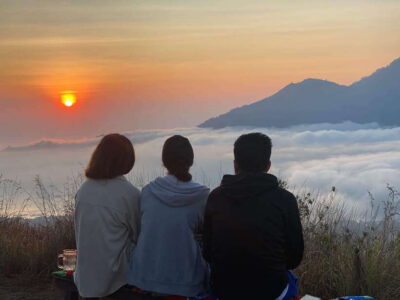
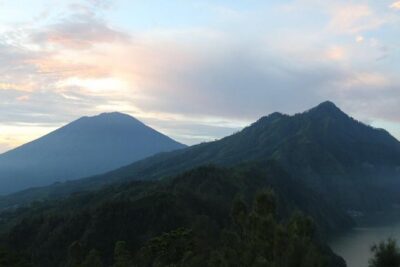
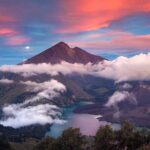
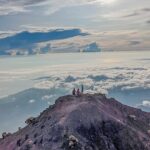
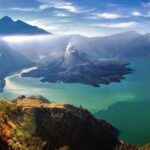
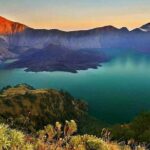
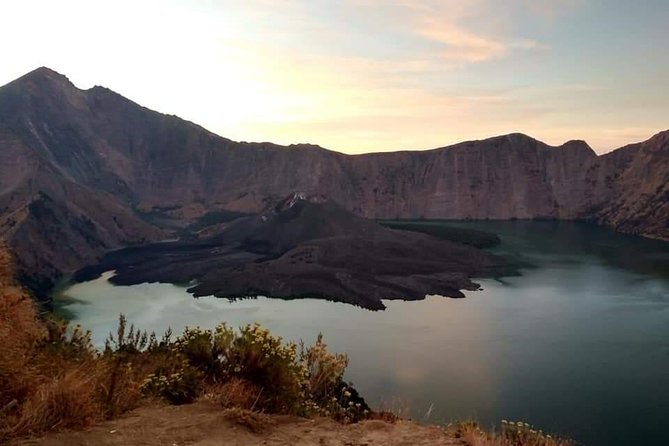
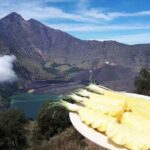
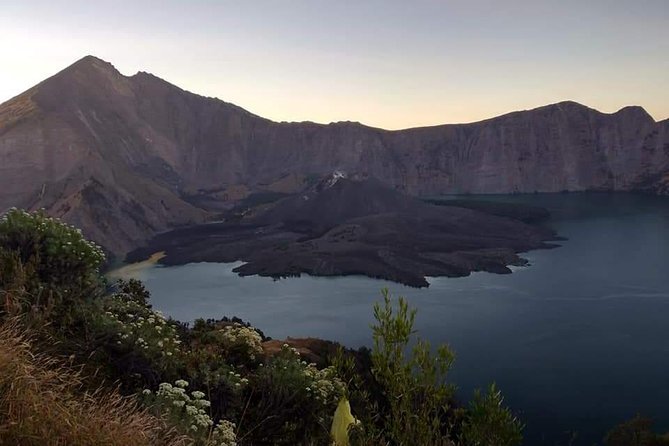
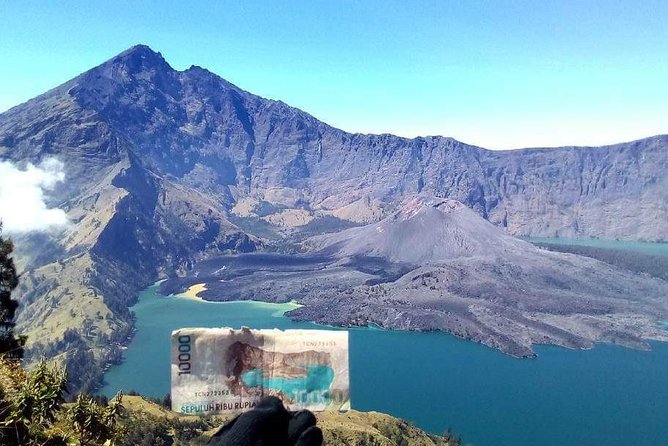
You reach camp on the rim and overnight there, and the sunset is the headline. From the rim, you can look across:
- the Gili Islands
- Mount Agung (Bali)
- Mount Rinjani’s summit (depending on conditions)
- Segara Anak Lake
- Gunung Baru volcanic cone
Even if you don’t memorize every volcanic feature, this is the kind of view that changes your relationship to the hike. The work you put in becomes obvious right away.
Sunset time: comfort camping at the crater edge
Reaching the rim is one victory. Sleeping there is another.
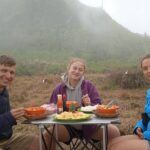
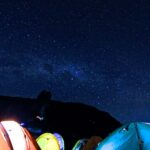
The camp setup is one of the biggest reasons this trek stands out in feedback. Instead of the usual thin-foam, “good luck with your back” camping idea, you get:
- a tent
- sleeping bags
- a mattress and pillow
- a toilet tent plus paper
That list sounds small until you’ve tried to sleep at elevation. People remember the feeling of finally resting. A few guides and porters get named often in experiences on this trek—Mario, Benji, Anton, Lim, Rudy, Jo—because the team affects that comfort. When porters handle equipment quickly and carefully, you spend less time stressed and more time actually enjoying the rim.
What your guide adds at this moment
A good guide can turn “pretty rocks and volcanoes” into something you understand. Multiple guides are praised for being encouraging and for explaining what you’re seeing as you climb and at camp. Expect your guide to answer questions and keep the mood upbeat, especially when weather shifts or you’re feeling the day’s effort.
The sunset payoff is not just a photo moment
Yes, sunset is dramatic here. But it’s also a timing tool. You hike, you eat, you get to camp before night fully settles, and you get a calm window to take in the rim view—before you tuck into sleeping gear and let your body recover.
If rain rolls in, it doesn’t erase the experience. It just makes packing choices (rain jacket, headlamp/torch) matter more.
Day 2: sunrise, breakfast, then the descent back to Senaru
Day 2 starts with a wake-up for sunrise, followed by a relaxed breakfast. That sequence is practical. It means you’re not rushing out of your sleeping bag in panic mode. You’ve got time to eat and adjust before the downward work begins.
The descent route and planned breaks
After sunrise, you descend back toward Senaru with snacks along the way and a lunch at Pos 2. The lunch-at-a-marked-stop idea matters because it prevents the “crash before the finish” problem.
The trek ends with an arrival in Senaru around 1pm. That’s a good finish time because it gives you the rest of the day to shower, eat real food, and adjust plans without feeling trapped late into the evening.
Private pace and porter support: where this trek earns its 4.9 rating
Private doesn’t just mean fewer people. On a steep volcano trek, it can mean fewer mismatches in speed.
Because it’s a private tour, your group sets the pace, and your guide can adapt. That’s useful if:
- you climb slower than average
- you want more photo stops
- you need frequent short rests rather than long breaks
Porters carry cooking gear and camping equipment, which changes the entire feel of the trek. You’re not also hauling your camp. Your job stays focused on hiking and staying steady.
Why guide names matter here
In experiences with this trek, certain guides are repeatedly mentioned in a positive way—Mario, Benji, Anton, Lim, Rudy, and others. The pattern isn’t just friendliness. It’s follow-through: care on the climb, attention to questions, and support that keeps people moving instead of hesitating.
One more detail that shows up in feedback: the team has handled dietary needs, including vegetarian meals. Not every operator is as flexible, so that’s a real value signal if you eat differently than the default.
The real difficulty: how hard is it, and who should go
This trek is listed as requiring moderate physical fitness—and based on the ascent profile, that’s accurate.
What “moderate” means in this case
You’re climbing more than 6,500 feet (2,000 meters) in a day. That’s a lot, even if it’s broken into stops. The hike isn’t a gentle stroll through scenery. It’s a steep, sustained effort with elevation effects.
So I’d classify this as:
- great for hikers who’ve done steep trails before
- doable for beginners only if you accept slower pacing and you’re comfortable with hardship
- not ideal if you want a light, low-effort hike
Weather is the wild card
Rain shows up in real experiences, and it can make the trail feel harder. That’s why your personal gear matters. The tour doesn’t include the rain jacket and gloves—bring them if you’ll be in rainy conditions.
What to pack for this 2D1N rim camping trek (based on what’s not provided)
The operator includes camp gear, food, water, and porter hauling. What they don’t include is your personal hiking kit.
You should bring:
- trekking shoes (important for traction and comfort)
- rain jacket
- long pants
- gloves
- head lamp or hand torch (you’ll want light in camp and early hours)
If you forget something, it can be stressful to fix it last minute on a tight schedule. Better to show up with a kit you trust.
Should you book the 2D1N Senaru Crater Rim Trek?
Book it if you want:
- a time-efficient Rinjani experience (2 days, rim camping)
- the big views over Bali’s Mount Agung and the Gili Islands
- comfort camping with mattresses, sleeping bags, and a toilet tent
- a private format with a guide and porters handling the heavy stuff
Think twice if:
- you expect an easy walk (it’s a steep climb)
- your dream is the very top near 3,700m (this rim trek stops around 2,600m)
- you don’t want to pay park fees on top of the tour price
- you don’t have your own transport plans (pickup and transfers aren’t included)
If you’re honest with yourself about fitness and accept that this is a serious hike with real altitude, it’s a strong, well-supported way to see Rinjani without turning your vacation into a long, punishing marathon.
FAQ
What time does the trek start, and where do I meet?
The activity starts at 7:00am. You’ll begin at Lombok Volcano Trekking, Jl. Pariwisata, Senaru, Kec. Bayan, Kabupaten Lombok Utara. You also register at the Rinjani Trek Centre in Senaru before trekking.
How long is the trek?
It’s 2 days (approx.) with a return to Senaru around 1pm on day 2.
What’s included in the price?
Included are an English-speaking guide and porters, food and drinking water (3 liters mineral water per person per day), and camping gear like a tent, sleeping bags, mattress, pillow, and a toilet tent with paper.
What extra costs should I expect?
You need to pay Rinjani National Park fees: IDR 250,000 per person per day. Transportation before and after the trek is also not included.
Do I need to bring trekking shoes and rain gear?
Yes. The tour does not provide trekking shoes, rain jacket, long pants, gloves, or a head lamp/hand torch.
Is this trek private?
Yes. It’s a private tour/activity, and only your group participates. Your group sets the pace.
Can I change or get a refund after booking?
This experience is non-refundable and cannot be changed. If you cancel or request an amendment, the amount you paid is not refunded.
If you tell me your fitness level and when you’re traveling, I can help you judge whether this 2D1N rim route fits your goals.