REVIEW · CATANIA
Special trekking on the most authentic and wild side of Etna
Book on GetYourGuide →Operated by Guide Vulcanologiche Etna Nord · Bookable on GetYourGuide
Etna looks calm from the road, until you walk its fractures. This guided north-side trek takes you to the wild side—crater edges, rifts, caves, and chimney-like volcanic spaces—with a volcanology expert making the science make sense.
What I like most is the focus on the less-visited north slope and the way the route stays active and varied: crater rims, ash slopes, and even helmeted entry into volcanic formations. I also like that you get real altitude scenery, including a panoramic stop from about 2,900 m when weather allows, with views toward Taormina and the Aeolian Islands.
The main drawback to plan for is comfort and safety fit: this is for hikers with a moderate fitness level at high altitude, and it’s not for people with vertigo, heights fear, claustrophobia, heart or respiratory issues, or anyone who might struggle with dizziness.
In This Review
- Key things to know before you hike Etna’s North Side
- Etna’s wild north side: what makes this trek feel different
- From the parking lot to the volcanological observatory (1,800 m to 2,800 m)
- The short 2,900 m panoramic walk: summit views without the summit crowds
- Rift, craters, and walking among eruption scars (helmeted entry included)
- Edges of large explosive craters and ash-slope descents
- What the guide does about volcanic risk (and why that matters)
- Price and value on a volcano day: what you actually pay
- Packing so the day stays fun, not miserable
- Who this Etna north trek suits best (and who should skip it)
- Getting the most out of the day (small habits that help)
- Should you book this Etna North Side trek?
- FAQ
- How long is the Etna north trek?
- What is included in the price?
- What extra costs should I expect on the day?
- Is this trek still possible if summit craters are closed?
- What languages are the guides?
- What should I bring, and what footwear is not allowed?
- Who shouldn’t take this tour?
Key things to know before you hike Etna’s North Side
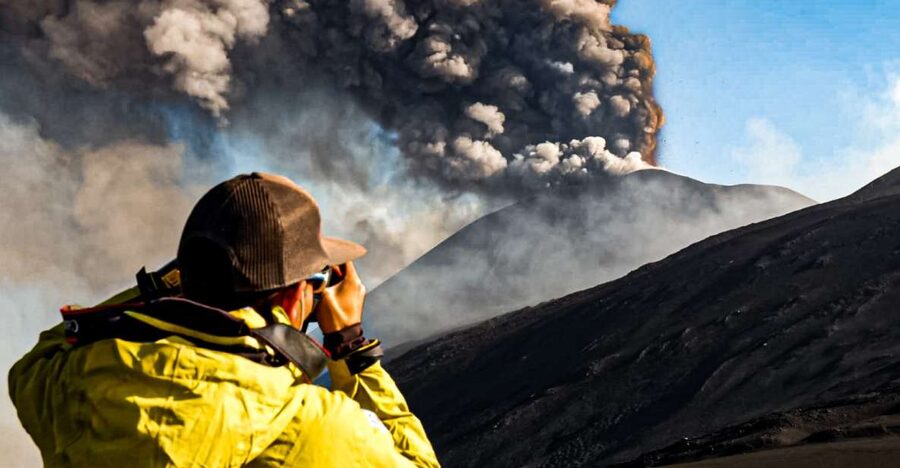
- Authorized volcanological guides lead you based on Civil Protection volcanic-risk communications and safety altitude limits.
- 4×4 ascent from 1,800 m to 2,800 m means you spend more time walking the volcano features you came for.
- Crater-edge walking plus ash-slope descents gives you the full texture of north Etna’s active geology.
- Rift, fractures, and 1947 eruption craters, plus helmet entry into a volcanic cone’s chimney.
- A summit-crater alternative if the more famous areas are closed; you still reach the highest safe point.
- Small-group management: groups are split by language and headcount to avoid large clumps.
Etna’s wild north side: what makes this trek feel different
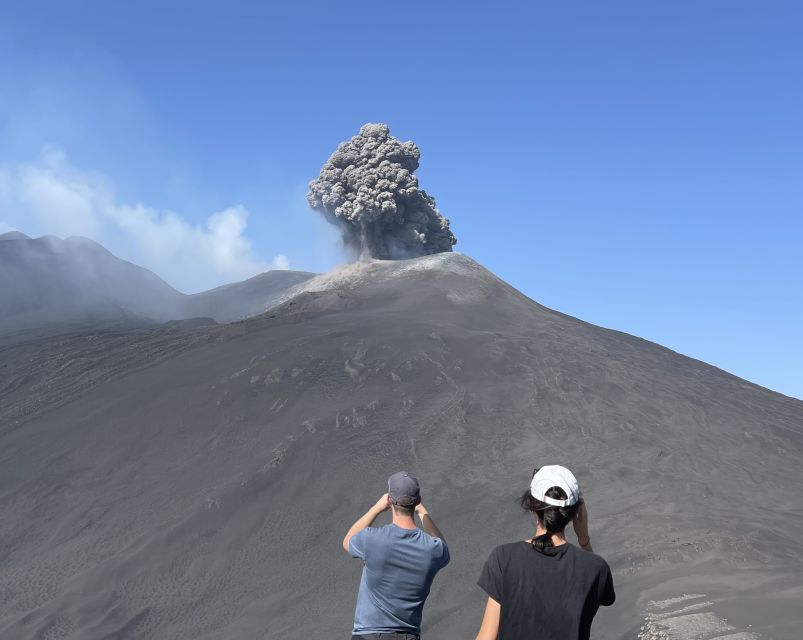
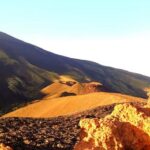
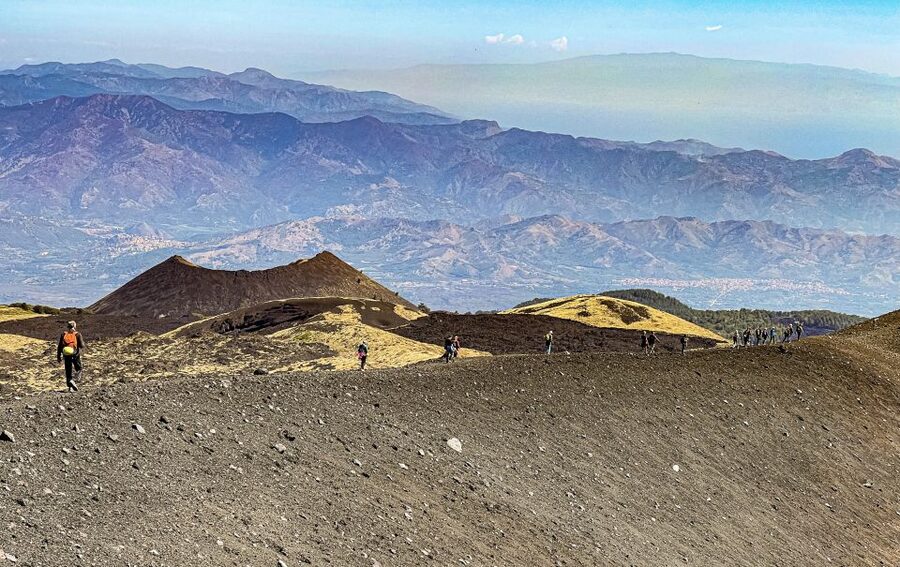
The big-name Etna routes often focus on the most famous craters. This trek does the opposite. You’re sent to the side of the volcano that’s less crowded, but still dramatic—fractures in the ground, craters from different eruptions, and volcanic shapes you can actually walk around.
What makes it special is how the route connects the dots. You don’t just look at volcanic scenery; you move through it. On the north slope, you’ll see the evidence of lava movement, explosive craters, and the broken geometry that forms when magma finds new paths. And because you have a guide who’s authorized for active-volcano guiding, you get the “why” behind what you’re seeing, not just the “what.”
Two practical perks matter here. First, the itinerary builds in a short, high panoramic walk early on—so you get the altitude views without burning all your energy first. Second, you’re not stuck staring from behind a fence. You’re walking along crater edges and into volcanic areas where you can feel how the eruption created the terrain.
You can also read our reviews of more tours and experiences in Catania.

From the parking lot to the volcanological observatory (1,800 m to 2,800 m)
You meet at Chiosco Bar Mareneve, near the winter chairlift area. It’s in the parking lot, and it’s the second house of the four present there. Arrive a bit early. This is a day where “close enough” can mess with timing when vehicles and guide groups need to be organized.
Once you’re with the group, the day kicks off with an ascent by 4×4. You’ll ride from about 1,800 m up to 2,800 m, with a total road distance of around 8 km, and your volcanology guide starts explaining the volcano during the drive. This matters because it turns the ride into more than transport—you get context before your first steps.
At the top, you reach the volcanological observatory area, then shift into hiking mode. That transition is part of the experience: you go from “getting there” to “being on the volcano.” The air can feel sharper at altitude, and the ground textures are different here than lower Etna zones—so it’s worth dressing for wind and temperature swings.
The short 2,900 m panoramic walk: summit views without the summit crowds
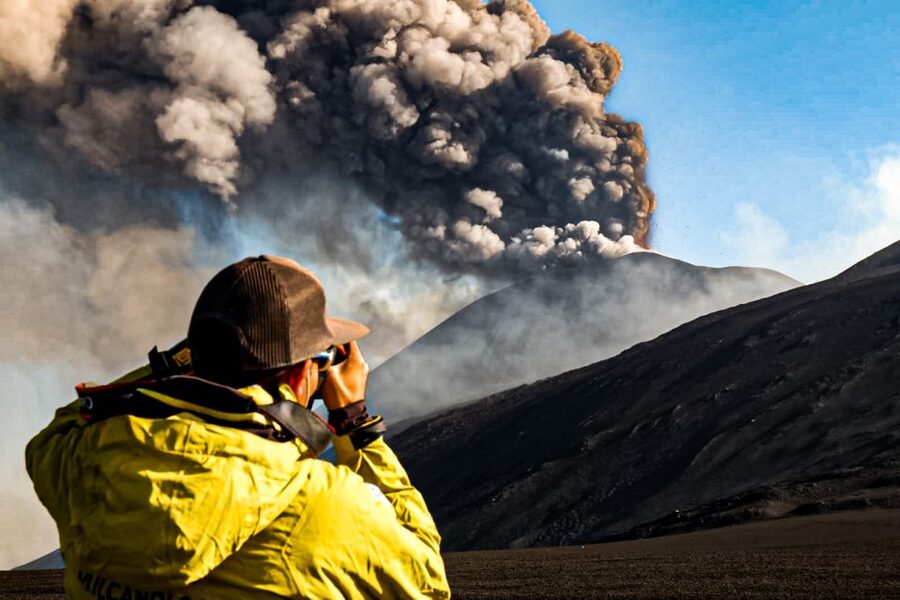
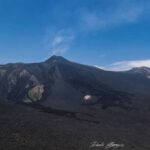
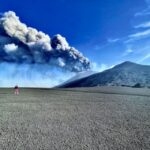
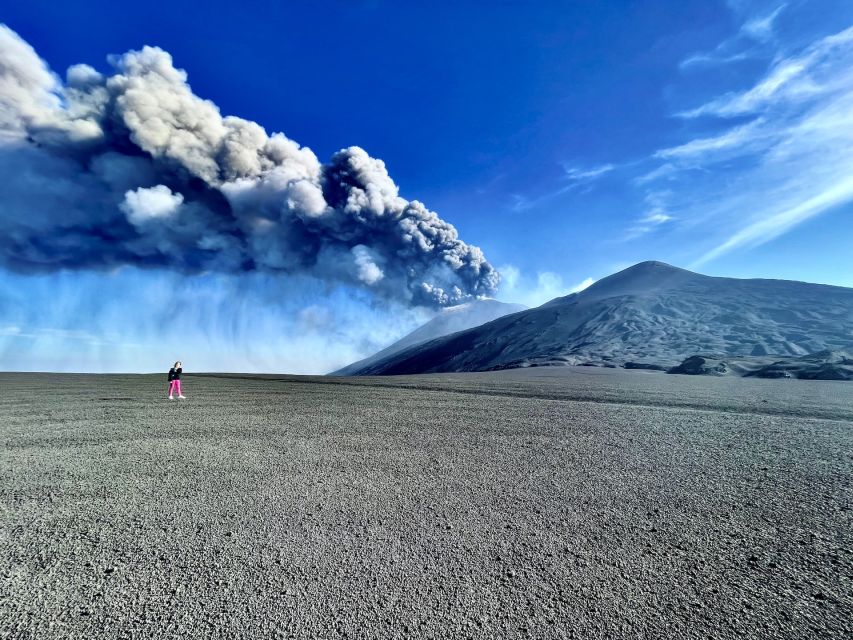
After the observatory stop, the first trek runs from roughly 2,800 m to about 2,900 m. This is the moment you pause at a panoramic point for views of the summit craters, recent lava flows, and Sicily from above. Visibility can change with weather, so don’t count on a perfect view every day—count on the terrain and the angle.
This short section is also a smart pacing choice. You get altitude scenery early, while your legs still feel fresh. If the day’s visibility is good, you’ll likely spot distant landmarks such as Taormina and the Aeolian Islands, because the north side gives you a wide line of sight when conditions cooperate.
Then you head back to the 4×4 and reposition. This keeps the day flowing and sets up the longer crater exploration on the north side—where walking becomes the main event.
Rift, craters, and walking among eruption scars (helmeted entry included)
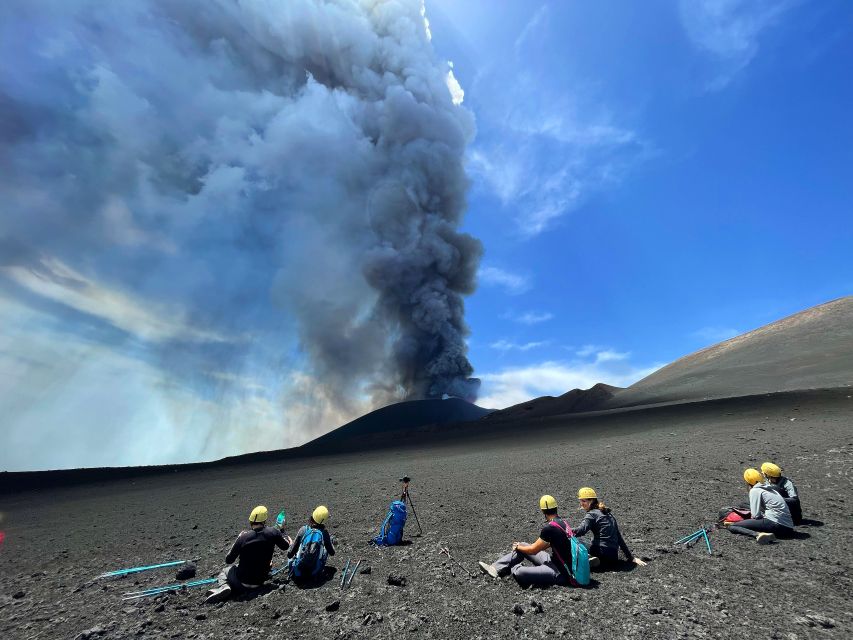
Now comes the part that makes this trek stand out for people who want more than a viewpoints-and-photos day.
After relocating by 4×4, you start the longest walking segment, aimed at the initial starting point area. Along the way, the guide focuses your attention on the volcano’s “plumbing” and its disruptions—things you can usually only read about in books.
Expect stops for:
- The Rift of the north side of Etna (fractures and broken ground patterns)
- Craters from the eruption of February 24, 1947
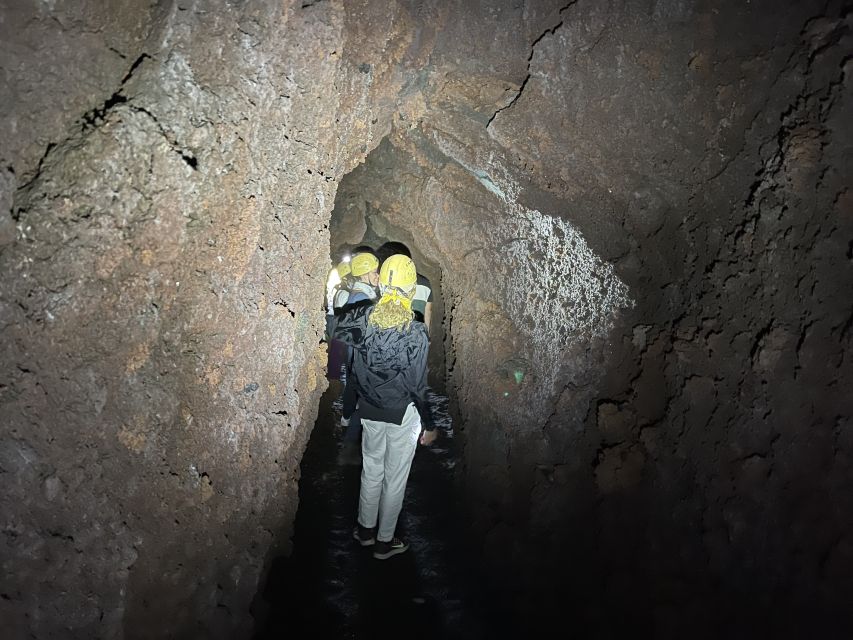
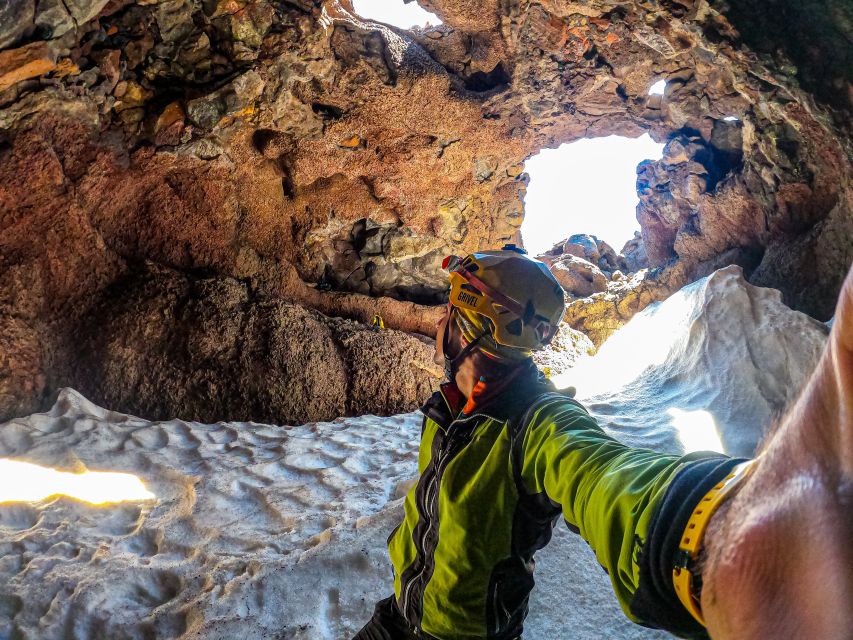
- Helmeted entry inside the chimney of an intact volcanic cone (yes, you’ll put on protective helmets)
- Entries into the mouth-like spaces connected to lava flow pathways
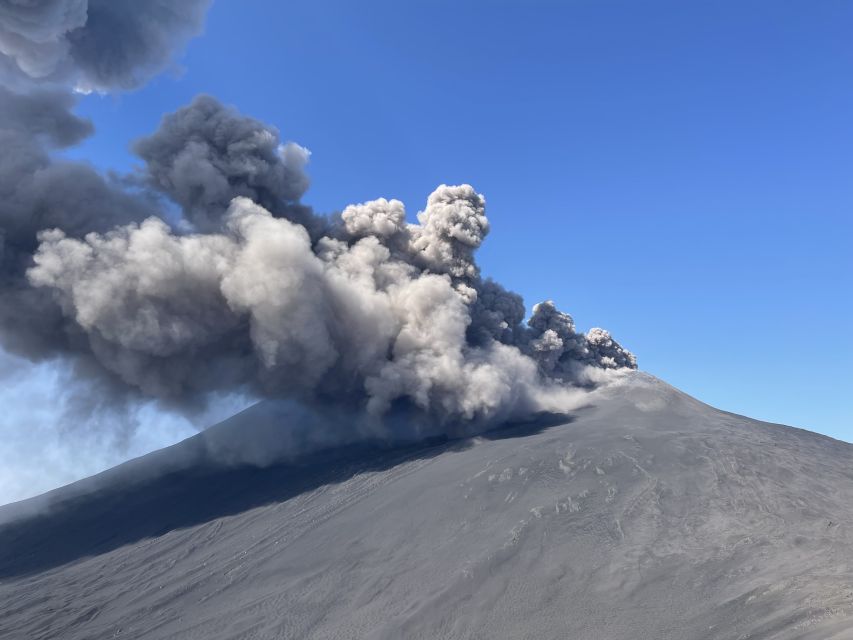
This is where you really feel what “active volcano” means. The terrain isn’t just scenery; it’s a map of how magma and gas moved, where explosions tore rock open, and how lava found channels. The physical setting makes the science stick.
One note for your comfort: this part is why the tour is marked as not suitable for claustrophobia. You’ll be going into confined volcanic spaces, even if guides manage it carefully. If you know you struggle in tight, dark areas, skip this and choose a different Etna hike.
Edges of large explosive craters and ash-slope descents
After the crater and chimney sections, the route keeps traveling through crater edges—this time with more time on foot and more uneven footing.
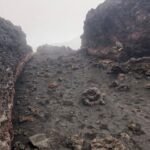
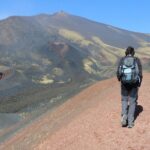
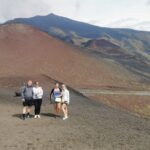
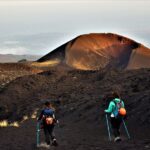
You’ll walk along the edge of large explosive craters and experience descents on volcanic ash slopes. That combination changes your footing and your attention. Ash can be loose and uneven, and crater edges often feel exposed even when you’re not technically “scaling.” The guide’s job is to keep you moving safely while helping you understand what each feature represents.
The route also passes through craters linked to many lateral eruptions, including (as listed for the trek) 1914/24, 1809, 1874, 1879, 1911, 1923, 1974/75, plus activity more recent than 2002. In practical terms: you’re seeing how Etna doesn’t erupt in one single way every time. It grows by branching.
All of this adds up to about 6 km of on-foot trekking up to Piano Provenzana as part of the day’s route pattern.
What the guide does about volcanic risk (and why that matters)
This trip isn’t run like a casual hike with a “volcano theme.” The guide team is authorized volcanological staff, and the route runs according to volcanic risk communications and Civil Protection guidance.
You’re not just taken “as high as possible.” The day is designed to stay within maximum safety altitudes set for the conditions, with an approach that adapts if access changes.
That’s also where the summit-crater closure alternative comes in. If sommital craters are closed due to volcanic risk, this trek can still work as a valid alternative, aiming for the highest point safely reachable with guides. So you’re not left with a wasted booking when the volcano is being cautious.
If you’re the kind of traveler who likes logic, this is a good fit. You’ll see crater and fracture terrain, and you’ll also get the real-world reason your access might shift day to day.
Price and value on a volcano day: what you actually pay
The listed price is $62.63 per person and the trek lasts about 4 hours (start times vary by availability).
But the true cost has a couple of additions you should plan for:
- €50 per person on the spot for 4×4 vehicle transport, covering the rides from 1,800 m to 2,800 m, and then 2,800 m back down to 2,500 m (as stated for the vehicle segments).
- €3 parking ticket paid after the excursion.
- Lunch, water, and snacks are not included, and you’re told to bring a packed lunch.
So the day is best seen as a combination of: professional guiding + climbing into the volcano zone by 4×4 + a structured crater-edge hike. For many people, the value is in having an authorized guide and the access format (including helmeted entry areas) that would be hard to do safely on your own.
Also keep in mind the tour requires a minimum of 8 participants in total. If the minimum isn’t met, it can be canceled.
Packing so the day stays fun, not miserable
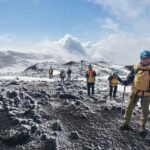
This is a hiking-at-altitude experience, and the rules are straightforward: wear proper gear and bring layers.
The “what to bring” list includes:
- Windbreaker, sunglasses, sunscreen
- Snacks, drinks, and a packed lunch
- Hiking shoes (and long pants)
- A jacket and comfortable clothes
The included gear includes:
- Trekking poles
- Protective helmets
- Warm jackets
- Extra socks
- A backpack
- Accident insurance
- Trekking shoes (listed as included)
You’ll also want to follow the “not allowed” rules:
- No high heels
- No sandals or flip-flops
- No open-toed shoes
- No alcoholic drinks in the vehicle
One practical tip: since K-way/rain jacket is listed as not included, treat rain protection as your responsibility. Even if the forecast looks fine, Etna conditions can shift quickly, especially at altitude.
Who this Etna north trek suits best (and who should skip it)
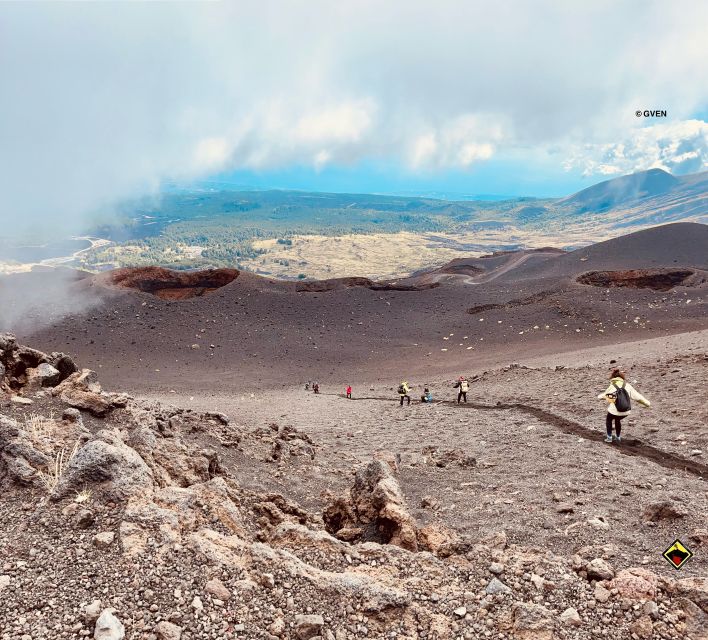
This tour is for moderately trained hikers. That doesn’t mean you need mountaineering skills, but it does mean you should be comfortable walking at high altitude with uneven terrain and with some steep-ish sections, especially on ash slopes.
It’s a strong match if you want:
- A volcano guide who can explain fractures, craters, lava flow pathways, and eruption behavior
- A route that goes beyond the summit-crater highlight area
- Helmeted access to volcanic cone chimney spaces (for people who feel okay with that kind of environment)
It’s not suitable for:
- People with vertigo, afraid of heights, or claustrophobia
- People with heart problems, respiratory issues, epilepsy, or altitude sickness concerns
- People with mobility impairments or back problems
- People who are low-fitness, have had recent surgeries, or lack hiking experience
- People over 95 years (listed as not suitable)
If you’re unsure, be honest about how you handle heights, confined spaces, and dizziness. The route involves crater edges and could cause dizziness for susceptible individuals.
Getting the most out of the day (small habits that help)
A volcano trek rewards calm attention. Keep your pace steady and don’t fight the terrain. Ash can tempt you to rush; crater edges ask you to slow down and place your feet carefully.
Also, listen during the ride. The guide starts explanations on the 4×4, and those early comments help you interpret what you’ll see later—especially the rift fractures and the eruption evidence from 1947 and later lateral events.
One more practical note: you’ll likely spend time at high points and then walk downward. Make sure your layers work both for warm sun and wind chill. The included warm jacket helps, but your windbreaker still matters.
Should you book this Etna North Side trek?
If you want an Etna experience that’s less about crowds and more about real volcanic features you can walk around—this is a great choice. The value is strongest when you care about crater edges, fractures, eruption history you can physically trace, and a guide who can explain what those shapes mean.
Skip it if you have any of these red flags: claustrophobia, fear of heights, vertigo, serious heart or respiratory concerns, or a tendency to get dizzy at altitude. This trek also isn’t a good match if you’re looking for an easy stroll.
If you’re a confident hiker who packs sensible layers and respects altitude, you’re in the right place. This is one of those days where Etna doesn’t just look powerful—it shows you how it actually builds itself, step by step.
FAQ
How long is the Etna north trek?
The tour lasts about 4 hours. Starting times depend on availability.
What is included in the price?
The price includes an authorized volcanological guide, trekking poles, protective helmets, accident insurance, trekking shoes, warm jackets, extra socks, and a backpack.
What extra costs should I expect on the day?
You pay €50 per person on the spot for the 4×4 vehicle transport (from 1,800 m to 2,800 m, and from 2,800 m to 2,500 m). You also pay a €3 parking ticket on the spot after the excursion.
Is this trek still possible if summit craters are closed?
Yes. If summit craters are closed due to volcanic risk, this route is described as a valid alternative and can take you to the highest safely reachable point with the guides.
What languages are the guides?
The live tour guide is available in French, Italian, and English.
What should I bring, and what footwear is not allowed?
Bring windbreaker, sunglasses, snacks, drinks, sunscreen, a jacket, comfortable clothes, and a packed lunch. Wear hiking shoes and long pants. High heels, sandals/flip-flops, and open-toed shoes are not allowed.
Who shouldn’t take this tour?
It’s not suitable for people with back problems, mobility impairments, claustrophobia, heart problems, fear of heights, vertigo, respiratory issues, epilepsy, altitude sickness issues, no hiking experience, recent surgeries, low fitness, or for people over 95 years. It may also cause dizziness for susceptible individuals.