Kareri Lake turns a simple trek into real mountain time. This 3-day trip near Dharamsala is built around a guided walk to Kareri Lake with tents, sleeping bags, and mattresses handled for you. You’re also not left guessing about food or logistics: you get meals, plus round-trip transport between Dharamshala and the trail area.
I like how the pacing is friendly for first-timers, yet the experience still feels like a proper outing, not a stroll. You’ll hike up, camp overnight near Rioti, reach the lake for sightseeing at the Lord Shiva temple, then work your way back to Kareri village. The main consideration is that the trek is still a hike: bring layers and expect cold, especially if you go in winter-ish months when the lake can be frozen.
In This Review
- Key things you’ll notice
- Price and logistics: what $31 really buys in the Himalaya
- The trek setup: tents, sleeping bags, and a washroom tent
- Day 1: Dharamshala to Kareri area and onward to Rioti
- Day 2: Kareri Lake hike, Lord Shiva temple, and the payoff views
- Day 3: The return hike to Kareri village and back to Dharamshala
- Who this trek is best for (and who should adjust expectations)
- Seasonal notes: frozen lake chances and what cold does to your comfort
- Practical tips to make the trek feel easy, not tiring
- Small group hiking: why a cap of 20 feels better
- Should you book Kareri Lake Trek?
- FAQ
- What is the duration of the Kareri Lake trek?
- Where does the trek start and end?
- What time does the experience start?
- What’s included in the price?
- What is not included?
- How difficult is the trek?
- Is the group size limited?
- What if the weather is poor or I need to cancel?
Key things you’ll notice
- Professional guide on the route, so you’re not figuring out turns or timing on your own
- Camping setup included: tents plus sleeping bags, mattresses, and a washroom tent
- Meals covered across breakfast, lunch, and dinner, with snacks in the evening
- Kareri Lake sightseeing includes the Lord Shiva temple, not just a photo stop
- Beginner-friendly pace (around 3/10 difficulty) with real trail moments like water crossings
- Small group cap of 20, which helps keep the hike comfortable
Price and logistics: what $31 really buys in the Himalaya
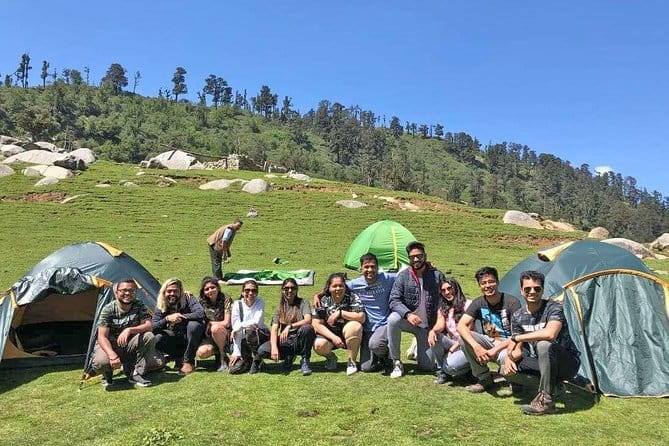
At around $31 for three days, this is one of the most cost-effective ways to do a guided mountain trek in the Dharamsala region. Most of what makes trekking complicated for new hikers is removed here: you get the guide, the camping kit, and the food. You also get round-trip transportation between Dharamshala and Kareri village, which matters because getting in and out is often where people lose time.
What you should watch for is what’s not included. You’ll still need your own trekking shoes or footwear (the plan mentions extra trekking equipment like shoes is not provided), and you may want personal items like energy drinks. Also, there’s no mention of a porter being included, so if you’re carrying a small pack, keep it light.
Finally, the schedule starts at 10:00 am from Dharamshala. That’s a helpful anchor point, but it also means you’ll want to be ready and moving soon after you arrive in town.
You can also read our reviews of more tours and experiences in Dharamsala.
The trek setup: tents, sleeping bags, and a washroom tent
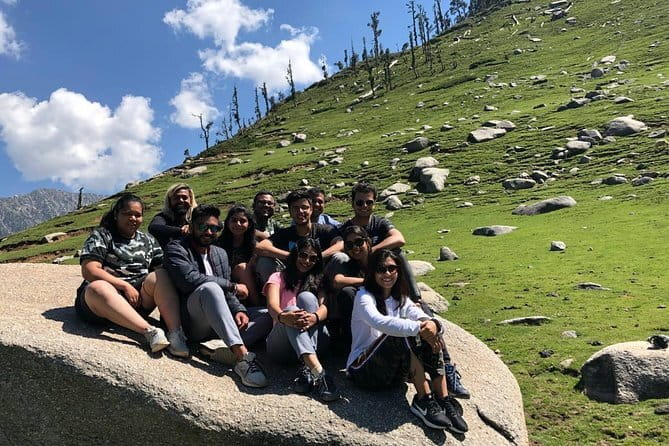
This tour covers the “sleeping outside” essentials, and that’s a big deal for comfort and confidence. You’re provided with tents, sleeping bags, mattresses, and a washroom tent, so you’re not scrambling to rent gear on short notice. If you’re new to treks, having the camp basics sorted can turn an intimidating trip into a calm one.
A practical note: the lake area can get cold, especially in later winter and early spring. Even with a sleeping bag, I suggest dressing in layers that you can manage indoors and outdoors. You’ll likely feel the temperature more at night than during the day hike.
Day 1: Dharamshala to Kareri area and onward to Rioti
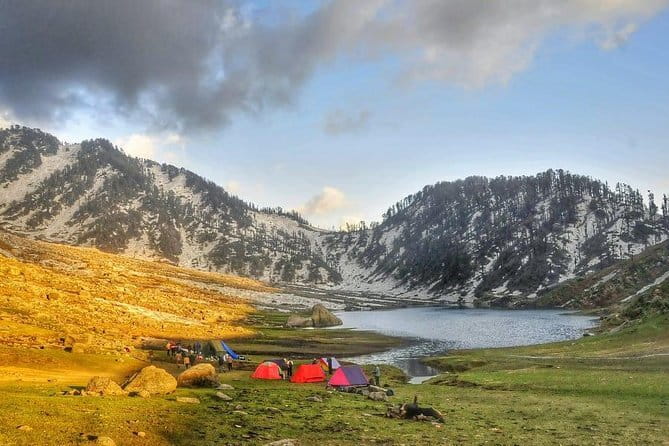
Day 1 is all about transition: you get into the mountains without wasting energy on complicated travel. You start in Dharamshala in the morning, then transfer toward Kareri village (listed as about 25 km from the Dharamshala bus stand). Lunch is served depending on your arrival timing, which is common on mountain schedules where the day has to stay flexible.
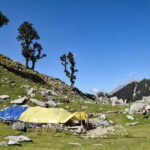
Once you’re dropped off, you begin trekking toward Rioti campsite. The goal is simple: get to camp by evening, settle in, and be ready for a full hike day 2. Reaching camp by dusk is also useful for first-timers, since it keeps you from pushing too late into the night on day 1.
If you like the idea of a slower, local-feeling first night, there’s a detail worth noting: at least one group described a home stay in Nouli village as part of their run. That’s not guaranteed from the core itinerary, but it’s a sign that some schedules may include a village-style overnight experience before the main walking begins.
Day 2: Kareri Lake hike, Lord Shiva temple, and the payoff views
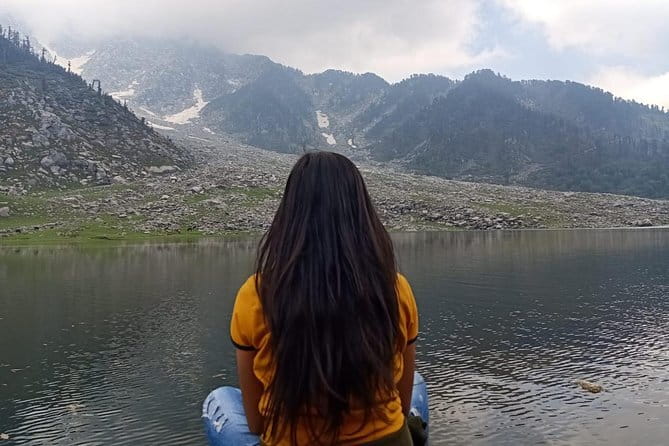
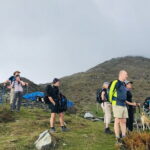
Day 2 is the heart of the trip: breakfast, then you start trekking to Kareri Lake. Expect this to be your main climbing day, even if the overall difficulty stays beginner-friendly. The route also includes trail moments like water streams and river crossings, which add variety and a little challenge without turning it into a technical expedition.
When you reach the lake area, you get time for sightseeing at the Lord Shiva temple. This matters more than people think. It’s a cultural stop, not just a scenic viewpoint, and it gives the lake a sense of place and meaning. Some hikers describe a feeling of divinity while visiting the temple, which gives you a reminder that this is a living spiritual landscape, not just scenery.
You’ll also have packed lunch at the Kareri Lake site, followed by time for a broad view of the lake. If you’re going during colder weeks, you may be able to see the lake frozen. One itinerary timing noted a visit in late March to catch a frozen Kareri Lake. If that’s your goal, plan for cold gear and don’t count on the exact same conditions every year.
Evening doesn’t end the day quietly. You’ll get evening snacks, which is a nice touch after a longer hike. For new trekkers, snacks can make the difference between “I made it” and “I’m actually enjoying this.”
Day 3: The return hike to Kareri village and back to Dharamshala
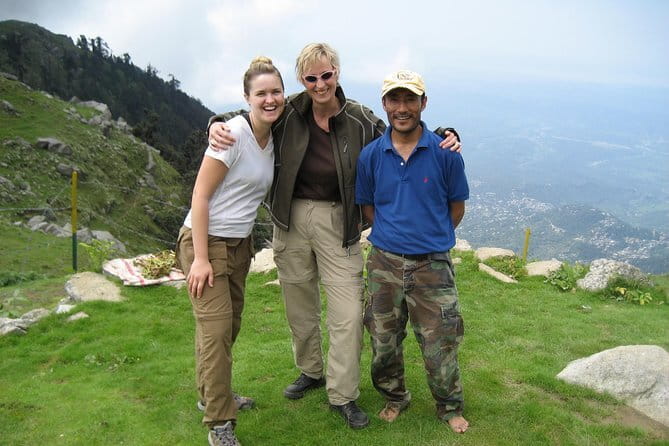
Day 3 keeps things straightforward. You start with breakfast, then trek back toward Kareri village. This leg is often mentally easier than day 2 because the goal is downhill or at least back toward familiarity, but your knees and ankles will still do work. Take it slow on descents and keep an eye on footing, especially around rocky sections.
Once you reach Kareri village, you transfer back to the Dharamshala bus stand and arrive by evening. That timing is practical because it means you’re not stuck in transit late at night, and you can plan an easy night in town afterward.
Who this trek is best for (and who should adjust expectations)
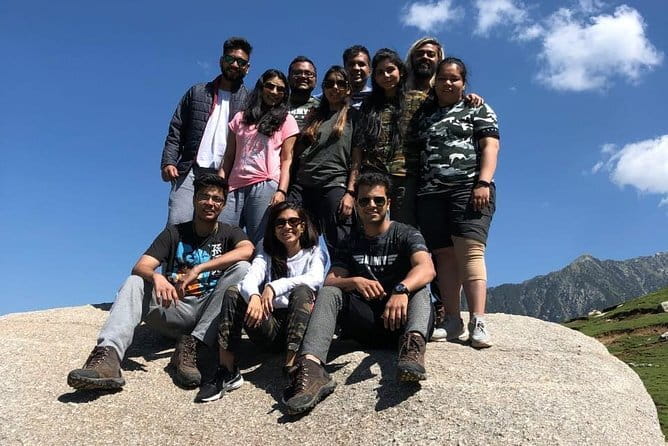
This is a smart trek for people who want a beginner-level mountain experience with real scenery and a guided hand. One clear theme in the available feedback is that it’s a good fit for first-time hikers, with a described difficulty around 3/10. The trek still includes rocky walking and some climbing, so you shouldn’t treat it like a flat walk in the park, but it’s manageable if you pace yourself.
It also suits offbeat-seeking hikers. The trail is less about crowded “must-do” sites and more about peace, water sounds, and the feeling of getting away from it all. If that’s your style, Kareri Lake hits the brief.
You might want to think twice if:
- You get uncomfortable walking for multiple hours even on moderate terrain.
- You’re sensitive to cold (the lake can be frozen in late winter/early spring windows).
- You want a luxury experience. Camping is part of the deal here, even though the basics are included.
Seasonal notes: frozen lake chances and what cold does to your comfort
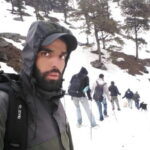
Kareri Lake is famous for turning dramatic in colder months, and there’s a specific mention of seeing a frozen Kareri Lake during the third week of March. If you’re aiming for that, treat it as a bonus rather than a guarantee, since weather is always the boss.
Cold changes everything: how your feet feel, how long you’ll want to stand still for photos, and how fast you’ll feel energy drop. Your advantage on this trek is that you’re not cold and stressed while also managing gear. You’re supplied with a sleeping bag and camp setup, and you’re guided through the route.
My practical advice: pack layers you can actually use, not just thick items you’re afraid to wear. And keep your travel day morning calm. If you start day 2 underprepared for cold, the lake viewpoint will feel harsher than it needs to.
Practical tips to make the trek feel easy, not tiring
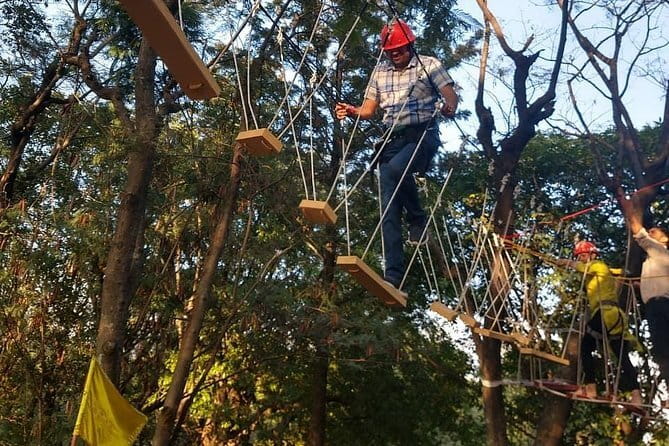
Even a beginner trek works best when you prep like it matters. Here are the choices that usually pay off most on routes like this:
- Wear solid footwear you already trust. The plan specifically notes extra trekking equipment like shoes isn’t included, so don’t rely on rentals at the last minute.
- Pack light for your day bag. You’ll be hiking on day 2 to the lake and returning day 3, so extra weight adds up fast.
- Bring layers for morning and evenings. Lunch is provided, and snacks help, but you’re still outdoors at camp time.
- Move slow at river crossing points. Water streams and crossings can be safe, but rushing is when people slip.
- Be realistic about pace. Even with “beginner-friendly” framing, you still walk a lot. Think rhythm over speed.
If you’re the type who likes to plan around comfort, you’ll also appreciate the included camping gear. It lets you focus on hiking and views instead of turning the trek into an equipment hunt.
Small group hiking: why a cap of 20 feels better
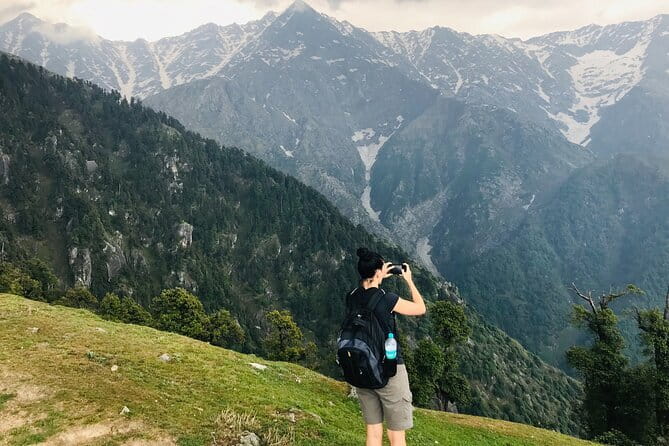
The trek holds up to 20 travelers, which tends to keep the group experience manageable. On guided treks, smaller groups usually mean fewer bottlenecks at viewpoints and calmer movement on the trail. It also makes it easier for the guide to keep track of everyone’s pace.
That matters on a route with rocky patches and water crossing moments. A guide can set expectations and help you stay relaxed, especially if you’re newer to trekking.
Should you book Kareri Lake Trek?
Book it if you want a guided, budget-friendly trek that still feels like a real mountain trip. You get the big-ticket needs handled: transport, camping basics, and meals, plus sightseeing time at the Lord Shiva temple. It’s also a good match if you’re chasing a quieter, offbeat feeling rather than crowds.
Skip or rethink it if you expect a fully comfortable non-strenuous walk, or if you’re unprepared for cold nights in the camp season. This is not a “sit in a vehicle and see things” tour. It’s a hike with camping, and the reward is the lake and the calm around it.
If your priority is beginner-friendly pacing and you’re okay with camping style accommodations, I’d call this a strong deal.
FAQ
What is the duration of the Kareri Lake trek?
The trek runs for about 3 days.
Where does the trek start and end?
It starts in Dharamshala, Himachal Pradesh, India, and ends back at the meeting point.
What time does the experience start?
The start time is listed as 10:00 am.
What’s included in the price?
You get a professional trek guide, camping equipment (tents, sleeping bags, mattresses, and a washroom tent), round-trip transportation between Dharamshala and Kareri village, and meals (breakfast x2, dinner x2, lunch x2).
What is not included?
Tips or gratitude, a porter, extra trekking equipment like shoes, and personal items such as special refreshment or energy drinks are not included.
How difficult is the trek?
The trek is described as moderate to beginner-friendly, with one note giving it around a 3/10 difficulty level.
Is the group size limited?
Yes. The experience has a maximum of 20 travelers.
What if the weather is poor or I need to cancel?
The experience requires good weather, and if it’s canceled due to poor weather you’ll be offered another date or a full refund. You can cancel for a full refund up to 24 hours before the experience start time.