REVIEW · GHANDRUK
From Pokhara: 10-Day Poon Hill and Annapurna Base Camp Trek
Book on GetYourGuide →Operated by Adventure in Nepal · Bookable on GetYourGuide
Sunrise on Poon Hill hits like a gong. This 10-day trek strings together Poon Hill and the Annapurna Base Camp region, with big views of snow-capped peaks like Annapurna I and Machhapuchare. It’s a walking trip that keeps changing scenery, from terraced fields to rhododendron slopes and the high, quiet Annapurna Sanctuary.
I love the mix of authentic village days and mountain moments that actually feel earned. You’ll spend time in places like Tikhedhunga, Ghorepani, Chhomrong, and Bamboo, where guesthouses and local life keep the trek grounded. I also like the clear rhythm of sunrise days, especially the early push to Poon Hill before the clouds decide what you’ll see.
The main consideration is that this route is still serious altitude and effort. You’ll climb steep sections (including the stone steps toward Ulleri), and weather can turn fast near higher camps, so build in patience and warm layers. Keep a close eye on how you feel, because cold and thin air can sneak up on you even in good seasons.
In This Review
- Key Highlights You’ll Actually Feel on the Trail
- Why This 10-Day Poon Hill + ABC Route Works
- Day 1: Pokhara to Nayapul and Tikhedhunga on the Modi Khola
- Day 2: Ulleri’s Stone Steps to Ghorepani at 2,874m
- Day 3: The Early Climb to Poon Hill and Down to Tadapani
- Day 4: Chhomrong, Gurung Village Life, and Machhapuchhre Views
- Day 5-6: Bamboo, Suspension Bridges, Deurali, and the Hinku Cave Area
- Day 7: Into the Annapurna Sanctuary to Annapurna Base Camp
- Day 8-10: Sunrise Returns, Jhinu Danda Hot Springs, and Back to Pokhara
- Price and Value: What $310 Covers (and What You’ll Pay Extra)
- Who Should Do This Trek (and Who Should Skip It)
- Should You Book This Poon Hill and Annapurna Base Camp Trek?
- FAQ
- How long is the trek from Pokhara to Annapurna Base Camp?
- Where does the trek start and end each day?
- What is included in the $310 per person price?
- What is not included?
- When is the best time to go?
- What should I bring, and what is not allowed?
Key Highlights You’ll Actually Feel on the Trail
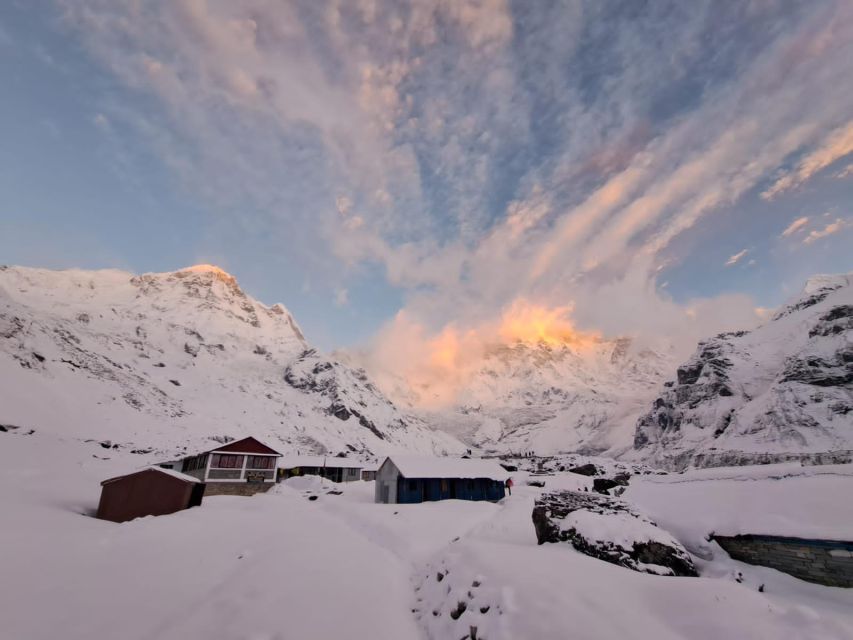
- Poon Hill sunrise timing built into the route so you’re not scrambling for an early window
- Annapurna Base Camp arrival at about 4,130m, with towering peaks all around
- Villages that make sense day-to-day: Tikhedhunga, Ghorepani, Tadapani, Chhomrong, Bamboo
- Forests you’ll notice (rhododendron and marigold areas on the approach toward Ghorepani)
- Jhinu Danda hot springs on the way out, a legit muscle reset after the descent
Why This 10-Day Poon Hill + ABC Route Works
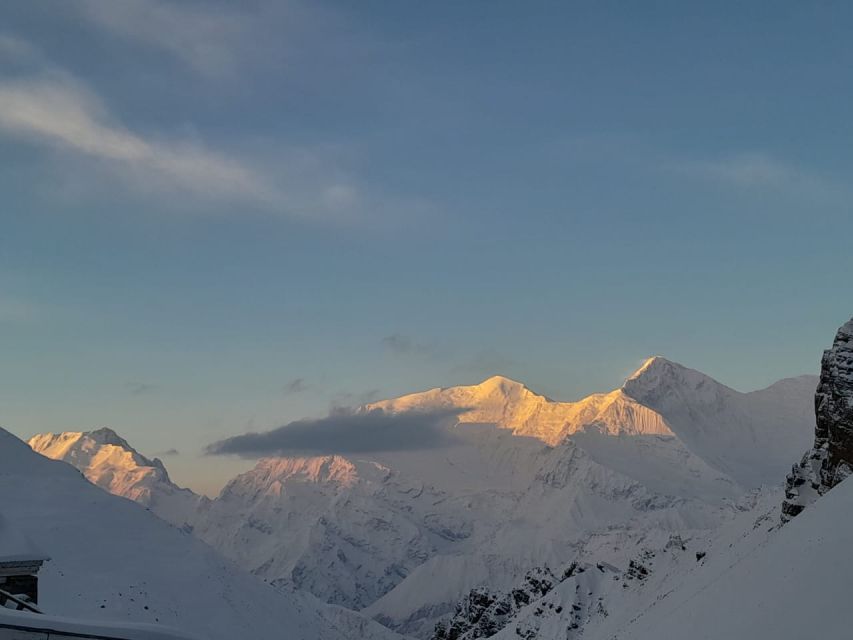
This trek is a clever combination: first you chase wide, photogenic sunrise views from Poon Hill, then you go deeper into the Annapurna region to reach Base Camp. For many people, that means two kinds of awe: the first is the panoramic wow from the ridges, and the second is the close-up scale when you’re sitting under towering peaks.
In practical terms, the itinerary spreads the workload. You don’t just blast upward for ten days straight; you alternate climbing, descending, forest hiking, and village stays. That balance matters if you want to enjoy the trail instead of white-knuckling every day.
It also helps that the route goes through the popular Annapurna corridors. You’ll pass known waypoints like Ghorepani, Tadapani, Chhomrong, and Deurali, which usually means more established guesthouses and a well-worn path. That’s not a guarantee of comfort, but it’s a real factor for a smoother experience.
You can also read our reviews of more tours and experiences in Ghandruk.
Day 1: Pokhara to Nayapul and Tikhedhunga on the Modi Khola
You start with an easy transfer from Pokhara to Nayapul, about 1.5 hours by private car. Then you jump onto the trail and begin following the Modi Khola corridor through small villages and terraced fields.
Tikhedhunga is where you settle for the night, around 1,577m. This first day is a good “gear-check” day: you feel the walking rhythm, test your footwear, and get used to the altitude in a controlled way. It’s also where the trek starts to feel like Nepal rather than a bus ride to a viewpoint.
The only drawback on Day 1 is that the trail can feel warm early, and your legs may not be fully awake after the transfer. If you’re sensitive, keep the pace gentle and don’t treat day one like a victory march.
Day 2: Ulleri’s Stone Steps to Ghorepani at 2,874m
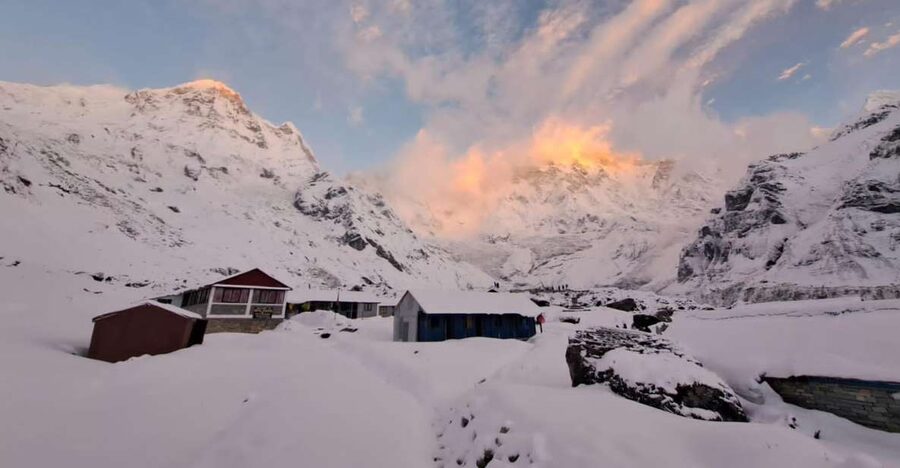
Day 2 gives you a classic Annapurna challenge: the steep stone steps toward Ulleri. It’s tiring, but it’s also straightforward—place your steps, steady your breathing, and let the climb do its work.
After Ulleri, the hike turns more scenic and softer in feel as you move through rhododendron forests and charming villages. You reach Ghorepani at about 2,874m, and this is a key base for the days ahead.
What you’ll like here is that Ghorepani isn’t just a stop. It’s where you start seeing broader views across the Annapurna and Dhaulagiri mountain ranges, especially as the light improves. It’s the kind of place where, even if clouds show up, the atmosphere still feels high and expectant.
If you’re prone to getting cold, remember that evenings at this elevation can feel sharper than you expect. Keep your jacket handy and plan for a colder night than in Pokhara.
Day 3: The Early Climb to Poon Hill and Down to Tadapani
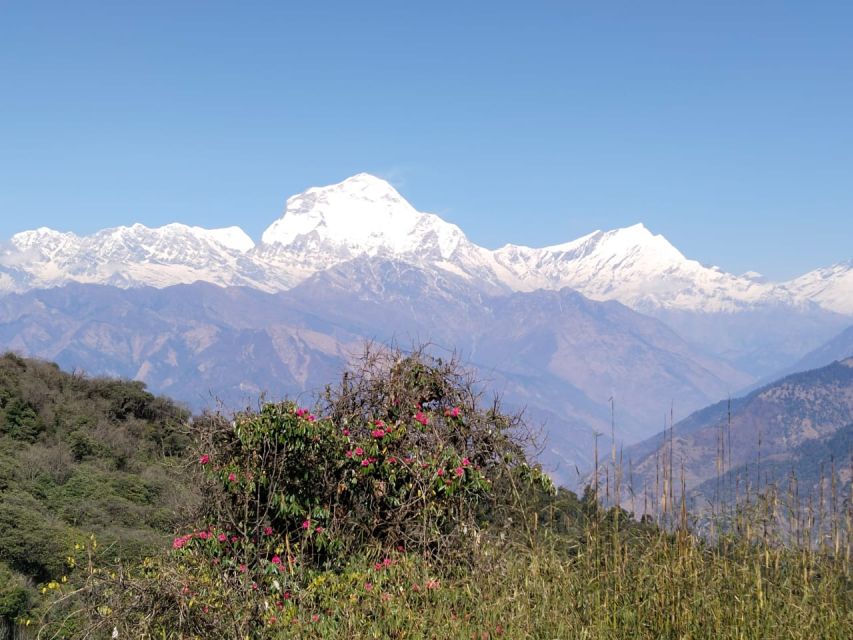
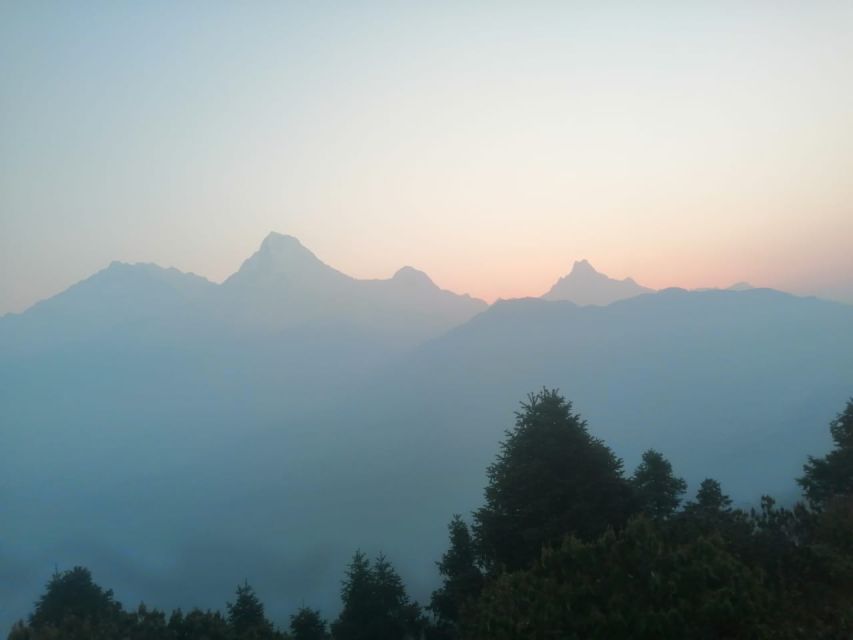
This is the day most people remember: you wake early and hike up to Poon Hill (about 3,210m) for sunrise over the Himalayas. The idea is simple—reach a viewpoint before the day fully wakes up—then watch the mountain views change as light spreads.
After that early effort, you hike back down to Ghorepani for breakfast. Then you keep moving through forests and rhododendron-filled valleys, eventually reaching Tadapani around 2,630m for the overnight.
This day is valuable because it gives you variety. You get the big sunrise moment, then you get the calmer walking—no sprinting, no rushing between scenes. It’s also a good day for pace control, especially if you’d rather preserve energy for the higher, more demanding days.
One thing to keep in mind: sunrise days depend on weather. Even in months that are typically favorable, clouds and mist can limit what you see, so dress for cold and keep expectations flexible.
Day 4: Chhomrong, Gurung Village Life, and Machhapuchhre Views
From Tadapani, the route starts with a gradual descent through lush forest and passes through Gurjung village. Then you move downhill to the Kimrong Khola before climbing back up to Chhomrong (about 2,170m).
Chhomrong is a large Gurung village, and it’s a strong place to feel the culture and the scale of the trekking world around you. From here, the views can include Annapurna South and Machhapuchhre—Fishtail Peak—which is one of those mountains that people talk about for a reason.
What I like about this stop is the pacing. You’re not constantly gaining altitude, and that makes the day feel more human. You also get a sense of community, with guesthouses and everyday village rhythms rather than only wilderness.
A consideration: Chhomrong can feel busy compared to smaller hamlets. If you want solitude, this is still a good base, but it may not give you the quiet feeling of some higher camps.
Day 5-6: Bamboo, Suspension Bridges, Deurali, and the Hinku Cave Area
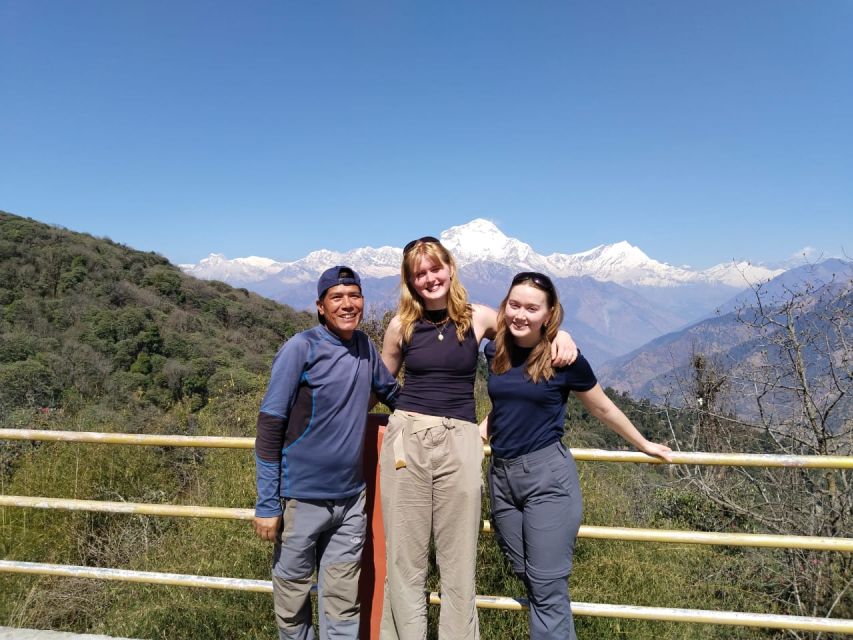
After Chhomrong, you descend toward the Chhomrong Khola and cross a suspension bridge. Then you climb up toward Sinuwa and continue through thick bamboo and rhododendron forests, reaching Bamboo at around 2,310m.
This section feels different from the early days. The bamboo and forest walking is a slower, more enclosed kind of trekking, and that can be a relief if you want your mind to rest between view moments. It’s also a reminder that the Annapurna trip is not only about peaks—it’s about moving through changing ecosystems.
Day 6 (Bamboo to Deurali) is the steady altitude-building day. You trek through bamboo forests and the Modi Khola valley, and you may pass landmarks like the Himalayan Hotel and the Hinku Cave area. You end the day at Deurali, around 3,230m.
Deurali matters because it’s the gateway mood for the final push. Nights here can be cold, and the air feels thinner, so treat this as a sleep-with-purpose night. The win is that you’re setting yourself up for the Annapurna Sanctuary entry.
Day 7: Into the Annapurna Sanctuary to Annapurna Base Camp
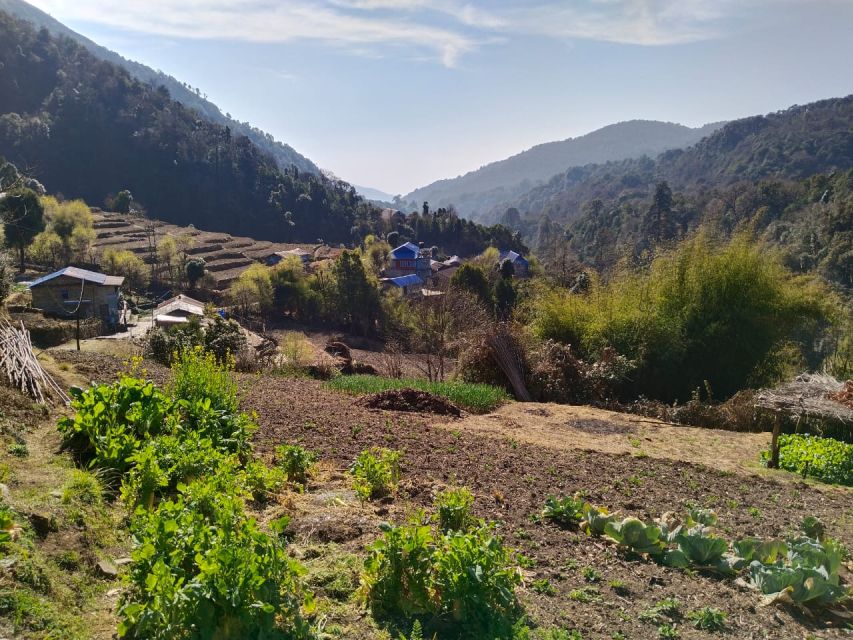
Day 7 is the big hinge day. You trek through a narrow valley that opens up into the Annapurna Sanctuary, and the scenery starts to feel more dramatic and enclosed—like the mountains are closing in.
Along the way you pass Machhapuchhre Base Camp (about 3,700m), then continue to Annapurna Base Camp at around 4,130m. When you arrive, the sensation is less about one perfect photo and more about being surrounded by enormous rock and snow shapes.
This is where a good guide’s role becomes obvious. Even if your legs are strong, your mind can get overwhelmed at altitude, and having a calm, organized presence helps you stay safe and move with purpose. In past trips, guides such as Biru have been praised for being patient and organized with accommodation and safety checks, which is exactly what you want on a day like this.
The main drawback is that the day can feel long and mentally intense. If you’re struggling, don’t try to “tough it out” to match someone else’s pace. Let the mountain decide the tempo.
Day 8-10: Sunrise Returns, Jhinu Danda Hot Springs, and Back to Pokhara
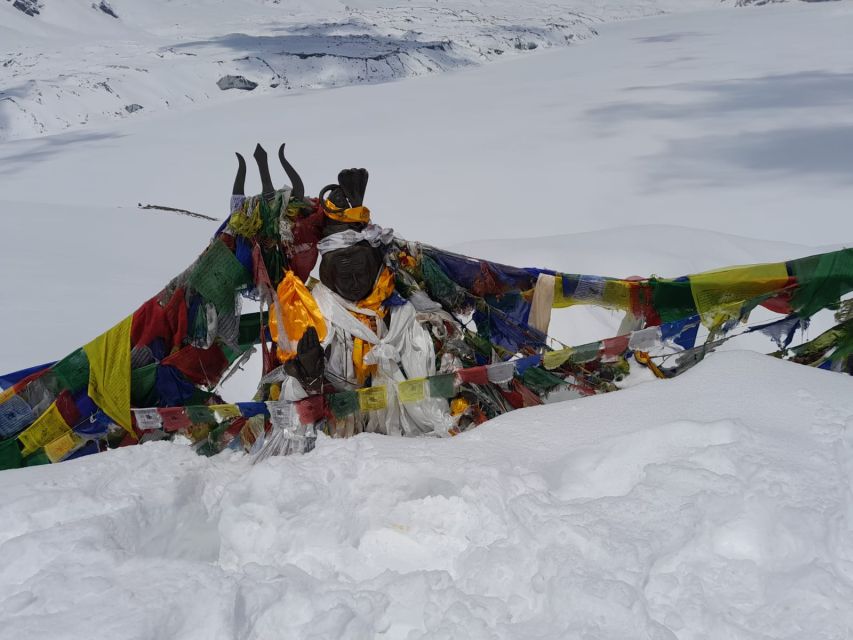
After reaching Base Camp, Day 8 starts with another early wake-up for sunrise views over the high peaks. Then you begin descending from Annapurna Base Camp and work your way back through Deurali and Bamboo.
This return day matters because descending can be deceptively hard on knees and energy. You’ll likely feel relief, but your legs still do real work on the way down. The benefit is that you’re moving through familiar areas, so it doesn’t feel like you’re starting from scratch.
Day 9 continues the descent to Jhinu Danda (about 1,780m). You’ll pass through forests, reach Chhomrong for lunch, then keep dropping until you can finally relax near the hot springs. This is one of the most satisfying parts of the whole trek because hot water gives your muscles an actual reset.
Day 10 is the finishing act: you trek from Jhinu Danda to Nayapul, then drive back to Pokhara. By the time you’re back, you’ll feel the difference between “walking for views” and “walking because you’re done.” It’s a clean, satisfying close.
Price and Value: What $310 Covers (and What You’ll Pay Extra)
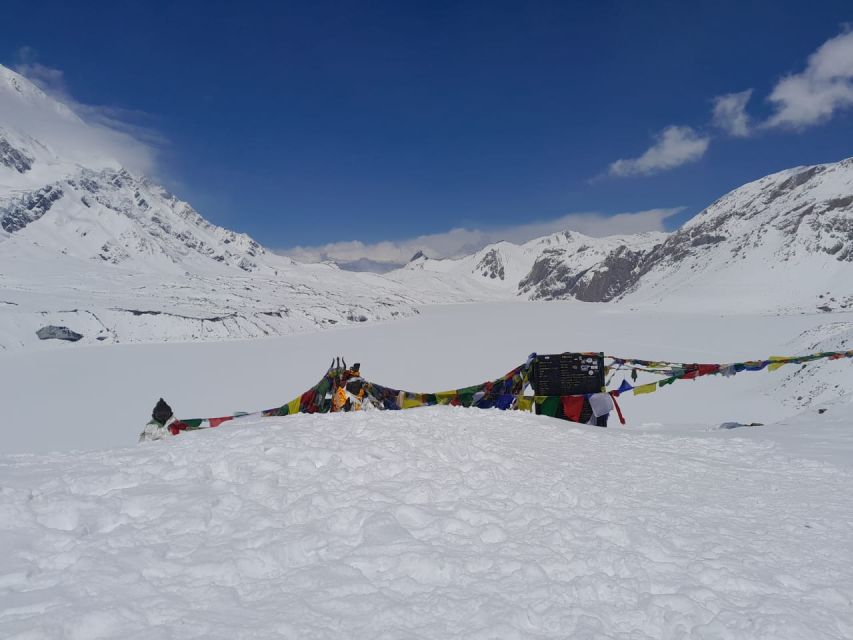
At $310 per person for 10 days, the value mostly comes from the structure. You get private tour service, a professional English-speaking trekking guide, official permits and documents, guesthouse accommodation during the trek, and the Pokhara to Nayapul and back transfer by private car. You also get entrance at Poon Hill, plus hotel pickup and drop-off around lakeside Pokhara.
What’s not included is straightforward: food and drinks, travel insurance, and any emergency rescue coverage by your insurance. Also note that extra comfort services at higher altitude can cost more—one practical reminder from experience is to budget extra if you want things like heater use, WiFi, battery charging, or hot showers, since costs can run higher at altitude.
So the smartest way to think about the price is this: $310 is paying for a guided, permit-and-transported trek with lodging basics included. Your biggest day-to-day variable is meals and personal extras, especially as you go higher.
Who Should Do This Trek (and Who Should Skip It)
This trek suits you if you want both sunrise viewpoints and a serious high point inside the Annapurna region. It’s also a good match if you like village hiking—guesthouses, terraced farms, and the Gurung village feel around Chhomrong.
I’d also call it a good choice if you want a guided experience that can adapt to your pace. One guide, Arjun, has been praised for adjusting the trek plan when altitude issues came up, even extending the trek by three days to help the group cope. That kind of flexibility can be a big deal when your body decides it needs more time.
It’s not suitable for everyone. The trip isn’t recommended for pregnant women or wheelchair users, based on the trekking demands and route.
Should You Book This Poon Hill and Annapurna Base Camp Trek?
If you’re looking for a 10-day route that gives you sunrise drama from Poon Hill plus the real “surrounded by peaks” feeling at Annapurna Base Camp, this plan makes sense. The itinerary has a logical flow: start gently from Nayapul, build up through Ghorepani and Chhomrong, hike into the Sanctuary, then finish with Jhinu hot springs and a return to Pokhara.
I’d book it if you want a guided, well-managed trek where lodging and permits are handled, and where the guide helps you keep moving safely. I wouldn’t book it if you hate early mornings, struggle with steep stone steps, or aren’t prepared for cold and changing mountain weather.
If you do book, do one thing that improves the whole trip: tell your guide early how you’re feeling. A good guide, like Biru or Arjun, can keep you comfortable and help adjust your pace so the trek stays enjoyable instead of stressful.
FAQ
How long is the trek from Pokhara to Annapurna Base Camp?
It’s a 10-day trek, starting in Pokhara and ending back in Pokhara after trekking from Jhinu Danda to Nayapul.
Where does the trek start and end each day?
You begin from Pokhara, take a private car transfer to Nayapul, and start trekking from there. The route ends with trekking from Jhinu Danda to Nayapul, followed by a drive back to Pokhara.
What is included in the $310 per person price?
Included items are hotel pickup and drop-off, a professional English-speaking trekking guide, trekking permits and official documents, private tour service, private car transfers Pokhara to Nayapoul and back, guesthouse accommodation, an emergency first aid kit with the guide, and entrance at Poon Hill.
What is not included?
Food and drinks are not included, and you’ll also need to arrange travel insurance. Emergency rescue is not included and is covered by your travel insurance. Optional gratuity is also not included.
When is the best time to go?
The trek can be done throughout the year, but the best conditions are usually during spring (March to May) and autumn (September to November), when weather tends to be more stable and mountain views are clearer.
What should I bring, and what is not allowed?
Bring a passport or ID card, comfortable shoes, travel insurance, and a passport-sized photo. Pets are not allowed, and plastic bottles are not allowed.