REVIEW · HIMACHAL PRADESH AND UTTARAKHAND
7-Day Kuari Pass Trek
Book on Viator →Operated by Mapping The Himalayas · Bookable on Viator
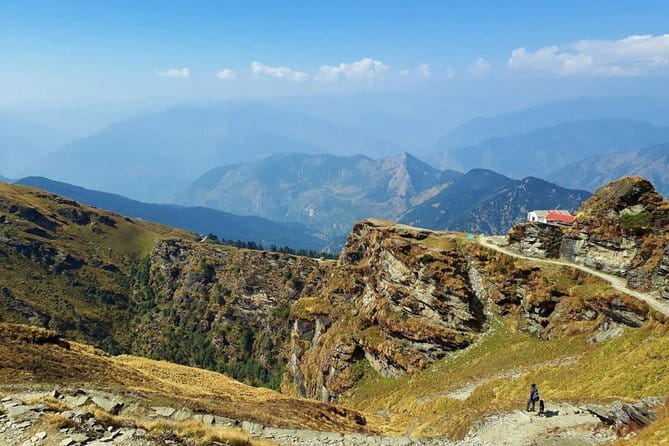
The Kuari Pass trek is the kind of trip that mixes big-mountain scenery with real village life, from Garhwal river junctions to rooftop views above the Nanda Devi Sanctuary. You’ll walk through rhododendron forests, open meadows like Gorson, and past dramatic peaks including Nanda Devi, Hathi Ghodi, Dronagiri, and Nanda Ghunti.
What I like most is how the route follows the outer edge of the Nanda Devi Sanctuary while still giving you room to feel remote and exposed in the best way—high, quiet ridges with constant mountain framing.
The other strong point: support and comforts are built in, with camping gear, meals, and trekking poles included, so you can spend your energy on the trail instead of logistics. The main drawback is that the trek runs at altitude (including a high pass around 4265m), so you’ll want a solid fitness base and you should be ready for steep, loose sections where poles help.
In This Review
- Quick hits you’ll care about
- Garhwal’s river world sets the tone on the way in
- Day 2: village trails, ridges, and that first wide Himalayan peek
- Day 3: suspension bridge crossing and a long ridge climb
- Day 4: Sartoli meadow camp and the Kuari Pass horizon
- Day 5: early start, switchbacks under the pass, then Dronagiri views
- Day 6: Gorson meadows walk to Auli-area connection
- Day 7: Rishikesh arrival with Rudraprayag river stop
- What the price really buys you (and where you still need to plan)
- Trekking style: who should go, and who should reconsider
- Comfort and support: camping gear, meals, and the care factor
- Should you book the 7-Day Kuari Pass Trek?
- FAQ
- How long is the Kuari Pass trek?
- What region is this trek in?
- Do you reach a high altitude?
- Is pickup included?
- Are meals included?
- What trekking gear is included?
- Are tickets handled digitally?
- Is travel insurance included?
- How does the cancellation refund work?
- Is this tour private?
Quick hits you’ll care about
- High-pass payoff around 4265m with Kuari Pass views you can chase with an early start
- A route shaped by rivers—Birahi Ganga, and the wider Ganges–Alaknanda–Bhagirathi system you’ll learn to recognize along the way
- Rhodo forests to open meadows with transitions that change the feel of the hike daily
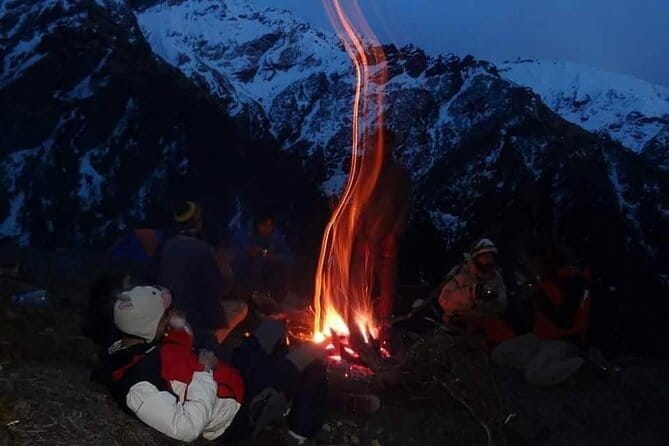
- Included camping setup (tents, sleeping bags) plus trekking poles for the steep/loose descent segments
- Village culture on the walking route—Selu Bagar, Jhinjhi, Pana, and the final link to Joshimath/Auli
Garhwal’s river world sets the tone on the way in
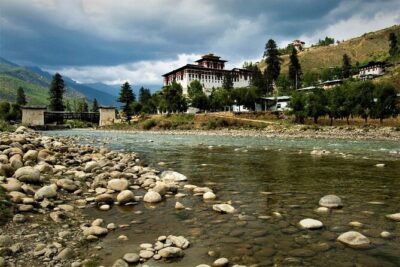
Before you ever lace up hiking boots, the journey starts with the “where do all these rivers meet?” feeling that Garhwal is famous for. You head toward Ghat in the morning via Devprayag, Rudraprayag, Karnprayag, and Nandprayag—each known for major confluences. Even if you’ve read maps before, seeing these junctions in sequence helps you understand why this region is so treasured by pilgrims and trekkers alike.
You end up in Ghat, a larger village with schools, government offices, and a working marketplace that services surrounding settlements. That matters because it’s not some empty staging point. It’s where you can feel the day-to-day rhythm of the valley. Practically, this also means your first day isn’t a brutal hike right away; you ease in, adjust to the pace of local roads, and get ready for trekking days that are more rugged.
Who this helps: if you like your adventure grounded in place, not just altitude and photos, this start sets you up well.
Possible catch: you’ll still be traveling on arrival day, so don’t plan to use Day 1 as a heavy acclimatization push. Take it calm.
You can also read our reviews of more tours and experiences in Himachal Pradesh and Uttarakhand.
Day 2: village trails, ridges, and that first wide Himalayan peek
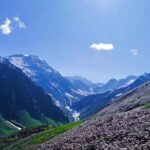
The second day gets you on the trekking path from Selu Bagar, a small Himalayan village setting with a handful of shacks functioning as shops. From here, you move upward through a landscape that quickly shifts from everyday settlement edges to trekking-focused terrain.
You’ll use a typical village jeep to reach the area where you meet ponies and porters. That’s a nice touch if you don’t want to carry everything yourself. Then comes a ridge climb with big views over places like Ramni and Ghunni villages—views that let you orient yourself in the valley even before the main high-country drama begins.
After the ridge, there’s an open meadow with strong skyline views toward Nanda Ghunti and the Chaukhamba peaks. This is the kind of moment where the trek starts to feel like a loop you’re moving through, not just a straight ascent. You’ll continue through rhododendron forests and pasture grasslands, passing nomadic huts along the way.
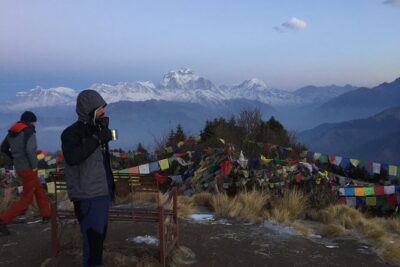
Then you reach Vinayak Pass, marked by a Ganesha temple and prayer flags. That’s more than decoration. It’s a simple way to connect your high trail to local meaning, and prayer flags also make the pass feel like a real destination, not just a high point on a route.
From there, you descend to Sem Kharak and then to Jhinjhi. The village setting helps you switch from “mountain mode” to “people mode.” You get colorful Himalayan settlement life—again, a good balance for anyone who doesn’t just want to walk through scenery.
Why I’d rate this day: you get multiple mini-viewpoints without committing to the steepest heights yet.
Consideration: village jeeps and changing trail conditions mean you should keep flexibility in mind; the day is not only about one summit moment.
Day 3: suspension bridge crossing and a long ridge climb
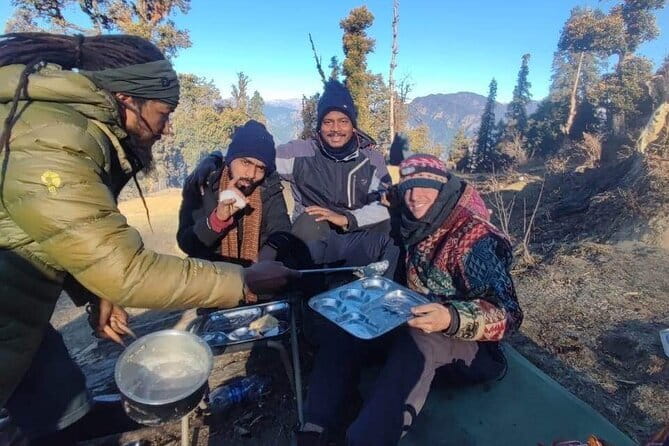
Day 3 starts with the feel of Jhinjhi village life—the trail picks up and you descend through the settlement until the valley floor. Then you reach a high suspension bridge over the river Birahi Ganga. Crossings like this are memorable because they force a slower, more careful pace: you feel the river’s presence, and the valley opens in a different way once you’re across.
After crossing, the trail climbs steeply with zigzags at first and later with some false summits. This is where trekking poles become more than a nice option. You’ll be fighting both gradient and fatigue, and false summits can trick you into spending more energy than you planned.
Eventually, you reach a ridge with views over nearby settlements and Himalayan peaks. From there, the path becomes gradual and you pass through rhododendron forest again, then go past Kaliagad to reach Pana.
The day ends with an ascent of under a kilometer to your campsite above Pana. Ending “above the village” is a good pattern on this trek: it gives you that feeling of stepping out of daily life and into the quieter high-country world.
Best tip for this day: keep your effort steady during the steep climb. False summits are where pacing matters most.
Day 4: Sartoli meadow camp and the Kuari Pass horizon
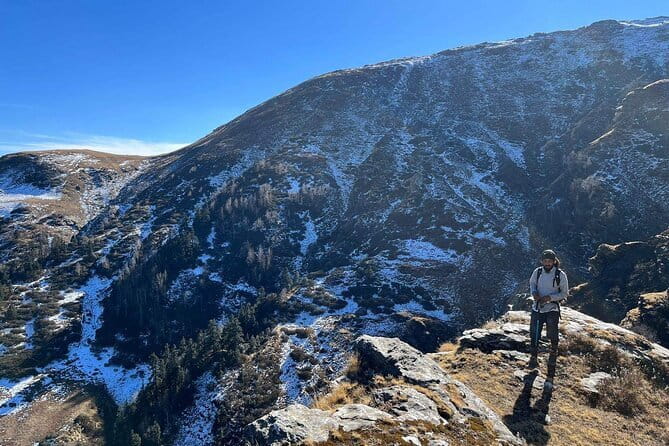
Day 4 moves through rhododendron forest above the campsite, with a couple of fall summits before you reach the ridge. Then the trail continues gradually through forest to Sartoli, an open meadow that serves as a camping site and also pasture land for sheep and cattle.
Sartoli is one of those “pause and look” places. From here, Kuari Pass dominates the horizon, and the trek’s big goal starts to feel close enough that your motivation kicks in.
After some gentle walking, the trail begins a gradual descent for a couple of kilometers. Then comes the key caution: the final descent to the side stream is steep with loose moraine. This is explicitly a place where you should use trekking poles. If you skip poles on loose moraine, your knees will pay the price.
Once you cross the side stream, the day turns into a steep ascent with a series of switchbacks to reach the ridge top. By the end of Day 4, you’ll be in strong position for the next morning’s pass views.
Why this day is valuable: you’re not just walking toward the pass—you’re being trained for it, with changing ground and a big skyline reveal.
Watch for: loose moraine. Treat your steps like they matter (because they do).
Day 5: early start, switchbacks under the pass, then Dronagiri views
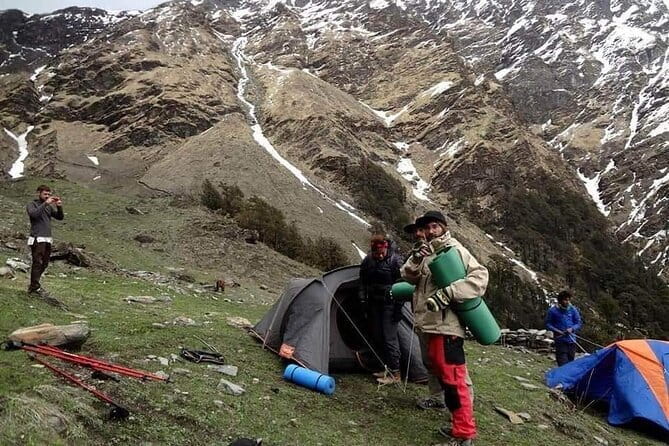
Day 5 is a pass-chasing day, and timing matters. You’ll take an early start to get a magnificent view of the pass, then work your way upward through forest until you cross the tree line.
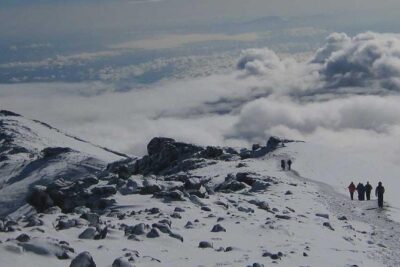
From there, you traverse left of the valley just under the pass. The trail follows switchbacks straight to the pass. This section is often where you realize how much of a mountain trek is about rhythm: one careful step at a time while the sky gets bigger and your breathing gets louder.
At the pass, you’ll have time to relax and photograph the landscape. Then the route shifts slightly—there’s a small ascent to a hump where you get an excellent view of Dronagiri Peak.
After that, the trail descends to a bifurcation to Tapovan and Tali. You continue toward Tali, reaching a ridge area where a temple is mentioned along the way, adding that familiar blend of high place and local landmark.
What makes this day work well: you get your main pass view and then a second “wow” from Dronagiri, so you’re not limited to one photo moment.
Practical idea: keep your camera ready but don’t rush. The best views here come when you slow down and let the pass open up to you.
Day 6: Gorson meadows walk to Auli-area connection
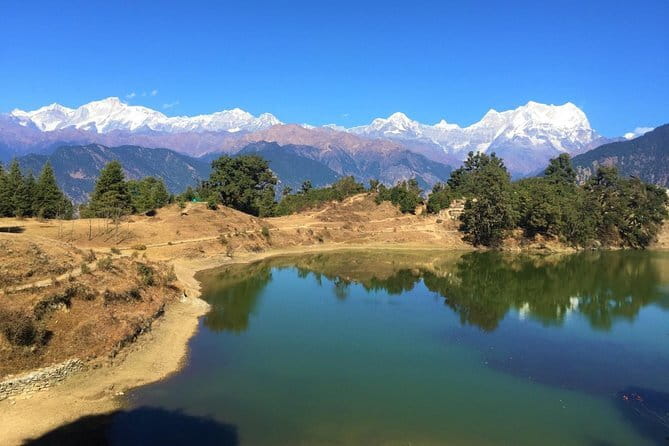
Day 6 is a welcome change: morning at ease. The trail from Tali climbs gradually across a mountain ridge. It’s narrow, so you’ll want cautious foot placement until you reach Gorson meadows.
Once you enter Gorson, the trek feels fully open—Himalayas all around, with Nanda Devi described as the most dominant among many peaks. This is the payoff for days of climbing: the view stops being a single direction and becomes a circle you’re walking through.
Crossing Gorson Meadow is also described as a fun walk. That matters because after steep sections earlier in the trek, a smoother, open crossing feels like recovery without losing the adventure.
Finally, you see man-made concrete structures from a distance marking the village of Auli. That visual cue helps you register that you’re moving toward civilization again.
The day ends with leaving ponies and porters behind, then boarding a jeep to Joshimath (about 13 km drive). Joshimath is a more active marketplace town serving nearby villages, which gives you a chance to reset, eat well, and enjoy a little regular-life energy.
Why this day is a smart ending: it balances high-mountain grandeur with the comfort of a town arrival.
Consideration: the ridge section is still narrow, so you’re not done with careful walking yet.
Day 7: Rishikesh arrival with Rudraprayag river stop
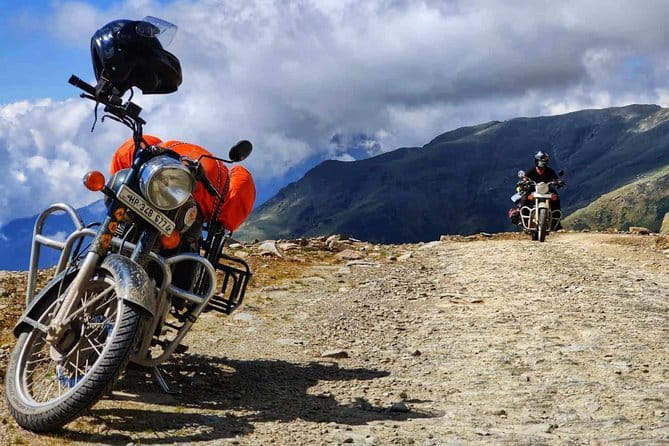
On the last day, you do an early drive to Rishikesh. Along the way, you stop at Rudraprayag, where Mandakini and Alaknanda meet. This is a good closing bookend after the earlier confluence route days—by now, these river junctions will feel less like trivia and more like a map you can read with your eyes.
You’ll have lunch en route, then arrive in Rishikesh by evening. That timing is nice: you get the trek wrapped up, and then you land in a city environment while you still have daylight to breathe and plan your next move.
What the price really buys you (and where you still need to plan)
The listed price is about $1,188.21 per person for roughly 7 days. Trekking like this is rarely cheap, and on this trip the value is clearer when you look at what’s included.
You get private transportation, all fees and taxes, and a camping setup: trekking tents, sleeping bags, and trekking poles, plus a head torch. You also get meals—breakfast (7), lunch (7), and dinner (6). In practice, that coverage reduces two common trek headaches: sourcing gear and managing daily food logistics.
What’s not included is insurance. That’s standard for many treks, but it matters. At altitude and on long walking days, you should treat insurance as part of responsible planning, not an afterthought.
Based on the feedback tied to the trip provider, the human side also seems to be a big part of the value: people highlight safety, excellent hospitality, delicious food, and the feeling of genuine connection on the trail. The vibe described in those comments—safe care and warm conversations in a mountain environment—suggests a team that’s paying attention to morale, not just schedules.
So is it good value? If you want a guided, meal-and-gear-covered Himalayan trek with a strong culture component, the inclusions justify the price more than many “barebones” options.
Trekking style: who should go, and who should reconsider
This trek is for people with moderate physical fitness. You don’t need to be an ultra-athlete, but you do need to handle steep climbs, descents on loose ground, and long walking days at altitude.
It also includes a private tour format, so your group experience is more controlled than a huge mixed group on busy routes. That can help with pacing and comfort, especially when weather or trail conditions change.
If you’re the kind of traveler who enjoys:
- villages and real valley life between mountain days
- precise moments like pass viewpoints and ridge horizons
- learning the meaning of places, not just their coordinates
…you’ll likely feel at home here.
If you’re easily stressed by narrow paths, rocky descents, or early starts, you may find the trek more demanding than the word moderate suggests. The trail description specifically calls out a steep loose moraine descent and careful walking on narrow ridge sections.
Comfort and support: camping gear, meals, and the care factor
You’ll sleep in trekking tents with sleeping bags provided, and you’re given head torch support for low-light situations. The included trekking poles are also a practical win because the hardest stretches are the ones where poles reduce strain and improve balance.
Meal coverage is solid too: breakfast every day, lunch every day, and dinner on six days. On multi-day treks, consistency helps you keep energy up for the next climb. It also reduces what you have to carry and plan.
From the trip feedback, hospitality and food show up in a positive way, with people specifically praising delicious meals and the warmth of the team. There’s also a safety emphasis, with comments that the operators are experts and you’ll be well taken care of. Even if you’re an experienced hiker, that kind of support matters because it lets you focus on the trail instead of worrying about whether someone has everything under control.
Should you book the 7-Day Kuari Pass Trek?
Book it if you want a classic high-pass trek that doesn’t forget people and place—river confluences on the drive in, village days woven into the route, and a real sense of stepping into the Nanda Devi landscape from ridge to ridge. The big upside is the combination: Kuari Pass views at altitude plus Gorson Meadow and Nanda Devi dominance, wrapped in an experience that includes camping gear and meals.
Don’t book it if you:
- hate early starts (Day 5 is set up for pass viewing), or
- aren’t comfortable with steep, loose descents where trekking poles are needed, or
- don’t want to commit to altitude and steady, daily walking.
If you’re ready for that mix—mountain drama plus grounded local texture—this trek is a strong choice.
FAQ
How long is the Kuari Pass trek?
It’s a 7-day trek, approximate duration.
What region is this trek in?
It runs across Himachal Pradesh and Uttarakhand (including Chamoli District in the region described).
Do you reach a high altitude?
Yes. The trek is associated with an altitude around 4265m.
Is pickup included?
Private transportation is included, and the tour summary indicates pickup is offered.
Are meals included?
Yes. Breakfast is included for 7 days, lunch for 7 days, and dinner for 6 days.
What trekking gear is included?
Tents, sleeping bags, trekking poles, and a head torch are included.
Are tickets handled digitally?
Yes. Mobile ticket is listed as a feature.
Is travel insurance included?
No. Any type of insurance is not included.
How does the cancellation refund work?
You can cancel up to 3 days in advance for a full refund. If you cancel less than 3 days before the start time, the amount paid is not refunded.
Is this tour private?
Yes. It’s a private tour/activity, meaning only your group participates.