REVIEW · SENARU
From Senaru: Mount Rinjani 2-Day Trek to Summit
Book on GetYourGuide →Operated by Rinjani Hero · Bookable on GetYourGuide
Two days to Rinjani summit? Serious bragging rights, fast. What makes this trek appealing is the mix of big altitude views and real comfort, from camping on the Sembalun crater rim to the 3672m summit. I like that the setup is practical: head lamps, trekking poles, even camp chairs and a proper dinner table style setup, so you’re not fighting logistics at the worst time. Sembalun Crater Rim feels like a reward before the hard part, and the summit gives wide-open views of Lombok, Bali, and even Mt. Tambora in Sumbawa.
I also really like how the hike is structured around breaks you can actually use. Day 1 stages you through the Rinjani Information Center area and Posts 1 to 3, then gives you a real rest at Pada Balong before the steep push to Pelawangan Sembalun. Second big plus: the team carries the camping burden. With porters for equipment and meals handled for you, you keep your backpack light and focus on moving. Porters and meals do a lot of the heavy lifting here.
One consideration: the summit day is brutal in the last hour and it starts early (you’ll be up around 2:30am). Combine that with cold wind and limited permit slots, and you need to plan and dress properly or the whole experience can feel more stressful than it should be.
In This Review
- Key things you’ll care about most
- Permits: the 240-a-day bottleneck you must plan for
- From Senaru to Sembalun: getting into trekking mode the right way
- Day 1 to Pelawangan Sembalun: Posts, Pada Balong rest, and the steep crater rim push
- Camp comfort on the crater rim: chairs, head lamps, and sleep under stars
- Day 2 to the summit: the 2:30am wake-up and the last-hour stone chaos
- What the price covers (and what you must budget separately)
- Equipment and packing: keep it light, keep it warm
- Getting there safely: the transfer is part of your experience
- Who should book this, and who should skip it
- Should you book Mount Rinjani: 2-Day Trek to Summit from Senaru?
- FAQ
- FAQ
- How long is the trek?
- What does the price include, and what doesn’t?
- How do I register for the Mount Rinjani permit?
- What time do we start the summit on day 2?
- What trekking gear and camping gear do you provide?
- What should I pack, and how much can I carry?
- Who is this trek not suitable for?
Key things you’ll care about most
- Permit limits (240/day) mean early registration is not optional
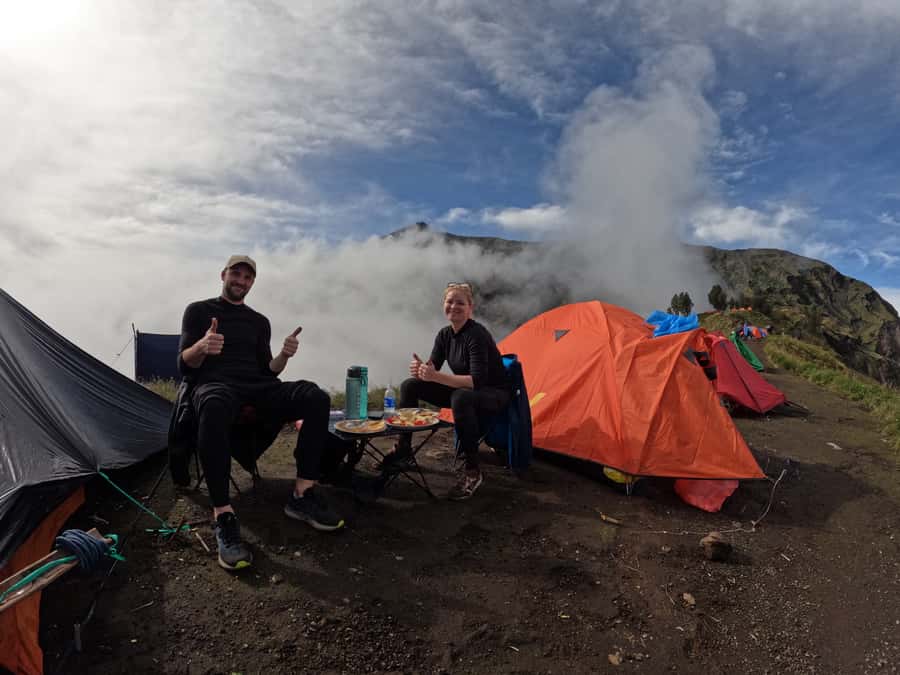
- Camp comfort is real: tent, sleeping bag, mattress, chairs, and toilet tent
- Summit timing: start around 3:00am, with the hardest climbing in the final hour
- Guides set the pace and handle safety on the steep, loose-stone sections
- Gear is included: head lamp, trekking poles, rain coat, plus water and meals
Permits: the 240-a-day bottleneck you must plan for
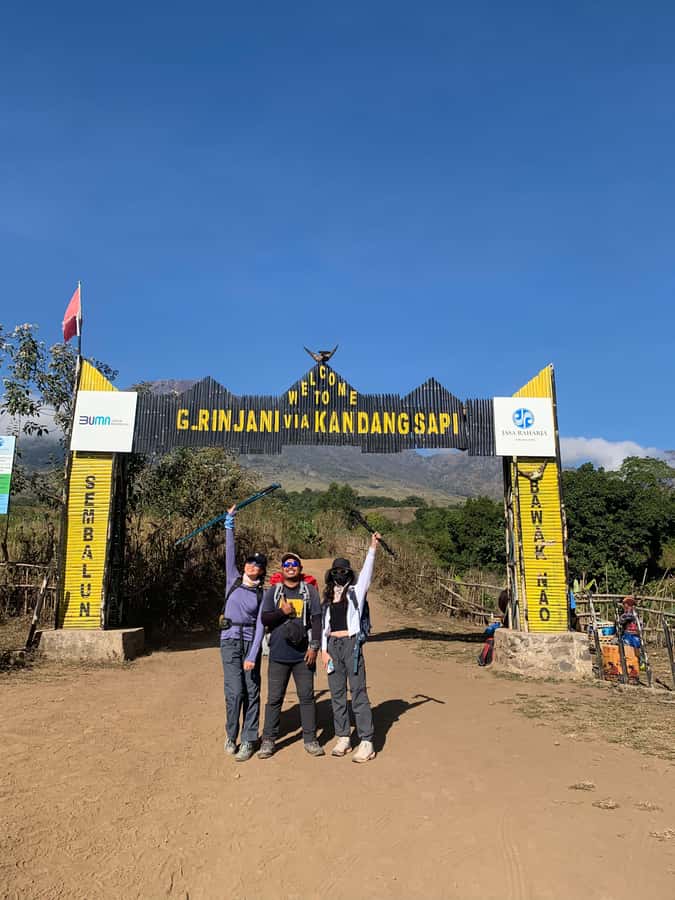
Mount Rinjani treks run on permits, not just group availability. The national park allows only 240 permits per day. If the daily allocation is gone, you simply can’t do that day’s trek and you’ll need to reschedule—sometimes on your vacation timeline, which is exactly when you don’t want extra uncertainty.
The good news is that registration is straightforward if you start early. You can register using the ERinjani app, and you’ll provide details like passport number, full name, birthday, weight and height, and nationality. After you enter the info, you pay directly via an Indonesian bank to the government account. The stated cost for the permit is Rp 250K per person per day.
If you’d rather not wrestle with forms, you can also contact a local guide to help with the registration since ticket/permit numbers are limited. For peace of mind, I’d treat this as a priority task the moment you decide on your dates, not something to “sort out later.”
You can also read our reviews of more tours and experiences in Senaru.
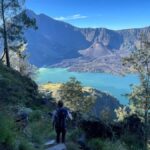
From Senaru to Sembalun: getting into trekking mode the right way
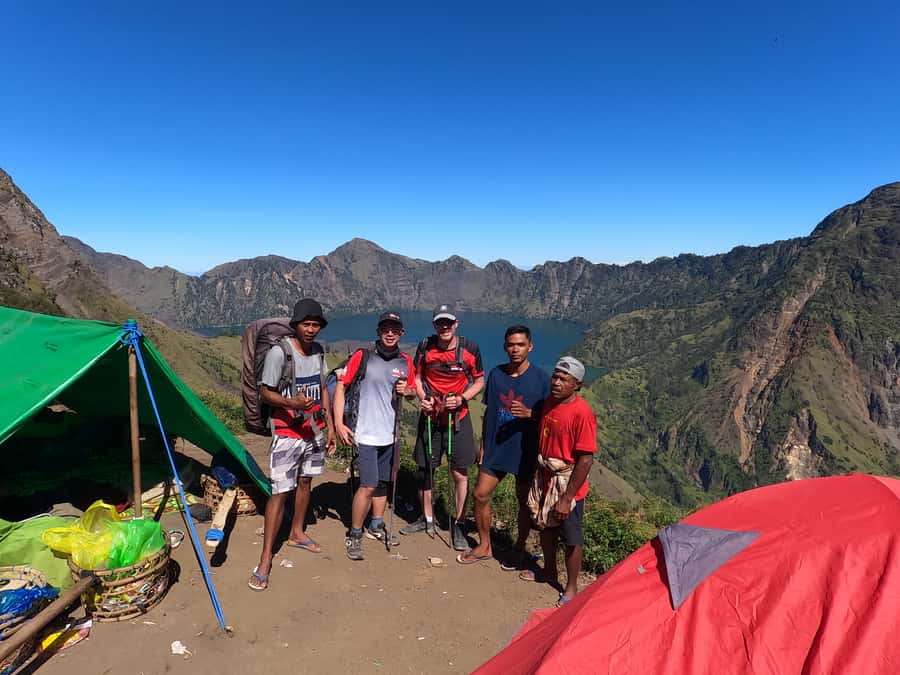
This trek starts with a transfer from Senaru to Sembalun village in a mountain car. Expect about 45 minutes to 1 hour, arriving around 8:00am. That timing matters because you’ll need enough daylight energy to settle in before you start the climb.
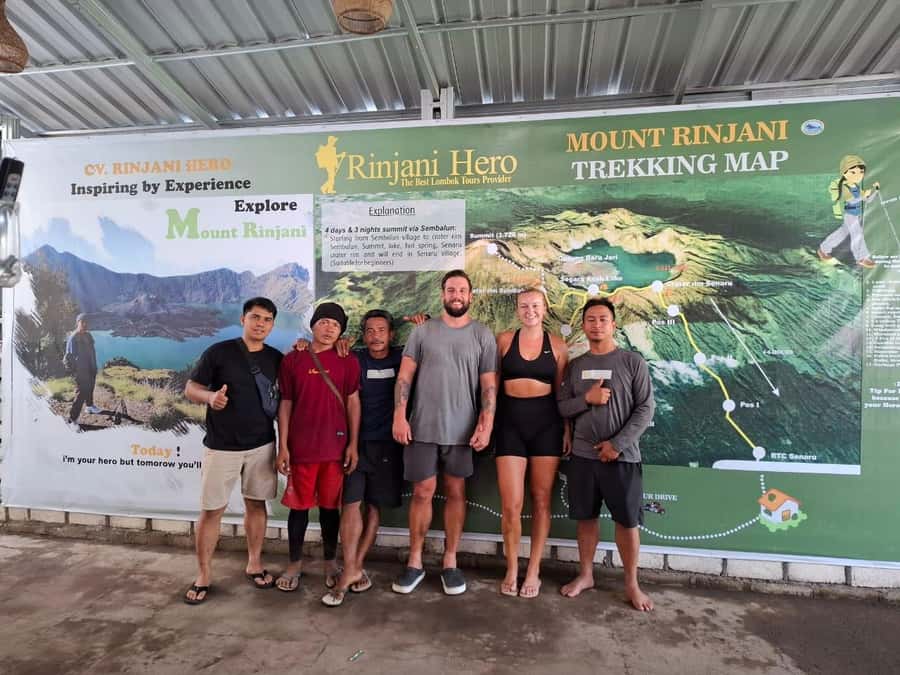
Day 1’s first real step is registration at the Rinjani Information Center (RIC) at around 1051m, then continuing to Post 1 (Monitoring Post) at 1300m. This portion takes about 2 hours, and it’s not just paperwork and walking—it’s how you ease into altitude and breathing rhythm. After reaching Post 1, there’s a short break of 5 to 10 minutes, then you move again.
You’ll continue to Post 2 (Tengengean) at 1500m for about 1 hour, followed by another 5 to 10 minute pause. Then it’s on to Post 3 (Pada Balong) at 1800m, again about 1 hour. By the time you reach Post 3, you’ve built steady legs, not just brute-force effort.
If you’re the kind of traveler who normally rushes, this is where you should slow down. The trek rewards consistent walking. I’d go by your breath more than your watch.
Day 1 to Pelawangan Sembalun: Posts, Pada Balong rest, and the steep crater rim push
Day 1 is where the experience starts feeling “real.” It’s not a long-distance slog the entire time. Instead, it’s a sequence of segments that gradually raises you, with built-in pauses.
After arriving at Pada Balong (1800m), you get a long rest of about 2 hours. This is when guides and porters prepare lunch, and you’ll also get a hot drink such as tea, coffee, hot chocolate, or lemon tea. That hot drink is more than a nice touch. It helps you reset before the long climb to Pelawangan Sembalun (Sembalun Crater Rim) at 2639m.
From Pada Balong, you continue for roughly 3 hours to reach Pelawangan Sembalun, including a prolonged steep climb. This section is where you feel the effort in your legs. The earlier posts should prep your pace, but you still need to treat the last part with respect: steady steps, frequent micro-pauses, and no sudden bursts.
Once you camp on the crater rim, that’s when the trek becomes emotional in the best way. You’ll be able to enjoy sunset and sunrise views, plus sightlines to Segara Anak Lake, Sembalun village, and Rinjani’s broader mountain zone. It’s also when the “under the stars” part makes sense—because you’re actually in position to enjoy it.
Practical note: bring your warm layers for night here. Rim camping can feel shockingly cold once the sun drops and wind moves through.
Camp comfort on the crater rim: chairs, head lamps, and sleep under stars
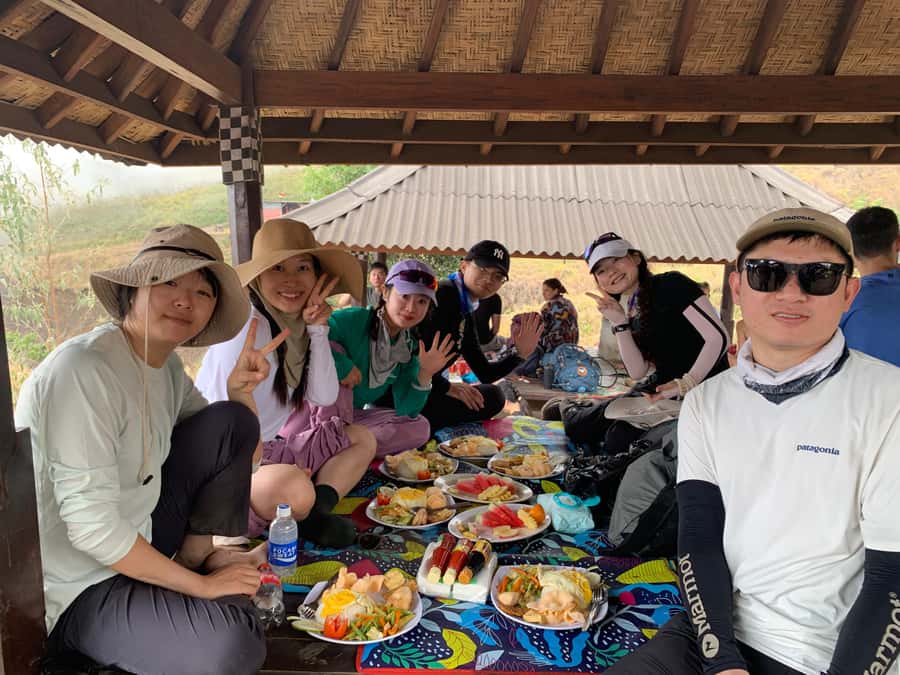
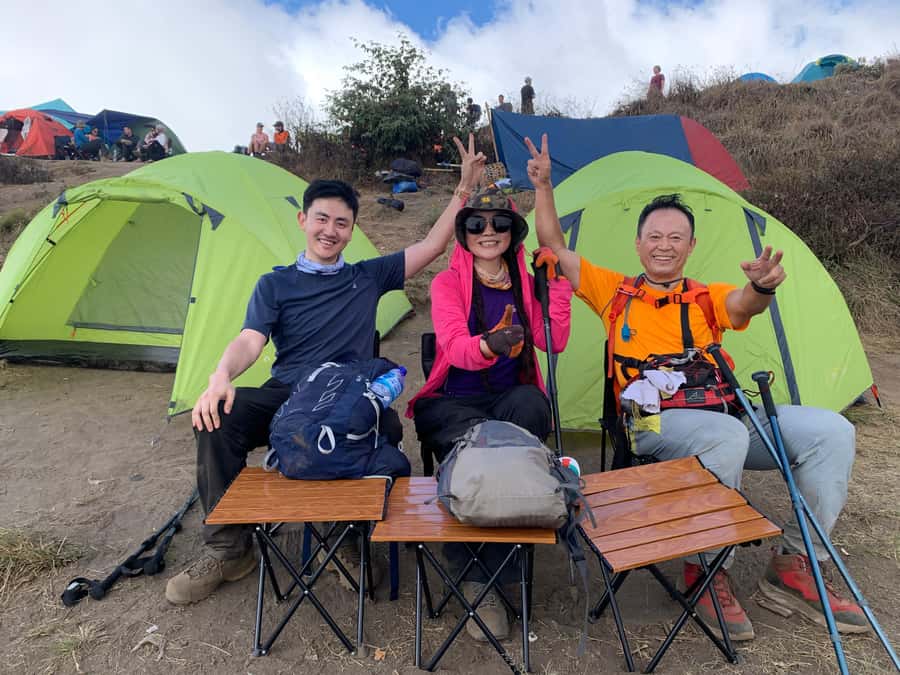
A lot of volcano treks say camping is included, then quietly mean basic sleeping and a lot of discomfort. This one is better organized. You get camping equipment, including a double-size tent, camp chairs, a toilet tent, and sleeping bags with pillows and mattress. You also receive head lamps, trekking poles, and a rain coat.
This matters on a practical level. When you’re exhausted, tiny comforts become huge. A head lamp means you’re not stumbling in the dark while you’re trying to find gear or use the toilet tent. Chairs (not just sitting on rocks) make it easier to eat and warm up after dinner. Even a dinner setup is part of the included package, so you’re not balancing food while fighting wind.
On summit day you’ll appreciate the equipment quality even more, because you’ll be less tempted to “improvise” with tired judgment.
One small caution from real-world feedback: comfort can vary, especially around pillows. If you’re picky about pillow size, it might be worth bringing your own small item, if the operator allows it (the tour does not mention bringing personal bedding, so you’ll need to follow their guidance).
Day 2 to the summit: the 2:30am wake-up and the last-hour stone chaos
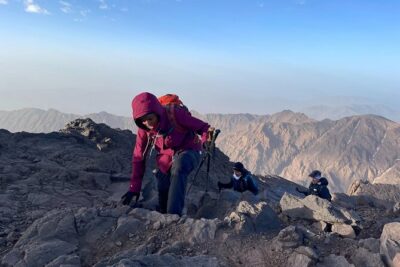
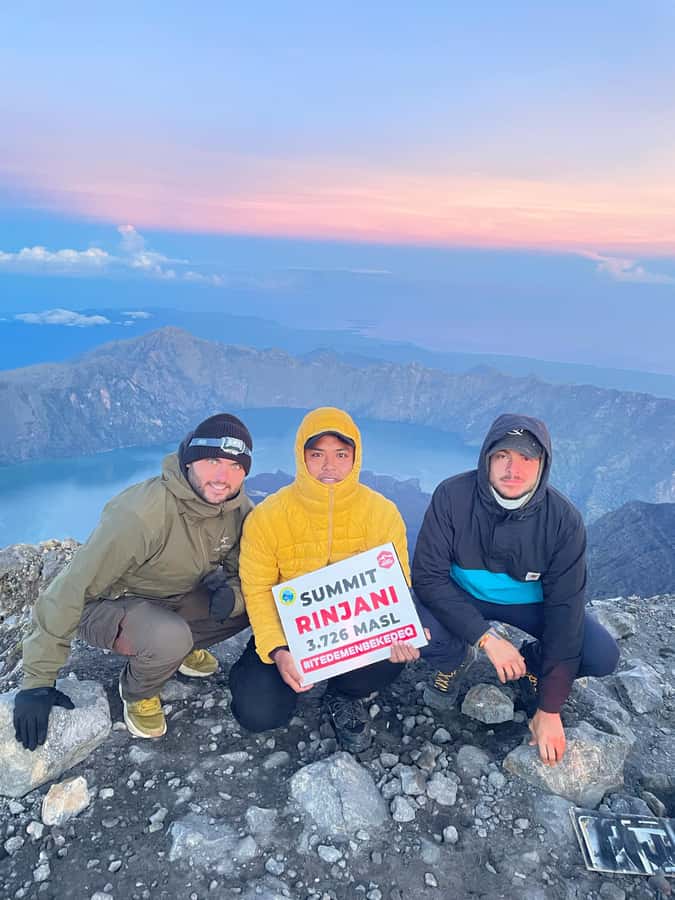
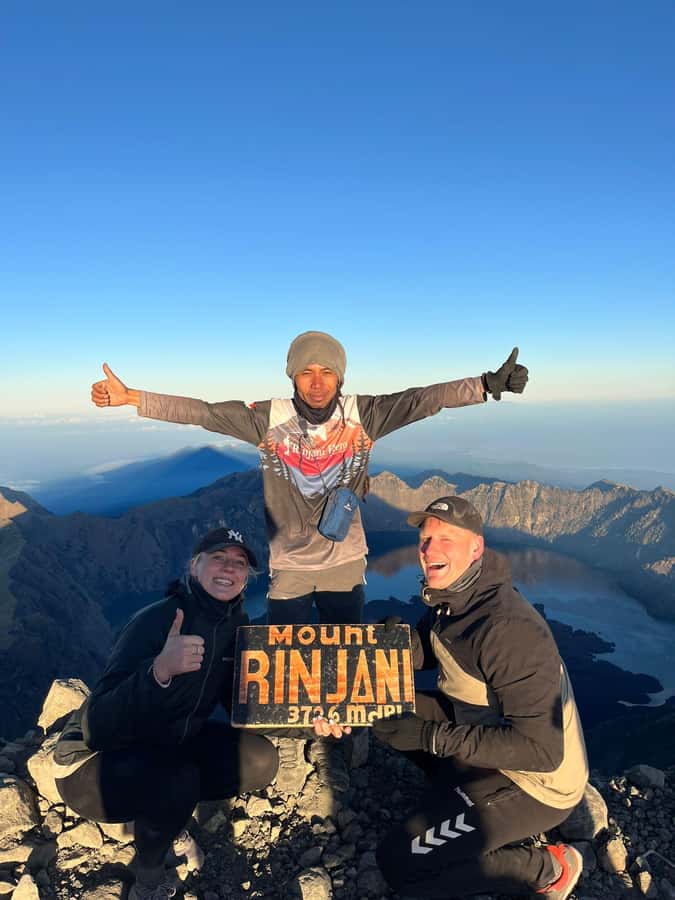
Day 2 starts early for a reason: the climb needs time and stability before daylight crowds and weather shifts. You’ll wake up around 2:30am to catch sunrise. You’ll have a light breakfast, then start trekking toward the Rinjani summit (3672m) at around 3:00am.
The summit push takes about 3 hours 30 minutes total. The structure is pretty clear:
- First stage: about 2 hours of moderate climbing
- Second stage: fairly easy but long trekking
- Final hour: very steep and difficult, with loose stones and a real slip-back risk if your footing gets sloppy
That last hour is where you’ll want trust in your guide and your own slow rhythm. Two steps forward can feel like one step back if the ground is loose. This is not the day to hike with a loud ego or aggressive stride length. Short, controlled steps win.
From the top, the views are the payoff: you can see Lombok island, Bali, Mt. Tambora in Sumbawa, and Segara Anak Lake. Also, on summit you’ll capture your moment with pictures—so you’re not stuck fumbling with your phone while everyone waits for you.
After sunrise, you’ll head back down to the Sembalun Crater Rim and have breakfast. Then you continue the descent to Sembalun village (1150m) for about 4 to 5 hours, with lunch possibly at Post 2 or Post 3. You should arrive around noon, and a car will take you back to Senaru, finishing the trek.
What the price covers (and what you must budget separately)
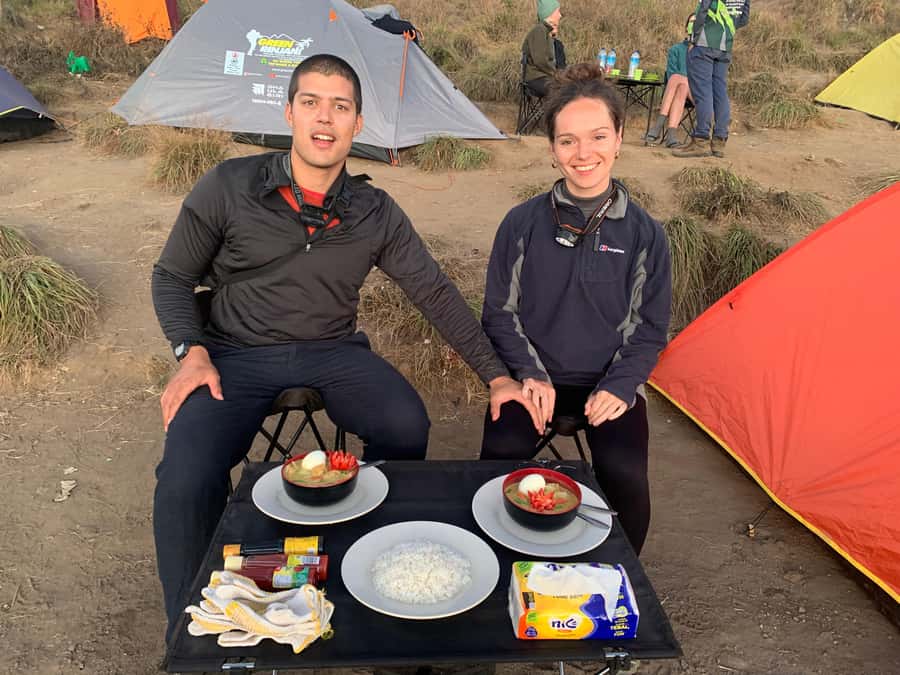
This trek is listed at $183 per person for 2 days. In practical terms, you’re paying for a whole support system: guide, porters, meals and drinks (breakfast, lunch, dinner), safe drinking water, and a full camping setup (including sleeping bags, mattress, chairs, and a toilet tent). You also get head lamps, trekking poles and sticks, insurance, and a rain coat.
That’s why this price can feel fair compared with cheaper treks that only cover the guide and leave you to deal with the rest. Your “hidden cost” on summit treks is always effort, not just money. This package removes a lot of that friction.
The main extra budget items: the Rinjani National Park entrance fee is listed as not included. Also, permits run on the daily allocation system, and the permit cost is given as Rp 250K/person/day. So in your planning, treat $183 as the trek package and plan for park/permit fees separately.
Equipment and packing: keep it light, keep it warm
The tour is explicit about what you should bring and what to limit. You should pack everything in a small backpack of no more than 5 kilograms. If your load is too heavy, you’ll feel it on the steep sections.
Bring essentials like:
- Hiking shoes
- Gloves
- Long pants
- Cash
- Charged smartphone
- Collared shirt
And the packing list includes items such as sun screen, insect repellent, toiletries and personal medication, camera, small towel, 2 to 4 cotton t-shirts, windproof jacket, shorts, sandals, and swim wear.
You’ll notice one theme: cold matters. Even if daytime hiking is manageable, the last summit section and rim nights can get cold due to wind. Based on feedback tied to this trek style, I’d strongly consider warm glove quality. If you’re thinking light liner gloves, upgrade. A windproof layer is also worth its weight.
If you don’t want to carry anything beyond your small pack, you can also add an extra porter service for personal belongings during the booking flow. Anything beyond that can be stored at the operator office.
Getting there safely: the transfer is part of your experience
The tour includes pickup and return help from Lombok locations to Senaru meeting point, and it’s recommended to arrange pickup through the operator so you’re not hunting around when you arrive tired.
One detail to stay aware of: transfers can involve a pickup-style ride. In at least one case, the driving felt too fast, and the safest move is to speak up early and ask the driver to slow down. If you’re prone to motion sickness or you dislike risky driving, mention it before you leave your accommodation.
This isn’t about blaming anyone. It’s simply about you taking control of your safety before the trek starts.
Who should book this, and who should skip it
This is a serious volcano trek. The tour lists several groups as not suitable, including:
- children under 4
- pregnant women
- people with heart problems
- people afraid of heights
- people with diabetes
- people who experience altitude sickness
- people without experience
- people with low fitness levels
- people over 70
Given that, I’d see this trek as best for hikers who are comfortable with long days, steep climbs, and early mornings. If your fitness is more “city walks” than “stairs with purpose,” you’ll likely struggle, especially on the final steep summit hour with loose stones.
If you’re someone who likes structure—posts, breaks, organized lunch, and a clear plan—this fits well. If you hate wind, steep scrambling, or cold nights, this might not be your kind of challenge.
Should you book Mount Rinjani: 2-Day Trek to Summit from Senaru?
If you want a well-run trek where the camp setup and summit logistics are handled, and you’re ready for early mornings and cold conditions, I think this is a strong bet. The included gear (head lamps, poles, sleeping setup, chairs, and water/food) is the kind of value that makes a difference when you’re tired, not just when you’re sightseeing.
Book it if:
- you can handle long walking days and a steep last-hour summit climb
- you follow the warm-clothing advice instead of trusting comfort
- you register for permits early to avoid date problems
Skip or consider another option if:
- you can’t manage altitude risk or you know you get altitude sickness easily
- steep, exposed feelings stress you out
- you’re unwilling to wake up around 2:30am and climb while it’s still dark
FAQ
FAQ
How long is the trek?
It’s a 2-day trek, with pickup and travel to Sembalun on day 1 and a return to Senaru after arriving at Sembalun village around noon on day 2.
What does the price include, and what doesn’t?
Included are the trekking guide, porters, meals and drinks (breakfast, lunch, dinner), safe drinking water, camping equipment, head lamp, trekking poles and sticks, insurance, and a rain coat. Not included are a small bag/day pack and the Rinjani National Park entrance fee.
How do I register for the Mount Rinjani permit?
You can register via the ERinjani app with details such as passport number, full name, birthday, weight and height, and nationality. Then you pay via Indonesian bank transfer to the government account. Permits cost Rp 250K per person per day, and they are limited to 240/day. You can also contact a local guide to help with registration.
What time do we start the summit on day 2?
You’ll wake around 2:30am, have a light breakfast, then start the summit trek at about 3:00am.
What trekking gear and camping gear do you provide?
You get trekking poles and sticks, a head lamp, and camping equipment including a tent, toilet tent, sleeping bags, pillows, and mattress. Camp chairs are also provided.
What should I pack, and how much can I carry?
You should pack in a small backpack no more than 5 kilograms. The list includes hiking shoes, gloves, long pants, cash, a charged smartphone, toiletries/personal medication, sunscreen, insect repellent, a camera, a small towel, cotton t-shirts, long trek pants, a windproof jacket, shorts, sandals, and swim wear.
Who is this trek not suitable for?
It’s not suitable for children under 4, pregnant women, people with heart problems, people afraid of heights, people with diabetes, people with altitude sickness, people without experience, people with low fitness, and people over 70 years.