REVIEW · SENARU
3d/2n trekking mount rinjani summit lake & hot springs
Book on GetYourGuide →Operated by Mount rinjani summit · Bookable on GetYourGuide
Sunrise on Rinjani is cold magic. This 3D/2N trek strings together Segara Anak crater-lake drama and a rare hot springs stop inside the volcano, with night camps perched on crater rims. I also like how the route gives you both the summit sunrise and the big rim-to-lake sunset views. One real consideration: this version is tough, and the extra 3rd day segments can force you to slow down, rethink timing, or even miss parts if you’re not prepared for sustained steep walking.
I like that the trip is built around clear goals: summit first light, then crater-lake lunch, then the next rim sunset, and finally a forested descent back to the start. You’ll also have English-speaking guidance plus porters who carry camp and cooking gear, so you’re not managing everything with your own hands.
If you want an easy hike, this isn’t it. With early wake-ups, rocky sections, and lots of altitude steps, you should treat it like a serious fitness project, not a casual nature stroll.
In This Review
- Key highlights you’ll feel on your boots
- Rinjani 3D/2N: what you’re actually signing up for
- Senaru-to-Sembalun start: the gate permit twist you should expect
- Day 1: from registration through grass savanna to Sembalun Crater Rim
- Day 2: summit sunrise at 3,726 m, then Segara Anak and hot springs
- Day 3: lush forest descent back to Senaru by early afternoon
- Gear, food, and the camp comforts you actually care about
- Price and value: what $141 covers, and what you still pay separately
- Who should book 3D/2N, and who should reconsider it
- Practical tips that help you feel human on the mountain
- Booking smart: what to know before you go
- FAQ
- How long is the Mount Rinjani 3D/2N trekking program?
- Where does the trek start?
- What time is pickup?
- What’s included in the price?
- What is not included?
- What should I bring?
- Is this trek suitable for children?
- Should you book this Rinjani 3D/2N trek?
Key highlights you’ll feel on your boots
- Sembalun grasslands: big open views early on, before the slopes get serious
- Summit timing: you start around 3am for sunrise from the top at 3,726 m
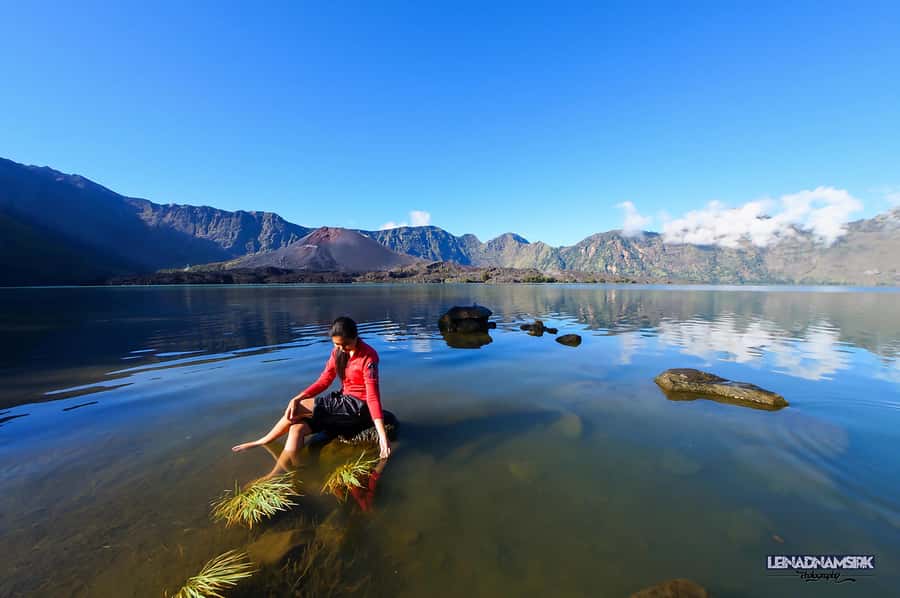
- Segara Anak crater lake: sunset and crater geometry that looks almost unreal
- Hot springs stop: crater-lake shoreline lunch plus time for a brief soak
- Two crater rim nights: Sembalun Crater Rim, then Senaru Crater Rim with different viewpoints
- Big-sky visibility (when weather cooperates): Gunung Baru, Bali’s Mount Agung, and the Gili Islands can be seen from the rim
Rinjani 3D/2N: what you’re actually signing up for
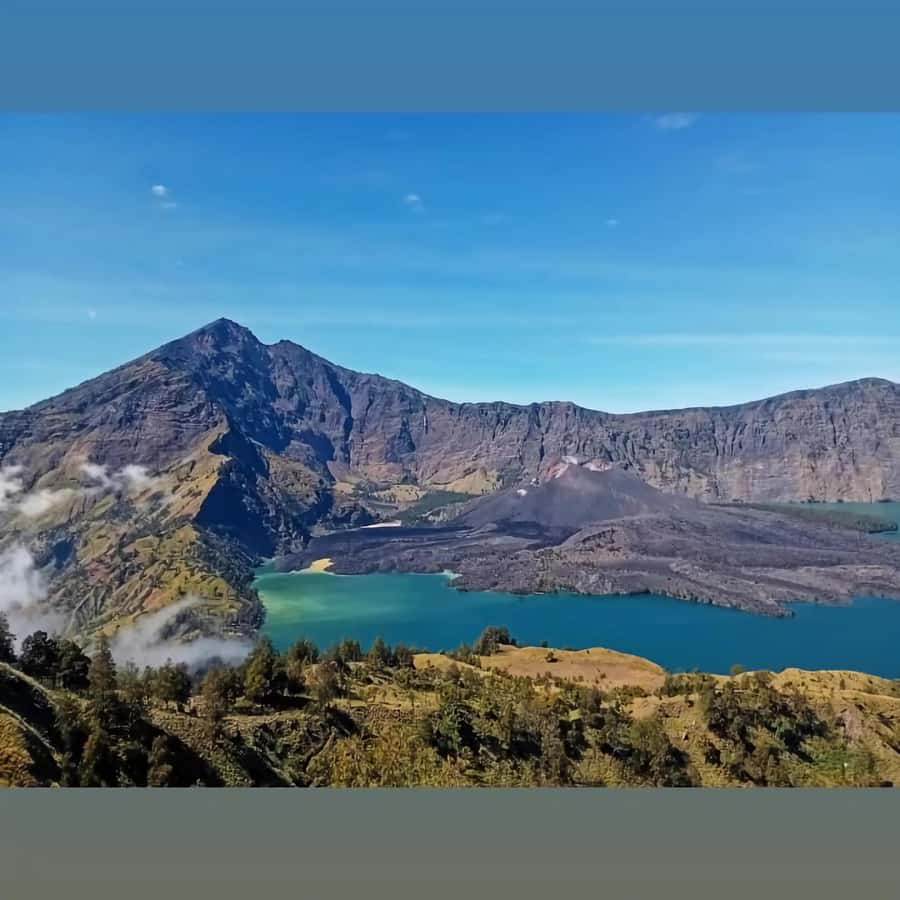
This is the classic Mount Rinjani 3 days and 2 nights plan, designed to hit the summit sunrise and then continue deep into the crater world around Segara Anak. The heart of the itinerary is simple: you climb hard, you watch light change over volcanic features, and you sleep at two very high camps.
The day flow matters. Day 1 is mostly a steady grind up to the first crater rim camp for sunset. Day 2 is the long, demanding one: summit before sunrise, then descent into the crater, lunch at the lake, hot springs, and a climb up to the second rim. Day 3 is a downhill push back through forest, arriving Senaru around 1pm.
I like that the itinerary gives you multiple “payoffs,” not just one dramatic moment. You’re not only chasing a sunrise photo—you’re also seeing how the crater looks from different angles across two nights.
You can also read our reviews of more tours and experiences in Senaru.
Senaru-to-Sembalun start: the gate permit twist you should expect
Your trek can start from the Senaru gate or the Sembalun gate, depending on what permits are available. Practically, that means your pickup and the first ride can shift.
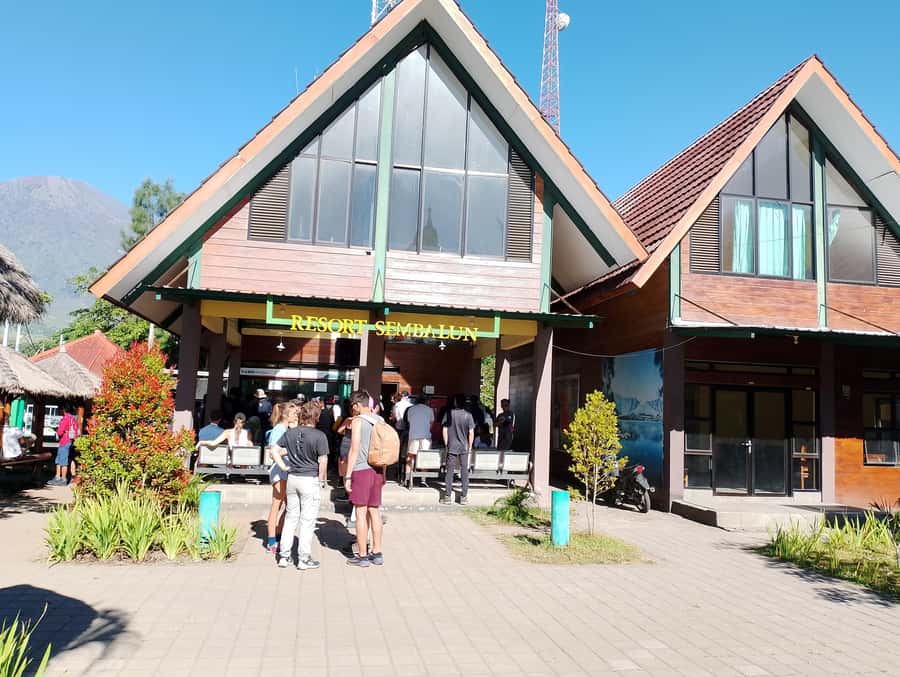
If you stay in Sembalun, pickup is listed at 08:30. If you stay in Senaru, pickup is at 07:00, and you’ll travel by 4WD to Sembalun to register and begin the trek from there. Registration happens at the Rinjani Trek Centre in Sembalun at about 1,156 m before you start climbing.
Why this matters for you: timing. If you’re planning flights or a tight schedule in Lombok, build in buffer time for the morning drive and registration. Also, treat your packing as “ready for altitude day,” because once you start, the hike doesn’t pause for anyone’s comfort.
Day 1: from registration through grass savanna to Sembalun Crater Rim
Day 1 begins with walking through open grasslands that roll upward in an undulating way. It’s the part of the trek that feels most forgiving at first, but don’t let that trick you—Rinjani saves its steep stuff for later.
You’ll stop at Pos 1 and Pos 2 for rest and snacks. Then you reach Pos 3 around 1,800 m for a longer break and lunch. This is one of the most useful moments of the entire program. It’s not just food—it’s time to reassess your pace, hydration, and layers before the final climb to camp.
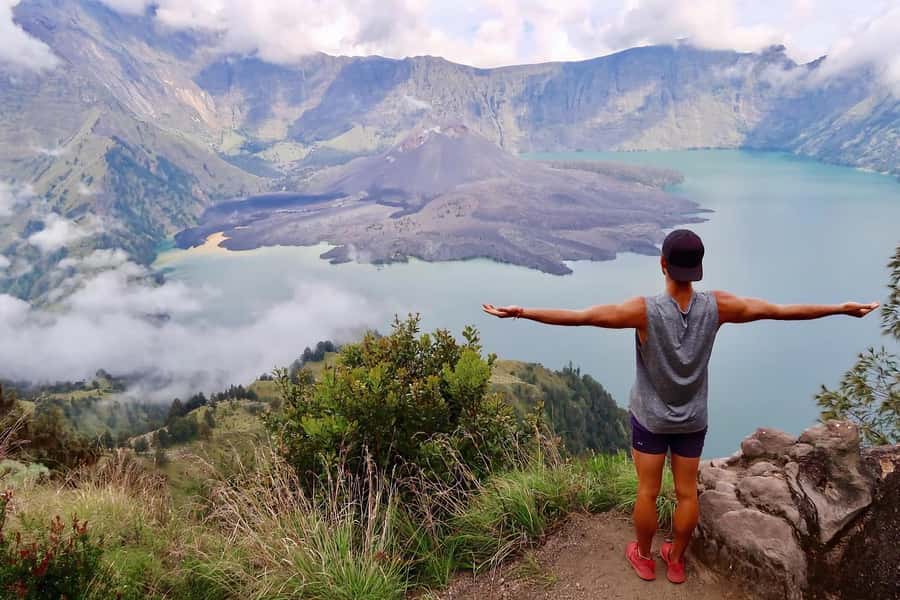
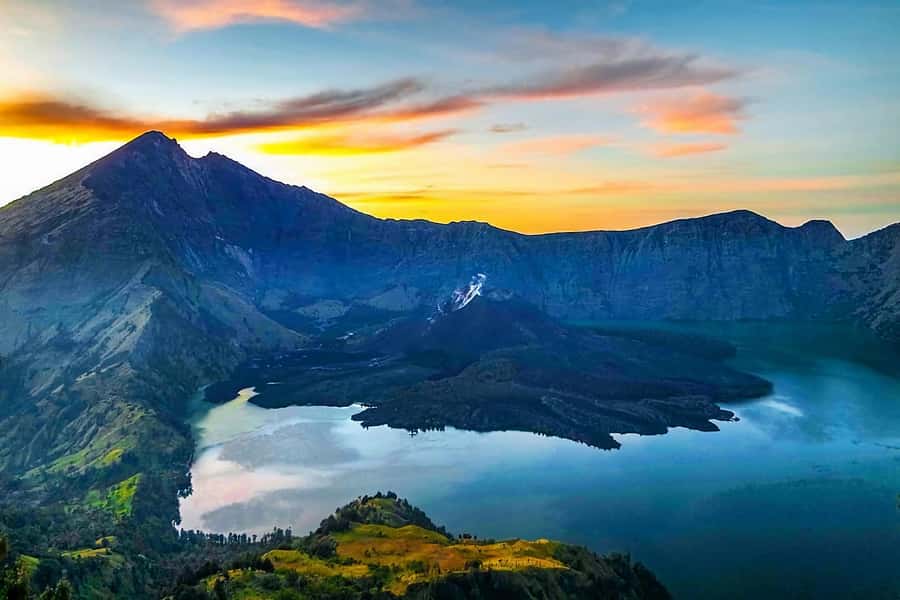
After lunch you start the steeper push toward the crater rim. The night is spent at Sembalun Crater Rim at 2,639 m, where the views are the main event: Lake Segara Anak, the summit of Mount Rinjani, and wide angles over northern Lombok in the right conditions.
What to watch for: sunset. The schedule is built so you’re in camp and positioned for the evening light show. If clouds roll in, don’t panic—this area can still deliver dramatic color even when visibility isn’t perfect.
Day 2: summit sunrise at 3,726 m, then Segara Anak and hot springs
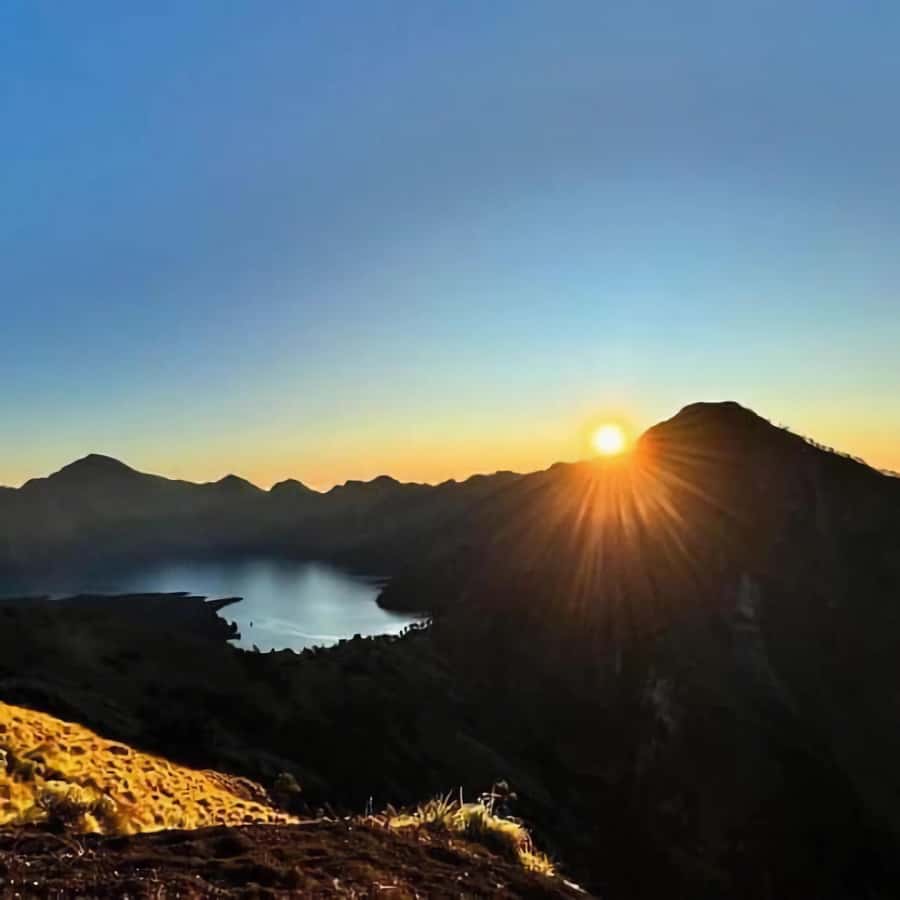
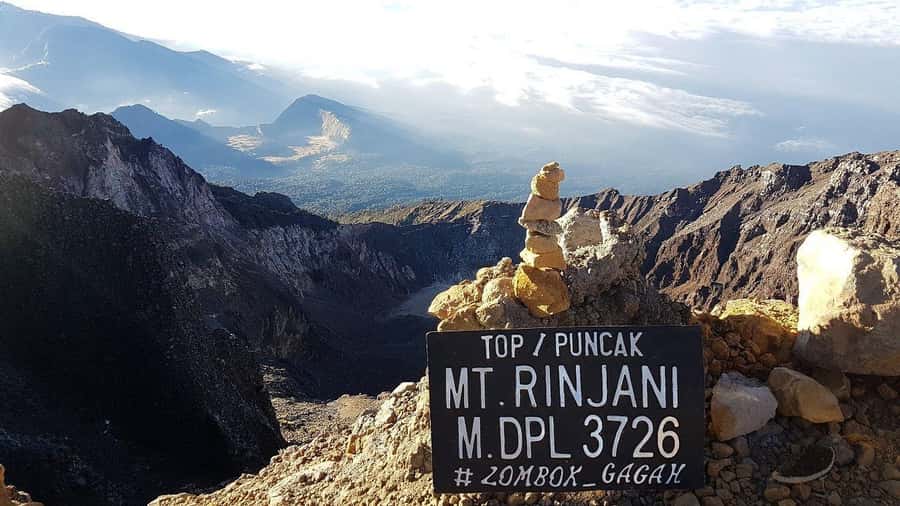
Day 2 starts early—waking around 3am for a light breakfast is part of the package. Then you begin the challenging climb to the summit at 3,726 m, with about a three-hour push listed for reaching the top.
You’re doing this to catch sunrise, which is usually the most rewarding payoff on Mount Rinjani. The key here is pacing and patience. It’s not a “sprint to win” situation. Your job is to keep moving steadily so you arrive with enough energy to enjoy the view.
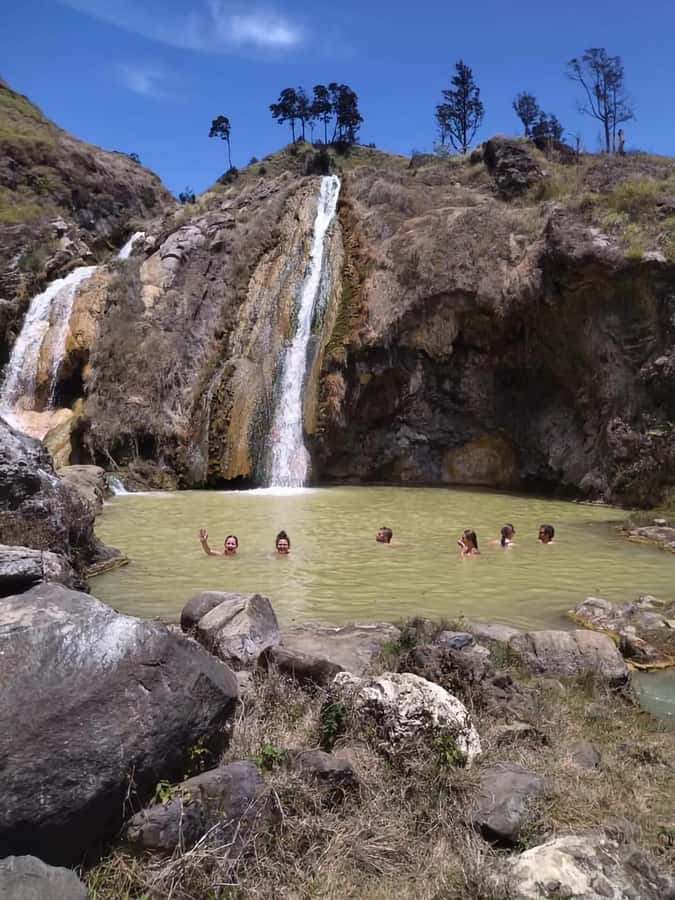
Once sunrise is done, you return toward the crater rim camp area for a hot breakfast and rest. Then the route drops into the crater for lunch and lake time. You’ll stop for lunch on the shore of Lake Segara Anak around 2,000 m and have the chance to swim or soak in the hot springs for a few minutes.
That hot springs moment is brief by design, so plan how you use it. If you treat it like a long spa session, the schedule will punish you later in the day. If you treat it like a reset—quick warm up, quick stretch—it helps you keep going.
After lunch you keep moving around the lakeshore before climbing back out toward the second campsite. Dinner and camping happen at Senaru Crater Rim at 2,641 m. This rim is also where the viewing gets broad: you can look across the lake back toward the summit, spot Gunung Baru (the smaller volcanic cone inside the crater), and—when visibility is good—see Mount Agung in Bali plus the Gili Islands.
I love this part of the design. It’s not just the lake and not just the summit—it’s the crater as a whole system, seen from a high rim twice.
Day 3: lush forest descent back to Senaru by early afternoon
Day 3 starts with breakfast and then a descent that uses the rest spots you went through before: Pos 3, Pos 2, and Pos 1. You’ll stop for a longer lunch break along the way.
A big change happens as you descend: the forest becomes thicker and increasingly lush. That shift is practical, too. The air can feel cooler and more sheltered under trees, which can make the final kilometers feel more manageable after the open rim and rocky crater segments.
You arrive in Senaru around 1pm, which is a huge win compared with some multi-day treks that drag late into the afternoon. From there, the included drop-off helps you transition from trekking mode to beach or city mode.
Gear, food, and the camp comforts you actually care about
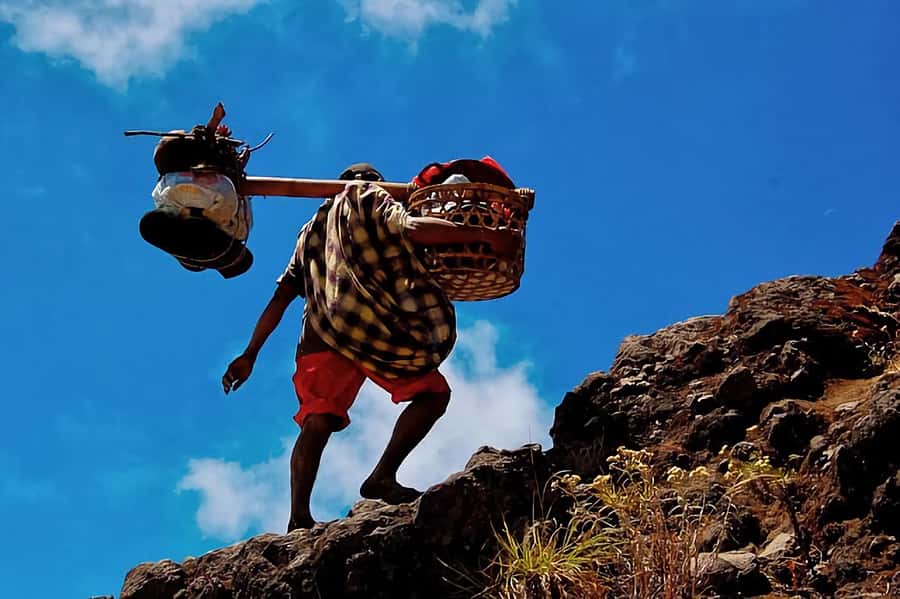
This trek includes a lot of the “don’t make me carry it” items that matter on long days. You’ll have an experienced English-speaking guide and professional porters who carry the cooking gear and camping equipment.
Food and drinking are included, plus 3 litre mineral water per person per day listed on the schedule. That’s important on Rinjani because dehydration can sneak up fast when you’re working hard and the morning is cold enough that you don’t feel thirsty.
Camping gear is included: a tent, a toilet tent with paper, sleeping bags, and mattress. Also included: trekking poles, a head lamp/hand torch, and daily meals (lunch, dinner, breakfast).
Two practical notes:
- Trekking poles and headlamps help a lot on early climbs and dark camp mornings, so don’t skip the basic functions even if you own your own gear.
- You still need proper footwear. Trekking shoes aren’t included, and that’s not a small detail. Rocky volcanic ground can punish soft soles.
Price and value: what $141 covers, and what you still pay separately
At $141 per person, this price is mostly covering the structure: guides, porters, meals, camp gear, and the day-by-day itinerary that hits the summit and crater highlights. For many visitors, that’s the real value—someone else handles the heavy lifting of logistics and camp setup.
But the national park entrance fee is not included. You pay IDR 200,000 per day per person for that. Since this is a multi-day trip, you should budget for the daily fee as part of your real total cost.
You’ll also want to plan for a couple extra items not included: a raincoat and trekking shoes. Even if rain is not guaranteed, weather shifts can happen fast at elevation. Pack like you’re going to use it.
If you’re trying to decide between 2D and 3D: remember that this itinerary is built to do more. That’s why the 3D option tends to feel harder in real life. You’re paying for extra time on the mountain and extra crater viewpoints—not just one more day.
Who should book 3D/2N, and who should reconsider it
This is a best-fit trek for people who want summit sunrise and also want the crater-lake and hot spring experience within the same package. You’ll enjoy it most if you’re comfortable with long days, steep climbs, and early starts that don’t negotiate.
If you’re fit but still new to altitude treks, you can do it—but treat it like training for a serious hike, not a casual holiday walk. Your pace needs to stay steady through the rocky sections, especially on Day 2 when the schedule stacks multiple climbs and descents.
This is also the version where energy management becomes everything. If the day starts hitting hard early, you might need to slow down or rethink how much you can push. The itinerary is demanding enough that missing parts isn’t a failure—it’s a smart safety choice if conditions or your body say stop.
If you want a more relaxed experience, or you’re unsure about your ability to handle summit + crater segments in one go, you might consider choosing a shorter option instead.
Practical tips that help you feel human on the mountain
Start with layers. The summit and early morning hours can feel cold, even when the sun later warms things up. Bring a jacket, gloves, and long pants, and treat sunglasses like essential gear, not a nice-to-have.
The packing list also calls for hat, sunscreen, cash, and a power bank. I’m glad they mention power banks because you’ll want something ready for photos and navigation when you’re away from reliable charging.
Even though trekking poles are included, you should still walk tall and use your poles properly on downhills. When you’re descending, your knees will thank you if you keep your steps controlled instead of stomping.
Also, plan for the fact that the start gate may switch based on permit availability. Don’t schedule tight transfers the day of pickup. Give yourself time to register, settle in, and get moving.
And yes, you’ll wake early. Keep your dinner simple and your sleep as calm as you can. The early start is part of the experience, but it shouldn’t make the rest of your day miserable.
Booking smart: what to know before you go
This trek runs with private or small group options, and the guide is English-speaking. Pickup is included, and after the trek you get drop-off to Senggigi, Bangsal port, and Mataram.
If your schedule is flexible, you’ll likely appreciate the free cancellation up to 24 hours in advance and the reserve-and-pay-later style setup. Still, don’t wait too long to book if you have a firm travel date—permit availability and starting gates can affect your plan.
Lastly, make sure you’re ready for altitude walking. Bring the passport mentioned in the packing list, and pack cash for the park entrance fee.
FAQ
How long is the Mount Rinjani 3D/2N trekking program?
It’s a 3-day trek with 2 nights of camping.
Where does the trek start?
You start from either Senaru gate or Sembalun gate, depending on permit availability.
What time is pickup?
If you stay in Senaru, pickup is listed at 07:00. If you stay in Sembalun, pickup is listed at 08:30.
What’s included in the price?
Included are an English-speaking guide and porters, food and drinking (including 3 litre mineral water per person per day), camping equipment (tent, toilet tent and paper, sleeping bag, mattress), trekking poles, head lamp/hand torch, and lunch/dinner/breakfast. Drop-off is included to Senggigi, Bangsal port, and Mataram.
What is not included?
Not included are the national park entrance fee (IDR 200,000 per day per person), raincoat, and trekking shoes.
What should I bring?
Bring passport, sunglasses, hat, hiking shoes, sunscreen, jacket, gloves, long pants, cash, hiking pants, sandals, and a camera. A power bank is also suggested.
Is this trek suitable for children?
It’s not suitable for children under 4 years old.
Should you book this Rinjani 3D/2N trek?
I’d book it if you want a full Rinjani hits-all-the-big-moments itinerary: summit sunrise, Segara Anak crater lake views, a hot springs stop, and two nights at high camps with big panorama potential. It’s a well-structured plan for people who enjoy hard hikes and want more than one dramatic viewpoint.
I’d pause and choose more wisely if you’re chasing comfort, or if you’re not sure about long, steep days after a very early wake-up. The 3D schedule is demanding enough that pacing decisions matter, and your body can set the real limits.
If you’re the right fit, this is one of those trips where the mountain does the talking. You’ll spend days working for the view—and then you’ll understand why people keep coming back.