REVIEW · YAMAGATA
Yamagata: Icefall Ice Monster Snow Trekking with Local Guide
Book on GetYourGuide →Operated by YAMAGATA EXPERIENCE · Bookable on GetYourGuide
A frozen waterfall run beats a standard snow day. This 5-hour Yamagata trek takes you to the Hyobaku icefall and the Senninzawa Ice Garden, where the ice looks like it was made overnight just for you. I like that you get proper winter gear and real guidance on how to move safely on snow and ice. The lunch setup is also practical: hot water for your meal prep, so you’re not just freezing and hoping. One drawback to plan for: this is not a casual stroll, and you’ll need winter walking stamina for steep parts and 4+ hours on your feet.
What makes it especially appealing is the hands-on, outdoors-first format. You’ll meet a local guide in English, get kitted out (snowshoes, light crampons, poles, helmet, and a beacon), then follow a route that starts at the ski resort lift area and ends back at the resort area without you having to take the lift again. You also get a tent-type portable toilet and the guide takes photos for you the day of the trek.
In This Review
- Key points at a glance
- Hyobaku Icefall and Senninzawa Ice Garden: Why the scenery feels otherworldly
- Gear up like a winter trekker: what’s provided and what you must bring
- The route begins at Zao Liza: downhill to the ice, crampons on at the right moment
- Senninzawa Ice Garden lunch: frost-covered waterfall views and a warm reset
- The steep climb back and the snowshoe finish to the resort
- Small group energy, English guide, and the “help in the hard moments” factor
- Price and value: why $129 adds up for a 5-hour winter trek
- Who this snow trek is best for (and who should not book)
- Getting there: shuttle areas, taxi notes, and parking reality
- Should you book the Hyobaku Icefall Snow Trek?
- FAQ
- How long is the Yamagata Icefall snow trekking tour?
- What gear is included, and what should I bring?
- Is there an English-speaking guide?
- What is the meeting point?
- Is this tour suitable for beginners?
- Who should not join this tour?
Key points at a glance
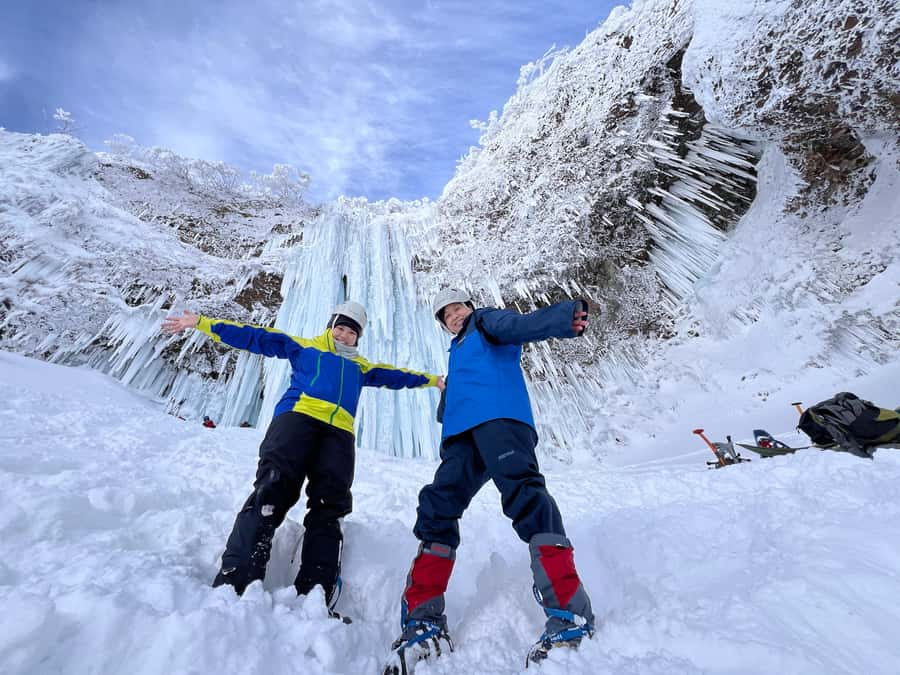
- Icefall views that feel off-the-map: You’re heading toward Senninzawa Ice Garden, not just standing at a single viewpoint.
- Real winter footing tools: Light crampons, snowshoes, and poles help you move over icy and deep snow.
- Hot-water lunch support: You can warm up and prepare simple food, like instant noodles.
- Small group size (up to 5): More attention from your guide and less crowd noise in the ice.
- Photo handoff included: You get the pictures the same day.
Hyobaku Icefall and Senninzawa Ice Garden: Why the scenery feels otherworldly
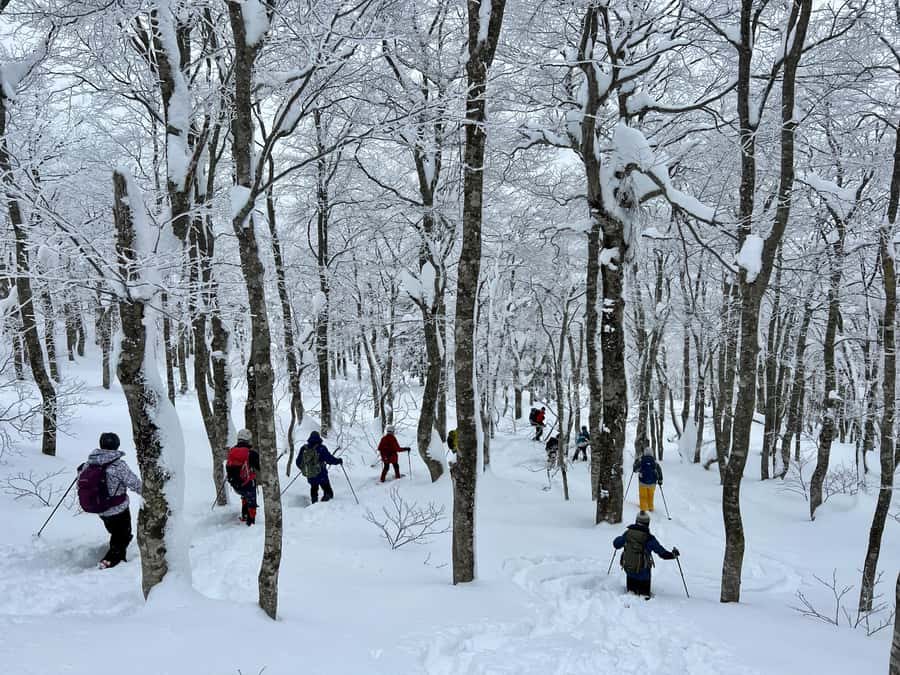
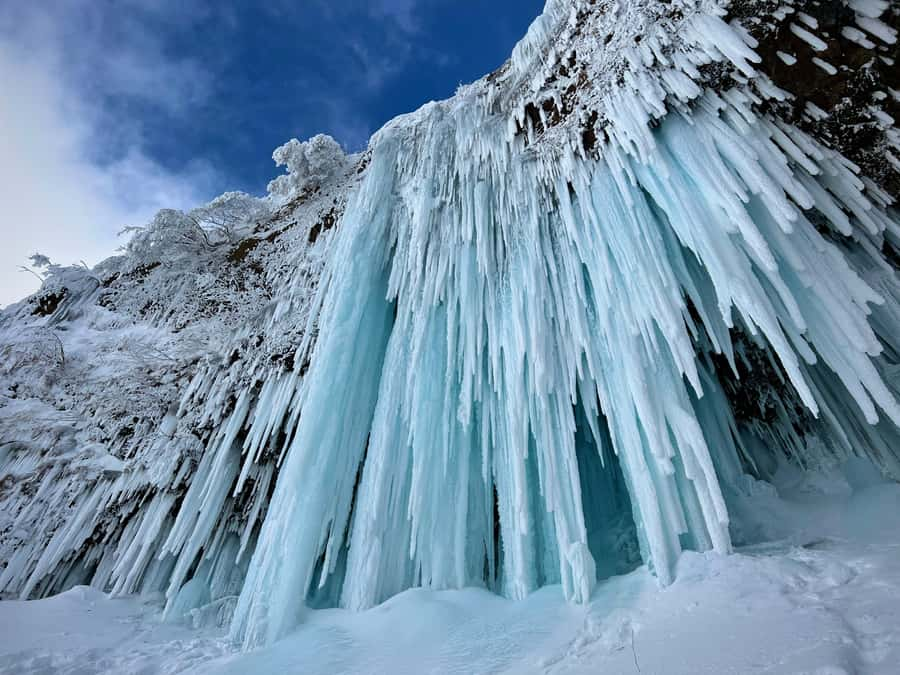
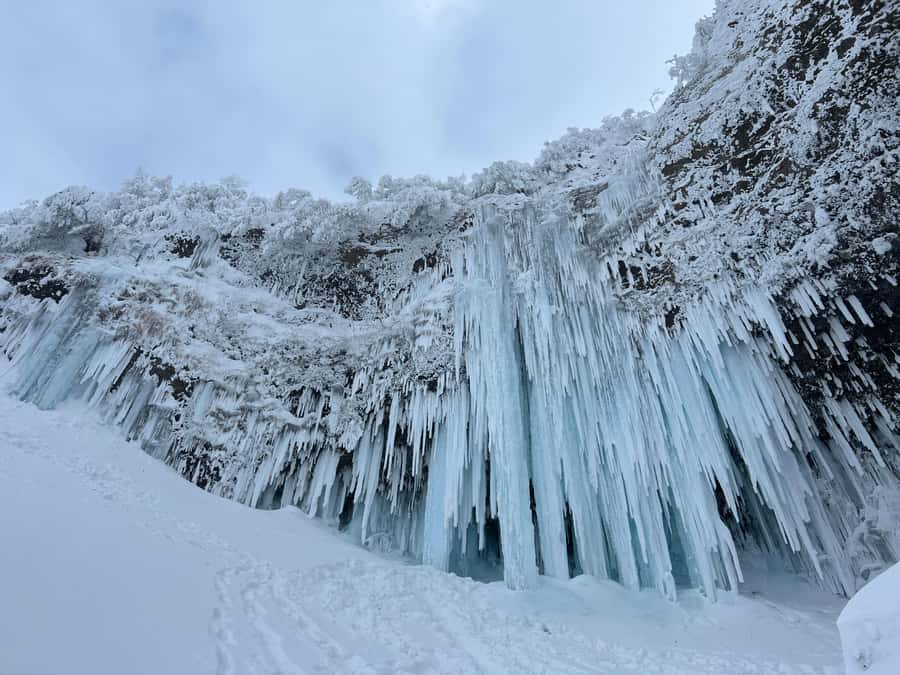
Zao, in Yamagata, is one of those places where winter isn’t just weather. It’s a full environment—white air, ice textures, and a silence that only happens when the snow is untouched. This trek is built around Hyobaku, the icefall (often described as an ice monster world), and the surrounding frozen area called Senninzawa Ice Garden.
The part I think you’ll appreciate is that you’re not only chasing a pretty photo. The route is designed so you experience the ice in layers: first by descending toward it, then by reaching a section where you can sit, eat, and actually study how the ice looks up close. When conditions are good, the ice can look intensely bright, almost too bright, like the whole area got polished overnight.
Even when the weather isn’t perfect, you still get the key experience: moving through the snow and ice with an expert guiding you to the right spots. One verified traveler noted the group stayed cheerful even with hard weather. That matters, because winter trekking is always a little about adapting in the moment.
Gear up like a winter trekker: what’s provided and what you must bring
This tour is setup for safety and comfort, and the included gear is a big reason it’s worth the price. You’ll get snowshoes, stocks (poles), light crampons, a helmet, and a beacon. You don’t need to figure out how to rent all of that on your own, then test it in freezing conditions before you start.
Here’s the practical side:
- Light crampons help you grip on icy sections without turning your feet into a rigid robot.
- Snowshoes help you stay afloat in deeper snow when you switch back later in the trek.
- A helmet is about reducing the small risks that can happen when you’re walking near ice and hard snow surfaces.
- The beacon and insurance are there because this is real winter travel, not a casual snow walk.
What you still need to bring is equally important. Pack gloves, a warm hat, sunglasses, and snow-ready clothing plus warm shoes that can handle icy outdoors. Bring a daypack. You should also bring trekking gear if you have it. And do not show up empty-handed: you’re expected to carry a backpack and walk for more than four hours under your own power.
For lunch, you can bring your own food and drinks. The guide supplies hot water for meal preparation, which makes a warm snack much easier than relying on cold bites.
The route begins at Zao Liza: downhill to the ice, crampons on at the right moment
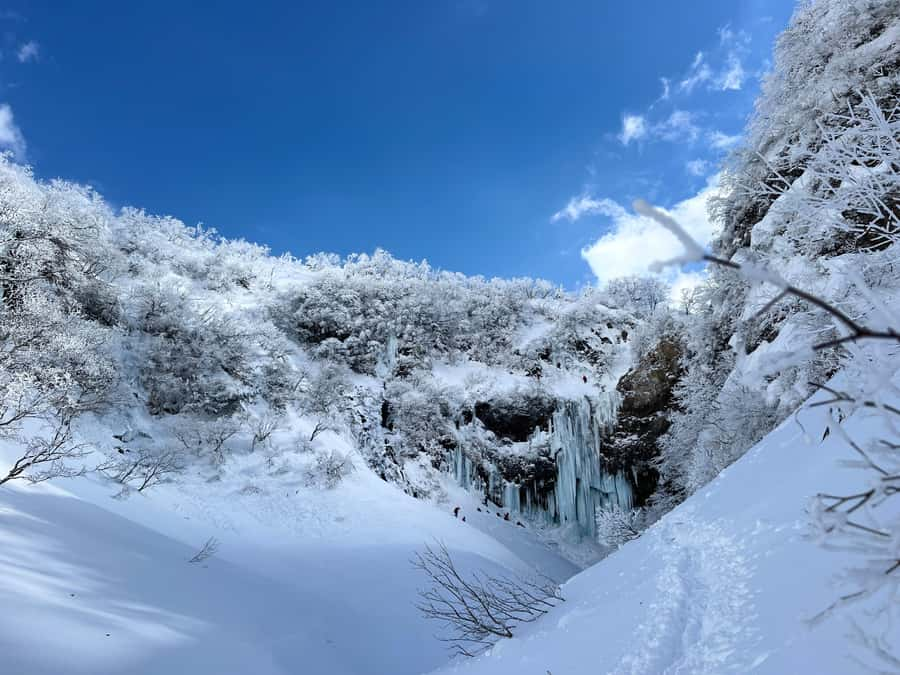
Your trek starts from the end of the lift area at Zao Liza World Ski Resort. The plan is mostly downhill at first, aimed toward the frozen waterfall area. That downhill start helps you settle into the rhythm quickly, because you get moving while your legs are still fresh.
Then the key change happens: you put on crampons and trek for about an hour to Senninzawa Ice Garden. That one-hour segment is the heart of the approach. It’s long enough to feel like you earned the destination, but short enough that you’re not mentally fading halfway through.
What to expect on the ground:
- Snow and ice can change texture as you go, especially with wind.
- Even with guide support, you should walk slowly and deliberately.
- Steeper sections exist, and the snow can make footing feel deceptively soft while the ice underneath stays slick.
This is why the tour isn’t for true beginners. You don’t need to be an alpine athlete, but you do need comfort walking in winter terrain and following instructions without rushing.
Senninzawa Ice Garden lunch: frost-covered waterfall views and a warm reset
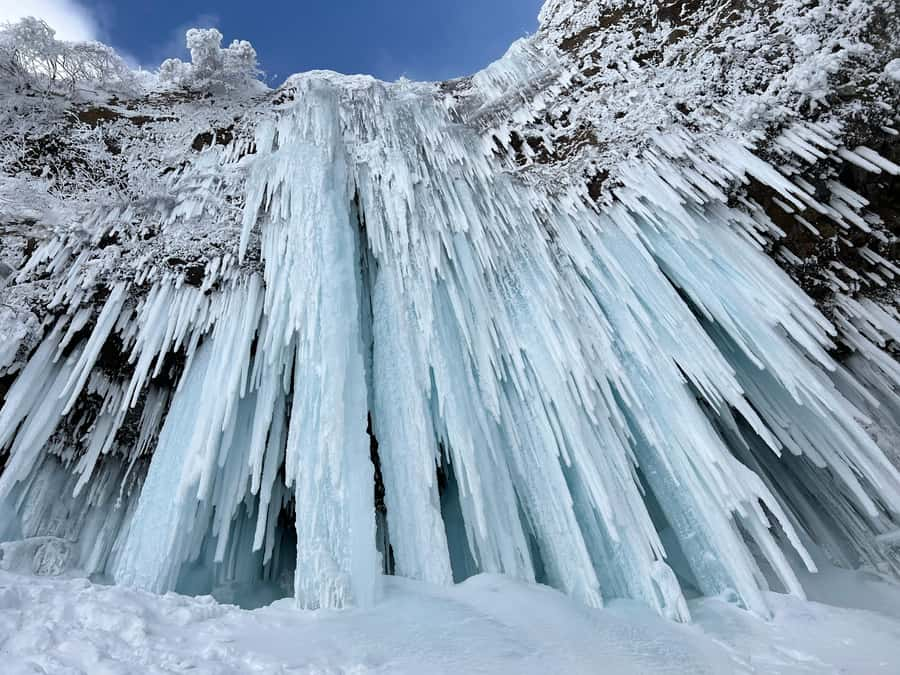
Once you reach Senninzawa Ice Garden, you’re rewarded with that “you can’t believe this is real” kind of winter scene. This is where you take time and actually look. The icefall area around you is frost-covered, and the waterfall effect is part of the spectacle.
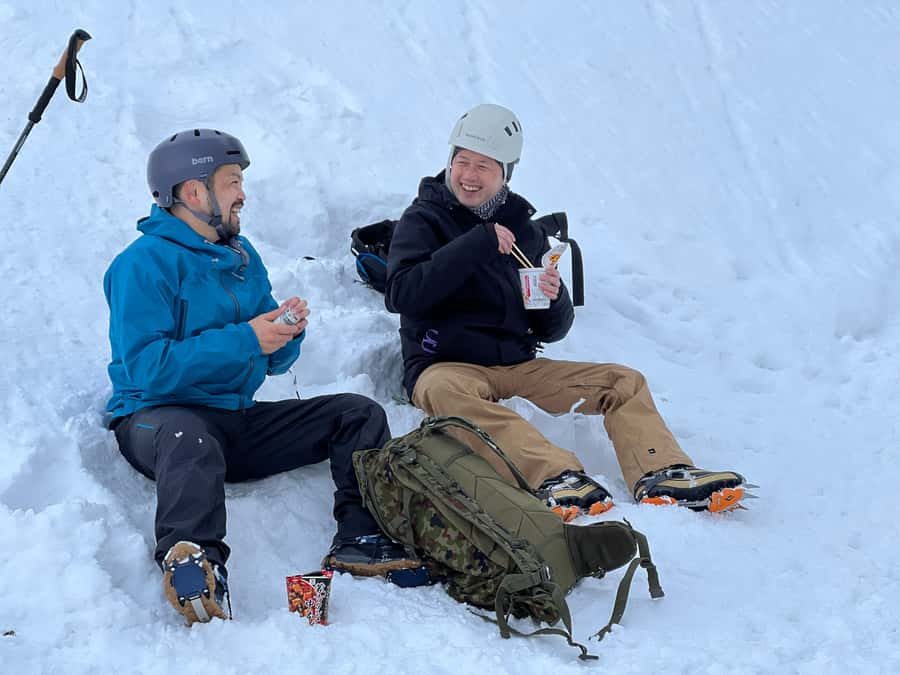
Then you stop for lunch. The guide provides hot water, so your warming options aren’t limited to whatever you brought in a thermos. If you want something easy, bring instant noodles or other meal-prep items that work with hot water.
This stop is more than eating. It’s your break from movement and cold exposure, plus a moment to slow down and take in details that you’d miss while just trekking. One of the most practical perks is that the guide will take photos during the tour and you’ll get the data for free on the day. So you can focus on the ice and your footing without constantly juggling your camera.
If weather turns wild, this lunch time can also be a morale anchor. You’re not stranded out in the cold without a plan; you have a built-in pause with warm water and a chance to regroup.
The steep climb back and the snowshoe finish to the resort
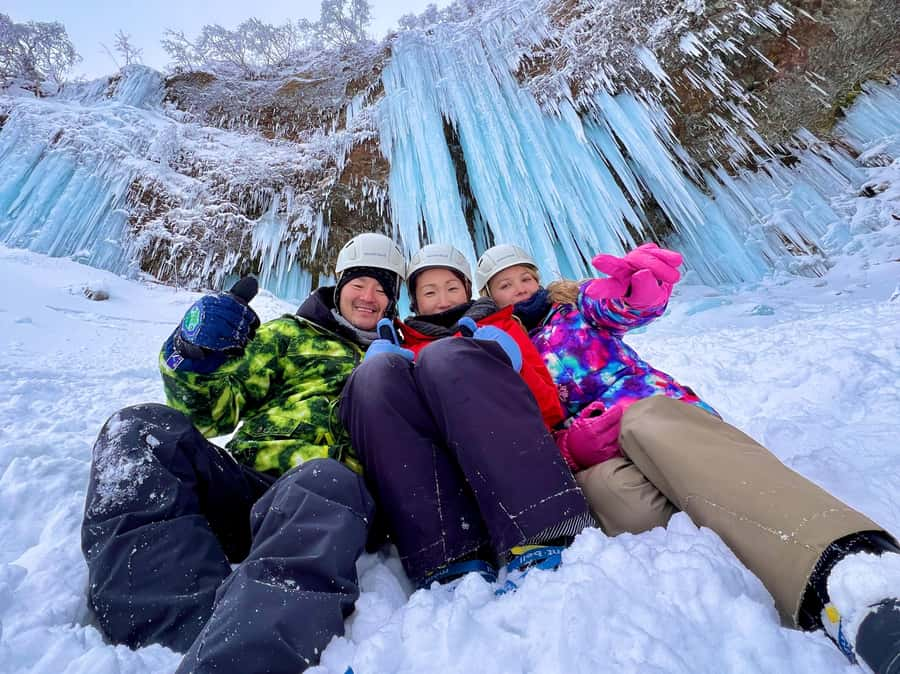
After lunch, you do the work part: you climb back up a steep slope. This is where you’ll feel your legs tighten, especially if the surface is uneven or wind-packed. But it’s also a satisfying phase because you’re moving from “wow, ice” back to “okay, I’m back at the trail rhythm.”
Then you change gear again into snowshoes. That switch matters. Crampons are for gripping icy surfaces. Snowshoes help you move smoothly over fluffy or deeper snow without sinking. You’ll walk through the fluffy new snow, and yes, there’s a fun streak here: you can slide down on your butt on suitable snow.
When you’re done, you can walk down to the ski resort area without using the lift. That means your whole experience stays connected as one continuous trek, with no extra waiting for transport within the resort.
Small group energy, English guide, and the “help in the hard moments” factor
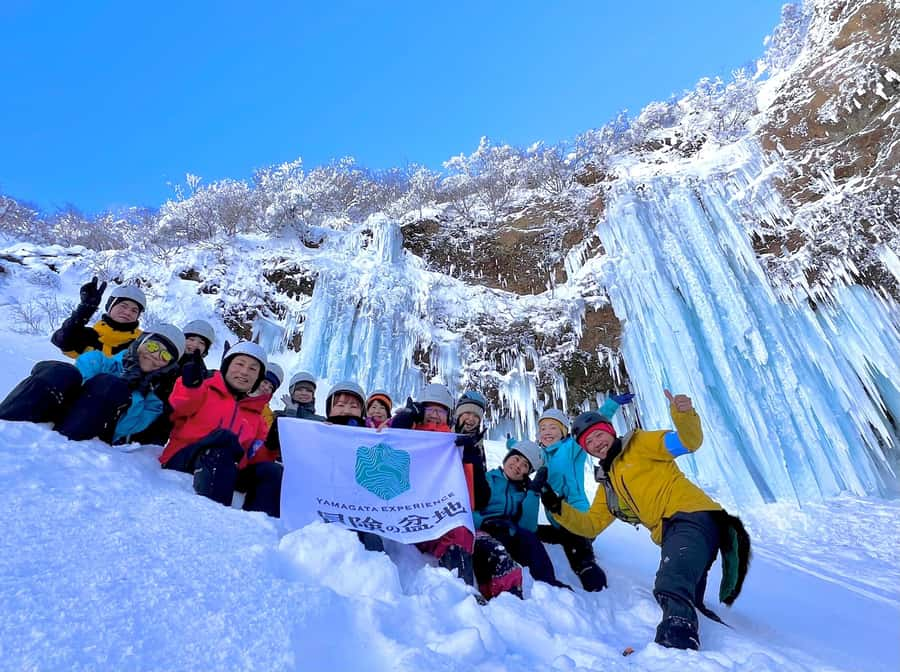
This tour caps at 5 participants, which changes the feel fast. In small groups, your guide can check in on pacing and footing more often. It’s also easier to get quick help if you’re adjusting to crampons or your snowshoes start to feel awkward.
You’ll have a local outdoor guide in English (Japanese also available). For me, having an English-speaking guide is the difference between following directions and fully understanding what you should do when conditions change. Even short explanations—like how to place a foot or how to move around icy patches—make a big difference when you’re cold and focused.
A standout detail is the included photo service. You don’t need to stop every five minutes to ask someone else to take your picture. The guide handles photos during the trek and shares them with you for free that day. That’s a simple value add you’ll feel immediately, especially when you’re busy concentrating on safe steps.
Finally, winter trekking isn’t just scenic. It’s logistics. This tour provides a tent-type portable toilet, so you don’t have to solve bathroom planning while you’re deep in the ice world.
Price and value: why $129 adds up for a 5-hour winter trek
At $129 per person for a 5-hour guided snow trek, the value comes from what’s included, not just the experience itself. You’re paying for:
- Guide fee (local expertise in winter conditions)
- Rental gear: snowshoes, poles, light crampons, helmet, beacon
- Insurance
- Consumption tax
- Lift fee (at the start portion)
- Hot water for meal preparation
- Tent-type portable toilet
- Photos (free data on the day)
If you’ve tried piecing together winter trekking in Japan on your own, you know how quickly costs climb once you add gear rentals, transportation, and guide help. Here, the most expensive and hardest-to-coordinate items are handled for you. That’s the real money saver.
One extra cost you should remember: parking can be 1,000 JPY on weekends and holidays if you drive. During weekdays, parking is free. If you don’t drive, that cost may never touch your budget.
Who this snow trek is best for (and who should not book)
This is a winter trek designed for people with snowshoe or winter trekking experience. It’s not positioned as a gentle first timer course. You’ll need to be able to carry a backpack and walk for more than four hours under your own power. The route includes steep ascents and descents, so leg strength and steady pacing matter.
Not suitable for:
- Children under 10
- Pregnant women
- People with heart problems
- People with low level of fitness
One traveler’s feedback also matches the practical reality: you’ll have a better time if you come prepared and capable. If you’re unsure about your winter walking readiness, it’s smart to choose their separate beginner “Ice monster Snow Hiking” course instead of forcing this one.
Getting there: shuttle areas, taxi notes, and parking reality
Meeting point is inside the building where the restaurant is located. Arrive early because late arrivals can cancel the reservation.
For getting there:
- Shuttle service: limited free shuttle for participants from accommodations in Akayu Onsen, JR Kaminoyama Onsen Station, and Zao Bohira pension lodgings. You’ll need to request a pickup location when booking.
- Taxi: from Yamagata City, expect about 50–60 minutes with a round-trip standard taxi price listed at JPY 27,500 for 1–4 passengers. From the Zao Onsen area, it’s about 30–40 minutes and listed at JPY 15,000 for 1–4 passengers. Taxi reservations by phone are handled by Kanko Taxi at +81-23-672-2323.
- Car: parking is 1,000 JPY on weekends and holidays, and free on weekdays.
If you’re planning around a tight winter schedule, I’d choose the easiest option from where you’re already staying. Winter mornings can be slow enough without adding another layer of travel stress.
Should you book the Hyobaku Icefall Snow Trek?
If you want a winter day that feels active, not just observational, I think this is a strong booking choice. You’re getting:
- A true guided route into the Hyobaku icefall world
- Real traction tools and snow movement support
- A warm lunch reset with hot water
- A small-group atmosphere that keeps attention on you, not on the crowd
Don’t book this if you’re aiming for a beginner snow walk. This trek expects confidence with winter terrain and the ability to handle steep parts for over four hours. Also, if you’re traveling with restrictions like heart issues or pregnancy, it’s not the right fit.
If you check your clothing, bring warm shoes and proper gloves, and show up ready to walk under your own power, you’ll likely leave feeling like you experienced the icefall in a way most people never do—up close, step by step, with gear that actually works.
FAQ
How long is the Yamagata Icefall snow trekking tour?
The tour duration is 5 hours.
What gear is included, and what should I bring?
Included gear covers snowshoe, stocks, light crampons, helmet, and a beacon. You should bring sunglasses, a hat, gloves, snow clothing, a daypack, warm shoes, trekking gear, plus any food and drinks you want.
Is there an English-speaking guide?
Yes. The live tour guide is available in English (and Japanese).
What is the meeting point?
Your guide will be waiting for you inside the building where the restaurant is located.
Is this tour suitable for beginners?
This course is designed for participants with snowshoe or winter trekking experience. If you’re a beginner, you’re recommended to join their separate “Ice monster Snow Hiking” course.
Who should not join this tour?
It’s not suitable for children under 10, pregnant women, people with heart problems, or people with low level of fitness.