REVIEW · LAKE SEGARA ANAK
Oke Rinjani 2-Day Trek – Summit senaru Climb & Amazing Views
Book on GetYourGuide →Operated by oke rinnjani · Bookable on GetYourGuide
Two sunrises on Rinjani sound unreal. This 2-day climb from Senaru takes you to the second summit for pre-dawn light, then back down to camp on the crater rim for a sunset view over Segara Anak Lake. I especially love the morning payoff from altitude, and I also love the crater-rim atmosphere where the day starts and ends in big views. The main drawback is that this is a strenuous hike with cold early mornings and nights, so you’ll want solid footwear and warm layers.
Day 1 is all about getting your legs used to the rainforest grind, then settling at the crater rim for sunset. Day 2 is a short, hard push at dawn for sunrise before you descend back to Senaru Village.
If you’re a fit beginner or intermediate hiker who enjoys real walking (not just photo stops), this trek is a strong value. You’re paying for a guided route, porters, meals, and camping gear—so you can focus on the climb and the views.
In This Review
- Key Highlights You’ll Feel on This Trek
- Entering Senaru: Where the Trek Really Starts
- Day 1: Senaru Village to Pelawangan Senaru and Crater-Rim Sunset
- Day 2: Pre-Dawn Second Summit Push for Sunrise
- What Camp on the Crater Rim Feels Like (Gear, Toilets, and Cold)
- Guide and Porter Team: The Real Difference on Rinjani
- Trail Conditions and Footwear Tips That Save Your Knees
- Meals, Water, and the Small Comforts That Matter
- Price and Value: Is This $171 Worth It?
- What You Should Bring (and What You Can Rent)
- Weather and Timing: When Plans Still Feel Good
- Who This Trek Suits Best (and Who Should Rethink It)
- Should You Book Oke Rinjani 2-Day Trek? My Call
- FAQ
- How much does the Oke Rinjani 2-Day Trek cost?
- What’s included in the trek price?
- Is the national park entrance fee included?
- Do I need to bring camping gear?
- What should I bring for early mornings and cold nights?
- What language is the guide?
- What areas do they transfer you from and to?
- Is alcohol allowed on this trek?
- Is this trek suitable for children or older adults?
- What’s the cancellation policy?
Key Highlights You’ll Feel on This Trek
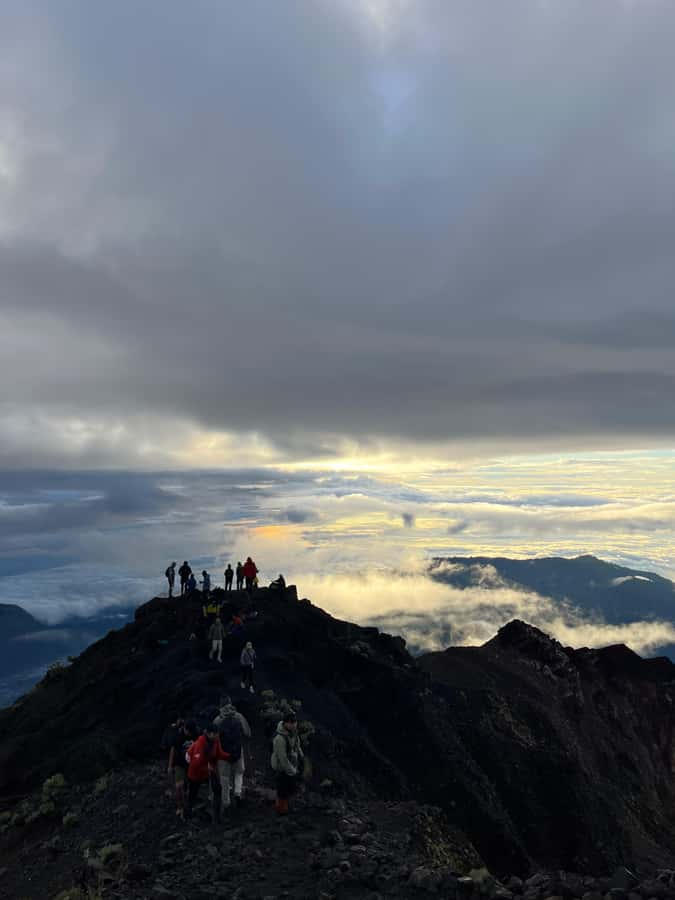
- Second-summit sunrise timing: Wake-up hike for early light over the lake and volcano.
- Crater-rim sunset over Segara Anak Lake: Camp set-up designed for evening views.
- Rainforest to high-altitude changes: Dense forest hiking, then cooler crater air.
- Porters handle the heavy stuff: They carry camping and cooking gear so you can pack lighter.
- Cold-hands reality at the summit: Gloves help when temperatures drop around dawn.
Entering Senaru: Where the Trek Really Starts
The trek begins with hotel pick-up in the Senaru area (and in nearby locations like Lombok, Senggigi, Mataram, or Bangsal where your transfer is arranged). You’ll do trek registration and start with a light breakfast right before you hit the trail. This is one of those trips where logistics matter, because you don’t want to waste daylight figuring out what time and where.
Once you’re walking, the first miles are about rhythm. Expect dense rainforest and steady uphill sections. Even before you reach the higher camps, the trail already feels like it’s warming up your calves for the harder moments later.
You can also read our reviews of more tours and experiences in Lake Segara Anak.
Day 1: Senaru Village to Pelawangan Senaru and Crater-Rim Sunset
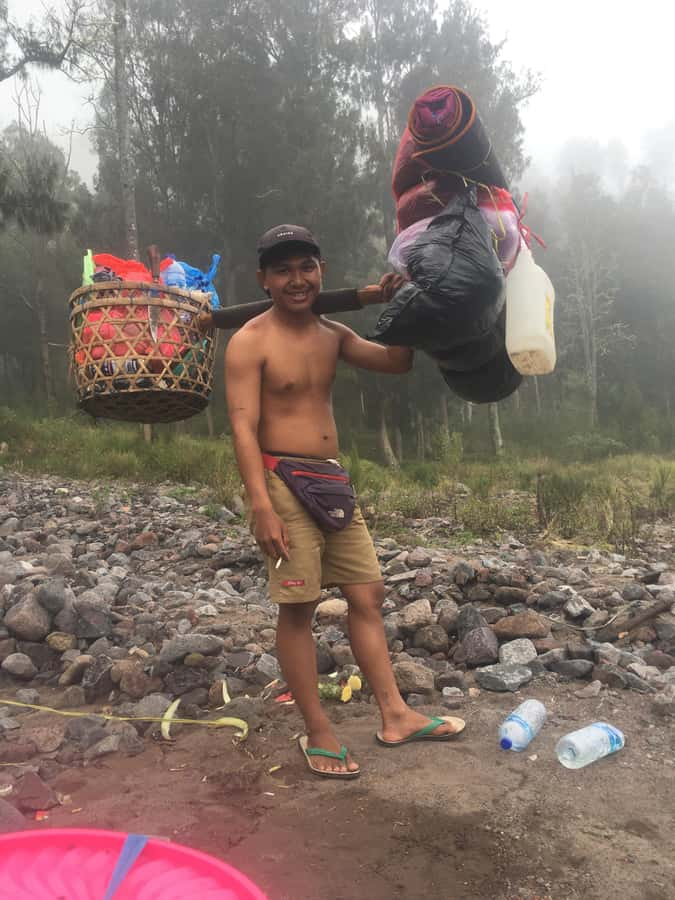
Day 1 is the climb and the setup. After the early start and registration, you hike through dense rainforest with stops along the way (including points around Pos 1–3). Lunch lands at Pos 3, which is a helpful break for refueling before the steeper push continues.
From there, you climb higher to Pelawangan Senaru (2,641m). This is where the hike starts to feel more exposed in temperature, even if you still move through forest. The goal isn’t a sprint. It’s steady effort so you arrive at camp with enough energy to enjoy the crater rim.
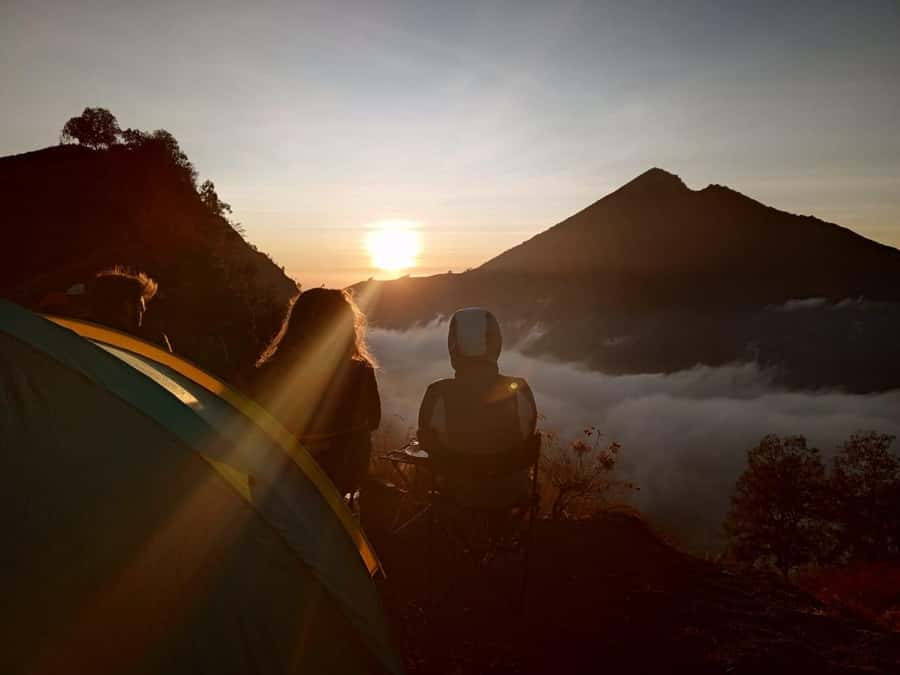
Then comes the part you’ll remember. You set up camp above the clouds near the crater rim, with sunset views over Segara Anak Lake. This is not just scenery from a roadside pull-off. You’ll be living in that view for a while—watching light change, settling in as it gets colder, and knowing tomorrow’s sunrise is waiting.
Dinner follows, and you get a safety briefing for the early morning trek. You’re aiming to sleep and recover, because Day 2 is the summit push. Nights can drop to 5–10°C, so even if you feel okay during the day, cold will catch up fast after dark.
Day 2: Pre-Dawn Second Summit Push for Sunrise
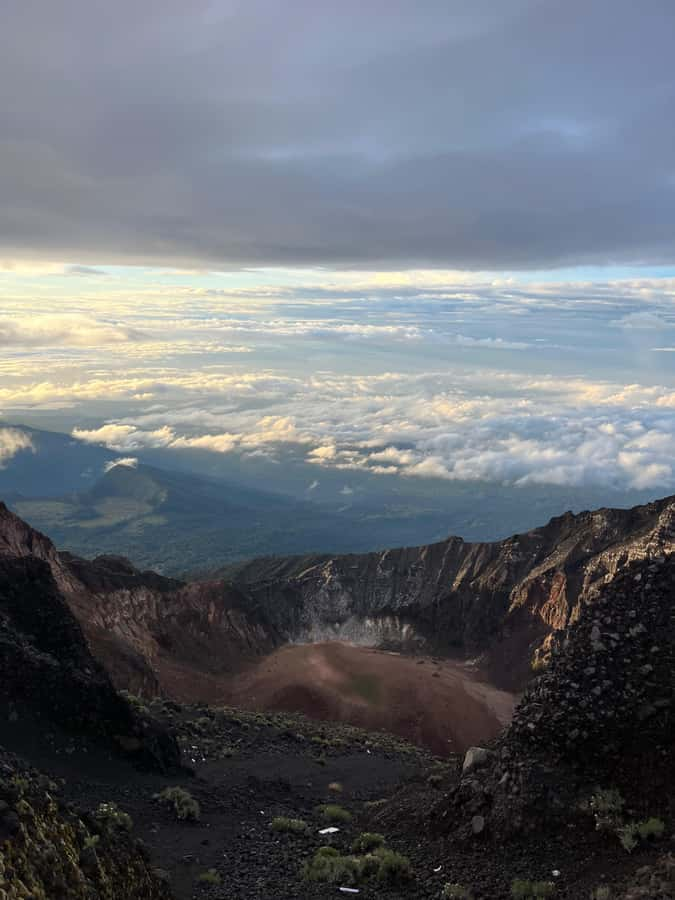
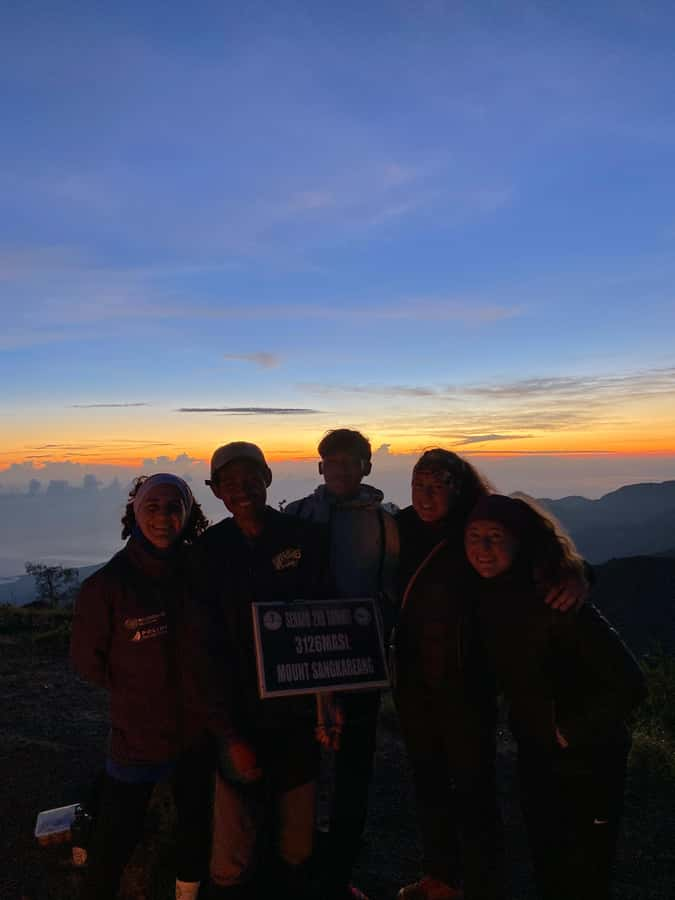
Day 2 starts before dawn. You wake up early with hot tea or coffee and then begin the push to the second summit. The altitude target is around 2,700m, and the hike is purposefully short-but-steep because you’re racing for the sunrise window.
This is where the trek earns its name. You’ll hike in the dark or near-dark, then shift into morning light as you gain height. The view over the lake and volcano looks different at dawn—morning light gives depth and contrast you don’t get at midday, and you feel that switch the moment the horizon starts to glow.
After sunrise, you return to camp for breakfast. Then you shift gears into the long descent through lush tropical forest back to Senaru Village. The descent can be tricky because your legs are tired and the footing can get slick. Good tread on your soles matters here.
What Camp on the Crater Rim Feels Like (Gear, Toilets, and Cold)
Camping is part of the adventure, and this trek treats camp like camp, not a rough afterthought. Camping gear is included: you get a tent, sleeping bag, sleeping mat, and even a toilet tent with tissues. That practical inclusion is a big deal because you’re not trying to improvise sleep and hygiene on a mountain.
Food is also handled for you. You’ll get freshly cooked meals during the trek (with breakfast and dinner called out in the experience). It’s not just calories, either. On mountain days, real food is what keeps you moving the next day instead of feeling wrecked.
Cold is the other reality check. Hands can get cold around the summit hours, so gloves are a smart move. Warm layers help, but you also want gear that works when you’re standing still while waiting for the light to change.
Guide and Porter Team: The Real Difference on Rinjani
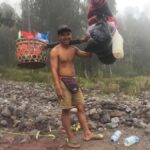
This trek runs on teamwork: an experienced English-speaking mountain guide plus professional porters. The porters carry the camping gear and cooking equipment, which means you don’t need to drag a heavy pack all the way up.
You’ll also see how they handle the route. One of the best details here is the respect-worthy practicality of the porter team—climbing without fanfare and taking care of logistics so you can focus on pacing and footing. The guide keeps the plan moving and helps with the rhythm so the group stays safe on steeper sections.
A small note for your prep: since porters handle camp and food gear, you just need to manage your own daypack. Bring only what you’ll actually use: layers, water, a headlamp or flashlight, and personal items.
Trail Conditions and Footwear Tips That Save Your Knees
This trek is strenuous, and most of the route trends uphill at an incline. You’ll feel it in the ascent, and you’ll definitely feel it again on the return. A good strategy is to keep your effort steady and avoid racing the uphill. The mountain doesn’t care about your hype.
Footwear is where people win or lose. Hiking boots are strongly recommended because the return involves more chances for slipping. If you’re using sneakers, use extra caution on the way back when your legs are tired. Gaiters are recommended, especially if trail dust or damp spots kick up.
Also, pack for cold early hours. A headlamp or flashlight is required so you can hike comfortably before sunrise. Gloves make sense for cold hands. And a windproof jacket helps because the higher you go, the more the air cuts through.
Meals, Water, and the Small Comforts That Matter
One of the quieter benefits is the way this trek handles hydration and food. Drinking water is included, and you’re provided with 3 liters of mineral water per person each day. That takes a big worry off your planning—no guessing how much you need, no rummaging for refills.
Tea and coffee are also included, and hot drinks at dawn are exactly what you want while your body is waking up and your fingers are getting cold. You’ll also have freshly cooked meals along the way, which helps on a trek where you burn energy and lose appetite if you only eat snacks.
Even the small comfort details help: tissues are provided at camp, and you won’t be stuck figuring out how to sleep with nothing but a thin mattress.
Price and Value: Is This $171 Worth It?
At $171 per person, this trek has a lot of what you’d normally pay extra for on many mountain trips: transport, a guide, porters, meals, and camping gear. It’s not just a route on paper. You’re paying for the full package that makes a crater-rim overnight possible without hauling heavy gear yourself.
That said, the total cost isn’t only the headline price. You should budget for the national park entrance fee (IDR 200,000 per day) since it’s not included. You might also see optional or additional costs depending on what you choose to rent and whether you want extra porters for personal belongings. A health check before the trek is also listed as not included.
So here’s the math in plain language: you’re paying more upfront than a bare-hike option, but you’re covering the big-ticket items—gear, food, and porter support. If you want a smooth mountain experience where you don’t fight logistics, this price-to-inclusion balance is strong.
What You Should Bring (and What You Can Rent)
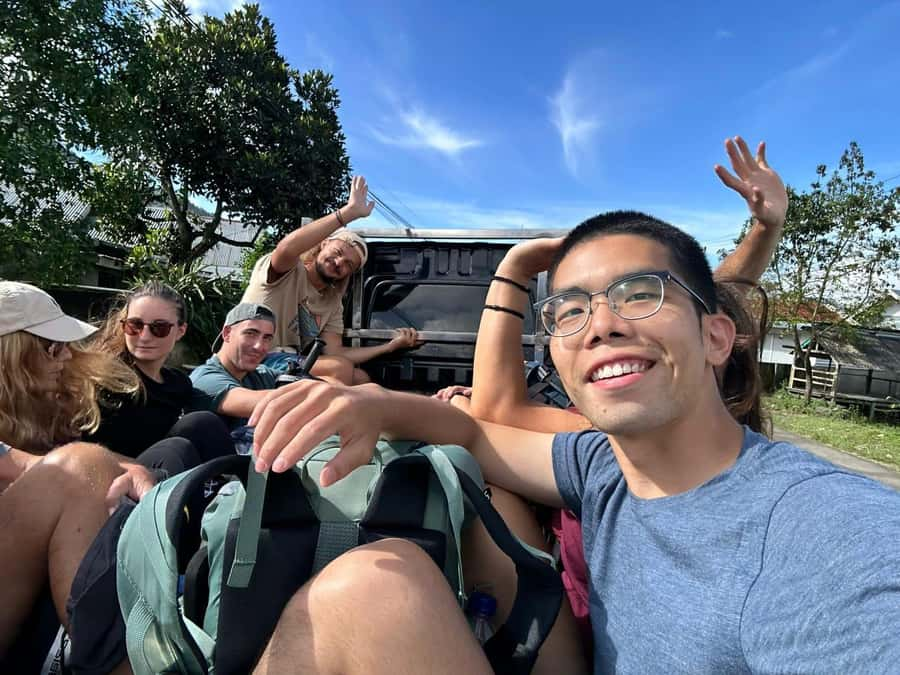
You can rent essential trekking gear at the Oke Rinjani office before trekking, including jackets, headlamps, trekking poles, small daypacks, trekking shoes, and long pants. That’s useful if you travel light.
Still, plan your personal essentials carefully. Pack:
- Warm clothing and a windproof jacket
- Headlamp or flashlight
- Hiking shoes (gaiters recommended) and a backup like sandals if you want them for breaks
- Long pants and comfortable clothes
- Gloves for cold summit hours
- Sunscreen (biodegradable is suggested) and hand sanitizer or tissues
- Phone charged and a power bank
- Cash for fees and personal items
- Passport (a copy can be accepted) and any needed medications
Not allowed is clear: no alcohol and drugs.
Weather and Timing: When Plans Still Feel Good
Weather can shift fast on mountain terrain. The good news is that the trek is set up for sunrise and sunset viewing even when conditions vary, and the team structure helps keep the plan moving. If you’re the type who gets stressed when clouds roll in, remind yourself: the real value here is the effort plus the moment the light breaks through.
Also, because temperatures drop at night, you’ll want to treat sleeping warmth seriously. Even if you’re comfortable during the day, camp hours are where you’ll notice the chill.
Who This Trek Suits Best (and Who Should Rethink It)
This is best for people who enjoy climbing and can handle a strenuous hike. It’s listed as suitable for fit beginners or intermediate hikers, but it’s still an effort-heavy experience with early starts and altitude.
It’s not suitable for very young children. The guidance says it isn’t appropriate for children under 3 years, under 4 years, under 5 years, or under 6 years. It also lists no suitability for people over 95 years, and it’s not suitable for people over 70 years.
If you’re traveling as a couple or solo and want a guided, gear-supported summit trek without the hassle of arranging everything separately, this fits nicely. If you hate cold and uphill climbs, you’ll probably feel miserable fast.
Should You Book Oke Rinjani 2-Day Trek? My Call
Book it if you want a true mountain overnight with crater-rim camping, strong guide support, and unforgettable early morning views. The inclusion of camping gear, meals, water, and porters is what makes this a practical choice, not just an ambitious one.
Skip it if you’re looking for a casual walk, you struggle with cold mornings, or you don’t want to commit to good footwear and steady uphill effort. For the right hiker, though, this is one of those trips where the work pays you back quickly.
FAQ
How much does the Oke Rinjani 2-Day Trek cost?
The price is listed as $171 per person.
What’s included in the trek price?
You get hotel pick-up, an English-speaking mountain guide, professional porters, freshly cooked meals during the trek, drinking water, and camping equipment (including tent, sleeping bag, mat, and a toilet tent). Transport back after the trek is also included to Senggigi, Mataram, or Bangsal.
Is the national park entrance fee included?
No. The national park entrance fee is IDR 200,000 per day and is not included.
Do I need to bring camping gear?
No. Camping gear is included. You’ll still want to bring a daypack for your personal items and essentials.
What should I bring for early mornings and cold nights?
Bring warm clothing and a windproof jacket. Night temperatures can drop to 5–10°C, and it’s helpful to have gloves for cold hands. A headlamp or flashlight is also recommended.
What language is the guide?
The trek includes an English-speaking mountain guide.
What areas do they transfer you from and to?
Pick-up is available from your hotel in the listed areas, including Lombok, Senggigi, Mataram, and Bangsal, and they also provide return transport after the trek to those areas.
Is alcohol allowed on this trek?
No. Alcohol and drugs are not allowed.
Is this trek suitable for children or older adults?
It’s not suitable for children under 3 years, under 4 years, under 5 years, or under 6 years. It’s also not suitable for people over 70 years, and people over 95 years.
What’s the cancellation policy?
You can cancel up to 24 hours in advance for a full refund.