REVIEW · SALKANTAY
From Cusco: 5-Night Trip with Salkantay Trek & Machu Picchu
Book on GetYourGuide →Operated by Alpaca Expeditions · Bookable on GetYourGuide
The Andes hit different when you’re headed toward Machu Picchu the hard way. This Salkantay trek from Cusco mixes serious hiking with smart comfort stops like glass cabins and a Hobbit house, then delivers your final day at the Citadel. I like that it’s set up for a wide-open, less-crowded feel in the mountains, while still getting you to Machu Picchu Town and onward to the site.
What I love most is the combination of expert local Indigenous guidance and the built-in structure: meals, transport, and lodging so you can focus on walking and taking photos of places like Humantay Lagoon. The other big win for me is the “comfort upgrades” along the way—glass cabins, a Hobbit house with outdoor hot tub-style relaxation, plus a proper hotel night near the end.
The main thing to weigh is physical demand and health limits. This trek isn’t suitable for pregnant women, people with back problems, heart problems, or other pre-existing medical conditions—and the pack list and lack of trekking poles/sleeping gear mean you need to show up prepared.
In This Review
- Key highlights you’ll actually feel on this trek
- From Cusco to Salkantay: what the first transfer really sets up
- Glass cabins and a Hobbit house: comfort stops with a purpose
- The trekking days: how each stop shapes the experience
- Day 1: Soraypampa → Humantay Lagoon → Salkantay Pass
- Day 2: Wayracmachay → Chaullay → Hobbit house at Ccollpapampa Loreta
- Day 3: Loreta → Sahuayaku → Lucmabamba coffee farm → Llactapata camp
- Day 4: Llactapata lookout → Mandor waterfalls → Aguas Calientes (hotel night)
- Day 5: Machu Picchu day + bus to the site + ride back to Cusco
- Getting great photos: Humantay Lagoon and the Machu Picchu approach
- Price and value: what the $650 covers (and why it matters)
- How hard is it, really? Fitness, altitude, and who should skip
- What to bring: your list, turned into a trekking plan
- Should you book this Salkantay + Machu Picchu trek?
- FAQ
- What’s the duration and route for this Cusco-based Salkantay trek?
- How many people are in the group?
- Is pickup included from Cusco?
- What lodging is included during the 5 days?
- Do I need a sleeping bag or trekking poles?
- Is the Huayna Picchu Mountain Pass included?
- How do you return to Cusco after Machu Picchu?
Key highlights you’ll actually feel on this trek
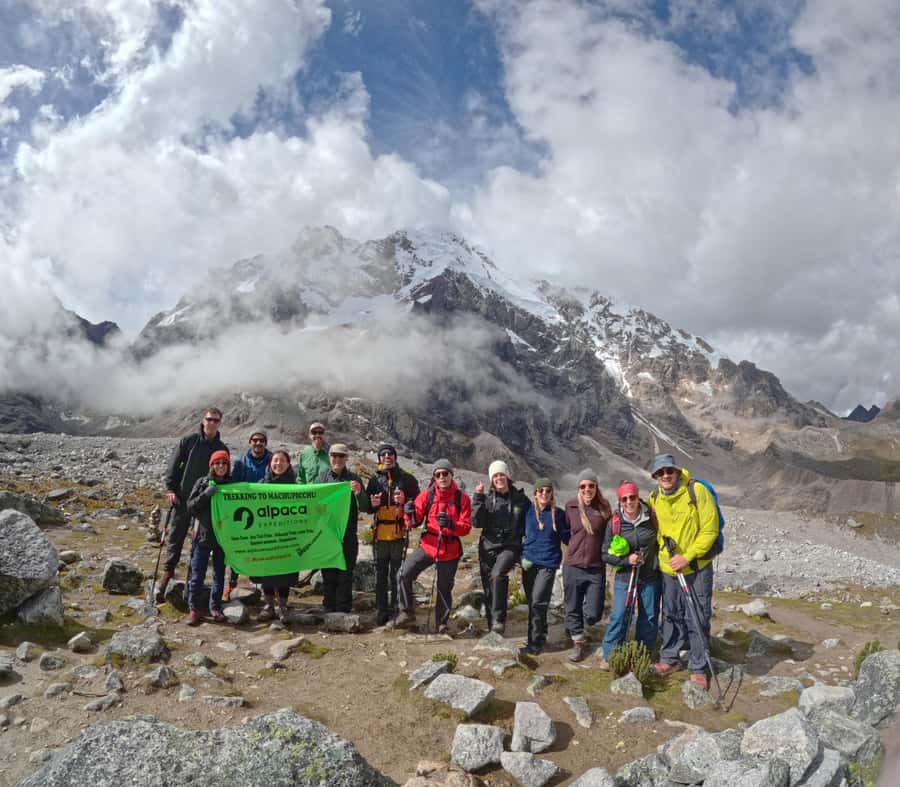
- Humantay Lagoon photo stop tied to day-one hiking, not an afterthought detour
- Small group (max 16) keeps the pace human and the trail experience calmer
- Unusual lodging: glass cabins, Hobbit house, camping nights, then a hotel near Machu Picchu
- Lucmabamba coffee farm stop adds a non-trek break and local flavor
- Hike to Machu Picchu Town (Aguas Calientes area) rather than only reaching it by fast transfer
- Oxygen tank + first-aid kit in the support setup for peace of mind at altitude
From Cusco to Salkantay: what the first transfer really sets up
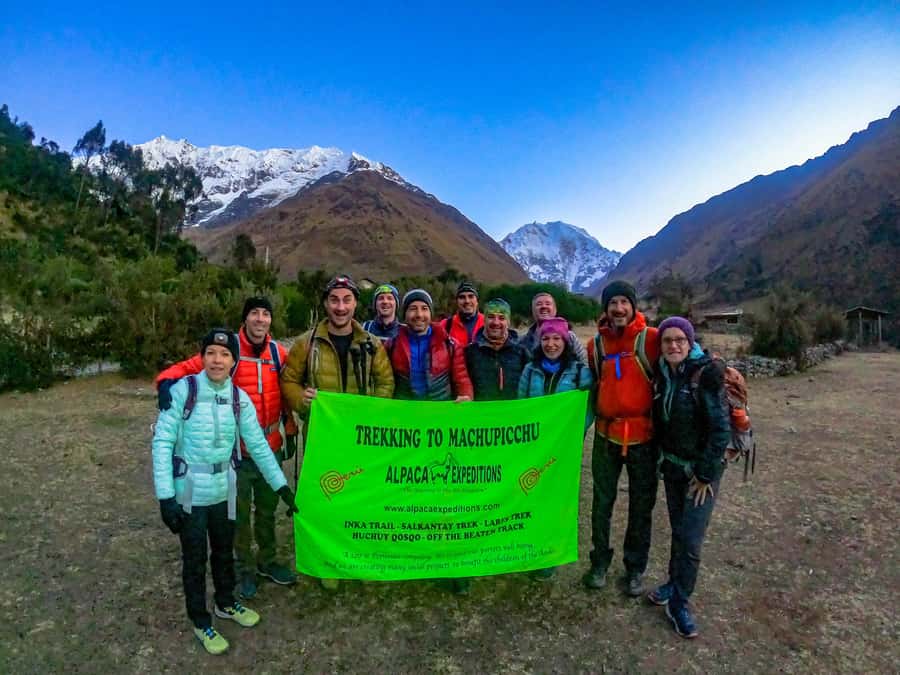
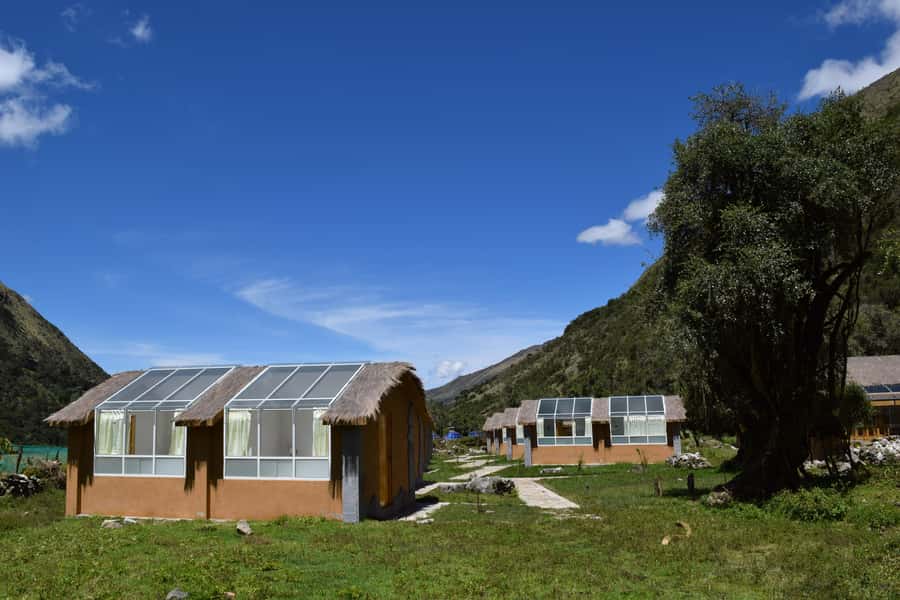
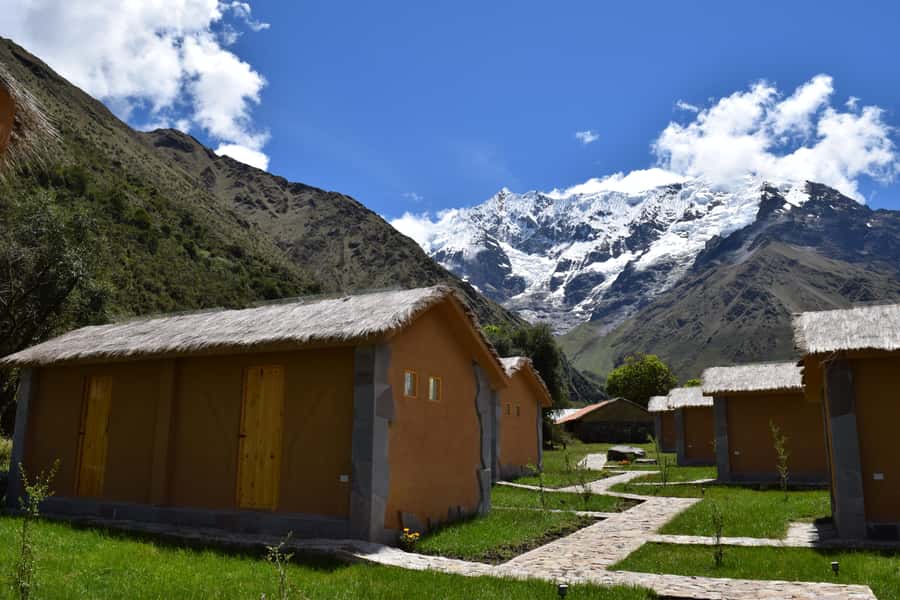
You’ll start with hotel pickup in Cusco. That’s a real quality-of-life detail: you don’t waste daylight figuring out logistics after a travel day or after you’ve just arrived in town. Then, in the afternoon, you’re transferred to the Salkantay Glass Cabañas around 3 pm, giving you a smooth landing before hiking day begins.
I like this rhythm. It helps you adjust to altitude and sleep quality. It also means you’re not scrambling for gear or orientation when you should be hydrating and resting.
Even if you’ve done day hikes before, the Andes turn everything into a systems game: water, snacks, layers, pace. Having that first night handled is one less moving part.
Glass cabins and a Hobbit house: comfort stops with a purpose
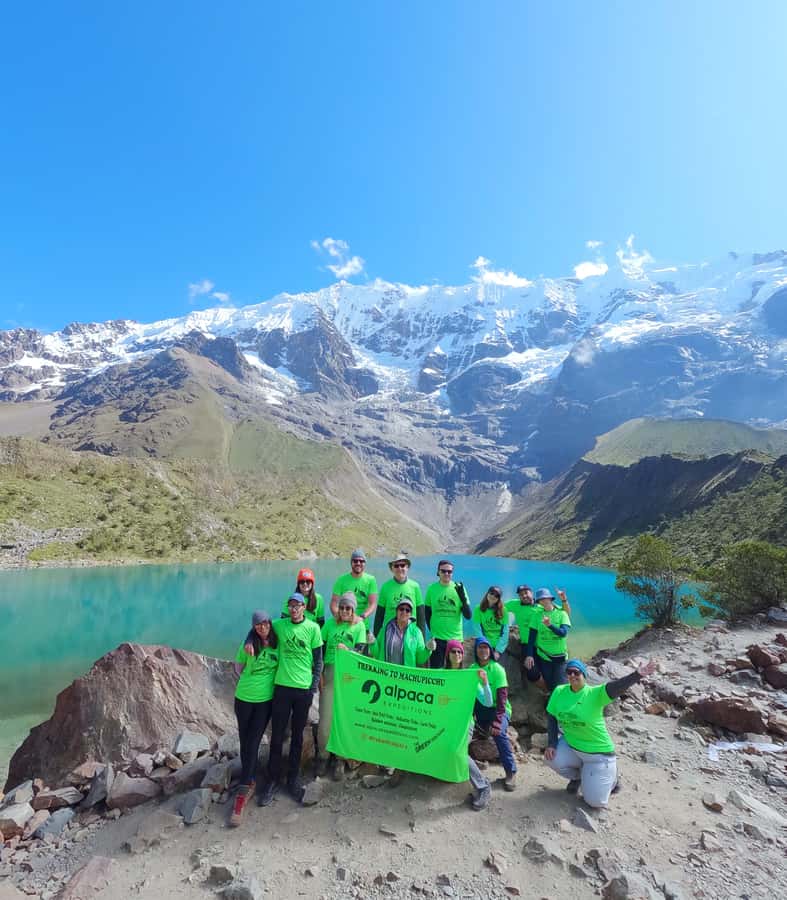
This trek isn’t “bring a tent and suffer” from start to finish. You get a mix of accommodation styles that make the long hike feel more survivable.
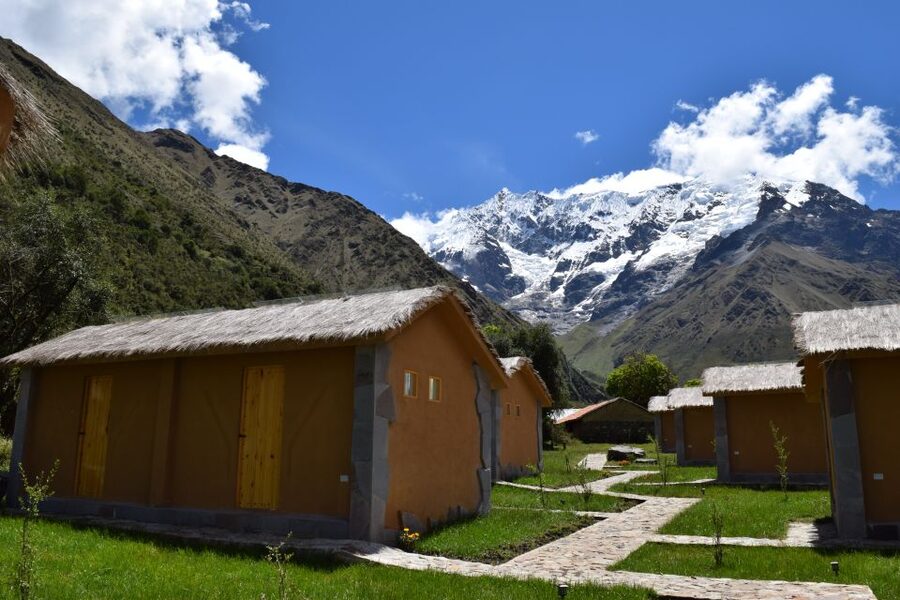
- One night is at Salkantay Glass Cabañas. The big practical value here is that you get a proper, warm-ish setup before the first full hiking day.
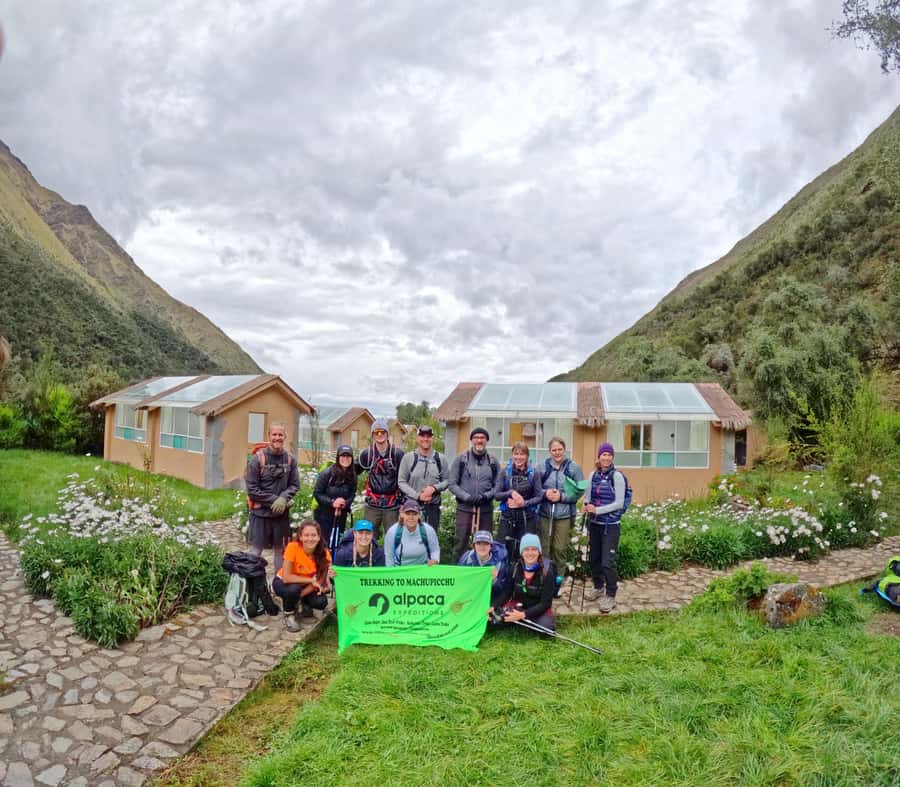
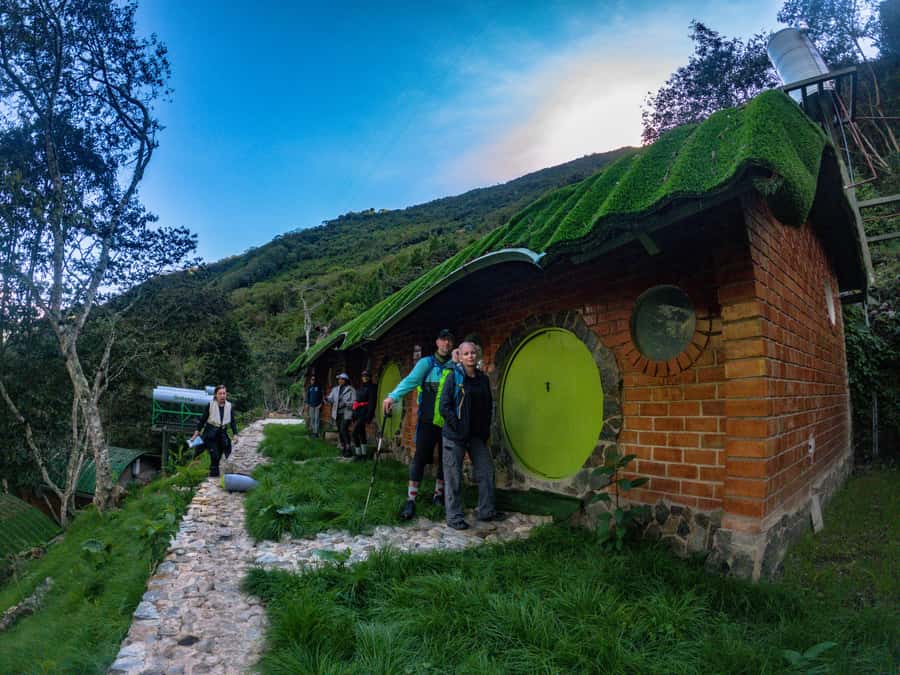
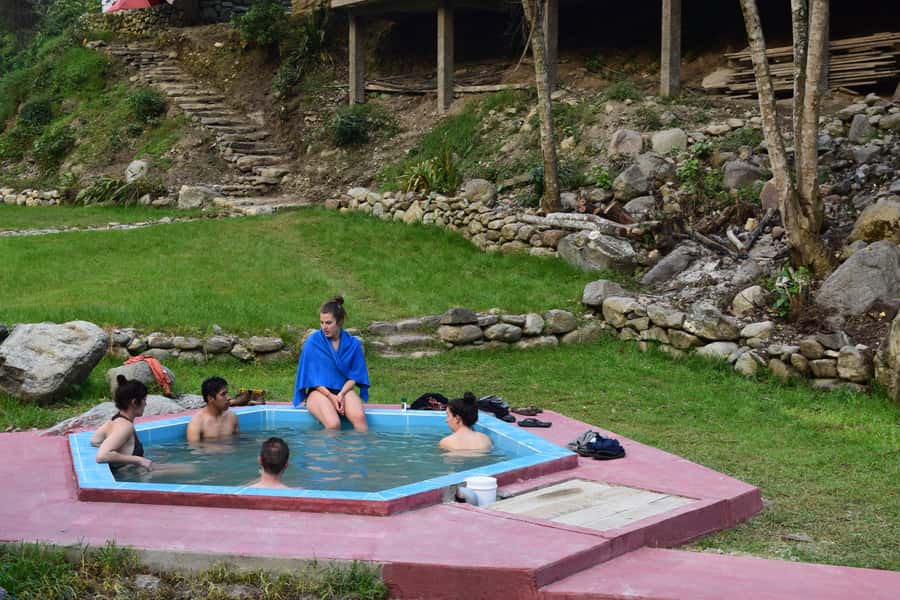
- Another night is in a Hobbit house (called Ccollpapampa Loreta), with an outdoor jacuzzi-style soak mentioned as part of the experience. That’s not just cute. After 2–3 days on uneven trails, sore legs need recovery time.
Then you’ll do camping nights (two nights) and finish with a hotel night. You still carry weight, but the tour includes a professional porter setup, plus a personal porter for up to 7 kg per person. That’s huge if you’re trying to keep your day pack realistic.
One more practical note: sleeping gear isn’t included (no sleeping bag, air mattress, or trekking poles listed). So if you assume the camp will cover everything, you’ll be wrong. Bring what’s required or plan to rent/prepare before you go.
The trekking days: how each stop shapes the experience
Salkantay is rated among the world’s great treks for a reason, and the route here gives you that classic mix: big passes, glaciated mountain views, and ecosystem changes as the trail climbs and shifts. What makes it special isn’t just scenery—it’s pacing and how the days are broken up.
Day 1: Soraypampa → Humantay Lagoon → Salkantay Pass
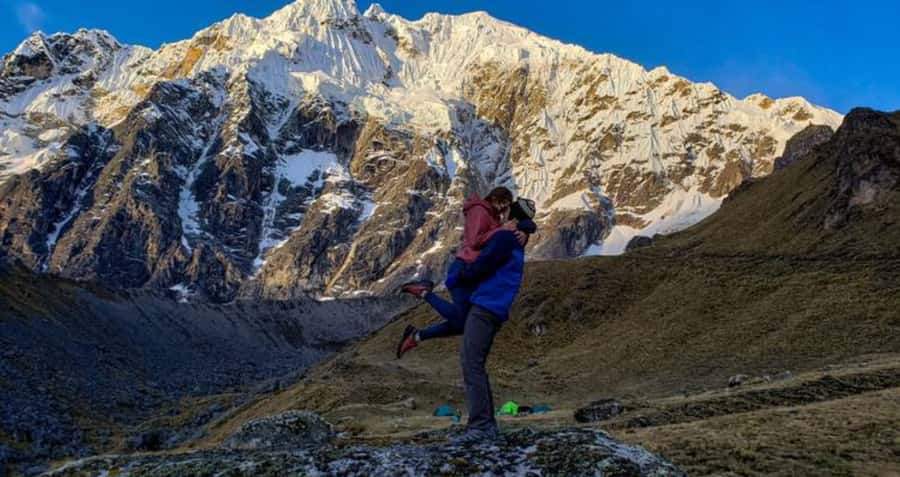
Hiking begins from Soraypampa campsite. From there, you head to Humantay Lagoon, one of the most photogenic stops on the route. The main reason I’m pointing it out is simple: Humantay Lagoon is your early “wow” moment. It’s the kind of sight that makes the effort feel worth it right when your body is still adjusting.
Then you continue toward Salkantay Pass, and after that you reach Wayracpunko. A mountain pass day can be tough even for people who hike regularly, mostly because altitude makes your breathing feel slower and your legs feel heavier. The good part: the route is structured around that reality, with support and meals handled for you.
What to watch: you’ll want sunglasses, sunscreen, and rain gear. The higher you get, the faster weather can switch. Also, if you’re hoping for sunrise-style photos, you’ll need to accept that the schedule is about hiking time, not fancy wandering.
Day 2: Wayracmachay → Chaullay → Hobbit house at Ccollpapampa Loreta
Day two continues with stops at Wayracmachay and Chaullay, then you reach Ccollpapampa Loreta for the Hobbit house night.
This is a good day for people who like the “trail-to-rest” balance. You’ll be walking, but the endpoint is genuinely different from standard camping. After the pass and the long day one, that change of scenery matters.
Mentally, you can use this day to steady your pace. If day one felt like a wake-up call, day two is where you learn your rhythm: slower uphill, consistent breathing, steady snack strategy.
Day 3: Loreta → Sahuayaku → Lucmabamba coffee farm → Llactapata camp
Day three shifts from pure mountain hiking to a more cultural and varied rhythm.
You pass through La Playa Sahuayaku, then reach Lucmabamba coffee farm. This stop is more than a souvenir chance. It’s the kind of break that gives your body a different kind of work—standing, listening, and looking instead of just stepping. It’s also a nice reminder that the Andes aren’t only about altitude drama; they’re living farming regions.
Then you end at Llactapata, described as a camp in front of Machu Picchu. Even if you’ve seen Machu Picchu photos, approaching it from the Llactapata side changes your sense of scale. You start to understand the city’s placement on the ridge—and why this whole area became a survival-and-water strategy for humans long ago.
Day 4: Llactapata lookout → Mandor waterfalls → Aguas Calientes (hotel night)
Day four starts with Llactapata lookout, then includes Mandor waterfalls, and finishes in Aguas Calientes.
This is the day that turns your route into a story: you go from mountain views to water and greenery, then down into the Machu Picchu base town. The practical value: you get to be in Aguas Calientes and sleep in a more comfortable setup before Machu Picchu day.
Also, waterfalls days tend to be cooler and wetter. That means rain gear is worth its weight and sunscreen still matters when skies clear.
Day 5: Machu Picchu day + bus to the site + ride back to Cusco
Your final day is Machu Picchu. The tour includes round-trip bus ticket to Machu Picchu, which helps you avoid the steep climb that can feel extra brutal on your last day.
Then you return to Cusco by train. The train included for the way back is Expedition class.
Even if you’re tired, I think it’s a good design. You’re not stuck hiking back and forth all day after a five-day trek. You get the site experience, then the trip home is handled.
Getting great photos: Humantay Lagoon and the Machu Picchu approach
If “best pictures” is on your checklist, this route gives you multiple shots worth planning around.
- Humantay Lagoon is your early anchor. It’s the kind of color contrast—sky, glacier light, water—that rewards being ready with sunglasses and sunscreen.
- Llactapata and the Llactapata lookout are your approach moments. The views teach you how Machu Picchu sits in the mountains, which makes your photos look more grounded and less like generic postcards.
- Mandor waterfalls add motion and depth, especially when the air is cooler.
Tip: pack your camera habits. On a trek, you don’t want to keep putting gear away every five minutes. Keep a simple system so you’re taking photos without slowing the group too much.
Price and value: what the $650 covers (and why it matters)
At $650 per person, this trek sits in the “pay for structure” category. And honestly, that’s where you want to be with Salkantay if you’re trying to enjoy the trek instead of managing a logistics circus.
What you’re paying for includes:
- Guide and English live tour guidance
- Meals: breakfast x5, lunch x4, dinner x4
- Accommodation mix: glass cabin, two camping nights, Hobbit house night, and a hotel night
- Entry fees and transportation
- Porter support, including a personal porter up to 7 kg per person
- Train back to Cusco (Expedition class)
- Machu Picchu bus tickets
- First-aid kit and oxygen tank
For value, the big levers are the meals, the lodging variety, and the porter + included transport. A self-organized version can look cheaper on paper, but once you count your time, stress, and gear issues, the “cheap” option often turns expensive.
One caution on value: some trekking comforts aren’t included. Trekking poles, sleeping bag, and air mattress are not listed as included. You also need a day pack and headlamp. If you have to buy everything last-minute, that can nudge the real cost up.
How hard is it, really? Fitness, altitude, and who should skip
This is a real trek. It includes the Salkantay Pass and several long walking days in high terrain. The tour is not suitable for pregnant women, people with back problems, heart problems, or pre-existing medical conditions.
So here’s the honest approach: if you have any health concerns that altitude can worsen, don’t “test it.” Ask your doctor first.
If you’re healthy and you hike regularly (even if you’re not a trail athlete), you’ll likely do fine with the included support and the pacing. Your biggest enemies will be dehydration, sun burn, and going out too fast. The guide and group size help, but your body still sets the pace.
What to bring: your list, turned into a trekking plan
The provided packing list is solid. Here’s how I’d translate it into what actually matters on Salkantay:
Bring:
- Hiking shoes (not soft sneakers)
- Sun hat, sunglasses, sunscreen (high altitude sun is intense)
- Rain gear (weather changes quickly)
- Thermal clothing + long-sleeved layers (nights and higher passes can feel cold)
- Insect repellent
- Towel (you’ll thank yourself later)
- Outdoor clothing you can move in
Also bring what’s specifically noted as not included:
- A day pack and headlamp
- Trekking gear you’ll be expected to use (and check whether you’ll rent anything before you go)
- Don’t forget passport
If you get one thing wrong, it’s usually footwear and sun protection. Get those right and the rest becomes easier.
Should you book this Salkantay + Machu Picchu trek?
Book it if you want:
- Salkantay’s mountain payoff with a guided, organized support system
- A small group (16 max) and fewer crowd vibes
- Comfort upgrades along the way: glass cabins, Hobbit house, plus a hotel night near the end
- Included transport, meals, and the Machu Picchu bus so you’re not piecing the trip together
Think twice (or choose something else) if:
- You have health issues or pregnancy, since it’s listed as not suitable
- You prefer ultra-light, DIY trekking where you control every detail
- You’re missing key gear like trekking poles/sleeping gear and don’t want extra pre-trip shopping
If your goal is to experience the Andes route to Machu Picchu with real structure—and still feel the mountains up close—this setup makes a lot of sense.
FAQ
What’s the duration and route for this Cusco-based Salkantay trek?
It’s a 5-day trek that includes hiking through Salkantay toward Machu Picchu, with nights in a mix of accommodations (glass cabin, camping, Hobbit house, and hotel).
How many people are in the group?
The group is limited to 16 participants.
Is pickup included from Cusco?
Yes. Pickup is included from your hotel in Cusco, and the guide comes to your hotel to pick you up.
What lodging is included during the 5 days?
Accommodation is included for 1 night at Salkantay Glass Cabañas, 2 nights camping, 1 night at a Hobbit house, and 1 night at a hotel.
Do I need a sleeping bag or trekking poles?
Yes. A sleeping bag and air mattress are listed as not included, and trekking poles are also listed as not included. A day pack and headlamps are not included either.
Is the Huayna Picchu Mountain Pass included?
No. Huayna Picchu is not included. It costs $75 per person and must be booked in advance.
How do you return to Cusco after Machu Picchu?
You get back to Cusco by train (Expedition class), and the round-trip bus ticket to Machu Picchu is included.