REVIEW · LUKLA
Everest Base Camp Trek from Lukla
Book on GetYourGuide →Operated by Peregrine Treks and Expedition P Ltd · Bookable on GetYourGuide
Lukla turns a hike into a mission. This 12-day trek through the Khumbu Valley blends classic Sherpa culture stops with real altitude grind, ending at Everest Base Camp (5,364 m). I especially like the way the route builds in acclimatization days and still keeps the pace moving, so you feel guided instead of just scheduled.
Two standout wins here: the stop at Tengboche Monastery with views of Ama Dablam, Everest, and Lhotse, and the payoff from Kala Patthar where the sunrise can feel like the whole mountain show. One drawback to plan for: the trek is demanding and not suitable for everyone, including people with heart problems or mobility impairments.
In This Review
- Key Highlights at a Glance
- Lukla to Everest: Why This Trek Feels Like the Real Deal
- Your 12 Days on the Khumbu Trail (What Each Stop Really Adds)
- Day 1: Lukla to Phakding (start easy, learn the trail)
- Day 2: Phakding to Namche Bazaar (the Sherpa capital appears)
- Day 3: Namche acclimatization (rest day with a purpose)
- Day 4: Namche to Tengboche (forests to monastery calm)
- Day 5: Tengboche to Dingboche (higher, quieter, sharper air)
- Day 6: Dingboche acclimatization (more adjustment time)
- Day 7: Dingboche to Lobuche (the scenery turns tougher)
- Day 8: Lobuche to Gorakshep, then Everest Base Camp
- Day 9: Kala Patthar at sunrise, then back to Pheriche
- Day 10: Pheriche to Namche (retrace, reset, reflect)
- Day 11: Namche to Lukla (last push)
- Day 12: Lukla back to Tenzing-Hillary Airport
- Kala Patthar Sunrise: The View You Plan Your Whole Week Around
- Tengboche Monastery and Sherpa Culture That Isn’t Just Scenery
- Tea Houses, Meals, and Porter Support (Your Energy Budget)
- Guides, Safety, and the Small-Group Comfort Factor
- Price and Value: What $466 Covers and Why Logistics Matter
- Altitude, Fitness, and Who Should Skip This One
- Practical Packing for Days 1–12 (Don’t Overpack, Do Protect)
- Should You Book This Everest Base Camp Trek from Lukla?
- FAQ
- Where does the trek start, and how do I meet the guide?
- What’s included in the $466 per person price?
- Are acclimatization days included?
- Are flights to Lukla included?
- What should I bring for the trek?
- Is travel insurance required?
Key Highlights at a Glance
- Lukla start right after pickup and flight details coordination, with day 1 focused on Phakding’s river-and-bridge trail
- Namche Bazaar time to rest, acclimatize, and browse local markets with big mountain views
- Tengboche Monastery as a calm, spiritual stop with dramatic Himalayan backdrops
- Kala Patthar early-day hike for the best angles on Everest
- Tea-house trekking support with a porter service to keep you sane on steep, higher days
Lukla to Everest: Why This Trek Feels Like the Real Deal
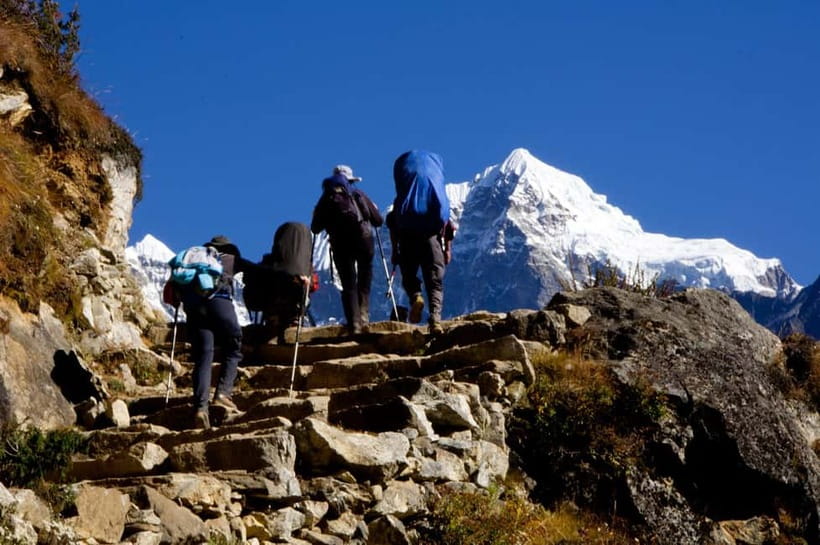
Starting from Lukla is a huge part of the appeal. That first day is all about getting your legs working on the trail while the Khumbu Valley sets the tone: river crossings, suspension bridges, and forests that gradually thin out as you climb. It’s not just scenic travel. It’s the kind of trip where each day feels earned.
I also like that this trek doesn’t treat altitude like a side quest. You get dedicated acclimatization time in Namche and again around Dingboche, which matters when you’re rising toward higher, colder country. The walking hours are given as roughly 5–7 hours most days, so you can plan your energy without guessing.
The third reason this experience works: it’s structured for the places that make Everest trekking meaningful. Namche isn’t just a checkpoint. Tengboche isn’t just another church-like building. And Base Camp isn’t a postcard stop—it’s the moment you’ve been hiking toward since Lukla.
Your 12 Days on the Khumbu Trail (What Each Stop Really Adds)
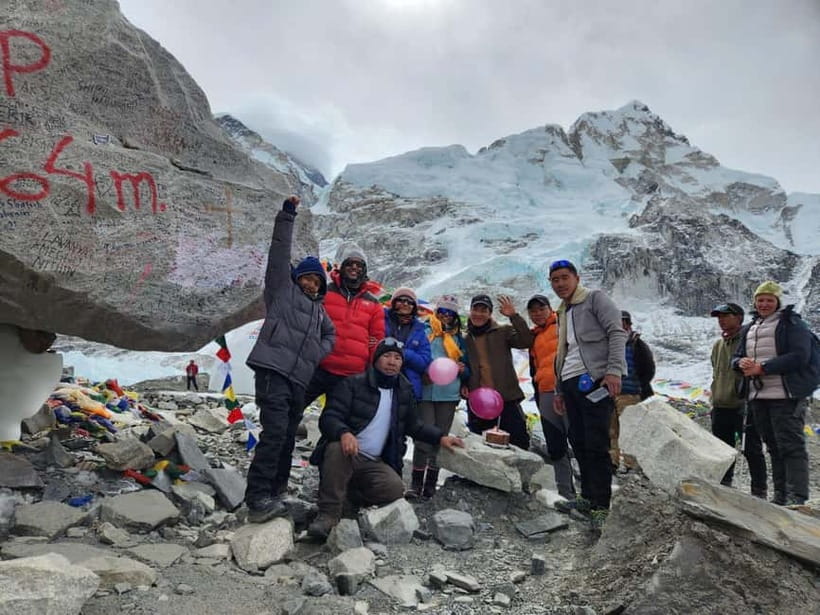
This is a classic out-and-back style route with a few key detours for views and altitude safety. You’ll be in tea houses most nights, walking daily for the planned time window, and using the guide to keep the flow smooth.
Day 1: Lukla to Phakding (start easy, learn the trail)
You’ll begin after arriving in Lukla (with the guide meeting you via your flight details). Day 1 heads to Phakding, a small village by the Dudh Koshi River. The trail includes lush forest sections and multiple suspension bridges, which is a good early lesson: you’ll start to feel how footing and balance matter on the Khumbu paths.
What to watch for: even though this is a lighter-feeling day, it sets your rhythm. If you go out too fast, you’ll feel it later—especially once altitude starts to sneak up on you.
Day 2: Phakding to Namche Bazaar (the Sherpa capital appears)
From Phakding, the route climbs to Namche Bazaar, the bustling hub for the region. I like that you’re given real time there rather than just passing through. You can rest, acclimatize, and explore local markets, and you’ll also start seeing bigger views around you (including Thamserku and Kongde Ri on clear days).
Namche works as a gear-and-stomach checkpoint too. You’re not just hiking upward; you’re building your routine: early breakfast, steady walking, and tea-house rest when the sky changes.
Day 3: Namche acclimatization (rest day with a purpose)
This is one of the smartest choices in the plan: a full acclimatization day in Namche. You’ll explore markets and take in the surrounding mountain views while your body adjusts.
If you’re the type who feels restless on rest days, use the day to your advantage. Keep moving gently, take in the sights, and don’t treat it like a free-for-all eating day. Altitude days punish both extremes: too much effort or too much junk food.
Day 4: Namche to Tengboche (forests to monastery calm)
Day 4 continues upward through rhododendron and pine forests toward Tengboche. The big emotional payoff here is the Tengboche Monastery, one of the region’s largest, and a spiritual hub for both monks and trekkers.
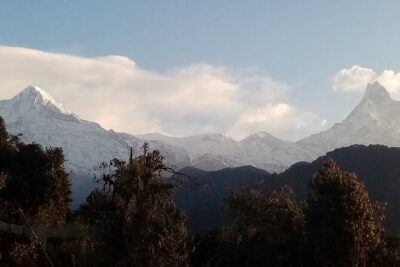
You’re also in position for standout scenery: Ama Dablam, Everest, and Lhotse in the background when visibility is good. The monastery stop isn’t just a photo moment. It’s a break in pace—quiet after hours of walking.
Day 5: Tengboche to Dingboche (higher, quieter, sharper air)
From Tengboche, you go on to Dingboche, a village around 4,410 meters. This part of the trek tends to feel more open and remote, and it’s a classic shift toward thinner air and more dramatic weather changes.
This is a great day for learning how your breathing changes with exertion. Your body asks for smaller steps and steadier effort. You’ll also find viewpoints that make early acclimatization more motivating.
Day 6: Dingboche acclimatization (more adjustment time)
Another full acclimatization day, again in Dingboche. You get time to rest and possibly take short hikes to help your body adjust.
I like having two separate altitude days built into the route rather than relying on willpower. It gives you the best chance to keep feeling strong for the harsher, higher terrain ahead.
Day 7: Dingboche to Lobuche (the scenery turns tougher)
Day 7 pushes you toward Lobuche, a more remote settlement surrounded by high peaks. As altitude rises, the landscape becomes more barren and the air feels colder. Mentally, this day can feel like a turning point: you’re closer to Base Camp, but the trail starts feeling more serious.
It’s still part of the adventure arc. The farther you go, the more each mile feels linked to Everest Base Camp as a real destination.
Day 8: Lobuche to Gorakshep, then Everest Base Camp
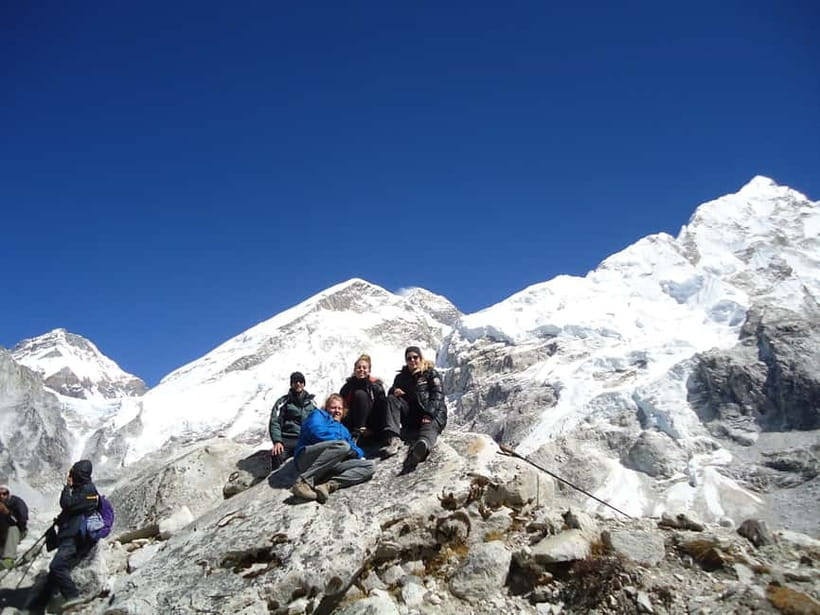
This is a long-feeling day: you reach Gorakshep and then trek onward to Everest Base Camp at 5,364 meters. Gorakshep is a kind of threshold zone before you make it to the real “we’re here” moment.
When you reach Base Camp, expect close-up drama: views of the Khumbu Icefall and the surrounding peaks. This is where the trip stops being a plan and starts being a memory you’ll replay later.
Day 9: Kala Patthar at sunrise, then back to Pheriche
If you want a top view of Everest, this is your moment. Day 9 includes a morning hike to Kala Patthar (5,545 m), often the best vantage point for the mountain’s scale. Sunrise here is famous for a reason: the light can make the peaks look unreal.
After that, you trek back to Pheriche for the night. This day is worth respecting. Going high early takes energy, and then you still have a downhill trek afterward.
Day 10: Pheriche to Namche (retrace, reset, reflect)
You head back through the villages toward Namche. This is a mental breather because you already know the route, but it’s still climbing-and-descending work.
I like this day for reflection. You see the same places again with fresher attention—often clearer, calmer, and more meaningful after the altitude effort you just made.
Day 11: Namche to Lukla (last push)
Back to Lukla for your final night on the trail side. This is where you’ll feel the difference between being excited and being tired. Keep walking steady and don’t rush just because the finish is near.
Day 12: Lukla back to Tenzing-Hillary Airport
The trip ends with arrival back at the airport. Your guide is already in the loop from the start, since you share flight details and get pickup coordination.
Kala Patthar Sunrise: The View You Plan Your Whole Week Around
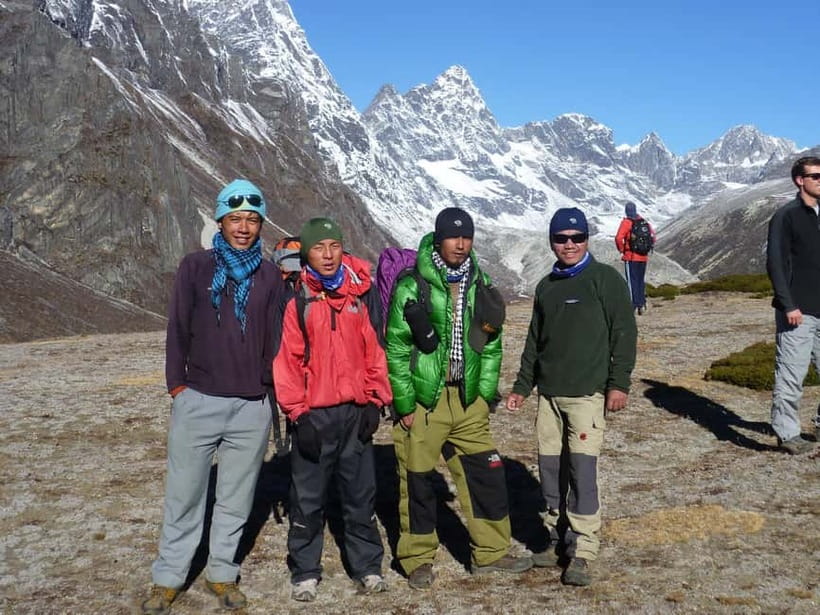
Kala Patthar isn’t just scenic. It’s a payoff. You’re aiming for a specific vantage point, and it’s tied to one of the few times in trekking when timing matters almost as much as altitude.
From Kala Patthar, you get an excellent look at Mount Everest and the surrounding giants, and the sunrise timing is often the highlight of the trek. Expect cold mornings and an early start, but the effort tends to feel justified because the view is the kind of image you can’t fully capture on a small screen.
Practical angle: treat this day as a priority for good behavior. Don’t burn energy on unnecessary detours. Save your focus for getting up safely, then enjoy the view when you’re there.
Tengboche Monastery and Sherpa Culture That Isn’t Just Scenery
The route is designed to touch Sherpa life in real places, not just through window dressing. Namche Bazaar puts you in the middle of the region’s everyday rhythm—markets, services, and the social hub feel of a trekking hub. Then Tengboche adds a quieter layer: the monastery’s spiritual role in the community.
I like having both. One day you’re surrounded by activity and commerce; the next day you step into a calmer space where the air feels different. You’ll likely notice how people live with the mountains nearby—through work, trade, faith, and guiding.
Also, visiting Tengboche at the right time in your climb matters. You’re high enough for meaningful views, but not yet at the hardest section. That balance makes the monastery stop feel rewarding rather than rushed.
Tea Houses, Meals, and Porter Support (Your Energy Budget)
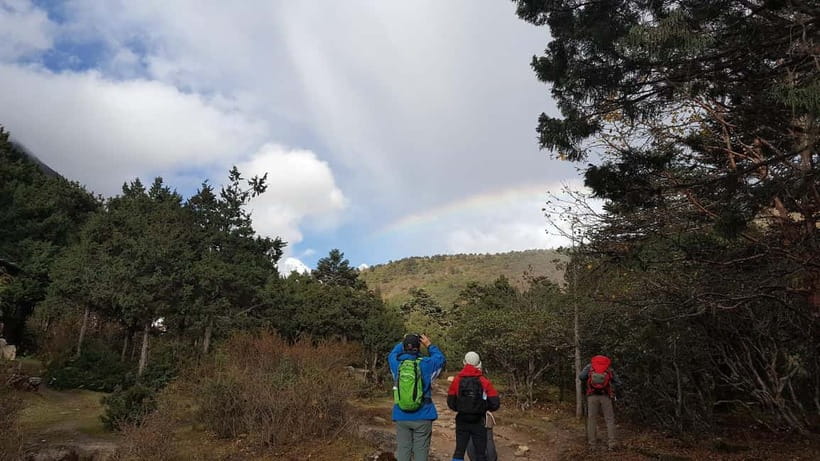
Tea houses are basic. That’s part of the deal. The good news: you’re not going in blind. Accommodation in tea houses is included, and you also get a porter service plus a guide.
Porters matter more than many people think. They carry your gear, which means you can keep your focus on your own pace and breathing. With steep, tiring days ahead—especially when you’re moving toward Gorakshep and Base Camp—that support can be the difference between feeling strained and feeling controlled.
Food is another key piece of energy budgeting. Meals aren’t listed in the included section, but support for meals is part of how this experience is delivered, and people who went on recent trips specifically praised meals like dal bhat for keeping them fueled. Still, plan for personal expenses like drinks and extra items since you’ll be buying some things along the way.
Tea-house reality check: there are no wild hotel expectations here. But if you accept the simplicity, you’ll likely enjoy the rhythm of trekking life—walk, eat, warm up, sleep, repeat.
Guides, Safety, and the Small-Group Comfort Factor
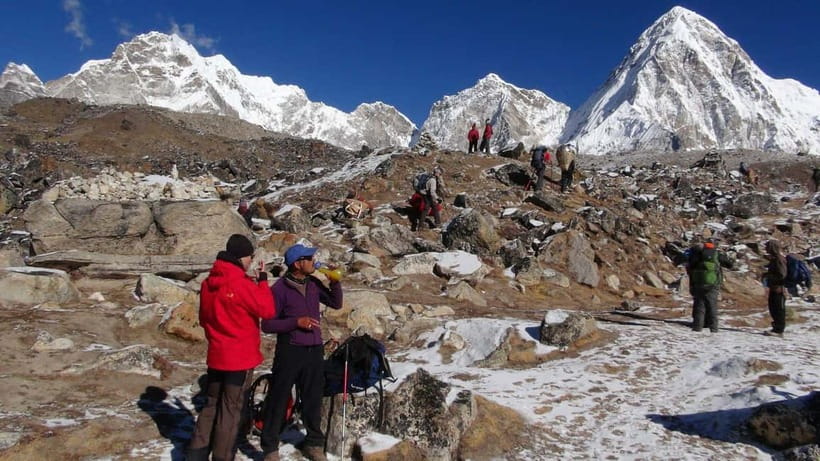
This is a small-group trek limited to 10 participants, which I consider a real quality-of-experience detail. Smaller groups generally make it easier for guides to manage pace, check on people, and handle the little issues that pop up in mountain travel.
You get a professional English-speaking guide and a first aid kit. That matters when conditions shift quickly in the Himalayas, because weather can change fast and you need your plan to flex.
The human support has come through in recent accounts. One guide named Tirtha was praised for keeping everything smooth, and Pradip was mentioned as part of the team. Also, you’re likely to get prep communication—WhatsApp meetings were referenced as a way people got ready before leaving.
Bottom line: Everest trekking is physical and atmospheric. You want a team that helps you handle both.
Price and Value: What $466 Covers and Why Logistics Matter
The price is $466 per person for 12 days, and it includes several big cost categories:
- Professional English-speaking guide
- Tea-house accommodation
- Permits and entrance fees
- Porter service
- First aid kit
- Applicable taxes
What’s not included is just as important:
- Flights (you can issue tickets online; assistance may be offered)
- Travel insurance
- Personal expenses like laundry, beverages, and internet
- Visa fees
Here’s how I think about value for this trek: you’re paying for the operational backbone. If you tried to DIY it, you’d still need permits, a guide, tea house planning, and porter logistics. This package bundles those moving parts, which lets you focus on the trail instead of spreadsheets.
One extra cost you should budget for mentally: travel insurance that covers high-altitude trekking. The trek goes well above 5,000 meters at key points, and insurance isn’t something you want to guess on.
Altitude, Fitness, and Who Should Skip This One
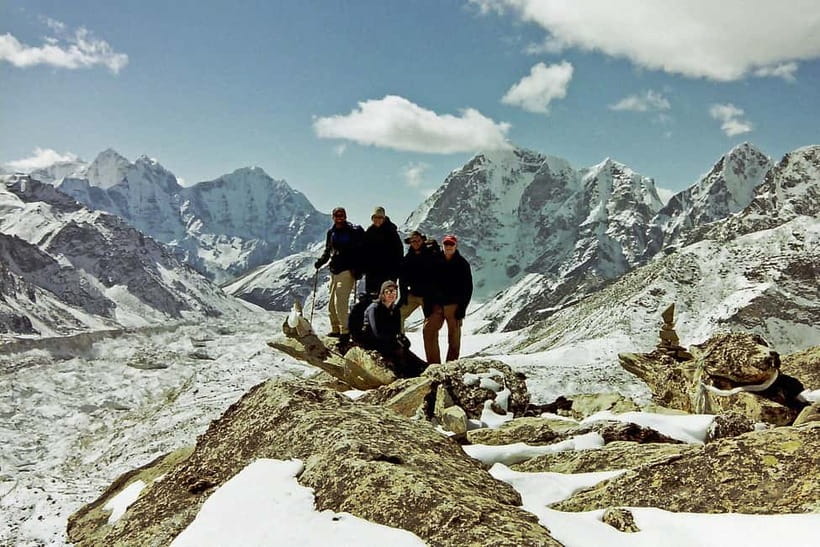
This trek involves daily walking for about 5–7 hours and includes altitude acclimatization days. Still, it’s not an easy walk. The terrain changes from forested paths to higher, more barren sections, and cold mornings (especially around Kala Patthar) can hit harder than you expect.
It’s not suitable for:
- Pregnant women
- People with mobility impairments
- People with heart problems
- People prone to seasickness
If any of those categories apply, it’s worth choosing a different kind of trek. You’re going to be breathing thinner air for days, not just hiking at higher altitude.
Fitness-wise, the key is steady effort. You don’t need to be a runner, but you do need stamina for long days and a comfort level with cold.
Practical Packing for Days 1–12 (Don’t Overpack, Do Protect)
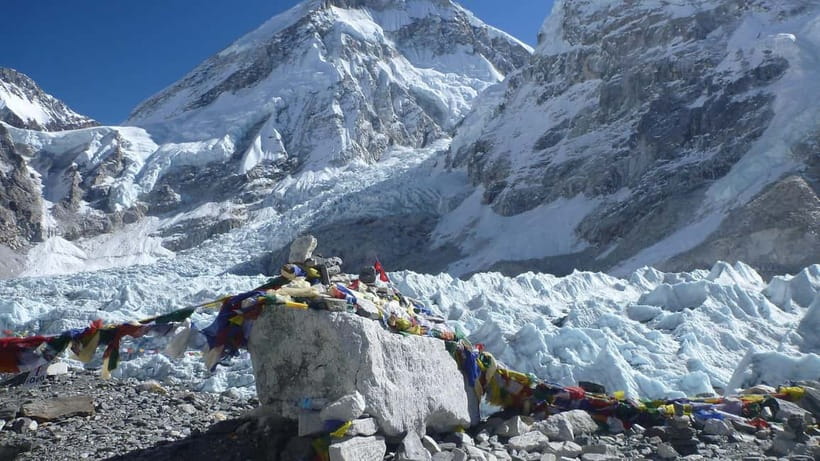
Based on what’s recommended for the trek, pack with cold mornings, sun, and basic hiking comfort in mind:
- Comfortable shoes
- Warm clothing
- Hat
- Camera
- Snacks
- Sunscreen
- Water
Also, remember the rule basics: alcohol and drugs aren’t allowed, and littering is a no. That’s not just ethics—it’s how the trail stays functional for everyone.
One planning tip: carry local currency for personal expenses because ATMs are scarce beyond Namche Bazaar. This is a common pinch point, and having cash ready keeps you from scrambling when you’re tired.
Should You Book This Everest Base Camp Trek from Lukla?
If you want an Everest Base Camp trek that’s built around sensible acclimatization, strong day-to-day support, and the key cultural stops, this is a good match. The small group size, porter help, and guide support make a real difference when fatigue and altitude start stacking.
I’d especially consider booking if you care about getting to Kala Patthar for sunrise and you want Tengboche Monastery to be part of the experience rather than an afterthought. The operational pieces—permits, tea houses, porter service, and first aid—reduce the friction that can turn Everest trekking into stress.
Skip it if you don’t want strenuous high-altitude days, or if it’s medically not right for you. And if flights are a worry, remember flights aren’t included, so confirm your air plan early.
FAQ
Where does the trek start, and how do I meet the guide?
The meeting point is Tenzing-Hillary Airport. You share your flight details in advance, and the guide will pick you up from the airport.
What’s included in the $466 per person price?
The package includes a professional English-speaking guide, tea house accommodation, permits and entrance fees, porter service, a first aid kit, and applicable taxes.
Are acclimatization days included?
Yes. The plan includes acclimatization days in Namche Bazaar and Dingboche.
Are flights to Lukla included?
No. Flights are not included. You can issue your flight ticket online, and the provider says you can email for assistance.
What should I bring for the trek?
Bring comfortable shoes, warm clothing, a hat, a camera, snacks, sunscreen, and water.
Is travel insurance required?
Travel insurance isn’t included, and you should ensure your policy covers high-altitude trekking.