REVIEW · USHUAIA
USHUAIA: TREKKING IN LAGUNA DE LOS TÉMPANOS AND VINCIGUERRA GLACIER
Book on GetYourGuide →Operated by Explore Tierra del Fuego · Bookable on GetYourGuide
Glaciers feel real on this Ushuaia hike. This trek layers Andorra Valley wetlands, a native forest climb, and then a long walk to Laguna de los Témpanos on the Vinciguerra glacier. What I love most is that you do not just look at ice; you walk close enough to feel it, spot crevasses up close, and appreciate how the glacier shapes the whole area. I also like the built-in break: lunch beside the ice gives you a calmer, colder kind of wow, and the tea with the box lunch makes it feel complete.
One caution: the most dramatic ice-cave style moments can depend on season and conditions. If you are going in warmer months, you might get stunning glacier views and crevasses, but you may not see every cave or interior-river feature that the description promises.
In This Review
- Key things to know before you go
- What Makes the Vinciguerra to Témpanos Hike Special
- Glaciar Vinciguerra and the 7-Hour Trek Rhythm
- Andorra Valley Peat Bogs: The Start of the Wet-Forest Story
- Native Forest Climb to the Vegetation Limit
- Waterfall Viewpoints and the Turning Point Toward Ice
- Laguna de los Témpanos: Photo Time, Ice Giants, and the Hard Part
- Walking the Glacier Edge: Crevasses, Caves, and Lunch on the Ice
- Gear, Boots, and Staying Warm When Ushuaia Weather Gets Tricky
- Group Size, Guides, and Real-World Value for $170
- Who This Trek Suits Best (and Who Should Skip It)
- Should You Book This Ushuaia Glacier Trek?
- FAQ
- How long is the trek and how much time do I spend hiking?
- Is pickup from my accommodation included?
- What’s included in the price?
- What do I need to bring for this activity?
- Will I definitely see ice caves and internal rivers?
- Who is this trek not suitable for?
Key things to know before you go
- Small group (max 10): More guide attention when footing gets tricky or weather turns.
- About 450 minutes total: Roughly 7 hours hiking, plus van transfers.
- Wetlands → forest → ice: The route changes every phase, so the day never feels monotonous.
- Lunch by the glacier: A real pause at the ice edge, not just a stop along the trail.
- Poles and crampons if needed: Helpful for grip and stability on icy or slushy stretches.
What Makes the Vinciguerra to Témpanos Hike Special
This is the kind of day-trip hike that stays interesting because the terrain keeps rewriting itself. You start in wet ground, shift into a colder native forest climb, and then end up working your way into the glacier zone where the rules change. The payoff is not just scenery. It is scale: you learn how the glacier interacts with water, cracks, and ice caves, then you sit down for lunch right at the place those features are happening.
Another thing I appreciate is the structure of the experience. The ascent is broken into phases: first you gain altitude through forest and wetland edges, then you reach the limit of vegetation, then you push the hardest climb toward the lagoon. That matters because it helps your body pace the day. You are not just going straight up to ice; you are building toward it.
And in case you are wondering what kind of “close-up” you are getting: this trek is designed so you can reach the foot of the glacier and observe it closely from there. Crevasses and the cave zones are part of the plan when conditions allow, and the guide’s job is to help you notice what you would miss on your own.
You can also read our reviews of more tours and experiences in Ushuaia.
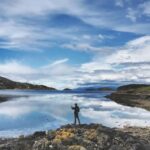
Glaciar Vinciguerra and the 7-Hour Trek Rhythm
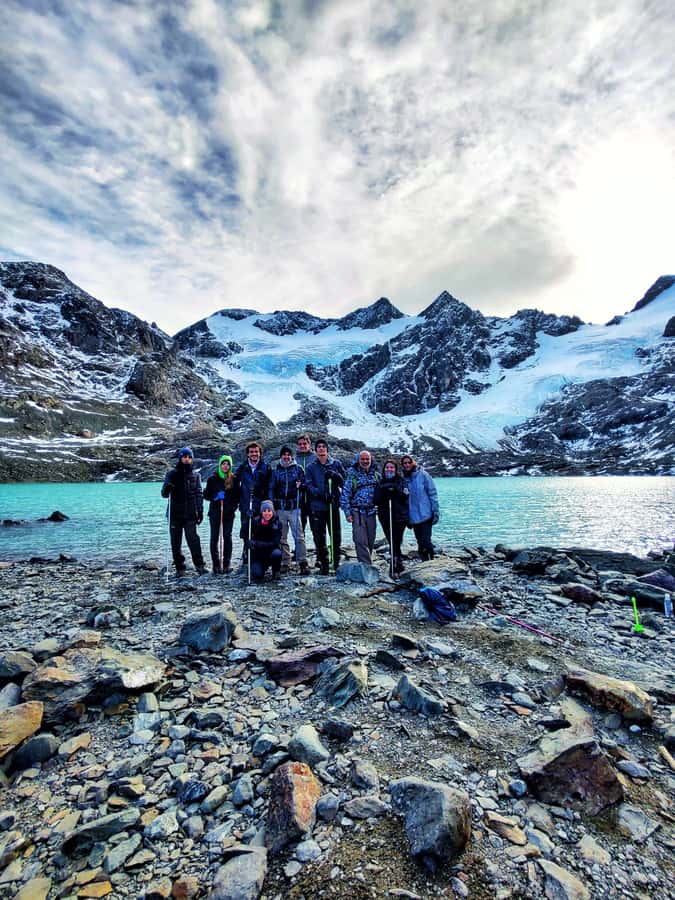
From Ushuaia, you drive out to the Vinciguerra area, then you settle into a full hiking day. The total time is about 450 minutes, but the walking chunk is roughly 7 hours. That balance is good if you want a real trek without spending the whole day in transit.
What helps most is the pacing culture. In rain or poor visibility, having a guide keep an eye on the group makes a difference. One traveler specifically noted that the guide stopped regularly to check everyone was okay, and that safety feeling matters on glacier-side terrain. If you tend to rush when it is slippery, you will probably appreciate the guided rhythm that keeps you moving without burning matches too early.
Also, think of this hike as a “round-trip workday,” not a stroll. The operator makes it clear the route is difficult and assumes you can keep a hiking pace for about 14 km total (round trip). If you train a bit before you arrive, you will enjoy the views more and suffer less.
Andorra Valley Peat Bogs: The Start of the Wet-Forest Story
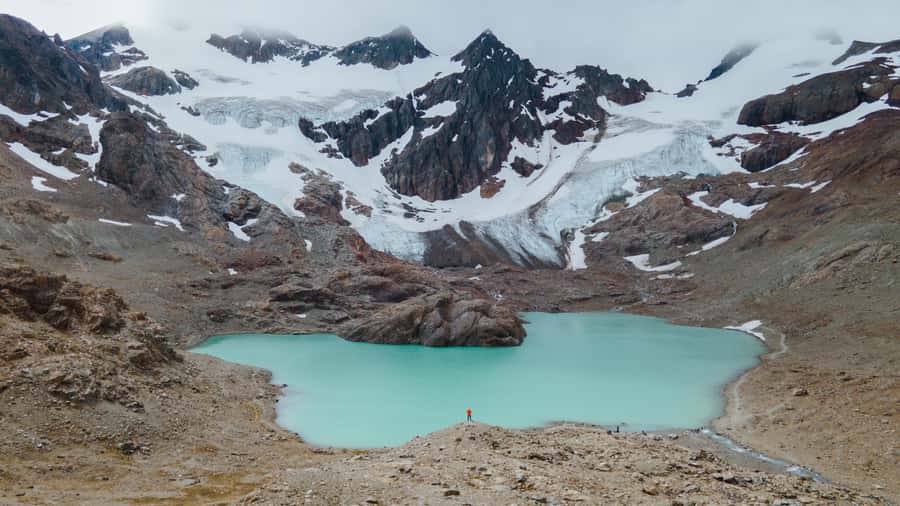
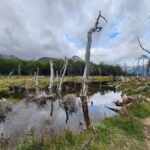
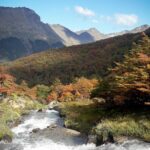
Your day begins with a walk through the Andorra Valley, where the peat bogs set the tone. This part of Tierra del Fuego has a wet, spongy look that can be hard to understand until you are standing in it. The peat bogs, plus a thawing river cutting through the area, create those early wide-open views that feel like a breath before the climb starts.
Why this matters: wetlands are not just “scenery.” They are a living system that shows how water flows and freezes in this region. Even if you do not study ecology, you can read the landscape by how the water moves and how the trail sits in it. This is also where you get your first hints of how cold the glacier environment is, because the thawing river is basically a reminder that ice and water are linked here.
Then comes the transition: the route heads toward ascent through native forest. That shift from wet ground to forest footing is not random. It is the day’s first big theme change, and it helps you mentally prepare for the heavier climb later.
Native Forest Climb to the Vegetation Limit
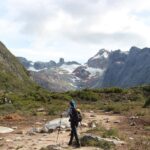
After the peat bog start, you move into the native forest and begin the ascent toward the limit of vegetation. This is the phase where your legs start to feel the day, but the visuals also get stronger because the trail is steadily gaining height.
This “vegetation limit” idea is useful to keep in mind. In the far south, the tree line is not just an aesthetic line; it is a boundary created by cold, wind, and growing conditions. When you reach that edge, you usually feel it in the air and in how exposed the views become.
Soon, you come to a thawing waterfall and a short rest on the banks of the stream. That break is not just for comfort. It is your body’s cue that you have climbed into a new zone—one where melting water is active and the glacier presence becomes more obvious in the distance. If you are someone who needs steady visual motivation, this is a nice moment. You get a rest, then you look back (and ahead) to see what you are building toward.
Waterfall Viewpoints and the Turning Point Toward Ice
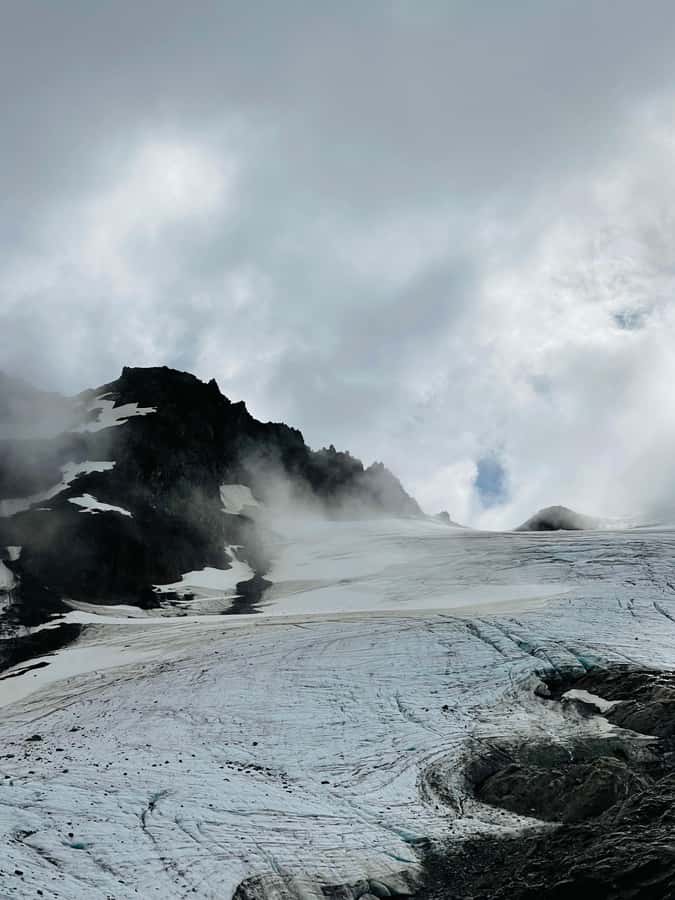
Once you reach the rest spot by the stream, the glacier starts to show more clearly. This is a key moment in the day because it shifts your focus from “getting there” to “what it will actually look like.”
From here, the trek continues with the last and most demanding ascent. If the earlier climb was about steady effort, this final push is about staying focused and not overreaching. On glacier-adjacent hikes, the wrong pace can make you sloppy. Sloppy means you burn energy and lose confidence on footing.
In many cases, rain is the thing that turns a hike into a test. One traveler described rain in the morning making the trek more difficult, but they still felt safe because the guide managed the pace and checked everyone. You should assume that wet weather is possible, so you will be happiest if you keep your clothing ready for cold damp conditions and your steps steady.
Once that last ascent is done, the day pays off fast: you arrive at the lagoon and the views open up in a way that makes the hardest part feel worth it.
Laguna de los Témpanos: Photo Time, Ice Giants, and the Hard Part
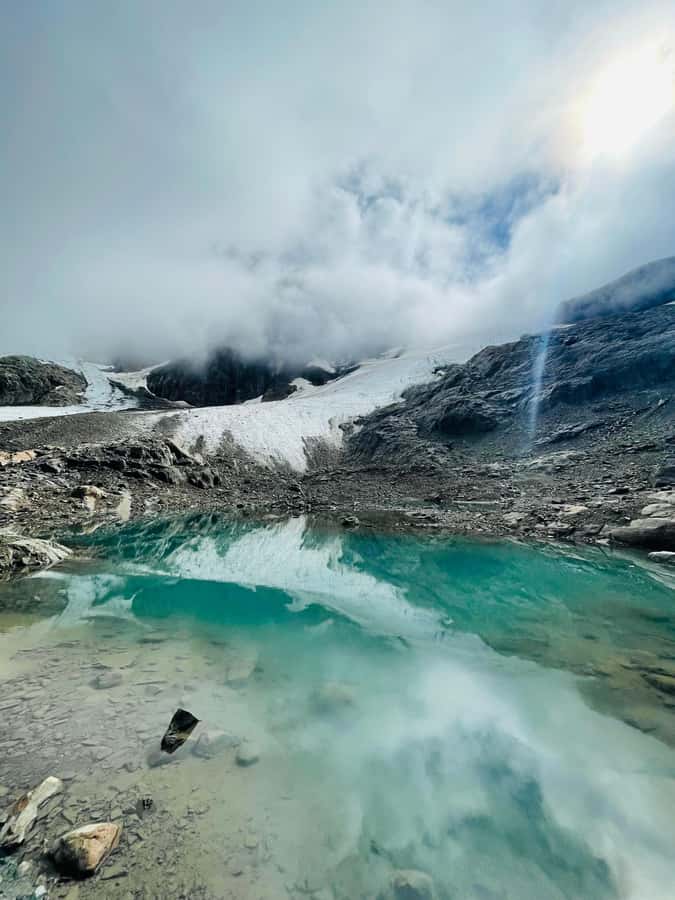
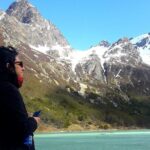
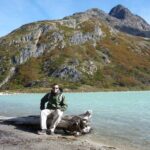
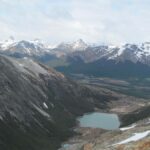
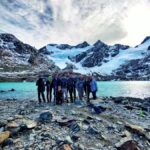
Laguna de los Témpanos is where the day stops feeling like a hike and starts feeling like an event. When you reach the lagoon, you take time to appreciate it and take pictures. There is a reason you are given that moment: the lagoon isn’t static. Icebergs and glacier fronts change appearance as the light shifts, and the scale is hard to grasp until you stand there with time to look.
You also get to see an ice giant on the other side of the water. That phrase is not just poetic. It reflects the reality that glacier ice can look like a towering sculpture, not a flat sheet. It is one of those visuals that makes you understand why people come to this region even when they know it will be cold.
What I like about this stage is that it is not rushed. You are not marched through it like a checklist. Instead, you get the chance to slow down and let the guide point out what matters visually. If the weather is foggy or rainy, this is still valuable because the guided observations help you locate features even when the horizon looks washed out.
Then you move on: about 20 minutes of walking along the lagoon brings you to the foot of the glacier. That stretch is short, but it is important because it gets you into the zone where the glacier feels immediate.
Walking the Glacier Edge: Crevasses, Caves, and Lunch on the Ice
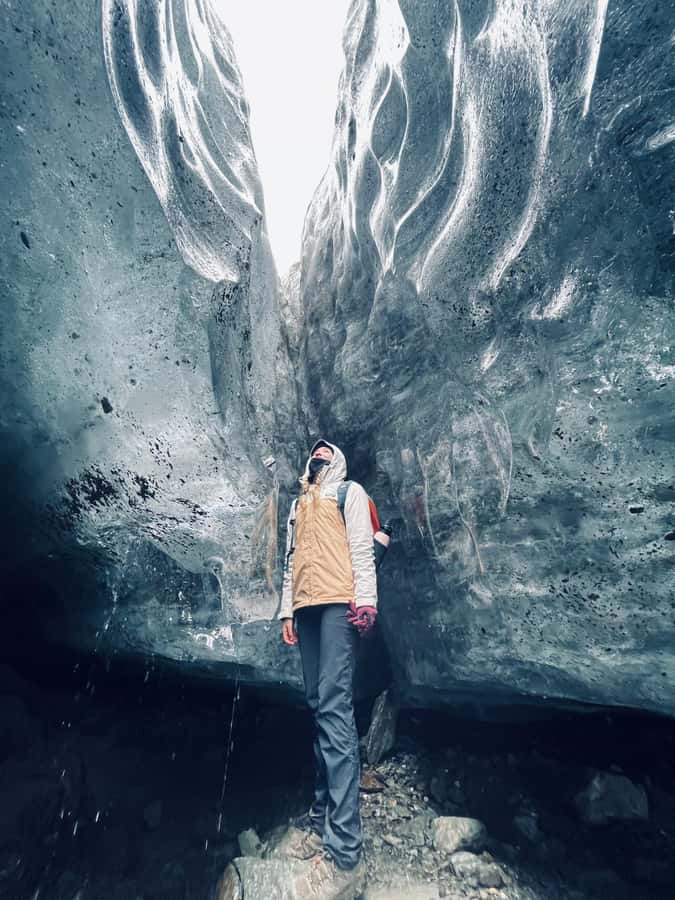
At the foot of the glacier, you get the kind of close contact most people only see in documentaries. The plan is to help you feel the ice, see crevasses, and observe cave formations generated by the glacier. Depending on conditions, you may also hear internal rivers. This is one reason expectations matter: the description includes dramatic cave and internal-river moments, but seasonal conditions can affect what you actually notice up close.
Either way, the crevasses are the main thing you should focus on. They show stress, movement, and the glacier’s internal structure. You will likely see them best from angles where the guide directs your attention. If you rush and stare generally, you can miss how detailed the cracking patterns can be.
Then comes lunch, one of the most practical and enjoyable parts of the day. You sit next to the glacier, enjoy the box lunch, and there is tea as part of the break described by a past guest. Taking food and warmth right at the ice edge changes the whole experience. It turns the glacier from a visual object into a real place you are part of, even if only for a short pause.
After lunch, you start the descent back down the mountain. The return is usually where you either feel tired and careful… or careless and overconfident. If you keep your steps controlled, the way down can still be satisfying because you are seeing your route from a new angle.
Gear, Boots, and Staying Warm When Ushuaia Weather Gets Tricky
This trek has one blunt rule: warm clothing and trekking boots are mandatory. The operator also provides trekking poles and crampons if necessary, which is a big help. But you should not rely on provided gear to solve everything. Boots, insulation, and weather protection are on you.
Plan for cold and damp. Even if it is not snowing, you can get wet from puddles, mist, or rain. A traveler noted rain in the morning, and the hike felt more difficult then, but they felt safe because the guide checked in regularly. Rain often means slower footing, more slipping risk, and colder hands and feet. Dress to keep moving while staying warm.
Practical packing tips that match the terrain:
- Layer like you mean it. Cold in the forest and cold near the glacier do not feel identical.
- Waterproof outer layer matters more than you think.
- Bring gloves and something for your head; wind off water can bite.
- Keep your pace steady. The hike is long enough that fatigue shows up in your balance.
If you are unsure whether your boots are up to it, trust your gut. This is not the place for flexible soles or worn tread.
Group Size, Guides, and Real-World Value for $170
The price is $170 per person, and what you are really paying for is access and expertise. This is not a self-guided “walk to a view.” It is a full-day mountain hike with specialized mountain tour guides, pickup transfers, a box lunch, plus trekking poles and crampons if necessary. And the group is limited to 10 people, which keeps the hike safer and more personal.
I also like that the day includes door-to-door pickup from accommodations. In Ushuaia, cutting down the hassle of meeting points is not glamorous, but it makes the whole experience smoother. You arrive, you start hiking, you get back without extra logistics eating your energy.
Guides do more than point. They help you interpret what you are seeing—especially at the glacier edge where crevasses and cave zones are easy to overlook. One traveler described the guides as excellent and praised how they answered questions throughout the day. That kind of interaction matters because it turns the walk into a learning experience without turning it into a lecture.
So is $170 a deal? If you want close-up glacier contact, a real hike of about 14 km round trip, and the safety structure that comes with a small group and mountain guides, yes. If you only want a photo from afar, it may feel like more effort than you need. But for people who want to actually walk into the glacier environment, it matches the experience.
Who This Trek Suits Best (and Who Should Skip It)
This hike is not for casual walkers. The operator explicitly notes difficulty and requires good physical condition, plus the ability to sustain a walking pace in the mountains for about 14 km round trip.
It is also not suitable for children under 12 or wheelchair users. If your mobility is limited, this is the wrong format.
Who it fits well:
- Hikers who can handle uphill walking for most of the day.
- People comfortable with changing terrain: wetlands, forest, stream edges, then glacier-adjacent ground.
- Anyone who values small-group guidance and wants to ask questions while walking.
Who should skip or reconsider:
- If you know you cannot keep a steady hiking pace for a full day.
- If you are going for very specific ice-cave viewing expectations that are highly seasonal. You might still see plenty, but you should be flexible.
Should You Book This Ushuaia Glacier Trek?
Book it if you want a real glacier experience you can feel: walking to the foot of the glacier, observing crevasses up close, and spending lunch time right beside the ice. The small-group size and door-to-door pickup add real comfort on a long day, and the provided poles plus possible crampons help you manage conditions.
Consider skipping or picking another option if ice-cave viewing is your top priority for a specific month. Some of the dramatic cave and internal-river moments can be seasonal, so you should expect an incredible glacier day even if every promised feature does not show.
If you are physically ready, dress properly for cold damp weather, and keep your expectations flexible, this is the kind of trek that turns Ushuaia from a name on a map into a place you remember.
FAQ
How long is the trek and how much time do I spend hiking?
The total duration is about 450 minutes (roughly 7.5 hours), with about 7 hours spent hiking during the guided glacier hike.
Is pickup from my accommodation included?
Yes. Pickup and transfers are included, and the operator picks up all passengers for their accommodation.
What’s included in the price?
The price includes transfers, specialized mountain tour guides, box lunch, and trekking poles and crampons if necessary.
What do I need to bring for this activity?
You must bring warm clothing and trekking boots. Weather-appropriate clothing is also required.
Will I definitely see ice caves and internal rivers?
The description includes ice-cave and internal-river features, but some guests have noted that these can be winter-time only. You might not see every feature outside the right conditions.
Who is this trek not suitable for?
It’s not suitable for children under 12 and not suitable for wheelchair users. The hike is difficult, so you should be in good physical condition and able to sustain a mountain walking pace for about 14 km round trip.