REVIEW · SENGGIGI
Mount Rinjani: Trekking Summit Full Sunrise Point Join Tour
Book on GetYourGuide →Operated by Rinjani Trekking Information official · Bookable on GetYourGuide
Mount Rinjani sunrise on the summit sounds epic, but what makes this trip practical is the way it’s staged, from Sembalun’s open meadows up to a crater-rim camp with big night-sky views. I like that you sleep by the crater rim so the hard work is spread out, not dumped all at once. I also like the clear photo payoff: you reach the summit at 6:00 am and can catch the sunrise plus wide panoramas. The main drawback is simple: you’re up very early both mornings, and the final section to the top includes steep, loose volcanic scree.
What you’ll likely notice first is the rhythm of the trek—shorter segments with defined posts, then a longer push at night. You’ll also get solid support built into the tour: a guide, porter help for camping gear, and equipment that removes a few expensive shopping headaches. If you hate camping or you’re not comfortable with repeated early starts, this may feel like too much.
The good news: the itinerary is designed to help you keep moving steadily while still reaching the summit. And because the route starts in Senaru and transfers to Sembalun, you get a classic Rinjani staging that many people find more manageable than jumping straight into the steepest parts.
In This Review
- Key highlights and what matters on the ground
- The Rinjani sunrise route: what you’re really signing up for
- Day 1 from Senaru to Sembalun meadows, trail posts, and crater-rim camp
- The meadow start and why it’s a smart pacing trick
- Pos 1 and Pos 2: shorter milestones, less guesswork
- Lunch at Pos 3 and the shift toward the crater rim
- Camping by the crater rim: the payoff and the trade-off
- Day 2: the 2:00 am wake-up, summit at 6:00 am, then the long descent
- The night climb: moderate first, then longer, then steep scree
- Summit at 6:00 am: the views you came for
- Descend to the rim, then down to Sembalun village
- Views and photo moments: how to get the most out of dawn
- Gear and clothing: what’s included versus what you must bring
- What you still need to bring
- Price and value: what $134 covers and what you must budget separately
- Costs not included to plan for
- How the tour runs day-to-day: support, pace, and service that feels human
- Who this Rinjani full sunrise trek suits best
- Should you book this Mount Rinjani sunrise summit trek?
- FAQ
- What time does the trek start on day 1 from Sembalun?
- What time do you wake up on day 2 for the sunrise summit?
- When do you reach the summit and watch sunrise?
- What’s included in the price?
- What’s not included in the tour price?
- Is an entrance fee required, and how much is it?
- What languages is the guide?
- What’s the meeting time and where does the tour end?
Key highlights and what matters on the ground
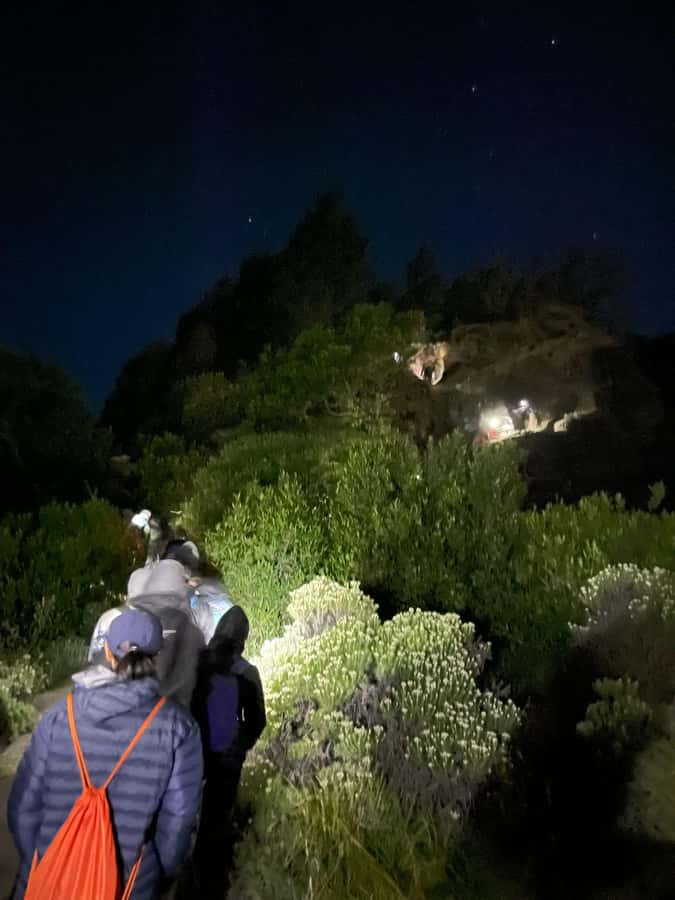
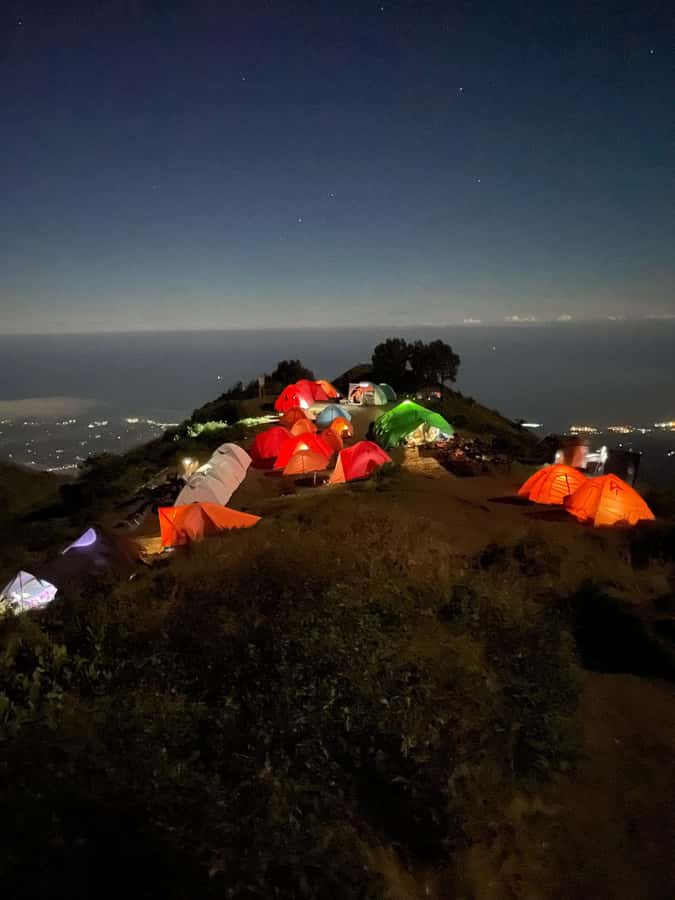
- Crater-rim camping at Sembalun for a night-sky view and an easier launch into the sunrise summit push
- Summit timing for sunrise: start around 3:00 am and reach the top at 6:00 am
- Structured trail with posts and lunch on day 1, including Pos 1 (1300 m), Pos 2 (1500 m), and lunch at Pos 3 (1800 m)
- Photo moments built in, including summit pictures and crater-rim views
- Guided support in English with porter assistance for camping equipment
The Rinjani sunrise route: what you’re really signing up for
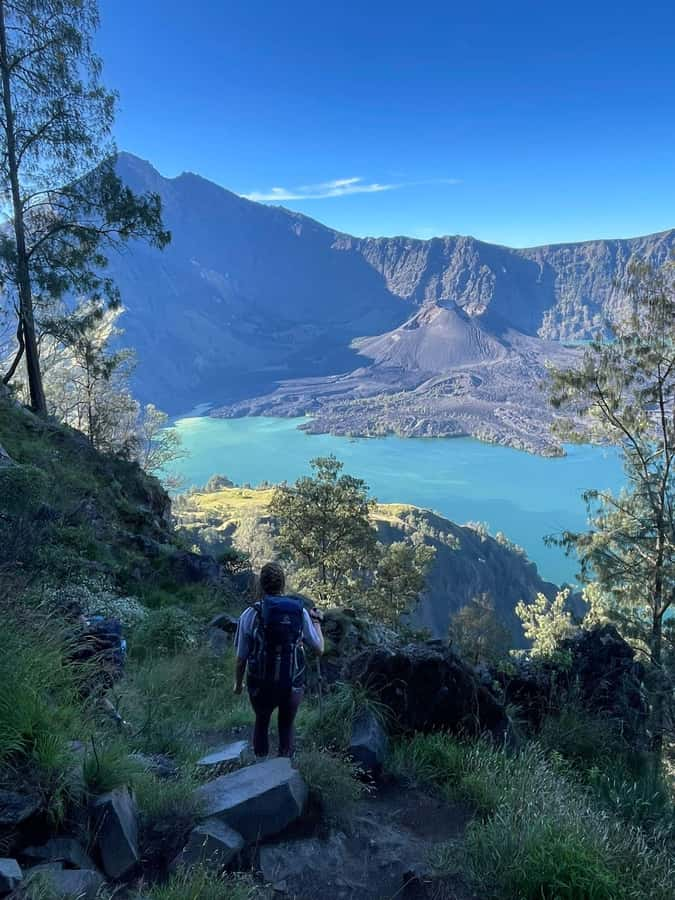
This is a Mount Rinjani 2 days / 1 night summit trek with a “full sunrise point” focus, meaning the schedule is built around getting you to the summit at dawn. The prize is not only the summit number—Rinjani tops out at 3,726 m, the second-highest mountain in Indonesia—but also the sight lines: on a clear morning, the views stretch across Lombok, Bali, Sumbawa, and toward Segara Anak Lake.
What I like about the structure is that it respects how altitude and fatigue stack up. Day 1 climbs progressively from about 601 m up toward the Sembalun crater rim at 2639 m, so your body gets time to adjust before the summit night. Then day 2 switches into “function mode”: minimal delay, headlamp-in-the-dark footing, and a steady summit approach.
This is also a tour where “authentic” is mostly about atmosphere, not comfort. You’re camping outside, living on mountain meals, and walking on volcanic terrain that isn’t dressed up for tourists. If that appeals to you, the whole experience clicks.
Day 1 from Senaru to Sembalun meadows, trail posts, and crater-rim camp
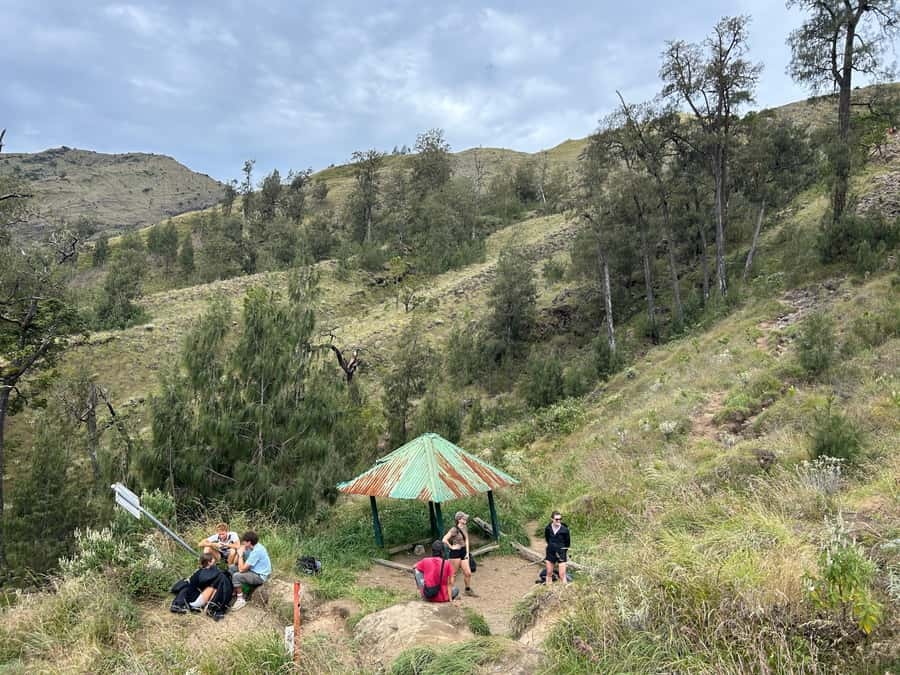
Your day begins with a morning wake-up around 6:00 am and breakfast, then a transfer to Sembalun (about 1100 m). You’ll register at the Rinjani information center before the trek really starts. The first big win here is the warm-up terrain: trekking starts around 8:00 am with a gentle climb through open meadow.
The meadow start and why it’s a smart pacing trick
That early meadow section matters. It helps you settle into the pace and find your rhythm before the steeper segments. It’s the kind of walking where you can breathe, check footing, and not feel like you’re already burning your legs.
Pos 1 and Pos 2: shorter milestones, less guesswork
After about 2 hours, you reach Pos 1 (1300 m). Then it’s another 40 minutes to Pos 2 (1500 m). The value of those stops is mental. Instead of “infinity uphill,” you get checkpoints that keep the day feeling trackable.
Lunch at Pos 3 and the shift toward the crater rim
Next comes Pos 3 (1800 m), where you’ll have lunch and a rest. From there, you continue toward the Sembalun crater rim (2639 m). The climb to the rim takes about 3 hours, and it includes a more prolonged steep section.
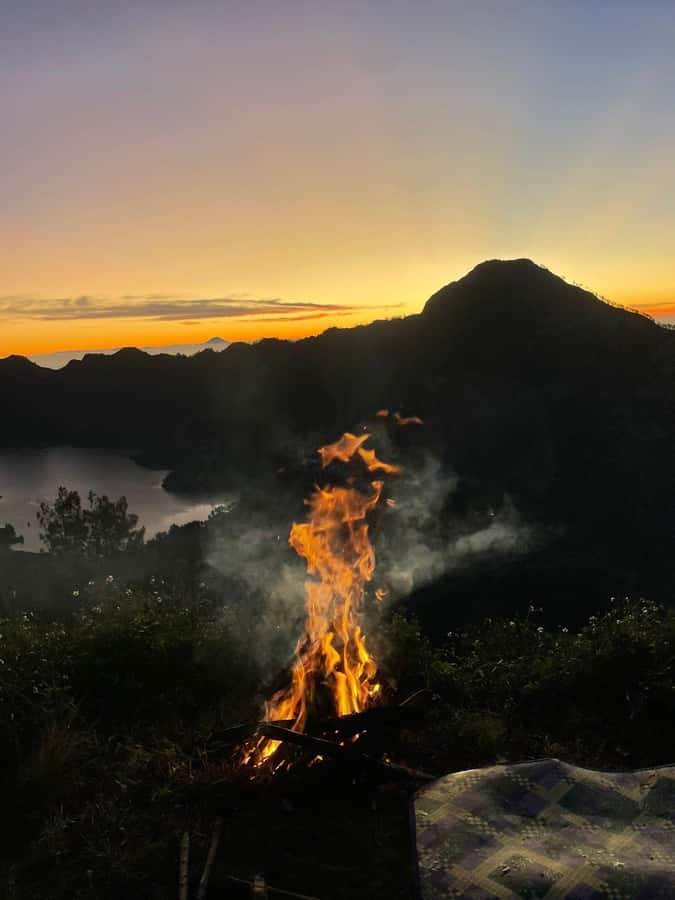
This is also where the crater rim starts to feel like a destination, not just a place to sleep. Once you arrive, the schedule gives you room to enjoy views of both sunset and sunrise possibilities from where you camp. And yes, the night-sky part is a real highlight: this tour specifically calls out sleeping under the stars at the campsite by the crater rim.
Camping by the crater rim: the payoff and the trade-off
Camping on the rim is the emotional center of day 1. You’re close to the dramatic volcano setting, and you get that open-air night sky. The trade-off is that you’re on a trekking timetable, not a comfort timetable. If you’re expecting hotel calm, you’ll need to adjust.
Day 2: the 2:00 am wake-up, summit at 6:00 am, then the long descent
Day 2 is built for one goal: reach the summit early enough for sunrise. You’ll wake around 2:00 am with a hot drink and a light breakfast, then start heading for the summit around 3:00 am.
The night climb: moderate first, then longer, then steep scree
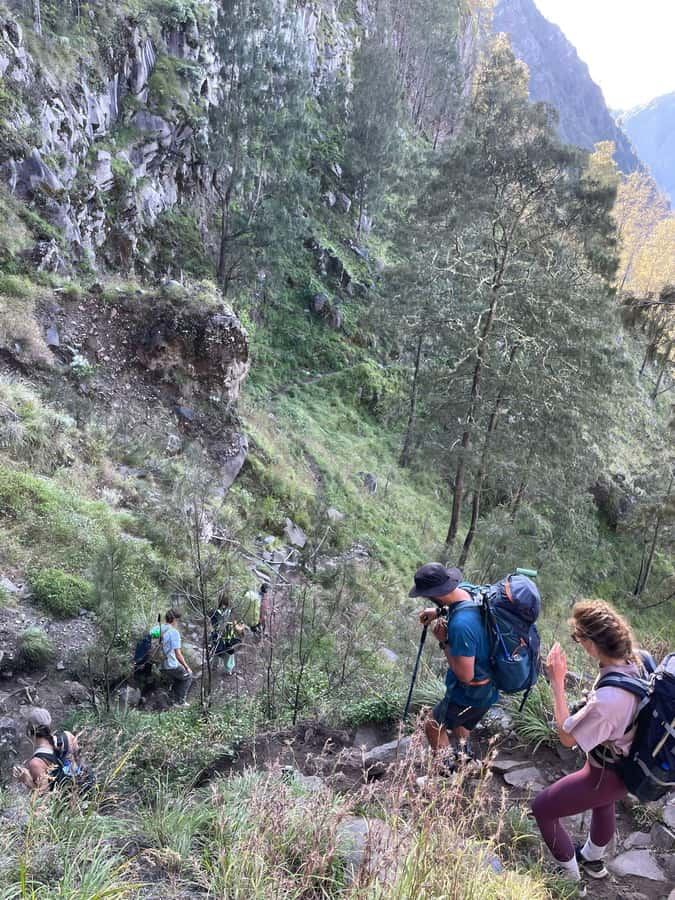
The route starts with a moderate trek, then transitions into a fairly easy but longer section. This matters because it lets you conserve energy and keep your steps even while everything is dark. The final approach is the tricky part: a climb over steep volcanic scree—looser stones that demand careful foot placement.
This is where your guide and headlamp support matter most. The tour includes a head lamp, plus an English live tour guide to keep the pace safe and moving. If you’ve never walked on volcanic scree, treat it like a skill you practice: shorter steps, feet planted deliberately, and no rushing.
Summit at 6:00 am: the views you came for
At 6:00 am, you can reach the summit and enjoy sunrise and panoramic views. The tour specifically highlights the sweeping sight lines across Lombok, Bali, Sumbawa, and Segara Anak Lake.
Even if visibility isn’t perfect, you’ll still be at the highest point for the schedule, and that alone is a memorable moment. There’s also a built-in “capture your moment” aspect—this trip is timed so you can take photos up top rather than just sprint through and descend.
Descend to the rim, then down to Sembalun village
After the summit, you descend back to the crater rim Sembalun within about 2 hours and have breakfast there. Then you continue down to Sembalun village (1100 m), which takes about 5 hours.
That final day effect is real: even when your legs feel okay early, you’ll feel the descent later. But it’s also the part that turns the experience from “peak pushing” into “you did it” relief.
Views and photo moments: how to get the most out of dawn
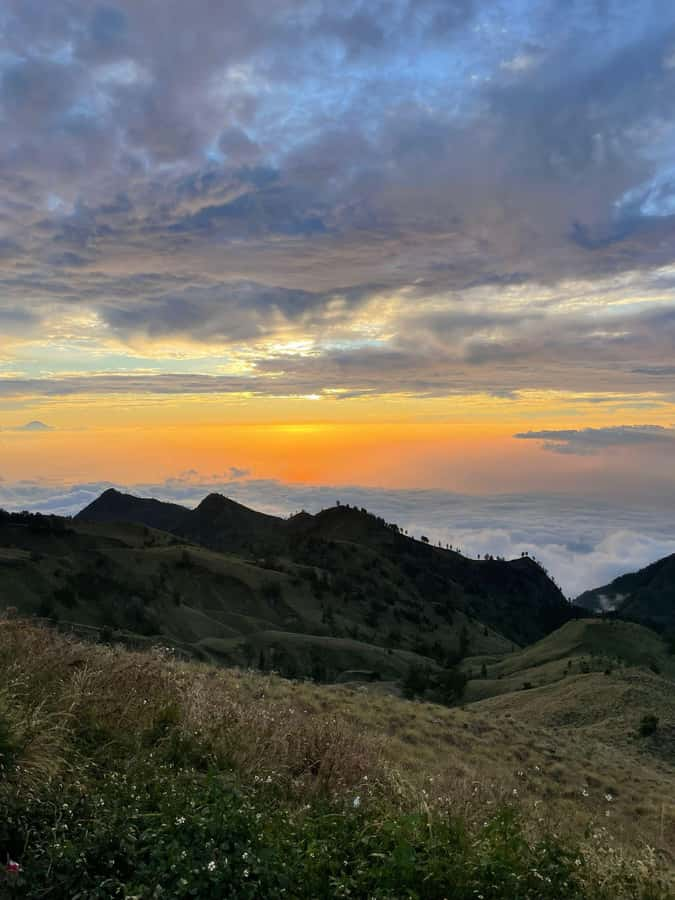
The phrase full sunrise point isn’t just marketing. The timing is designed around light, so you’re not stuck guessing when dawn will happen.
On summit day, you’re aiming for a moment where three things line up:
1) you’re high enough for wide panoramas
2) you’re at the right time of morning for sunrise light
3) your group is still moving in a coordinated way
The tour also specifically calls out that you’ll be able to take pictures on summit. For your own success, I’d focus on keeping your hands free and your camera ready before you need it. A headlamp helps you navigate the last dark stretch; once you’re up, you can switch into “slow and steady photo” mode.
The crater rim at night and day 1 sunset are also real photo opportunities. You’re camping right where the volcano scale feels obvious, and that makes for atmospheric images even without fancy gear.
Gear and clothing: what’s included versus what you must bring
This tour is helpful because it includes several trekking essentials that people often forget to buy. Included items that really reduce burden include:
- Head lamp
- Trekking pole (one stick each)
- Camping equipment
- Gloves
- Meals and drink: breakfast, lunch, dinner, plus water
- Drinking water
- Trekking insurance
You’ll also have porter support for camping equipment, so you’re not carrying the full setup on your back. That helps keep the summit push more focused on you, your footing, and your daypack.
What you still need to bring
Not included are the basics that you should choose carefully:
- Trekking shoes
- Long pants
- A small bag or day pack
It’s also worth budgeting time and attention for clothing layers and rain protection, even if the tour description doesn’t list them specifically. Mountain weather around volcanoes can shift quickly, and being prepared keeps the trek safer and more comfortable.
Price and value: what $134 covers and what you must budget separately
At $134 per person for a 2-day / 1-night summit experience, the main question is value: are you paying for transportation and comfort, or are you paying for the work that actually happens on the mountain?
Here, the “value” is mostly in the mountain operations:
- guide service
- porter support for camping equipment
- a full food plan (breakfast, lunch, dinner)
- drinking water
- camping gear
- headlamp, trekking pole, gloves
- trekking insurance
That’s a lot of logistics bundled into one fee. And it matters, because Rinjani treks aren’t just walking—they’re also planning, gear management, and safety decisions.
Costs not included to plan for
You should also expect separate costs for:
- Entrance fee: Rp 210,000 IDR per day per person
- Transport
- Accommodation/hotel
- Trekking shoes and long pants
- Small bag/day pack
So the smartest way to judge value is to add the entrance fee and your personal gear. If you already own decent shoes and pants, you’re close to the “true” base price fast.
How the tour runs day-to-day: support, pace, and service that feels human
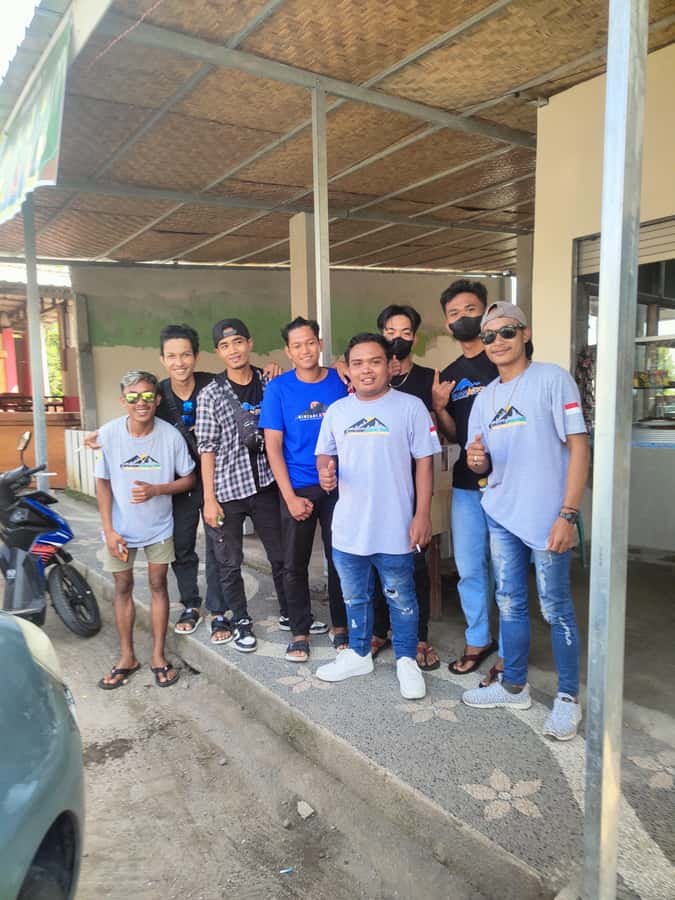
This is the part I pay attention to, because it’s where a good volcano trek either feels safe or feels stressful. The tour includes an English live guide, and it also includes porters for camping equipment, which reduces the amount of heavy stuff you have to manage.
The vibe from the experience details here is that the team aims to keep you happy and supported during the climb. One highlighted takeaway from service quality is how the team responds to your needs and keeps the experience moving smoothly. Another common positive note is that the walk segments feel manageable when the team stays organized and sets a pace you can sustain.
A practical pacing note you can take seriously: one review snippet pointed out that a climb leg felt like about six hours of walking. Your exact timing will vary, but it’s a reminder that this route is designed in chunks, not one unbroken grind.
In plain terms: if you take the pacing seriously and use the trek poles, this trek feels challenging but not chaotic.
Who this Rinjani full sunrise trek suits best
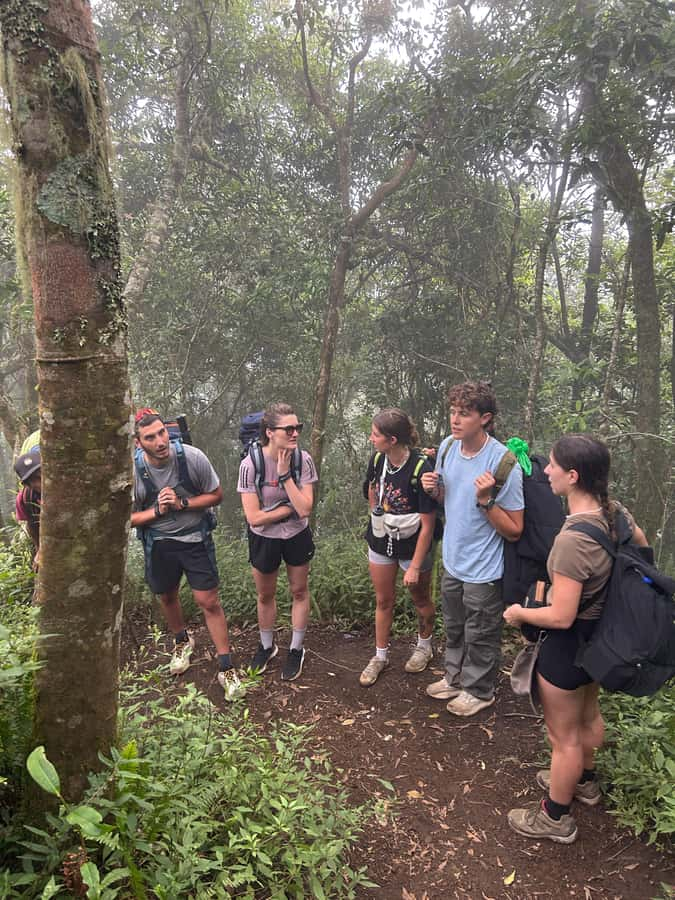
This tour fits best if you want:
- a true summit-at-dawn experience
- a guided plan that includes camp setup and gear support
- the atmosphere of sleeping by the crater rim at 2639 m
- panoramic sunrise views across multiple islands and Segara Anak Lake
It may not fit if you want hotel comfort, late mornings, or a low-effort hike. Also, camping plus early wake-ups is a combination: you need to be okay with cold-dark starts and then switching into summit-mode.
If you’re the kind of traveler who likes structure—start times, checkpoints, planned meal stops—this route will feel like it has your back.
Should you book this Mount Rinjani sunrise summit trek?
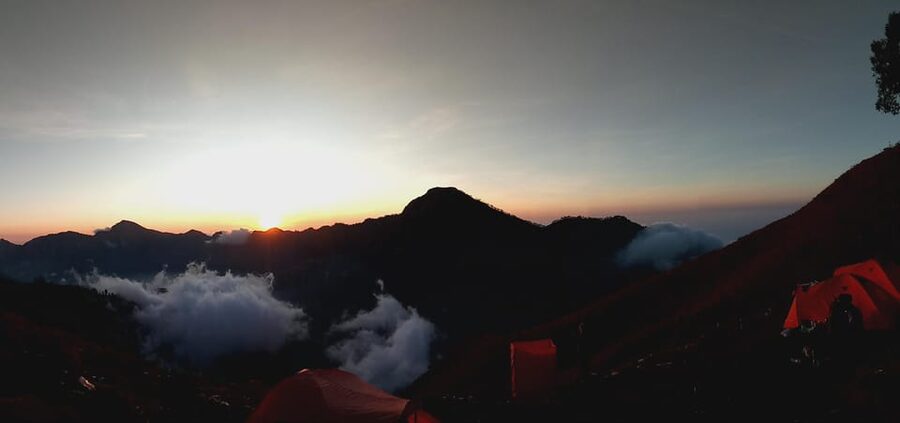
If you want a guided 2D/1N Mount Rinjani summit trek with real sunrise timing, I’d lean yes—especially because the tour includes a lot of the gear and mountain logistics people usually have to figure out alone (headlamp, poles, camping equipment, food plan, water, insurance, and porter support).
Book it if you can handle early mornings and you’re comfortable with steep volcanic terrain on the final summit approach. Skip it if you’re not into camping or you dislike the idea of waking around 2:00 am to start the summit climb.
One more tip: since transport and accommodation aren’t included, make sure you’re already set on how you’ll get to the meeting point and where you’ll stay afterward. You’ll arrive back at the meeting point at the end, so your plans should match that.
FAQ
What time does the trek start on day 1 from Sembalun?
The trek from Sembalun starts around 8:00 am after breakfast, registration, and transfer from Senaru.
What time do you wake up on day 2 for the sunrise summit?
You’ll wake up around 2:00 am with a hot drink and a light breakfast, then start heading toward the summit at 3:00 am.
When do you reach the summit and watch sunrise?
The schedule states you can reach the summit at around 6:00 am, which is when you can enjoy the sunrise and panoramic views.
What’s included in the price?
Included items cover a trekking guide, porter for camping equipment, meals (breakfast, lunch, dinner), drinking water, trekking insurance, camping equipment, head lamp, trekking pole (one stick each), gloves, and mountain meals.
What’s not included in the tour price?
Not included are trekking shoes, long pants, a small bag/day pack, the entrance fee (Rp 210,000 IDR per day per person), transport, and accommodation/hotel.
Is an entrance fee required, and how much is it?
Yes. The entrance fee is listed as Rp 210,000 IDR per day per person and is not included in the tour price.
What languages is the guide?
The tour includes a live guide in English.
What’s the meeting time and where does the tour end?
You need to arrive about 15 minutes before the start time at the meeting point. The activity ends back at the meeting point.