REVIEW · KANDE
Pkr. Backpacker Group Dep.: 4 Day Mardi Himal Base Camp Trek
Book on GetYourGuide →Operated by CAN Travels · Bookable on GetYourGuide
Four days can feel like a lifetime. The Mardi Himal Base Camp Trek is a short Himalayan push with spectacular sunrise views and a quieter route through rhododendron forests, led by guides like Birendra (Biru) who keep the pace and overnight plans working for you. The big “do be ready” item is altitude: you reach about 4,500 meters, so even in a short trip you’ll want to take it easy.
I also like that this isn’t just about peaks on a map. You get a real taste of the Annapurna region’s smaller villages and Gurung culture along the way, with tea house nights that keep things simple and social. One more thing to consider: if your group is small, your trek can end up more “you and the guide” than a lively group hike, which is great if you like flexibility, but less fun if you want lots of company.
In This Review
- Key Things I’d Watch For on Mardi Himal
- Mardi Himal in Four Days: Big Views Without a Long Commitment
- Pokhara to Kande: The Start That Sets the Tone (Day 1)
- Forest Camp to High Camp: When the Mountains Start Getting Close (Day 2)
- Mardi Himal Base Camp at Sunrise: The 4,500m Payoff (Day 3)
- Low Camp to Siding and the Jeep Return: Ending With Real Villages (Day 4)
- Your Guide Matters: Biru’s Pace, Comfort Checks, and Safety Style
- What’s Included in the $181 Price: Where the Value Comes From
- Packing for Comfort at Altitude: What to Bring and What Matters Most
- Best Seasons and Weather Reality for Mardi Himal
- Who This Trek Fits Best (and Who Should Skip It)
- Should You Book This Mardi Himal Base Camp Trek?
- FAQ
- How high do you get on this trek?
- Where does the trek start and end?
- What’s the trekking duration each day like?
- Are meals included?
- What’s included in the price?
- Do I need a porter?
- What’s the best time to go?
- What do I need to bring?
Key Things I’d Watch For on Mardi Himal
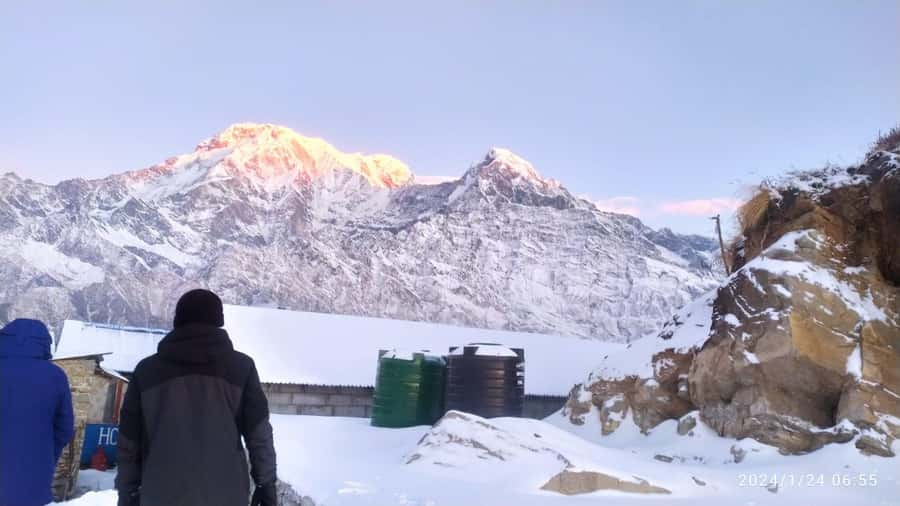
- Sunrise planning starts early, and it’s worth it for the big mountain views from near base camp.
- Tree line fades on Day 2, so the mountains open up as the forest gives way.
- You reach about 4,500m at Mardi Himal Base Camp, then head back the same day.
- The route stays less crowded, so it feels calmer on the trail.
- Your guide’s style matters, and with Biru, the pace can be very flexible.
Mardi Himal in Four Days: Big Views Without a Long Commitment
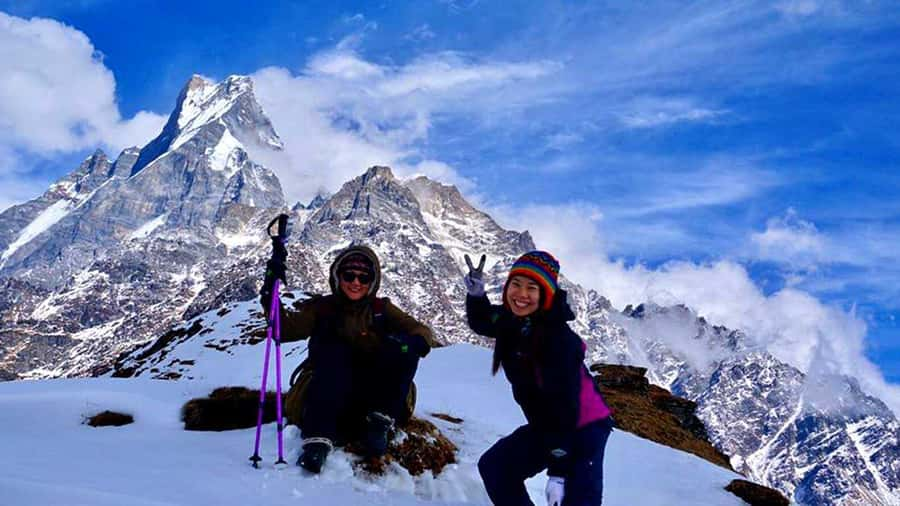
If you want the Annapurna drama without spending a week-plus on the trail, Mardi Himal is built for that mindset. In just four days, you’re hiking from lower foothill elevations up into the high country, then returning to Pokhara by jeep. The payoff is a classic base camp viewpoint with far-reaching views of the Annapurna range.
This trek also helps you avoid the “too many people, same photo, next” problem. The route is described as lesser known, and in practice that often means a quieter trail and less waiting around at the viewpoints. That’s the main reason people love it when they’re short on time but still want something that feels unmistakably Himalayan.
One more reason the timing works: the highest point is limited to the base camp area, not a multi-pass saga. You’re still gaining altitude, but you’re not living at extreme heights for days. That makes this trek a strong option if you’ve only got a small window in Nepal.
You can also read our reviews of more tours and experiences in Kande.
Pokhara to Kande: The Start That Sets the Tone (Day 1)
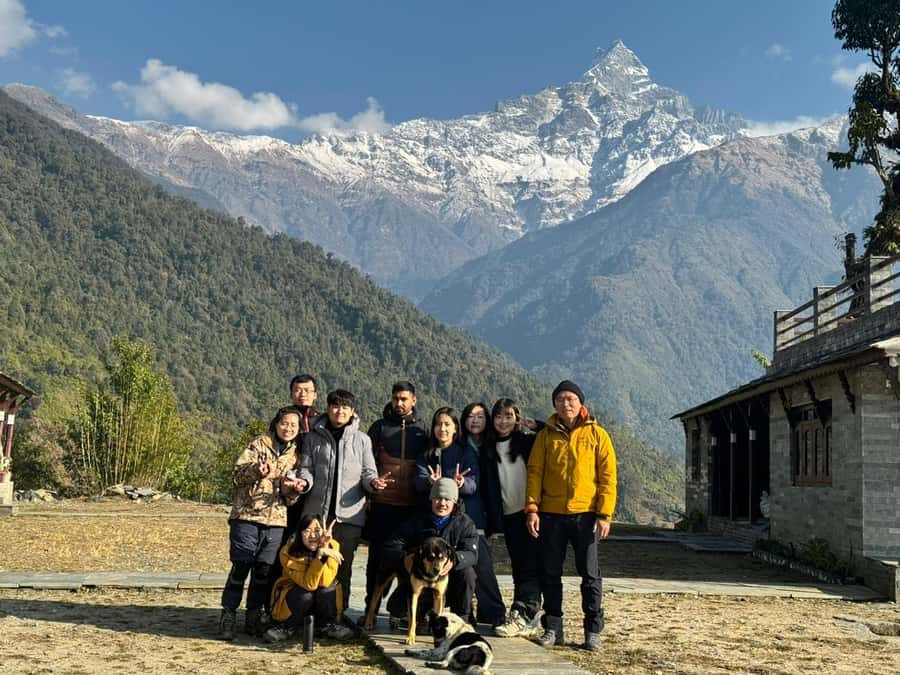
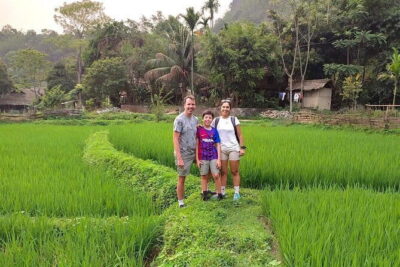
Day 1 begins with a scenic drive from Pokhara to Kande, about 1.5 hours. You swap the city air for trail rhythm fast, then start trekking through rhododendron forests. This is the part I like most on Mardi Himal: the hike starts green and earthy, with birdsong and shade, not just rocks and thin air.
A key stop is Australian Camp, where you can pause for lunch with views over Annapurna and Machhapuchhre. After that, you continue past Pothana, then climb toward Forest Camp for the night. Forest Camp is where the trail feels most “tucked in,” and the night tea house setup usually keeps things relaxed after a long day.
Practical note: Day 1 is often when your body is still adjusting, so don’t force big distances. Take breaks early, sip water, and let your pace settle in. A lot of the success on this trek comes down to how steady you feel when you start climbing.
Forest Camp to High Camp: When the Mountains Start Getting Close (Day 2)
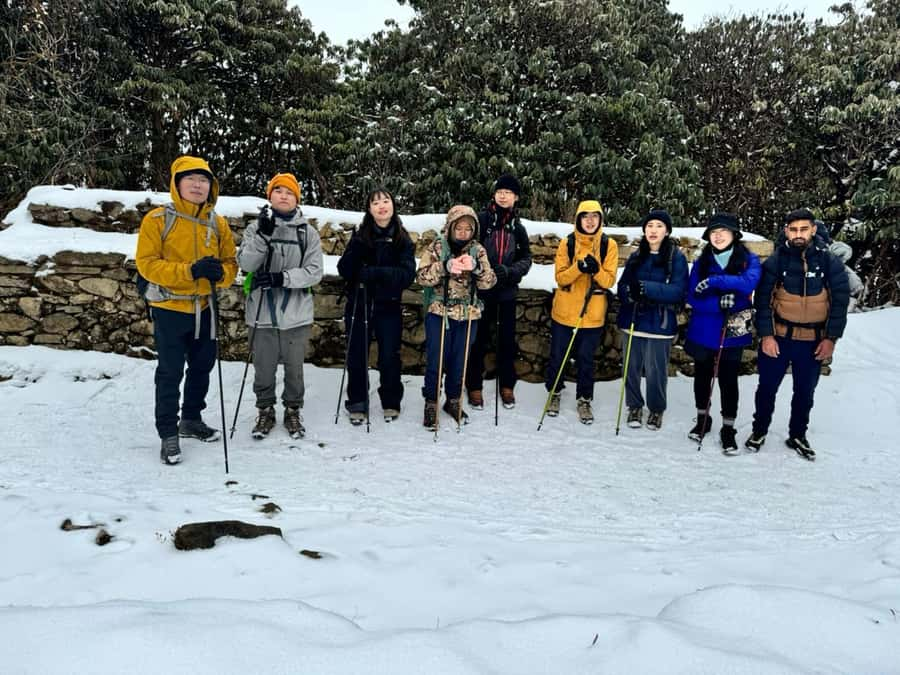
On Day 2 you move from Forest Camp up to High Camp, around 3,550m, with roughly 5–6 hours of hiking. You’ll go via Low Camp along the way, and the big change here is the tree line. The forest starts thinning, then fading, and suddenly the mountains look larger and nearer.
This is the day when Machhapuchhre can feel almost in your lap. High Camp is also where you start seeing closer views of Mardi Himal itself. If you like that moment when the view turns from “background” to “main event,” this is your day.
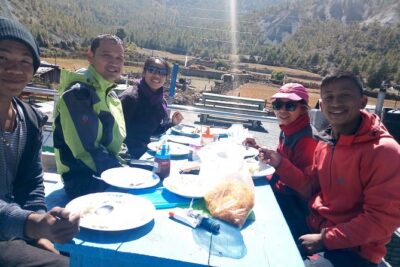
In the evening, expect the typical tea house rhythm: a warm drink, a simple meal, and an early wind-down because tomorrow starts with an even earlier push. If you’re sensitive to altitude, this is also the day to pay attention to rest. Not everything needs to be “faster,” even if you feel good.
Mardi Himal Base Camp at Sunrise: The 4,500m Payoff (Day 3)
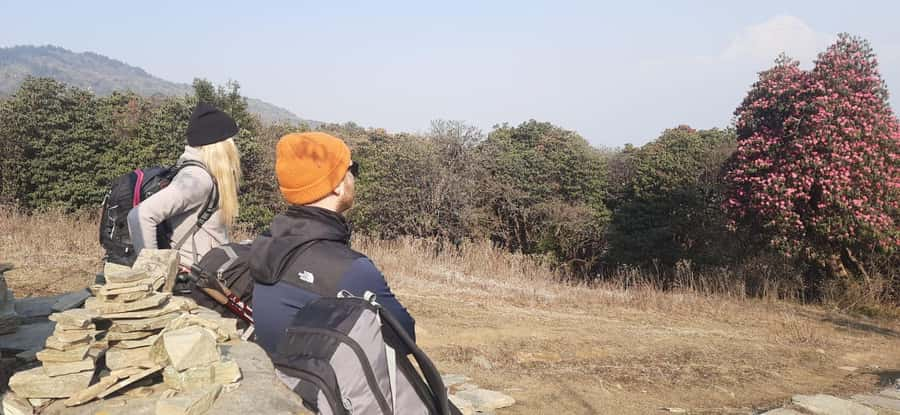
Day 3 is the one that gets people excited. You hike from High Camp to Mardi Himal Base Camp (about 4,500m) and then descend back to Low Camp for the night. It’s a long day, around 7–8 hours total, and you’re doing it largely as a sunrise mission.
You’ll set out early for sunrise, and the view is the reason you’re here. At Mardi Himal Base Camp, you get panoramic sights across the Annapurna range, with major peaks like Annapurna South, Hiunchuli, and Machhapuchhre showing in the mix. Mardi Himal itself is the star of the show.
One detail worth knowing: you’ll likely climb a lot of steps and uneven terrain to reach the best viewpoints near the base camp area. That’s part of why hikers talk about “earning” the view. If you’re the kind of person who doesn’t mind stairs as long as the reward is worth it, you’ll probably grin through the climb.
After you spend time at the base camp, you head back down to Low Camp. Don’t treat the return as a free ride. The descent is easier than climbing, but your legs still need careful pacing, especially if you’re stiff from the early start.
Low Camp to Siding and the Jeep Return: Ending With Real Villages (Day 4)
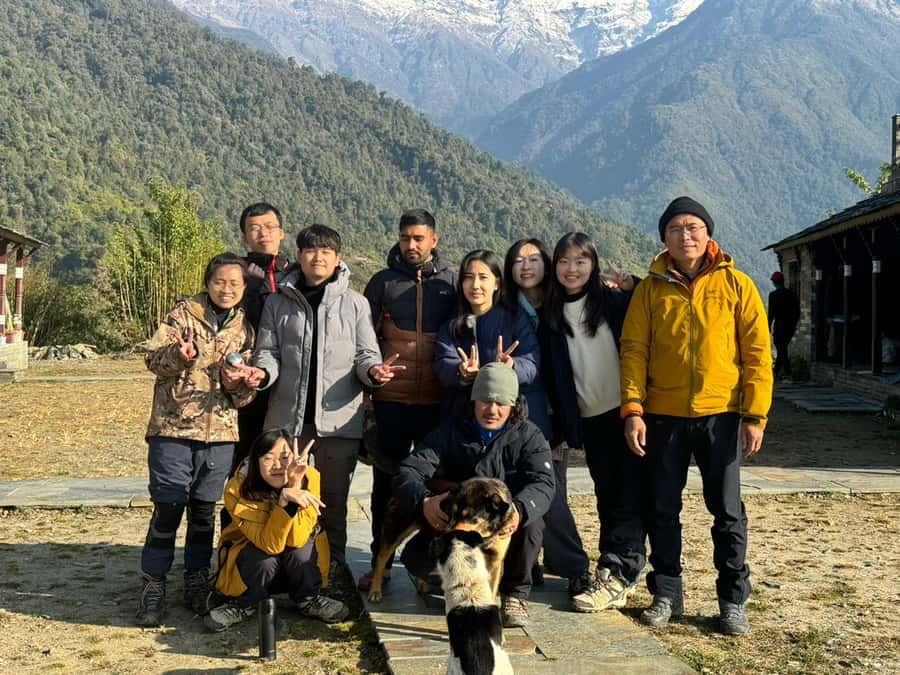
Day 4 drops you from Low Camp down toward Siding Village, with about 3–4 hours of trekking, then a jeep ride back to Pokhara (around 2.5–3 hours). This structure is one of the best parts of the trek. You get movement and village scenery, then you get transported out without having to do a full extra day of hiking.
The descent through traditional villages is where you slow down mentally. You’re not just passing through terrain; you’re moving through lived-in places. It’s a good contrast to the high-altitude hours and helps the trek feel human, not just athletic.
Then comes the jeep ride, which feels almost luxurious after days of foot travel. You’ll finish in Pokhara, where you can celebrate with a meal and a long shower and start planning your next Nepal chapter.
Your Guide Matters: Biru’s Pace, Comfort Checks, and Safety Style
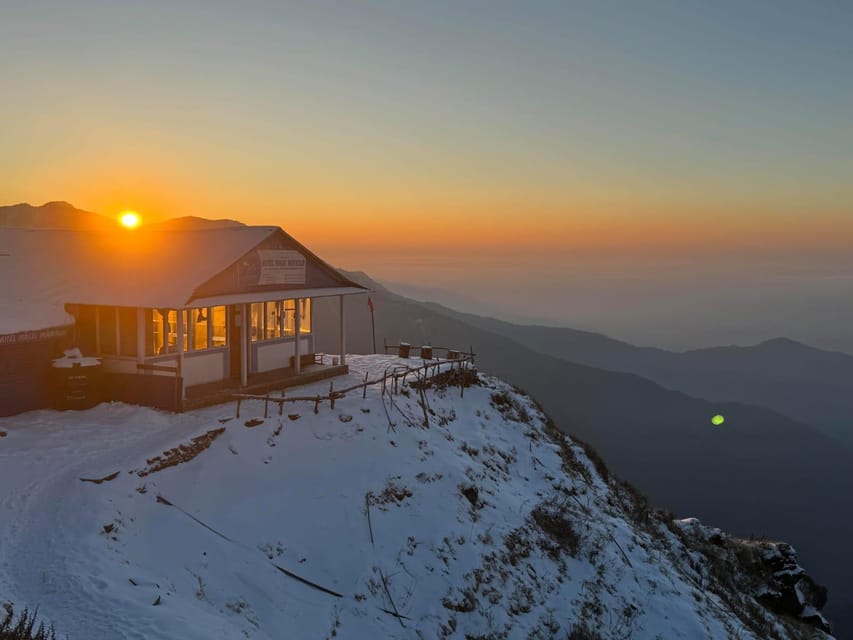
This trek is run with an experienced, license holder trekking guide, and the trip info also lists English and Hindi support. In the field, the guide’s approach can make a huge difference, especially on a route with altitude and long days.
One guide name that shows up clearly is Birendra, known as Biru. People liked how he was flexible with pace—even if everyone isn’t walking at the exact same speed. That flexibility matters because it helps you avoid the classic altitude problem: pushing too hard too early because you’re trying to keep up.
Biru also checks comfort details during the hike, including making sure you’re set for good overnight accommodations. That reduces decision fatigue. Instead of you worrying about where you’ll sleep and what the tea house is like, the guide works that out.
Balance note: there’s also feedback that frequent safety reminders can feel a bit overbearing for some hikers. The intentions are good—slow down, be careful—but if you hate being told what to do, you may find that style annoying. My advice is simple: tell your guide what you want. If you’re experienced with altitude pacing, say so early and ask for a less frequent reminder style.
What’s Included in the $181 Price: Where the Value Comes From
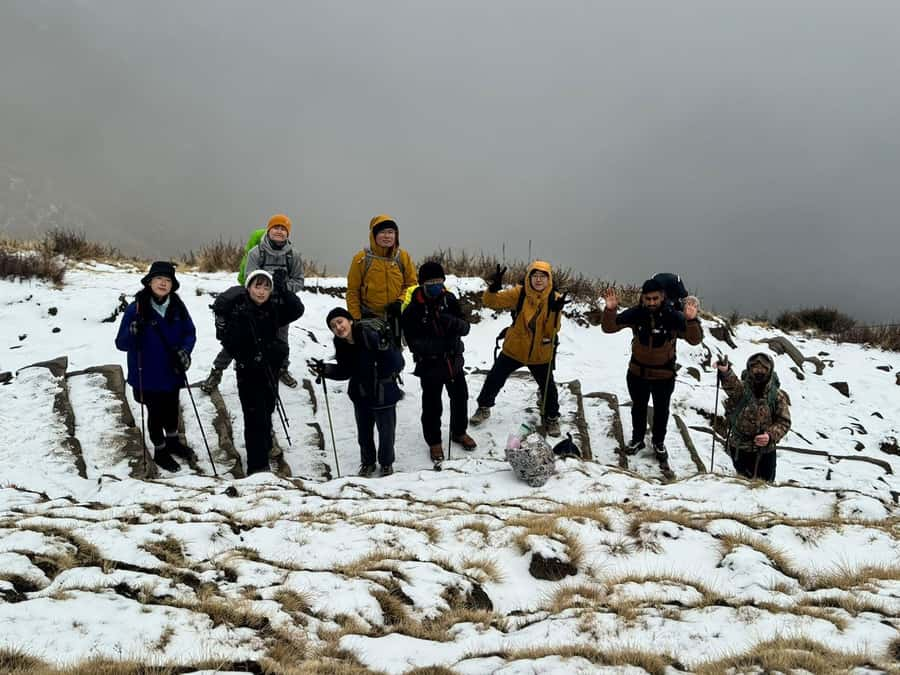
Let’s talk value, not just cost. At $181 per person for four days, you’re paying for more than “walking in the mountains.” You’re also buying structure: transfers, permits, a licensed guide, and base-level lodging so you’re not piecing everything together on the fly.
Included highlights you should feel good about:
- Guide support during the trek, plus guide expenses
- Permits and official documents
- Pokhara to Kande by private vehicle, and Siding back to Pokhara by jeep
- Guest house or tea house style accommodation on the trek
- An emergency normal first aid kit with the guide
- A pair of trekking poles
- Hotel pickup and drop off (from the lakeside area)
What you need to budget separately:
- Food and drinks (available to purchase)
- Emergency rescue (covered only if your travel insurance handles it)
- Personal expenses
- Porter service if you want one: $25 per day
Here’s the real value equation: $181 covers the logistics and the “human planning” pieces—someone navigates, you hike. If you had to do permits, transfers, and a guide yourself, the savings would often shrink fast. The main variable you control is whether you’ll pay extra for a porter and how you handle meals.
Packing for Comfort at Altitude: What to Bring and What Matters Most
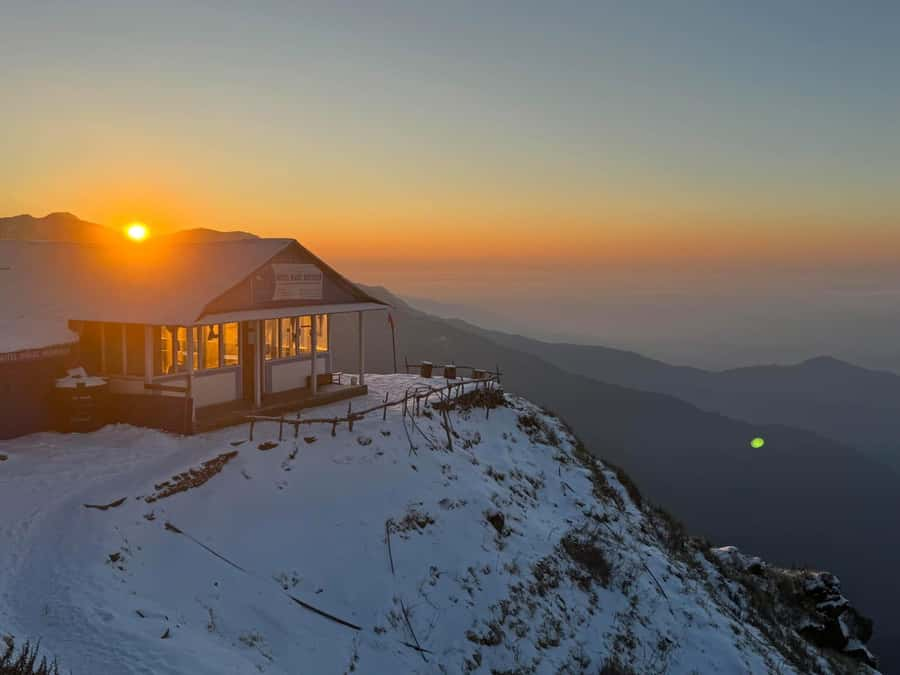
Your packing list is fairly standard, but on this trek, the essentials are non-negotiable. You’ll want:
- Comfortable shoes for rocky steps and long days
- Warm clothing, because mountain nights can turn cold quickly
- Comfortable clothes you can layer
- A reusable water bottle
- Cash (it’s listed as needed)
- Passport details: passport copy accepted, plus a passport-sized photo
Trekking poles are included, which is a nice touch. On steep stairs and uneven downhill sections, poles can save your knees and reduce fatigue. If you’ve never used poles before, keep them short on steeper sections and practice the rhythm on Day 1 rather than waiting for Day 3.
Weather can shift fast in the Himalayas. That means you should dress for warmth even when the morning starts mild. Layers let you adjust without stopping to do a full wardrobe change.
Best Seasons and Weather Reality for Mardi Himal
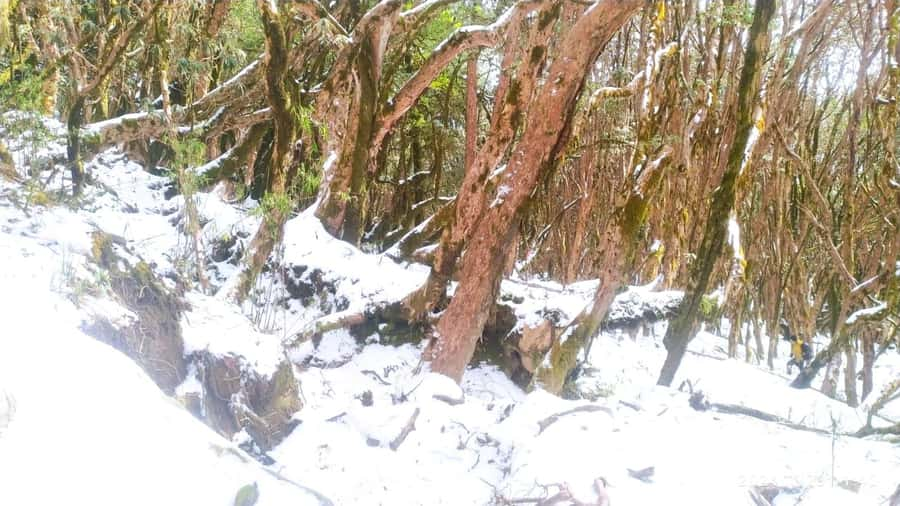
The best trekking windows are spring (March to May) and autumn (September to November). Those periods usually bring more stable weather and clearer mountain views, which matters a lot for sunrise and base camp panoramas.
That said, the trek can be done throughout the year, so you’re not locked into only two months. If you go outside the peak windows, just accept that clouds and storms may affect visibility. When you’re traveling for views, visibility is part of the product.
Also remember: the altitude climb to around 4,500m means your body feels temperature and effort more sharply. Even with good weather, you’ll be moving in cooler air, especially early mornings.
Who This Trek Fits Best (and Who Should Skip It)
This trek is best for people who want a high-impact Himalayan experience in a short time. It suits hikers who are comfortable with 4 days of trekking, can handle altitude pacing, and don’t need extreme comfort.
It’s not suitable for:
- Pregnant women
- People with back problems
- Wheelchair users
If you have any medical concerns related to altitude or exertion, it’s smart to talk to a doctor before you book. The trek is shorter than many others, but the altitude climb is still real.
Should You Book This Mardi Himal Base Camp Trek?
Book it if you want the Annapurna views in a tight schedule and you like quieter trails through rhododendron forests. The sunrise push to Mardi Himal Base Camp is the kind of moment that makes four days feel justified, and the guide support (including flexible pace and practical planning) can take a lot of stress off your shoulders.
Skip it (or choose a different trek) if altitude risk is a concern for you, or if you know you don’t handle cold mornings and long stair climbs well. And if you strongly prefer a hands-off guide style, communicate your preferences early so safety reminders land the way you want.
If your goal is a short, authentic taste of the Annapurna region with real mountain payoff, this is a solid bet.
FAQ
How high do you get on this trek?
You reach around 4,500 meters at Mardi Himal Base Camp.
Where does the trek start and end?
It starts from Pokhara and includes a drive to Kande. It ends at Siding Village, then you return to Pokhara by jeep.
What’s the trekking duration each day like?
You’re looking at around 5–6 hours on Day 1, about 5–6 hours on Day 2, a longer Day 3 round trip of about 7–8 hours, and about 3–4 hours on Day 4.
Are meals included?
Food and drinks are not included, but you can buy meals along the way.
What’s included in the price?
The price includes hotel pickup and drop off, a licensed English-speaking trekking guide, trekking permits, transfers (Pokhara to Kande and Siding to Pokhara), guest house accommodation during the trek, guide expenses, a normal first aid kit with the guide, trekking poles, and a jeep transfer back.
Do I need a porter?
Porter service is not included. If you want one, the listed cost is $25 per day.
What’s the best time to go?
Spring (March to May) and autumn (September to November) are described as the best seasons for more stable weather and clearer views.
What do I need to bring?
Bring comfortable shoes, warm clothing, comfortable clothes, cash, a passport (a copy is accepted), a passport-sized photo, and a reusable water bottle.